Here’s a quick pictorial on making your own drum sticks.
Contents
- Prep
- Routing
- Mark an end
- Tools
- First steps making sticky-things.
- Starting to look like a stick!
- Fix mistakes
- Cut to length
- Finishing
- Pasteurized Processed Cheese Spread
- Done
- Support me!
Prep
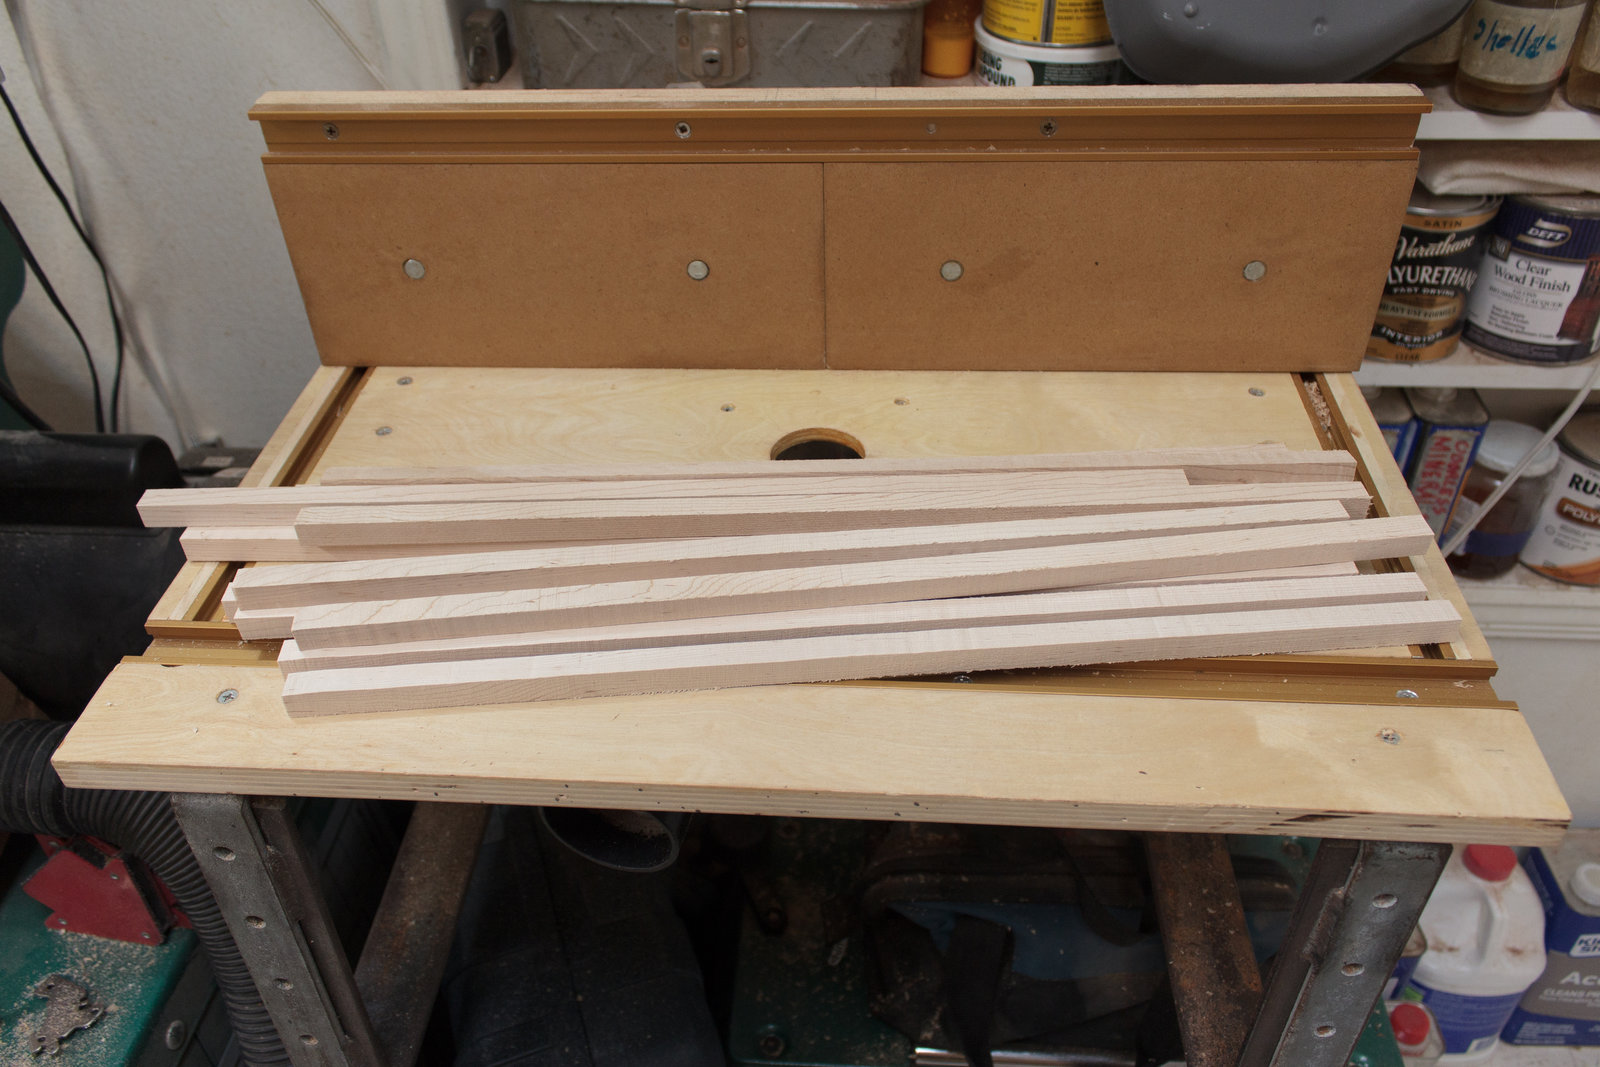
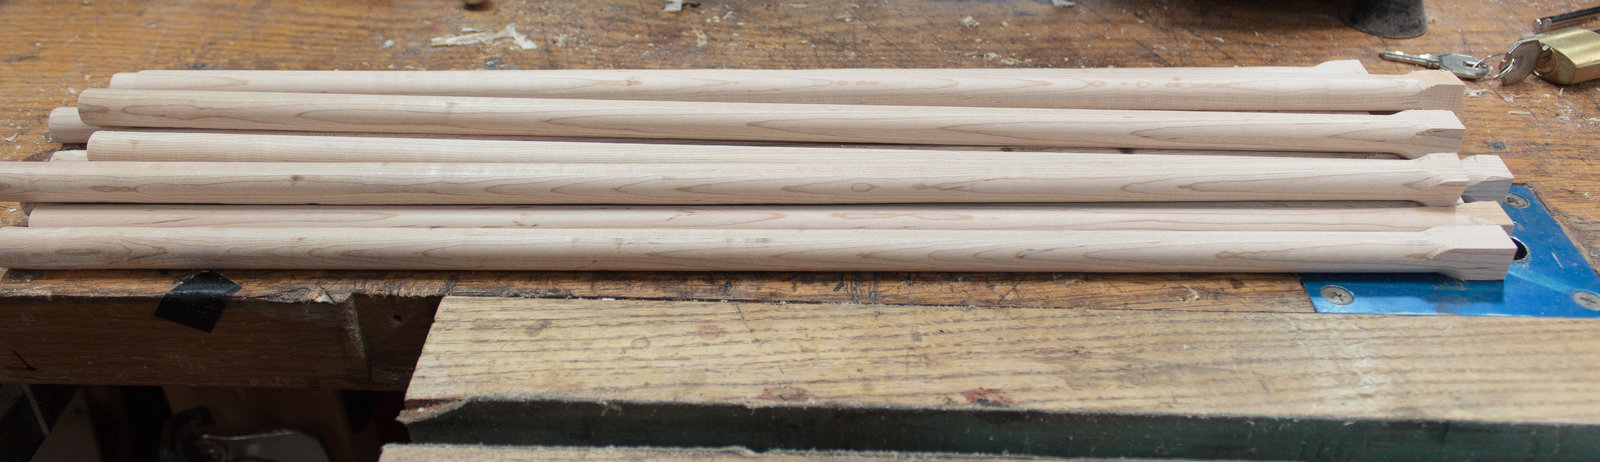
12 blanks cut from a big piece of sugar maple. Make sure everything is square before you cut things down in to 1/2” square blanks.
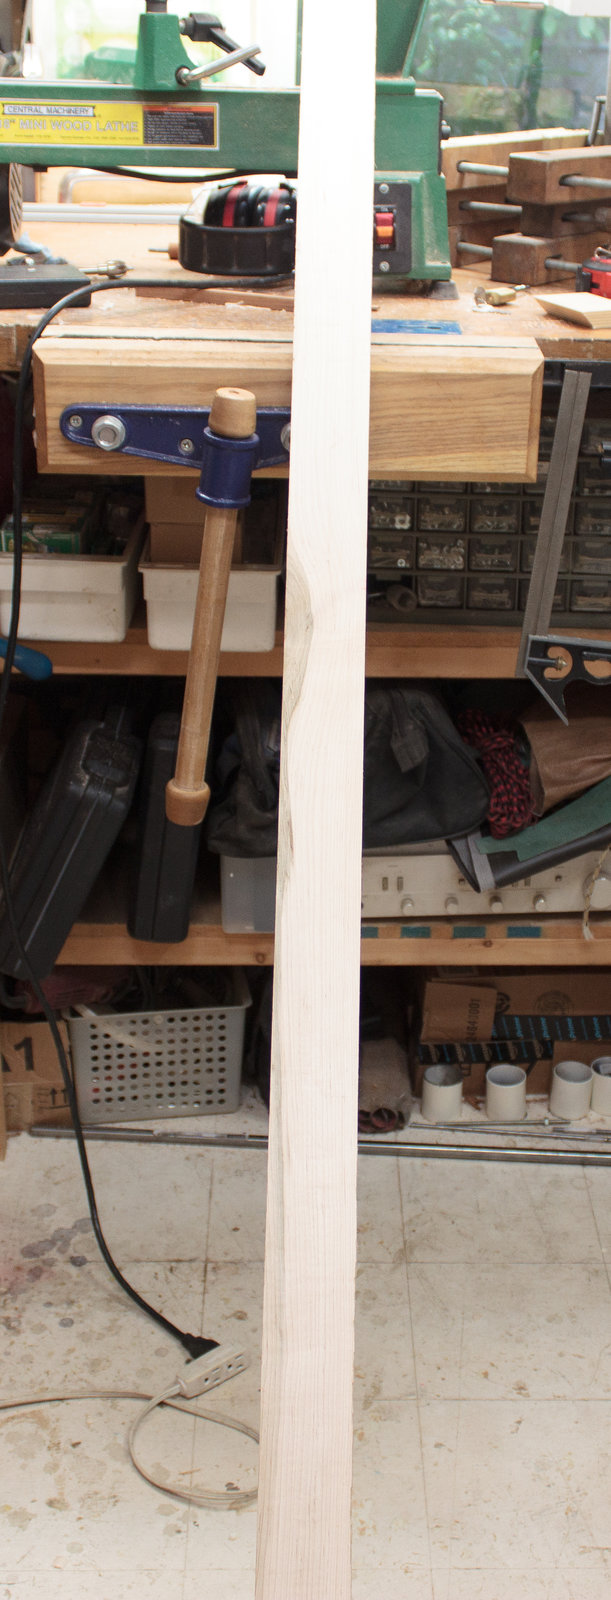
I will be making sticks that are a long 17.5”. My blanks are 20” long as a result. You’ll see why the extra 3” matters later.
Routing
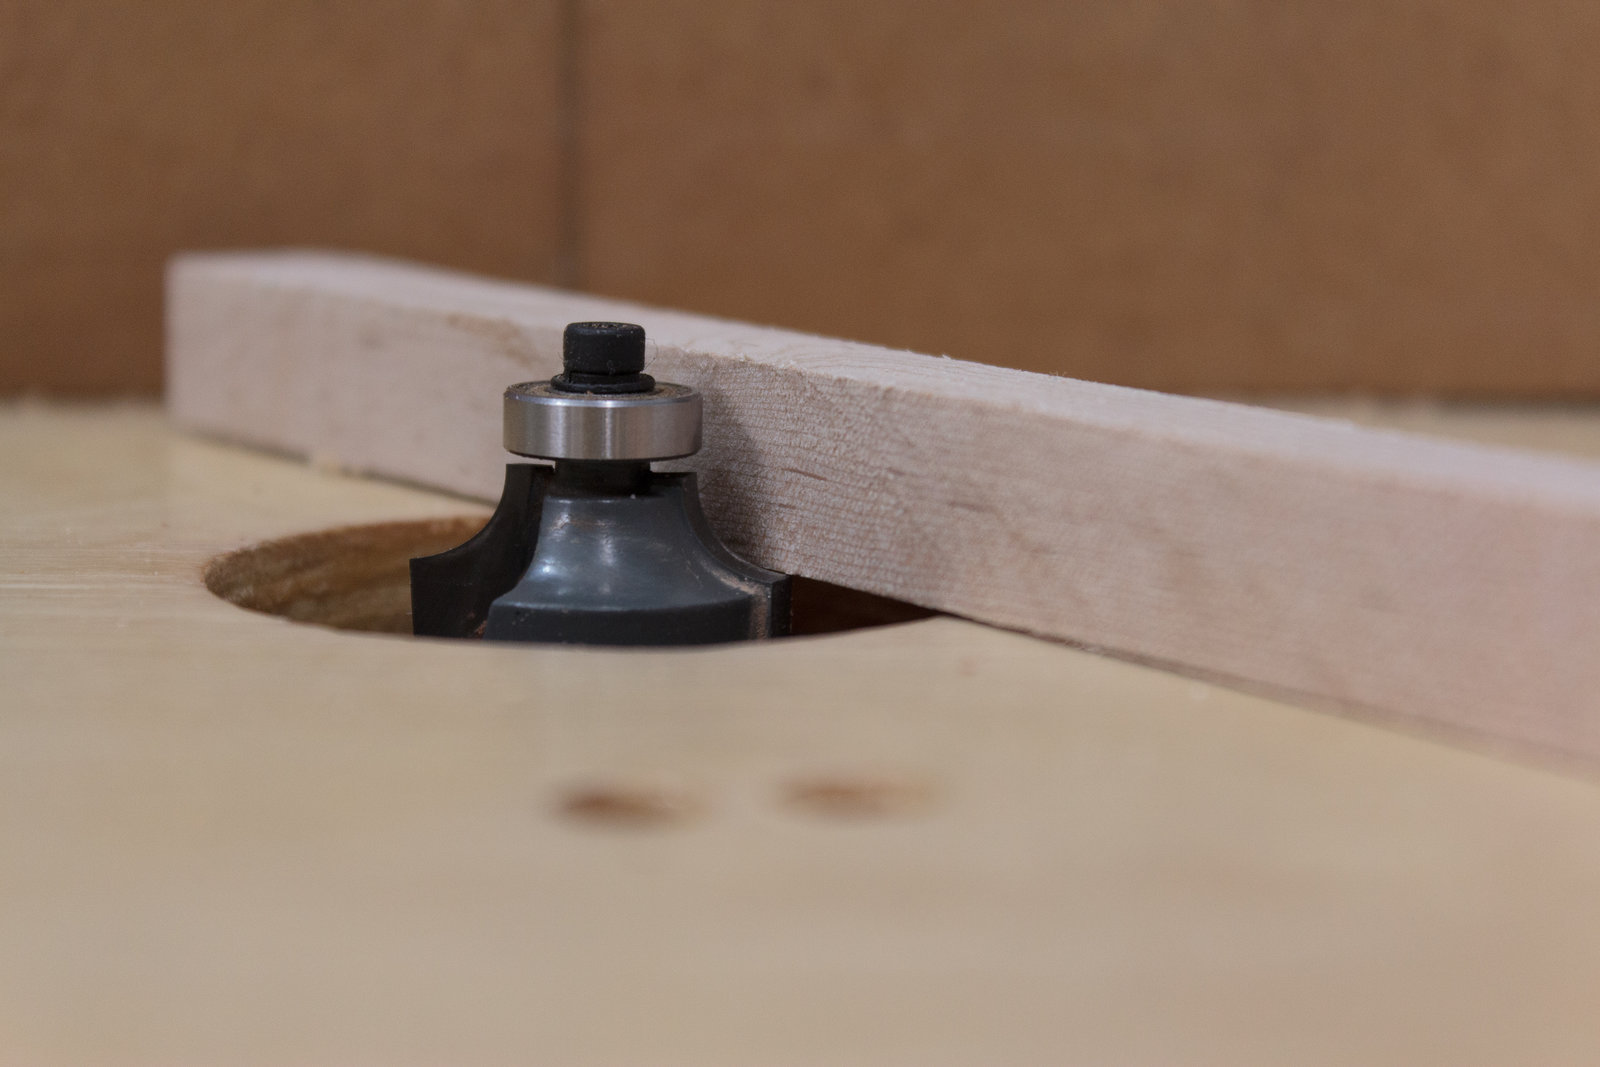
Using a 1/4” radius roundover bit, set the height until the little corner thingy-guy barely touches the bottom of the wood, then back it off slightly.
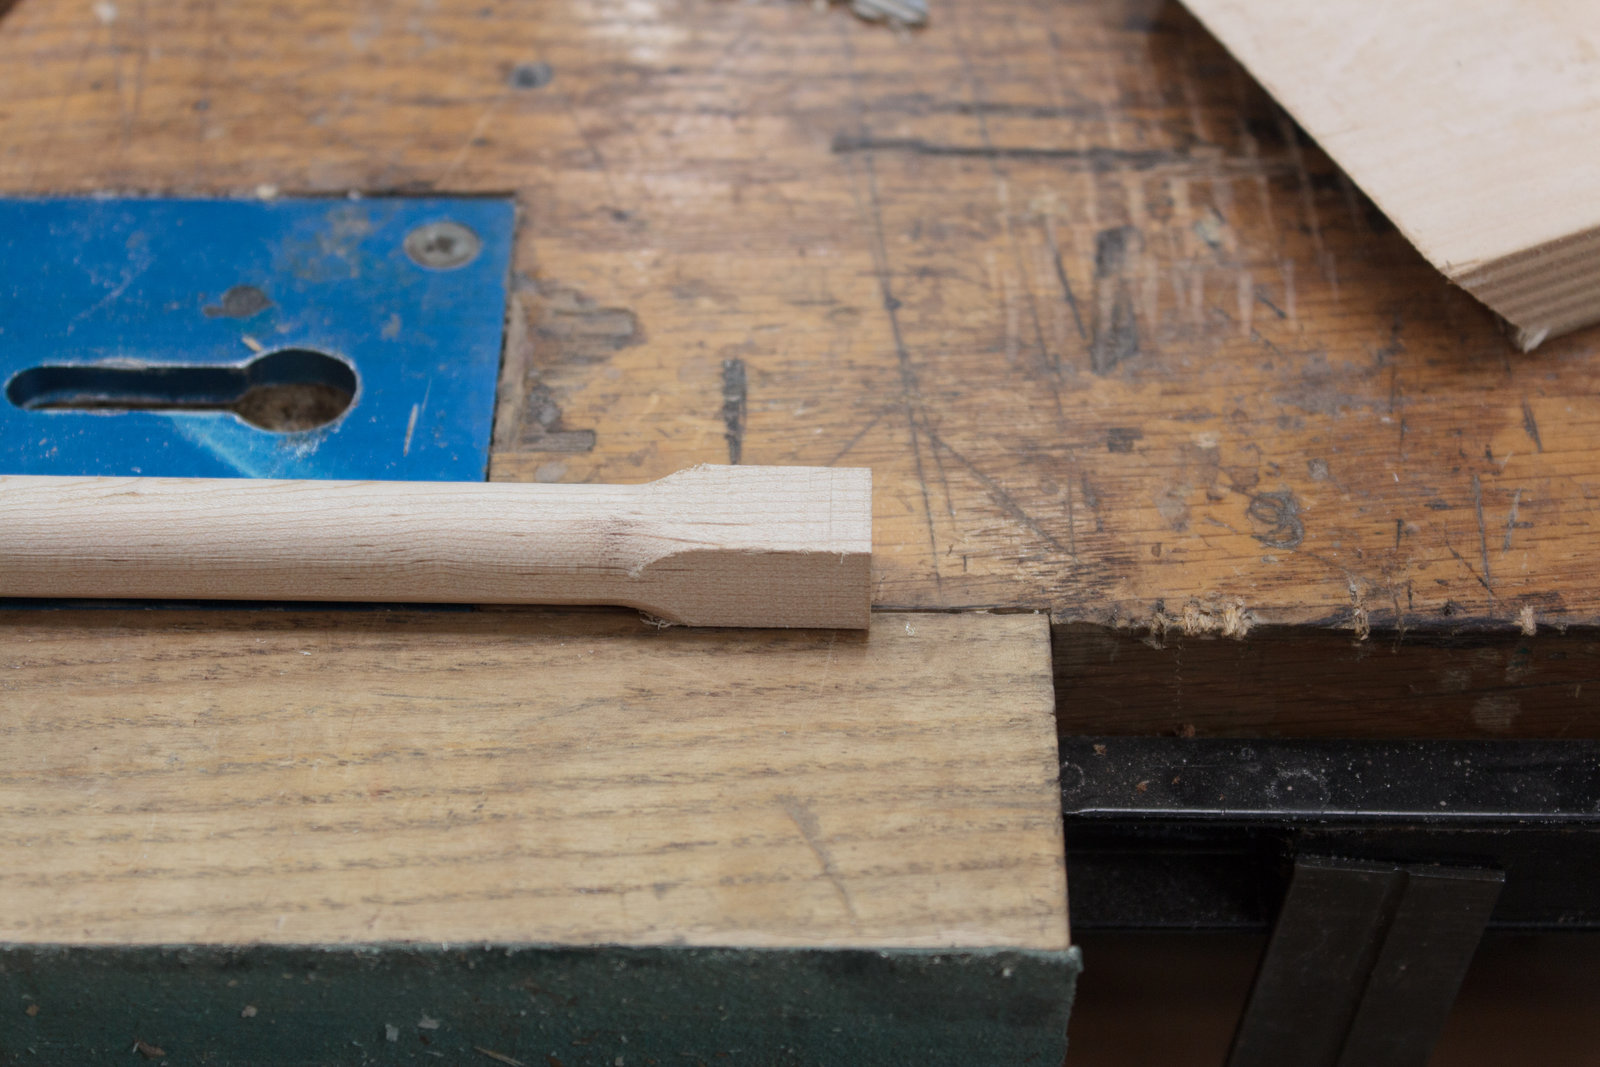
Make sure you leave one end squared like this on all four sides! This will make it easier to route the 4th side, and it’s important for the next marking step.
Mark an end

I use a Robert Larsen Center Finder to mark the center of the squared end. It’s much easier to find the center when you leave an end square. Often the routing stage will not leave the stick perfectly round and you will be left with off-center markings because of it.
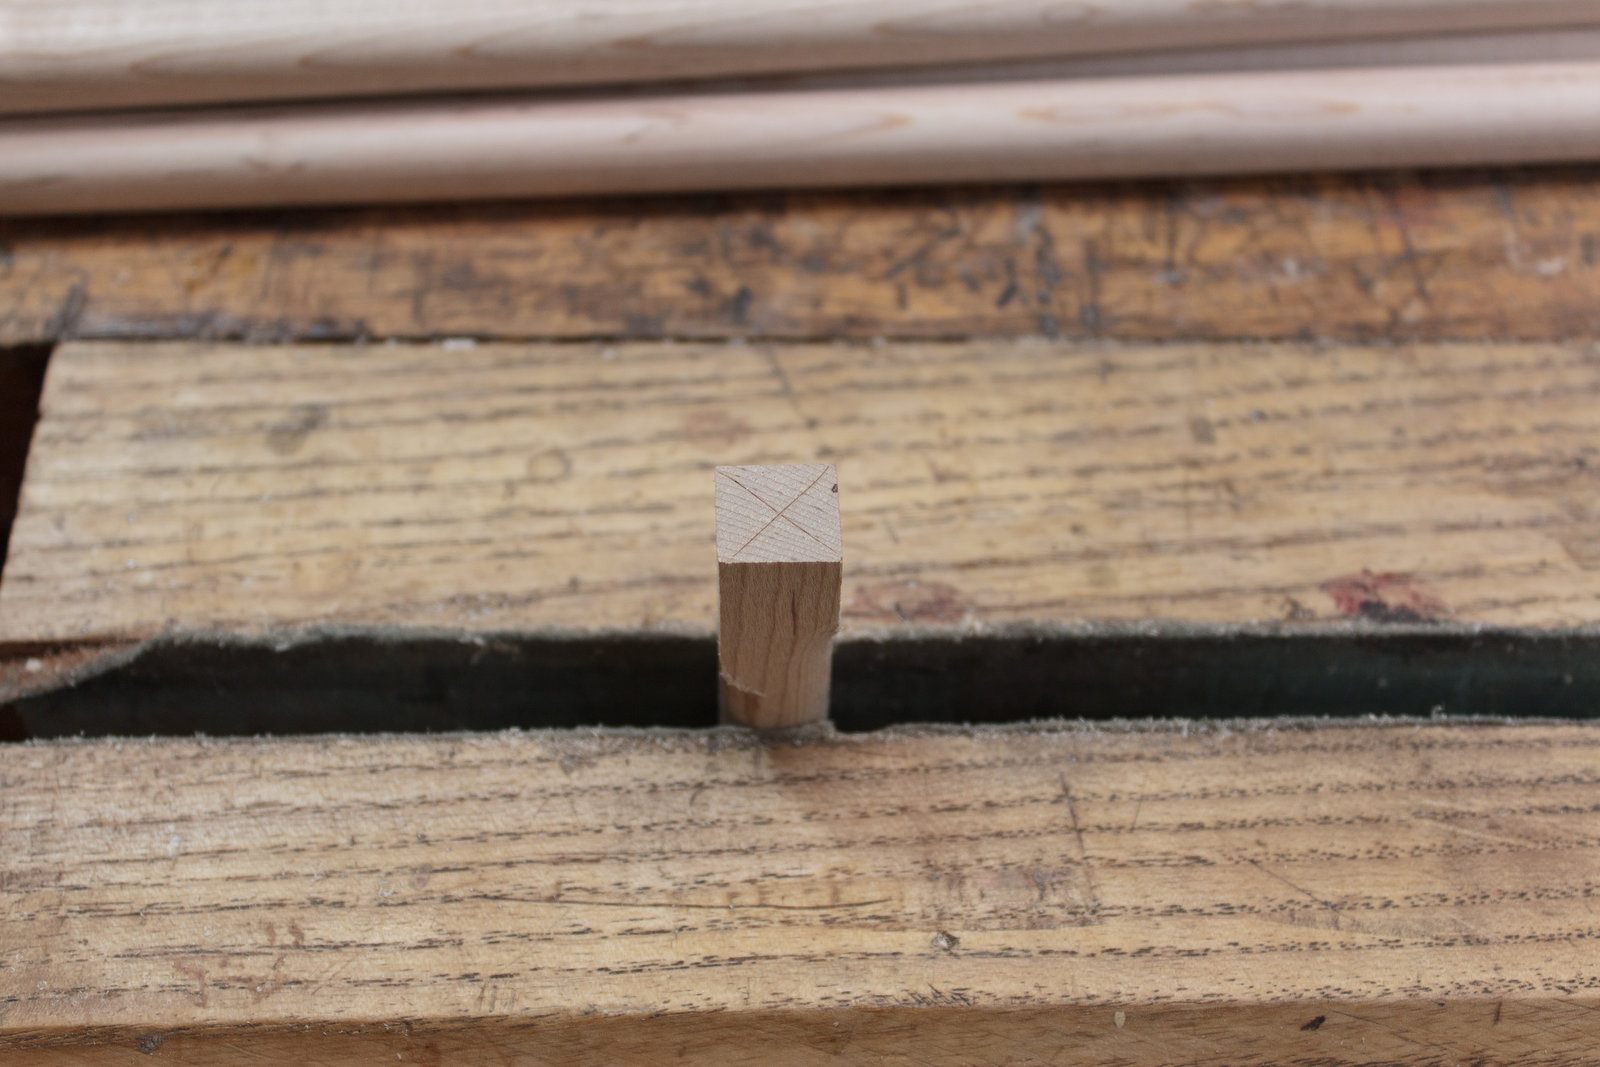
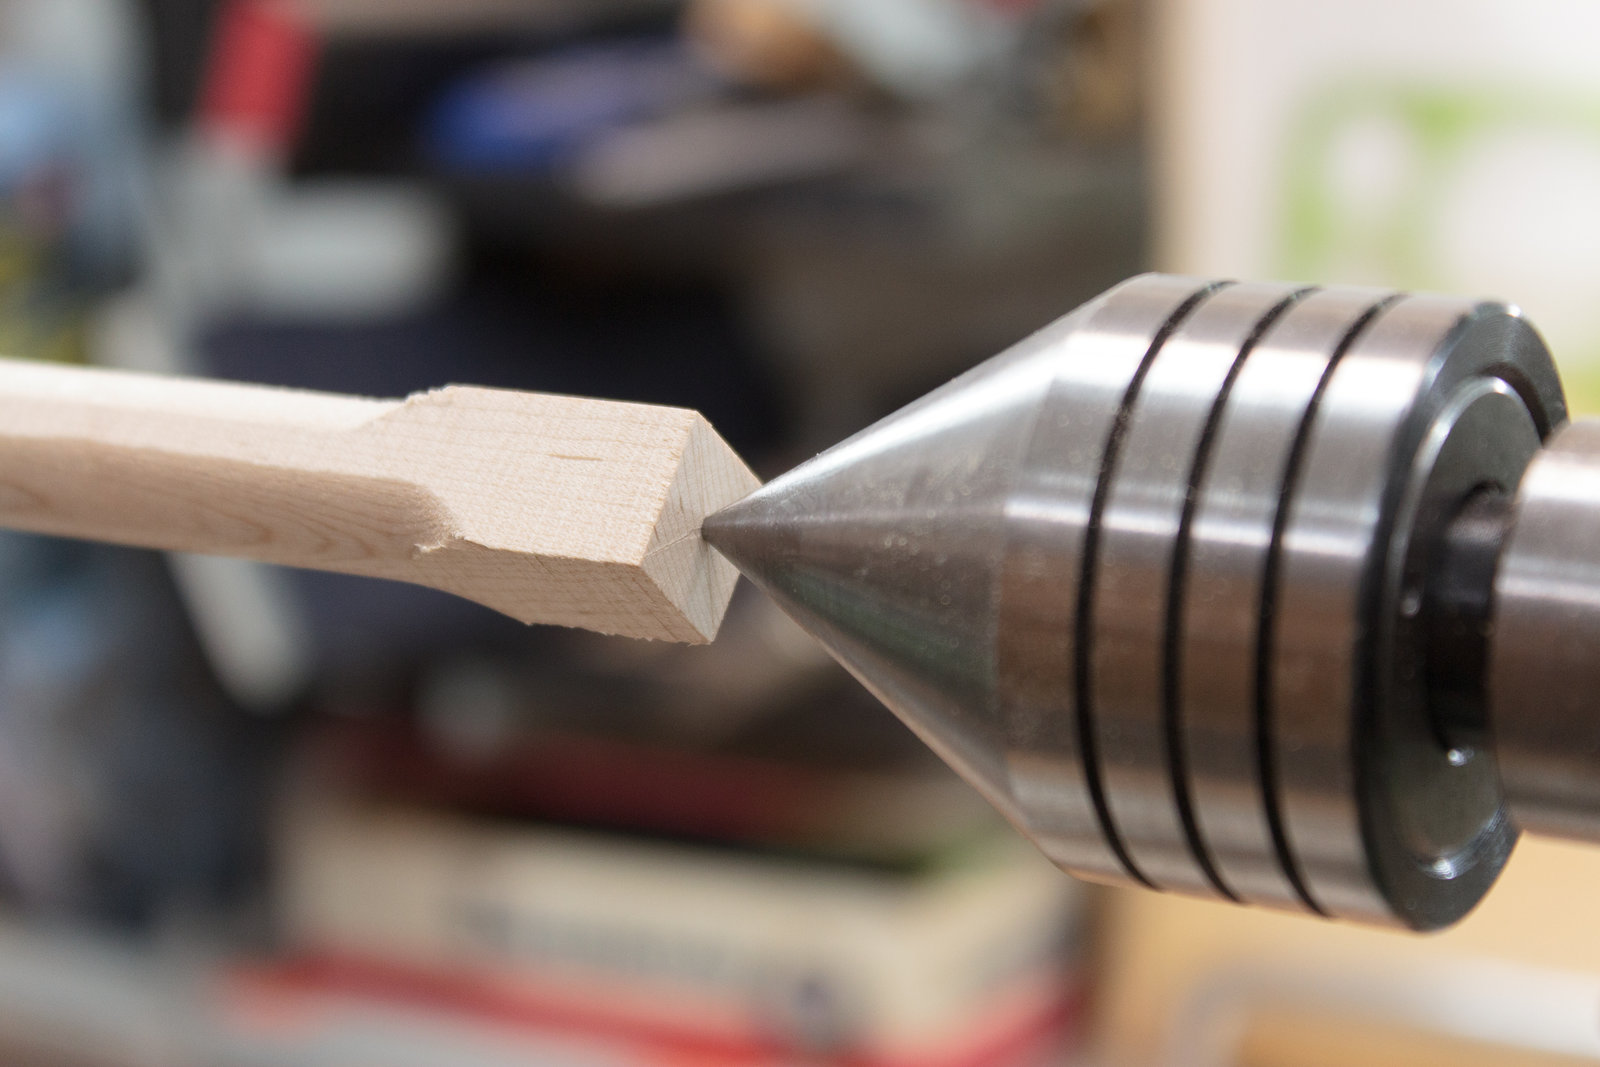
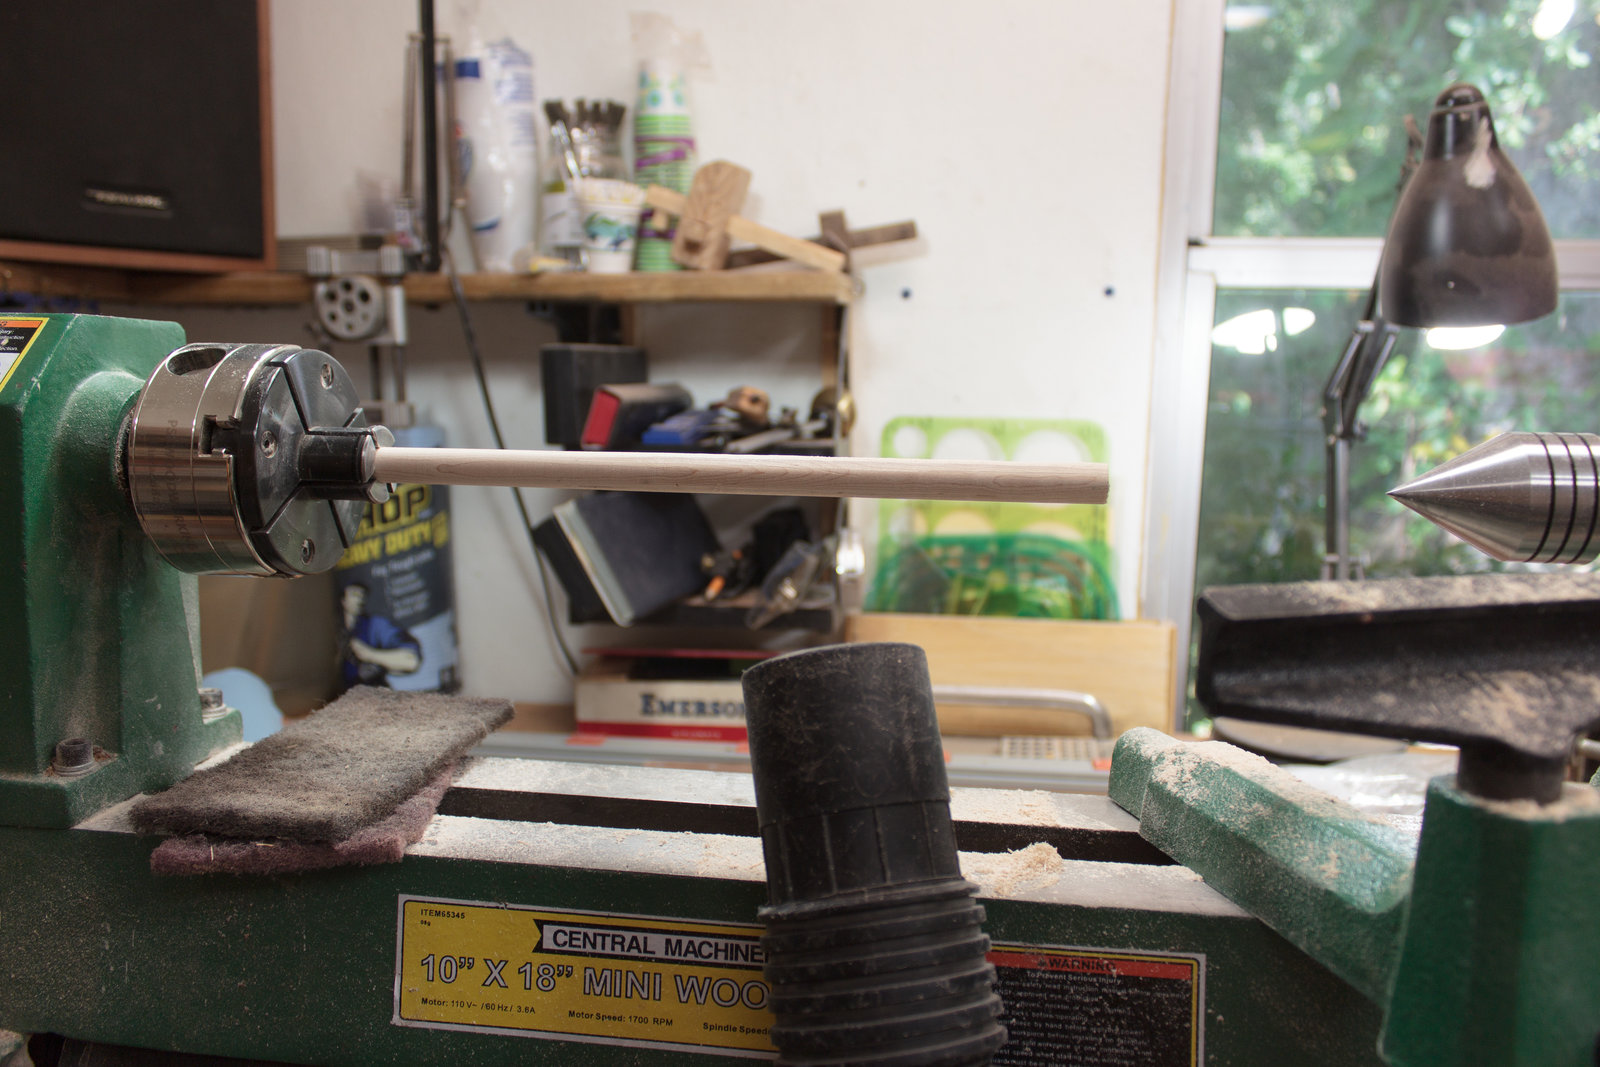
Now you can easily center the stick in your live-center and the rest is much easier!
Tools
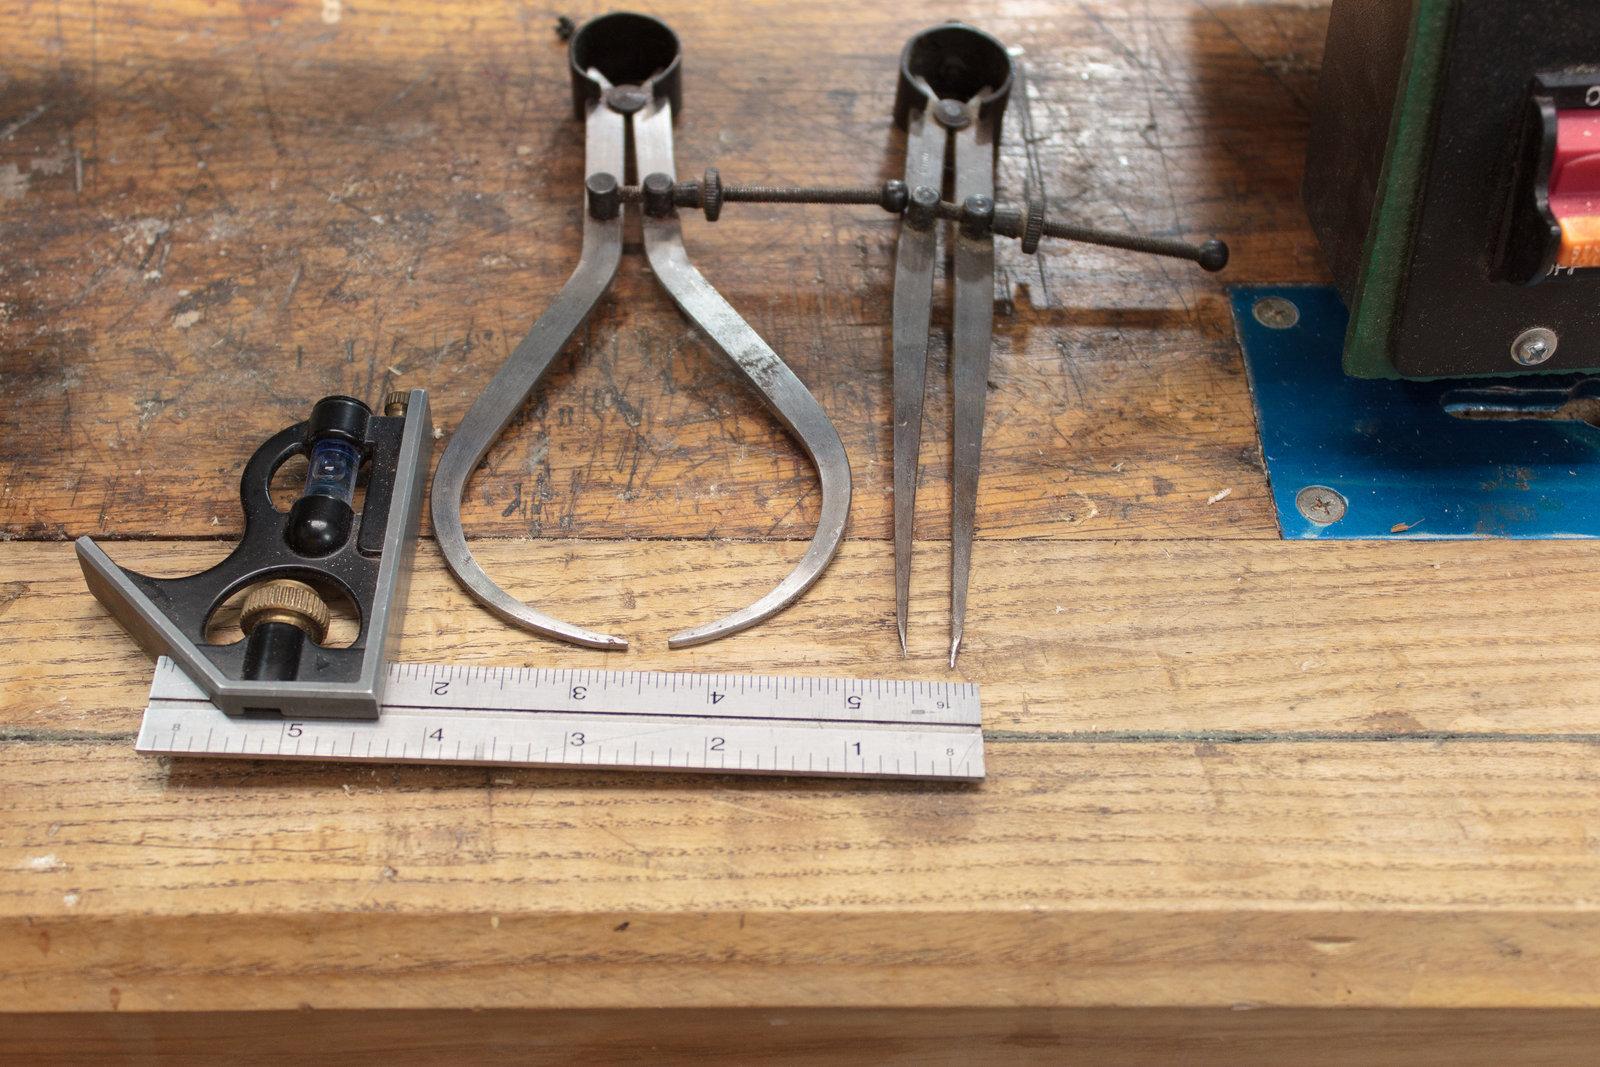
You will need at least 2 calipers to measure the depth of cut for the shoulder and the tip’s size. A way to measure and a way to mark will be useful too!
Obviously you need a lathe and some tooling, but that is up to you.
First steps making sticky-things.
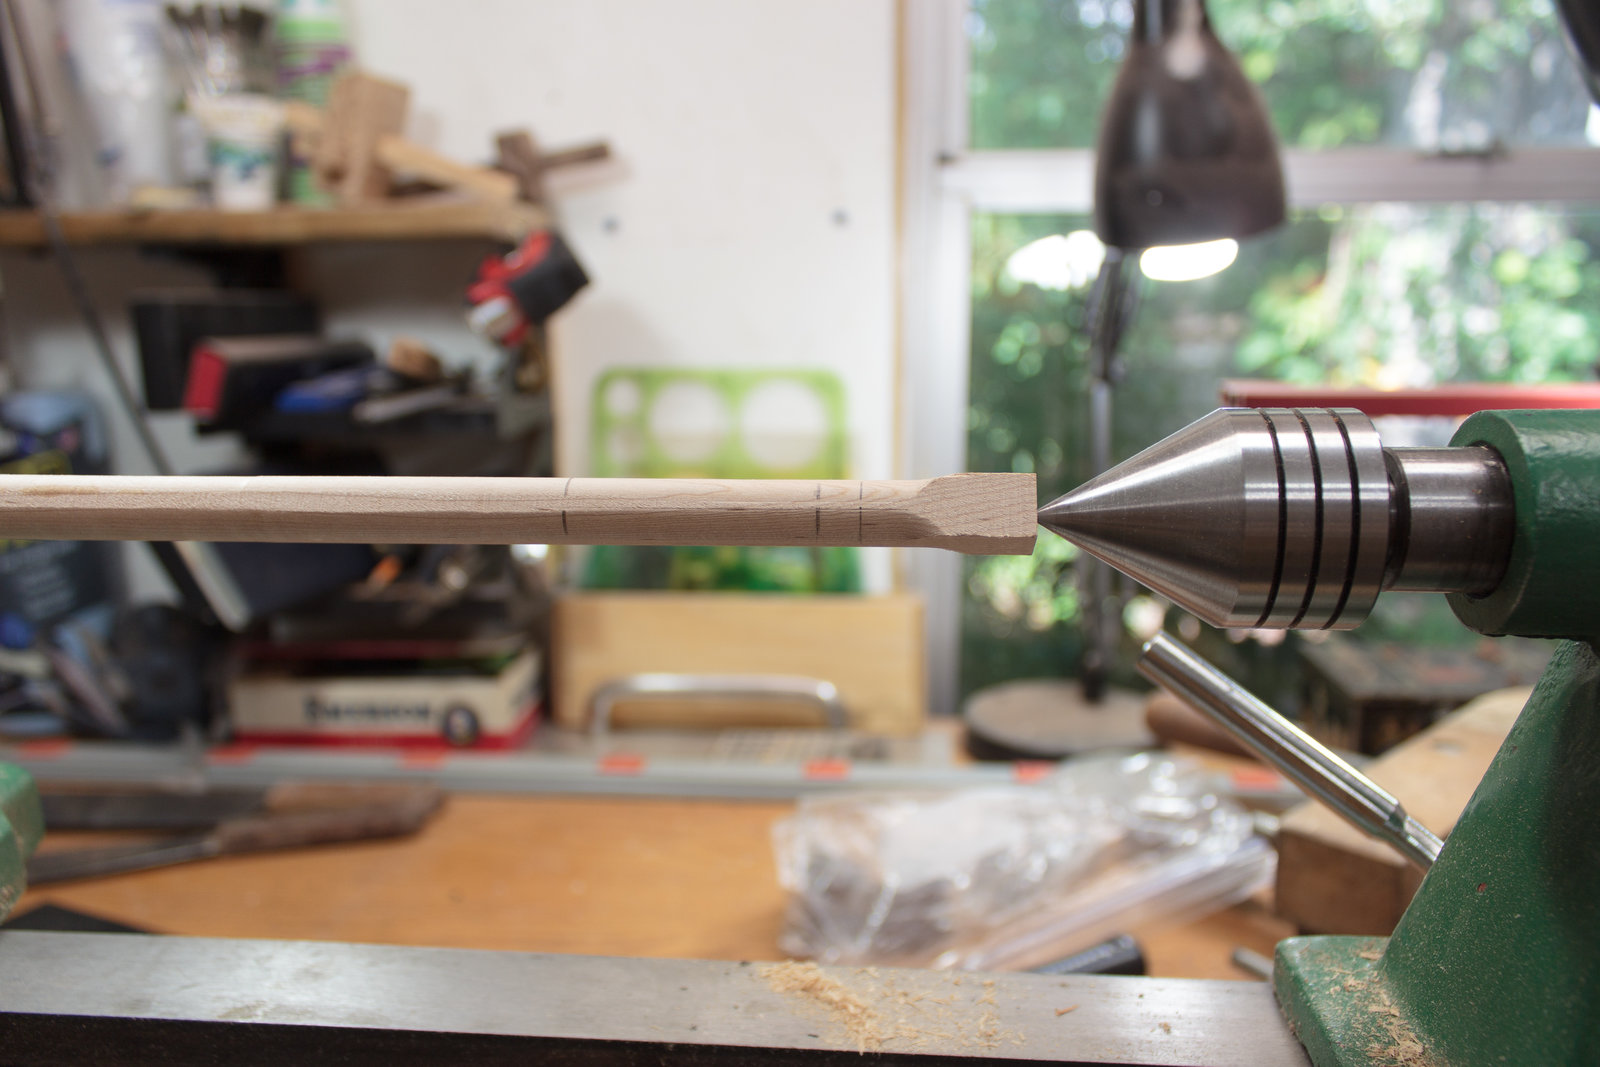
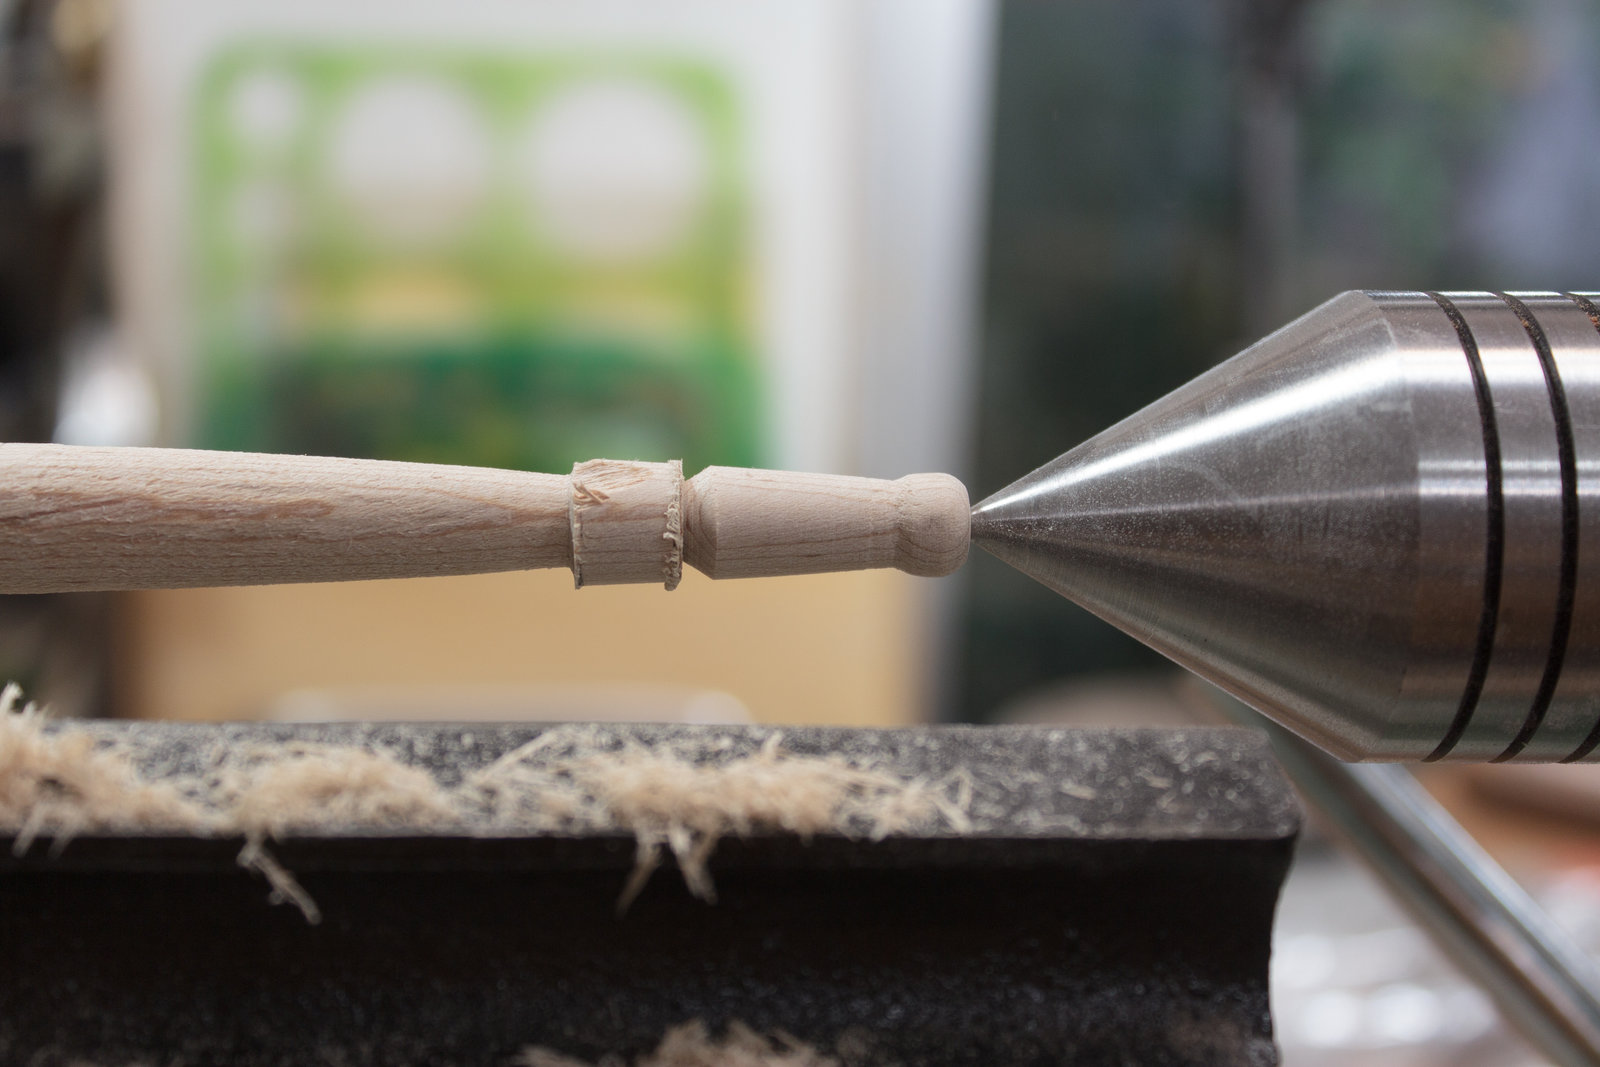
On my sticks I mark the end, 5/16” from the end for the tip and 2” from the tip for the shoulder. So it looks like this:
|————–|—2”—|5/16”|
The first thing I do is establish the minimum diameter of the shoulder before the tip. Then I establish the end. I use a carbide V-tool for this.
After this point, the rest is up to you! My tip is 3/16” diameter and the shoulder’s minimum diameter is 1/4”.
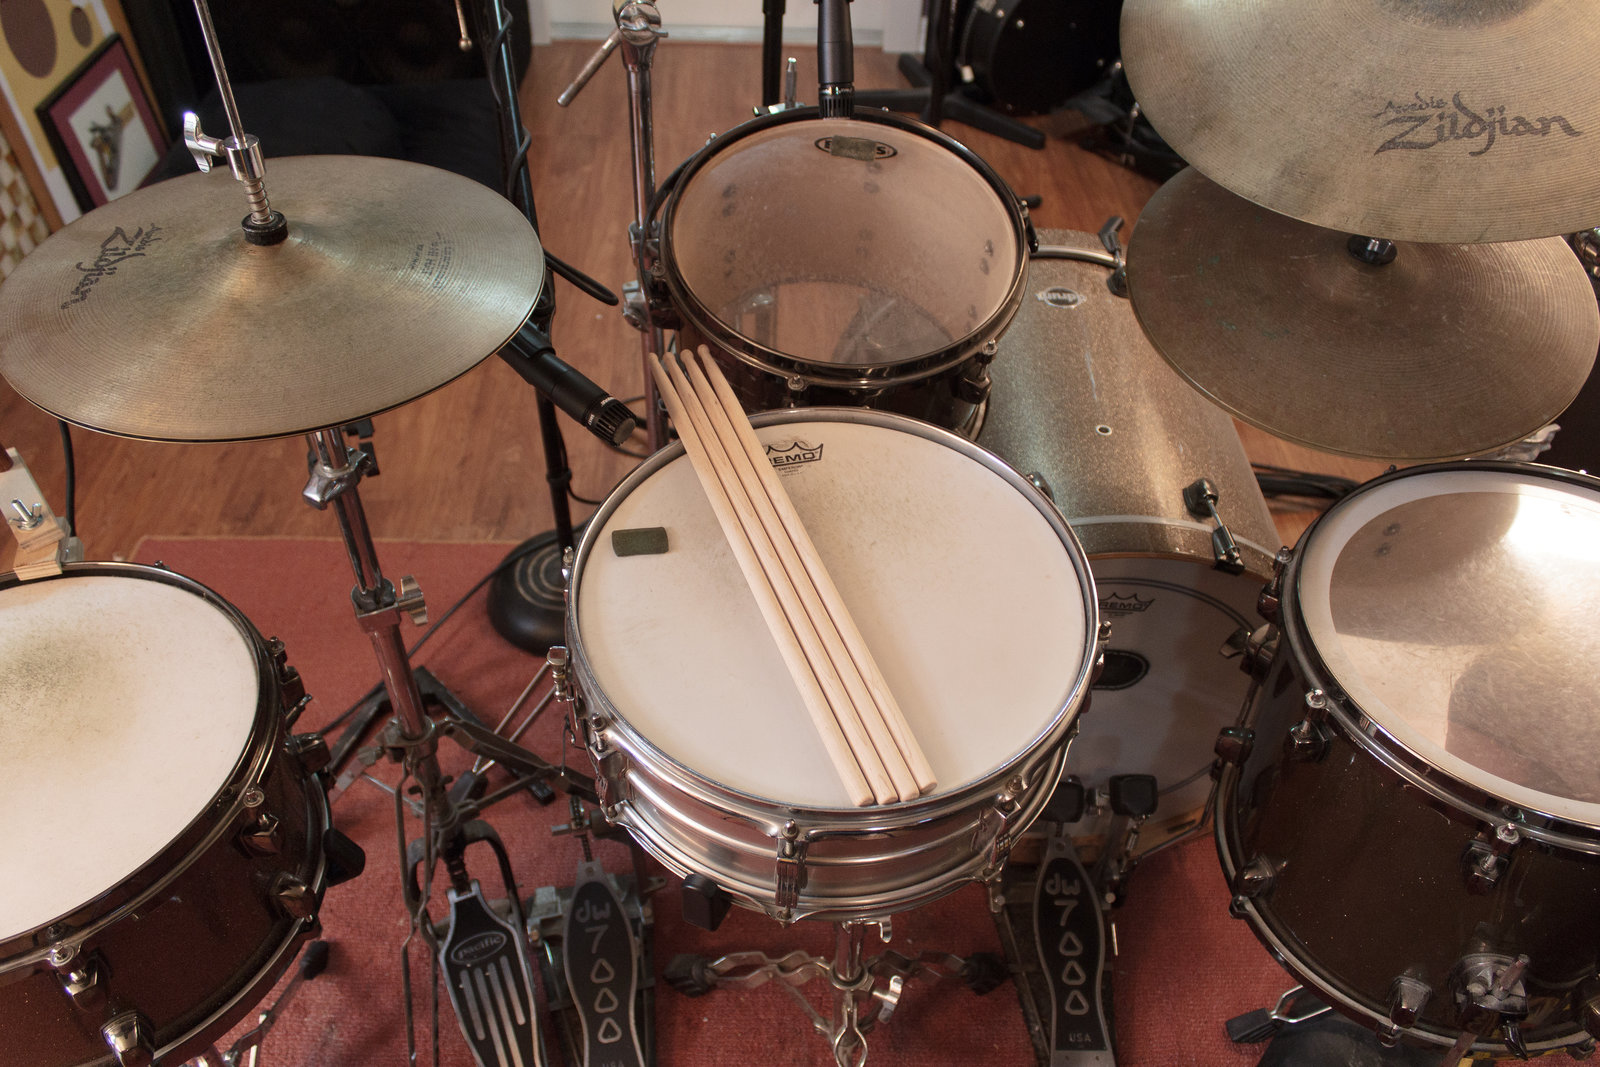
Measure your old sticks and see how they go.
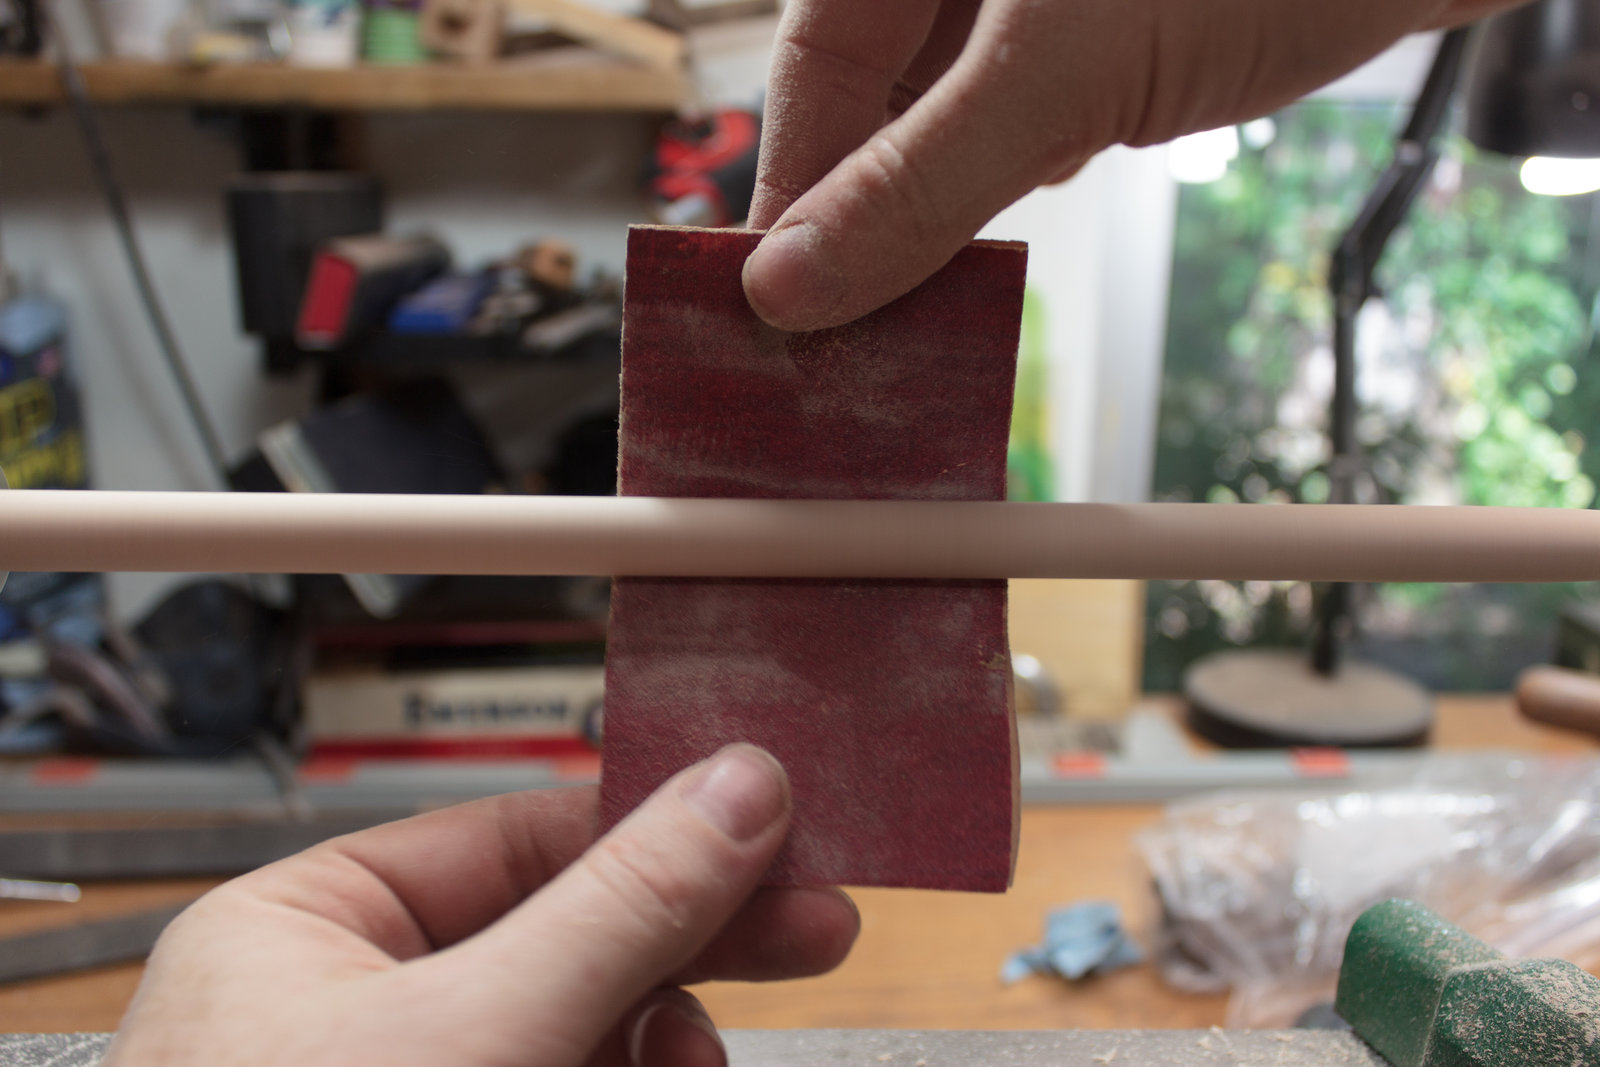
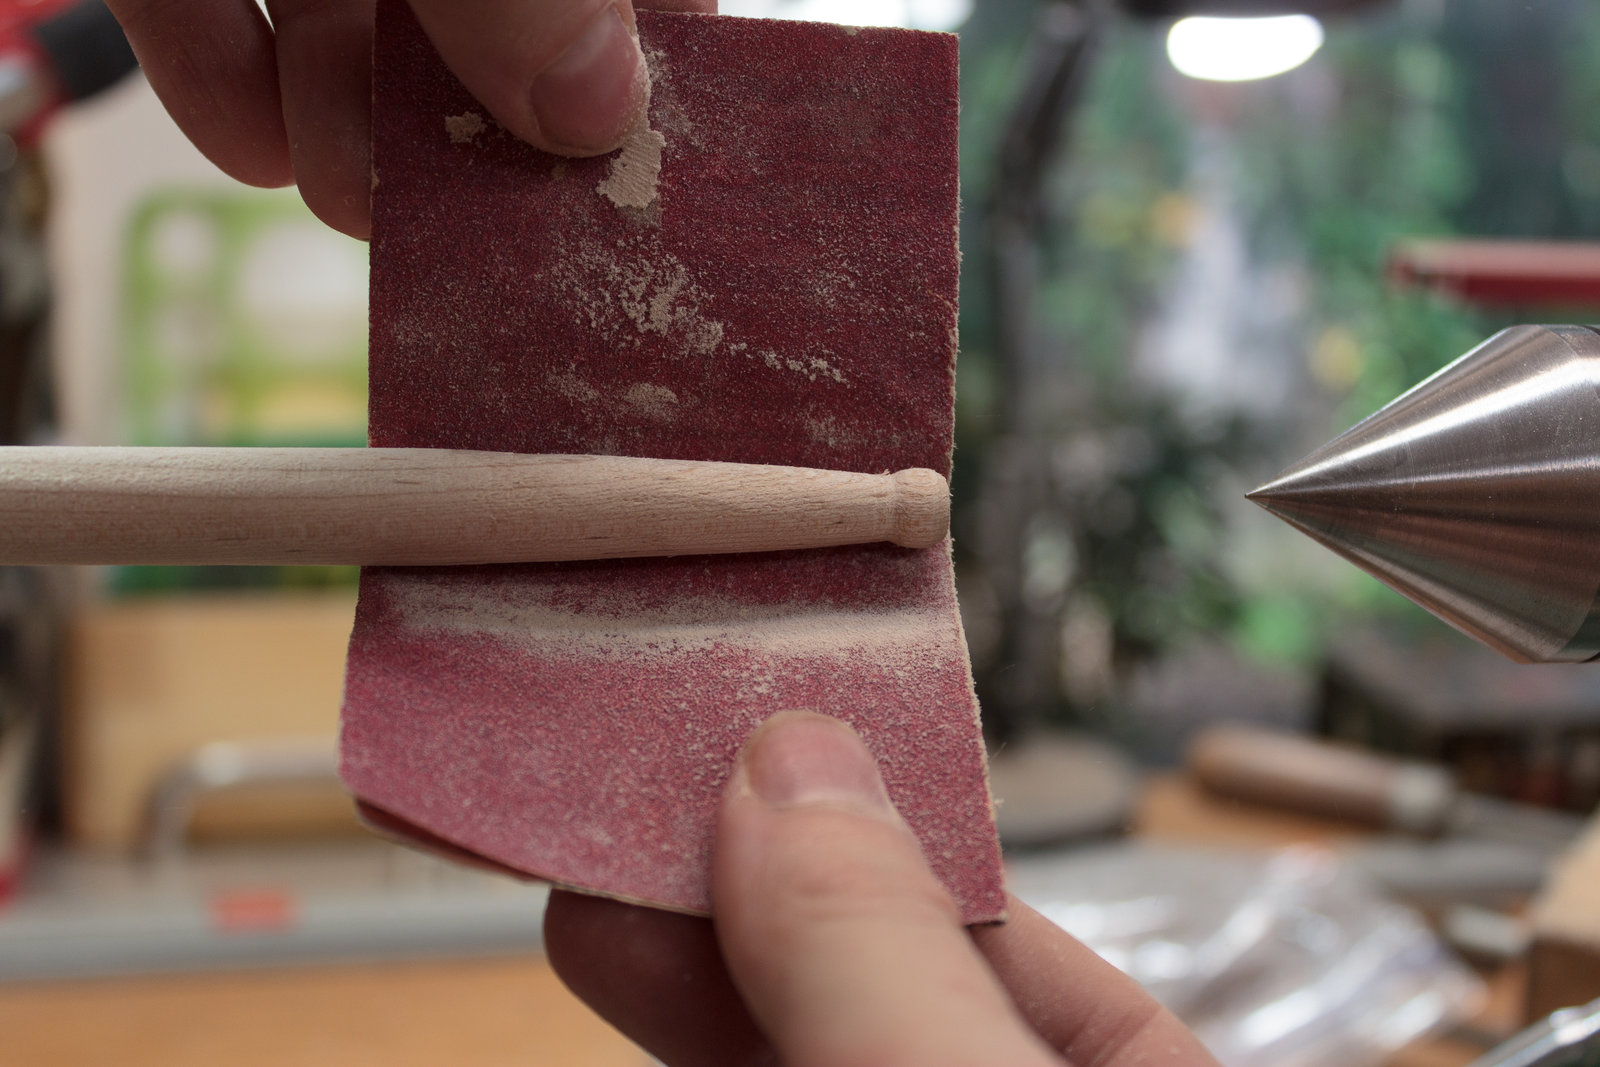
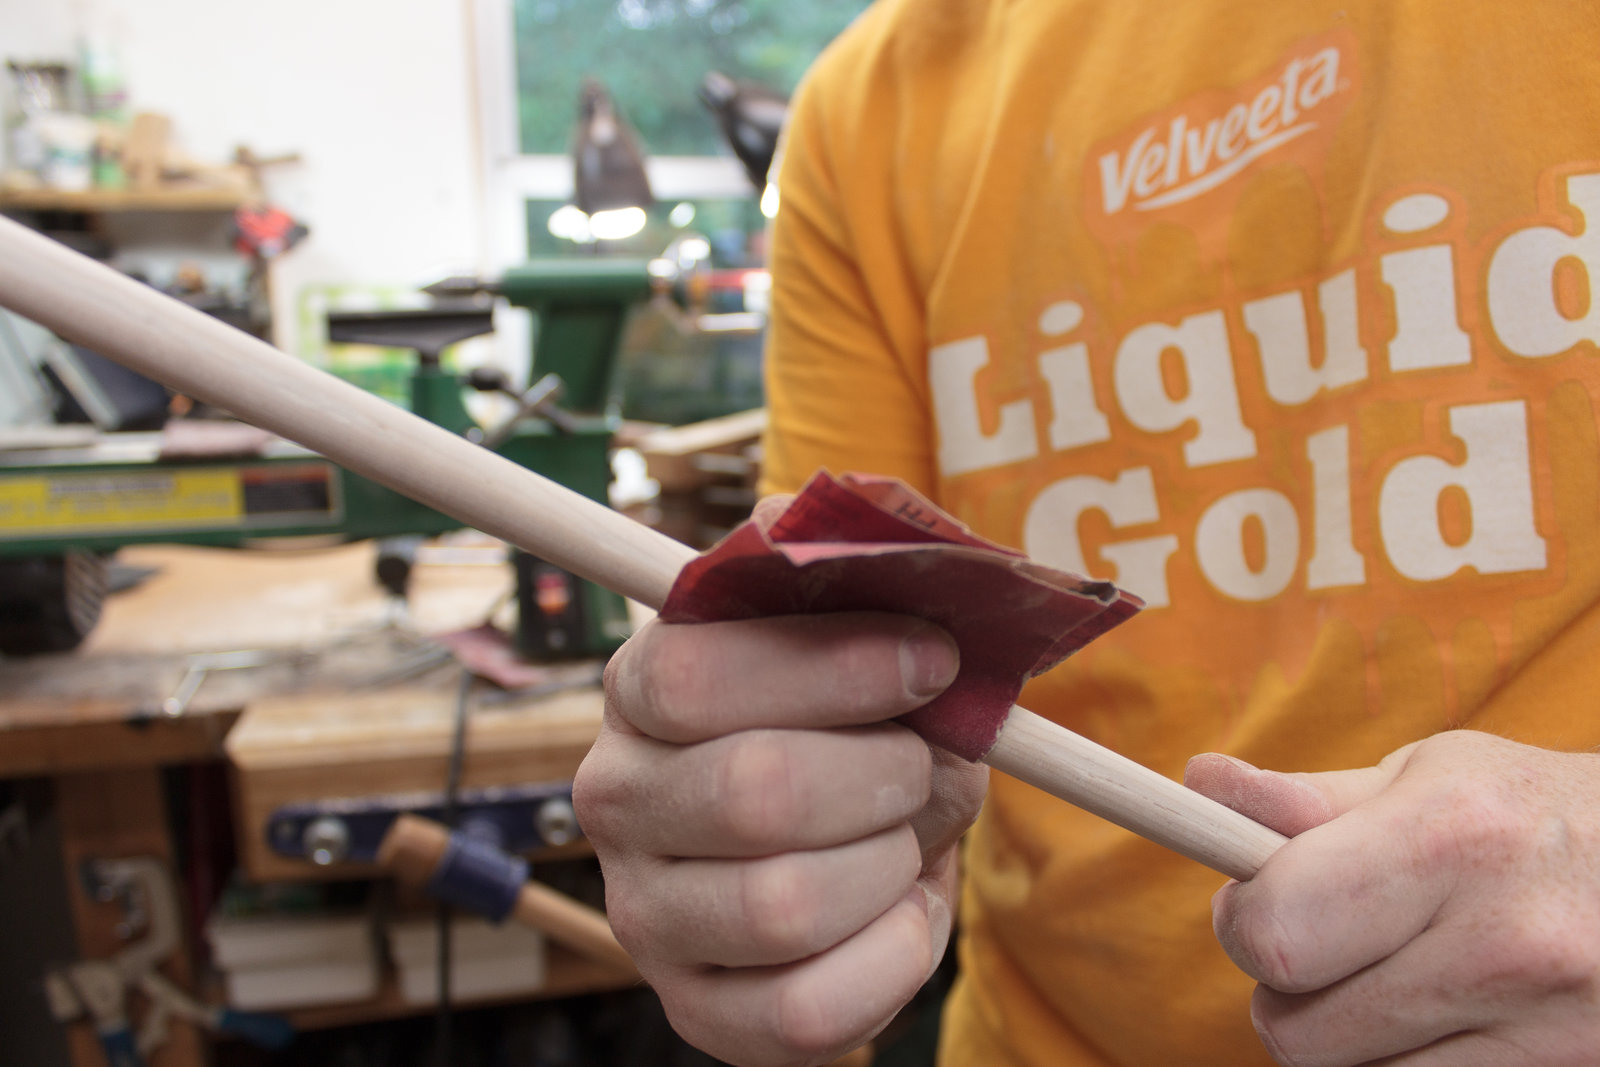
Make sure that after you profile your tip, that you sand very well. I use #120 here. You need to get all the rough edges and perhaps slightly square faces off. How much you need to sand depends on how well you did the routing stage, and the final diameter of the stick.
NOTE! I am holding the sandpaper lightly and it’s behind and under the stick. DO NOT grip the stick with the paper. Do not press from the top. Do not hold the sandpaper firmly.
Please listen. I’m saving you a lot of skin here. Trust me, I’ve done stupid stuff in this stage.
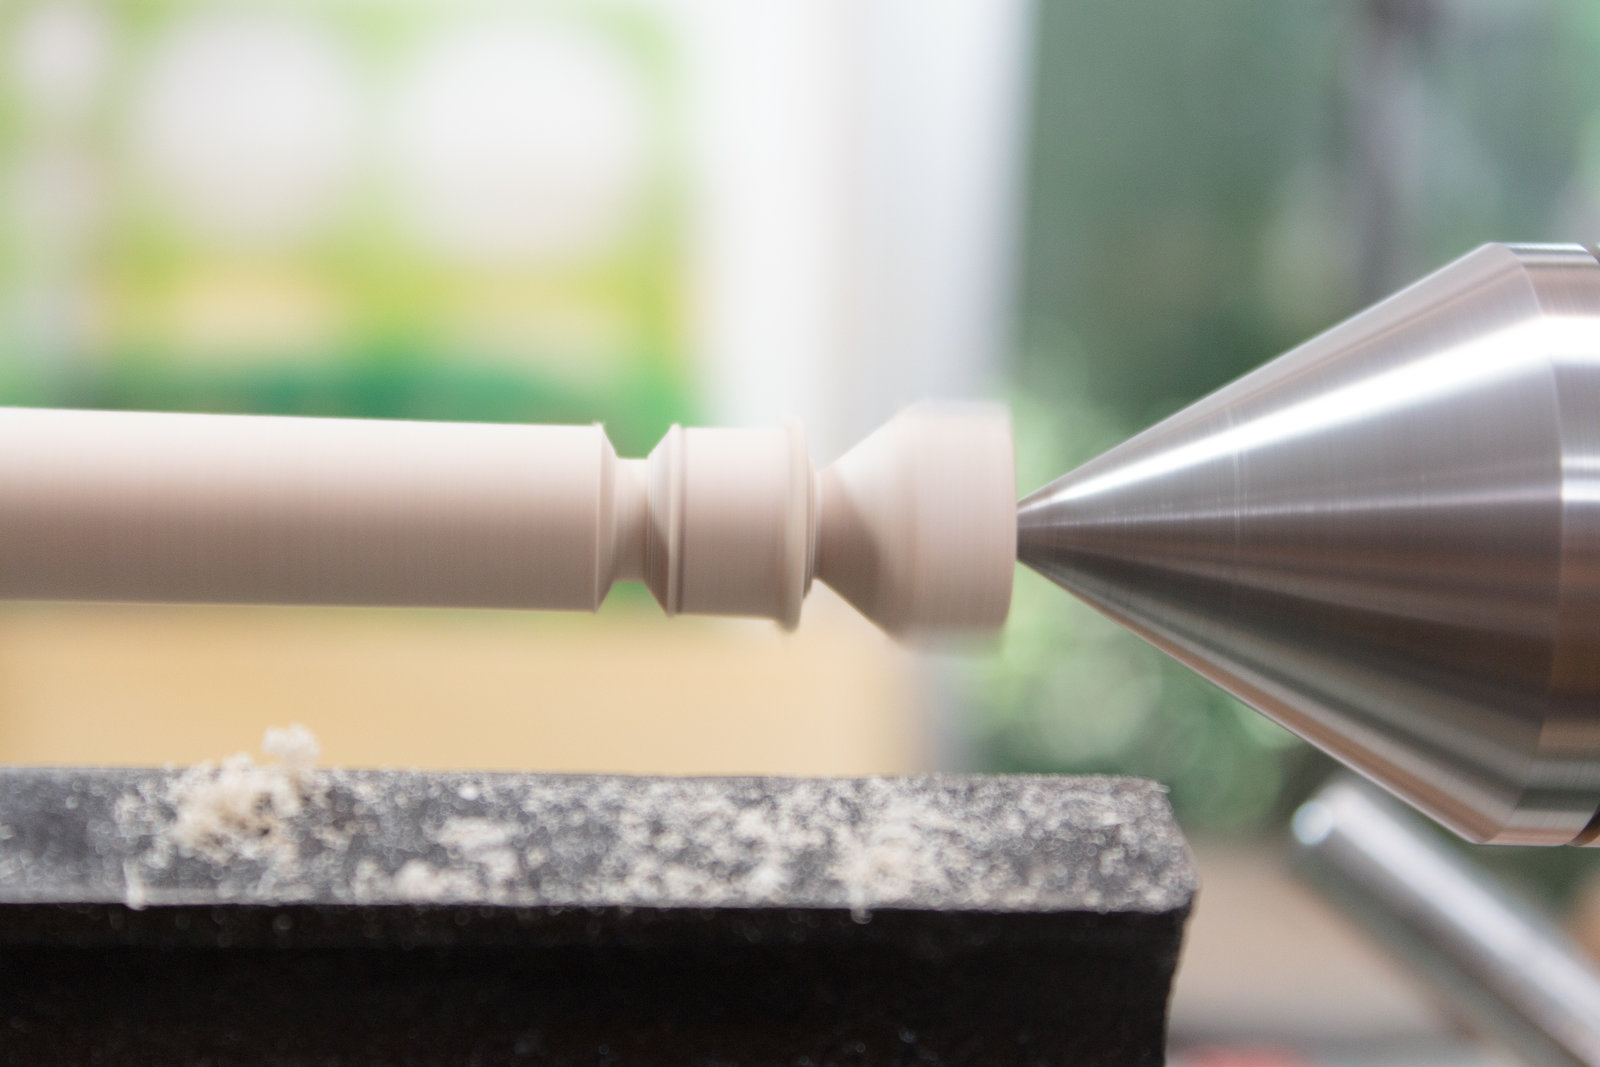
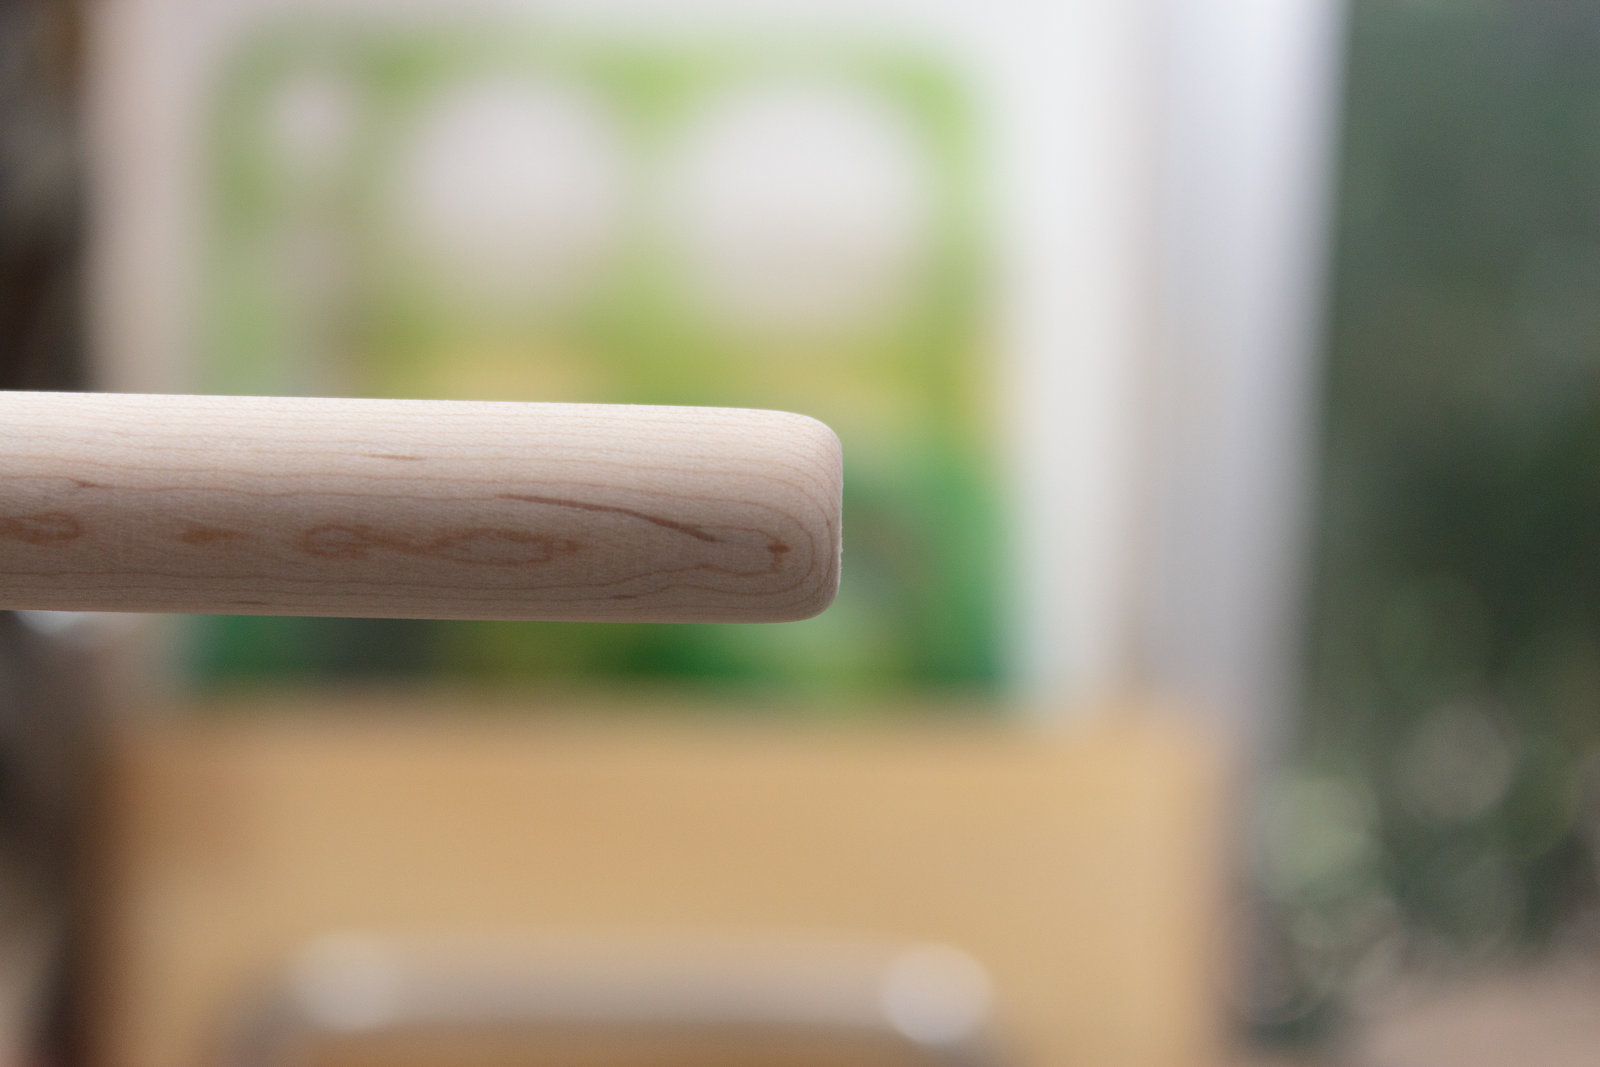
Starting to look like a stick!
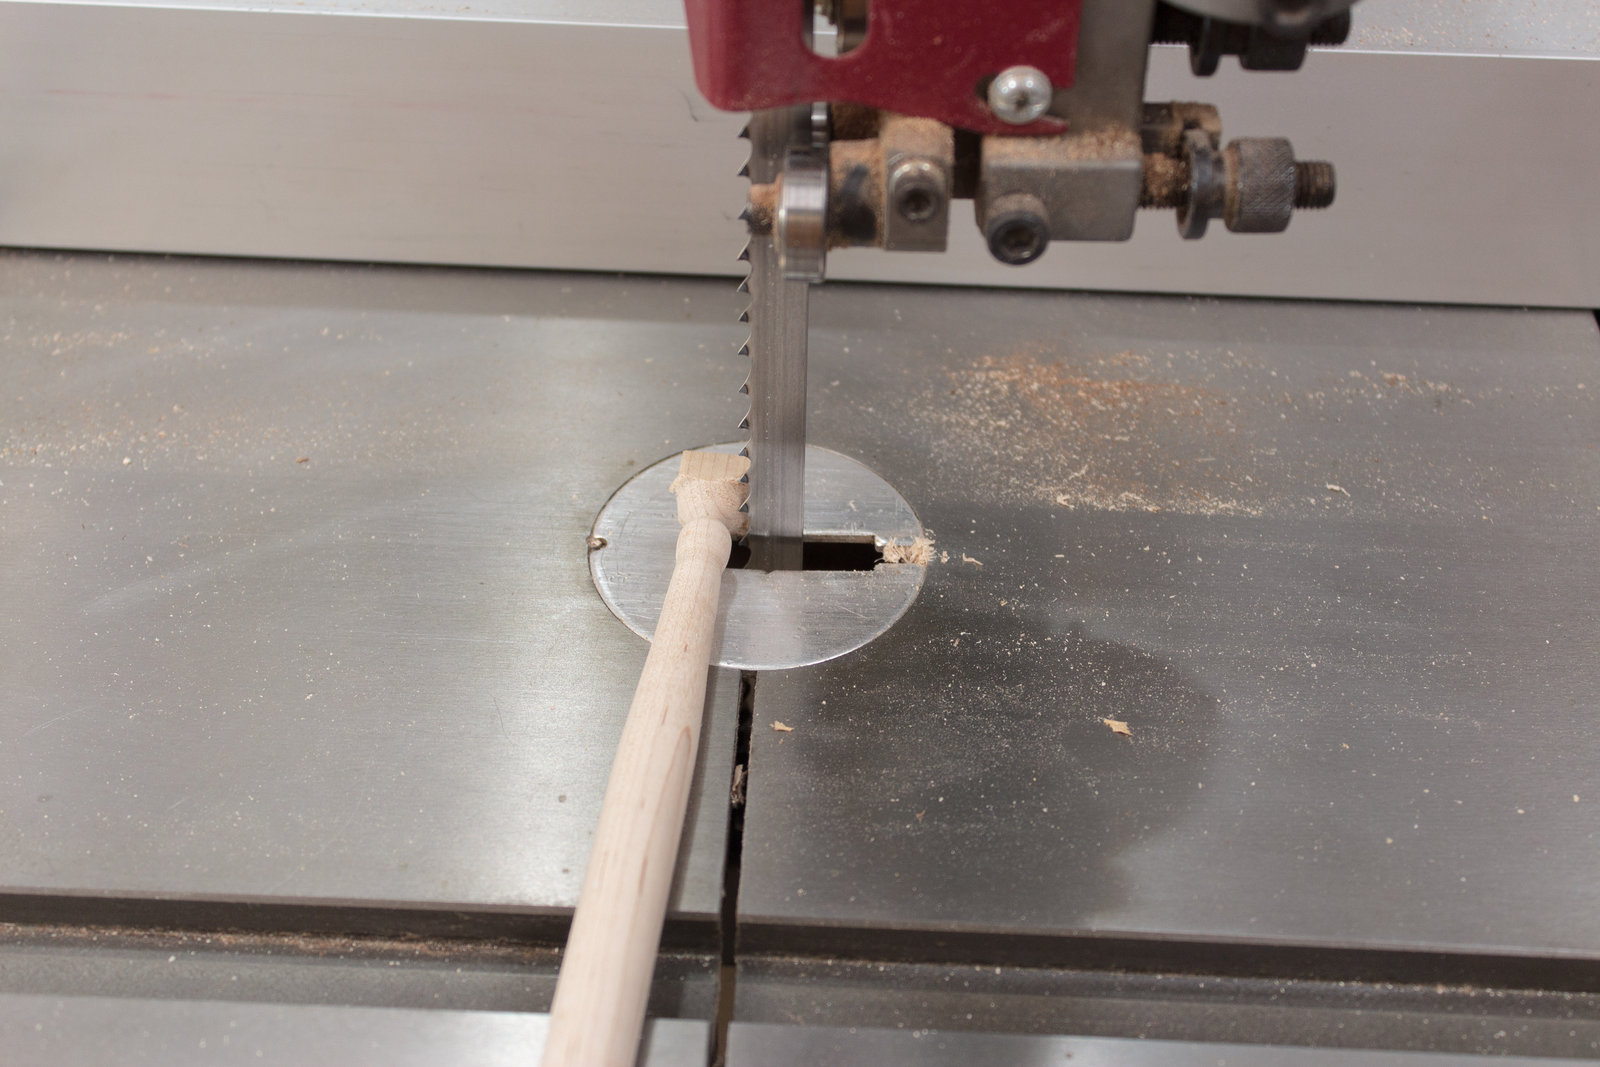
Cut the tip off however you want. Bandsaw, tablesaw crosscut sled, handsaw, parting tool on the lathe. You only need to be as precise as your tip requires.
Put the stick back on the lathe now and profile the cut edge.
You will need to be careful since the end will not be supported. Your stick may wobble or oscillate. DO NOT try to control it by gripping the stick with the sand paper or extra pressure. Lightly stabilize the stick in your left hand, yes grab it with your bare hand, and lightly sand with the sandpaper in your palm of the right hand.
NOTE! Please once again look at how I’m holding the sandpaper. Light grip, behind and under the stick. If you need to stabilize the stick, put the sandpaper lightly in your palm with the non-abrasive side touching your skin and press lightly under the stick. DO NOT GRIP THE STICK FULLY.
Fix mistakes
I measured the tip incorrectly on this stick. Easy to fix. You only have so much room to work with though! Make sure that you have enough stick left to meet your length requirements.
Cut to length
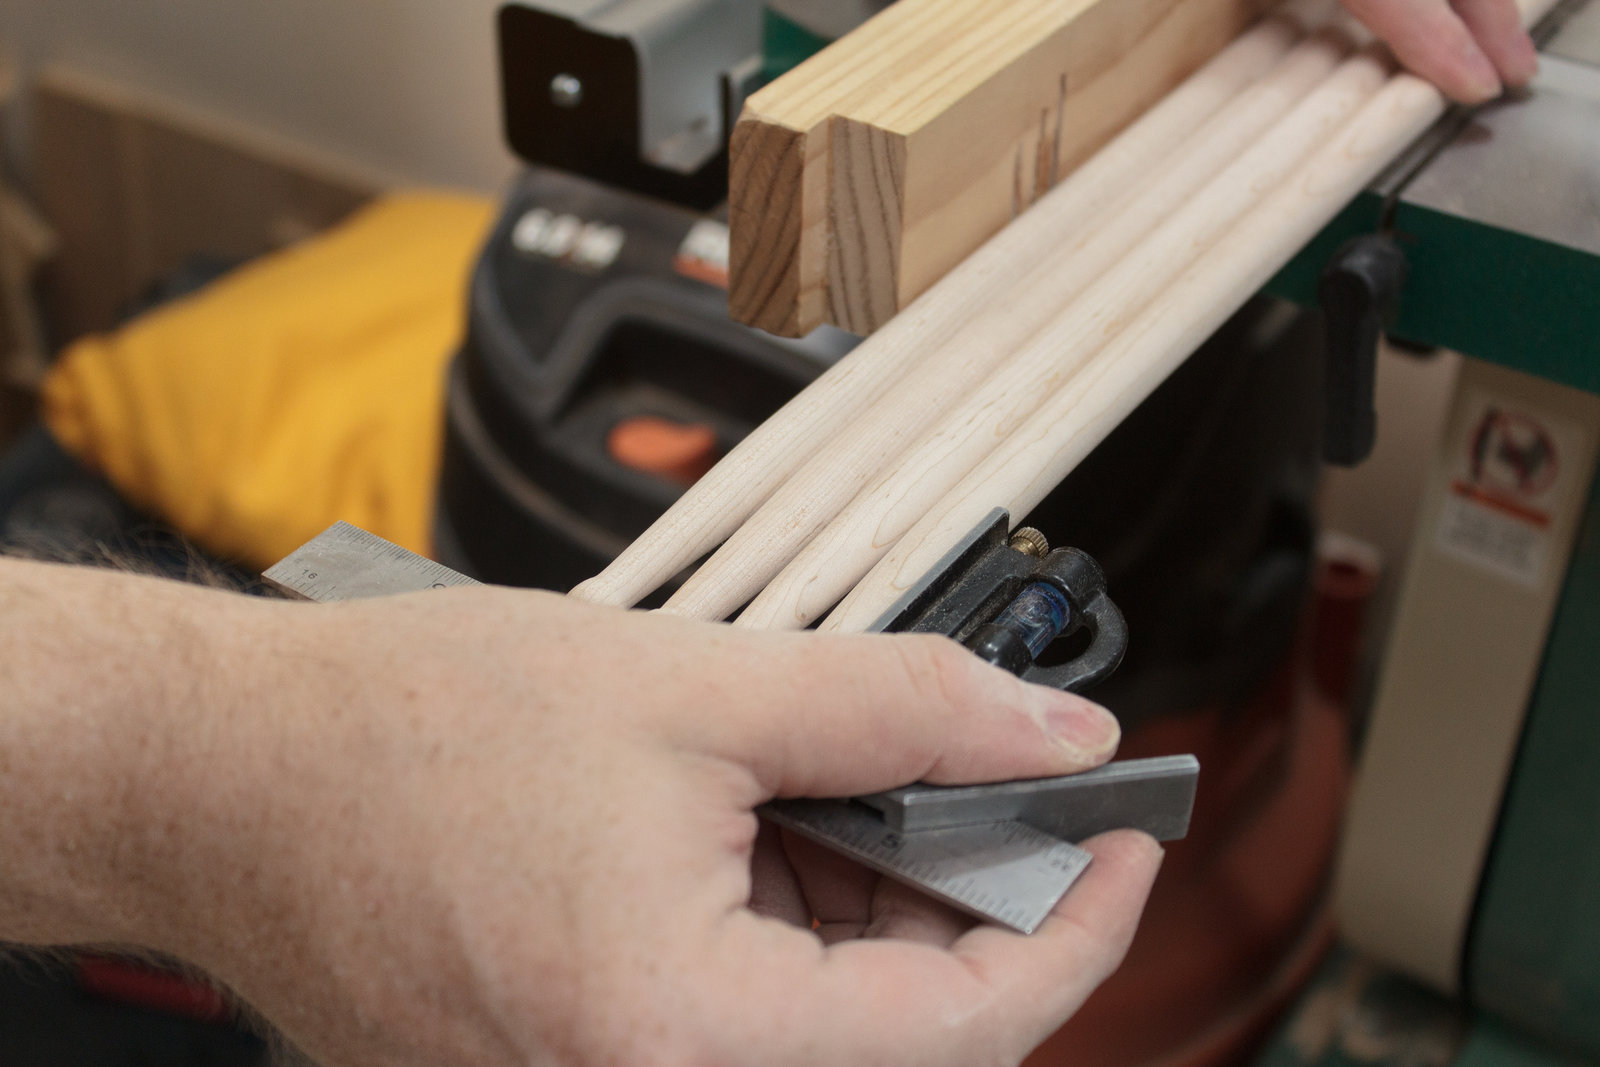
You can do this many ways, but I use a miter gauge on the bandsaw. I square up the sticks at the tip end and line up the butt end with a 17.5” mark.

Cut. Easy.
Finishing
Now you need to chuck the sticks up from both ends and sand, sand, sand. Watch your diameter though!
I just have a small clamp on my work bench and a shop-vac tied to it. It helps a lot.
I also use a 3m 7503 respirator with 2297 Filters. THIS IS IMPORTANT! Please wear a respirator.
After all the sanding on the lathe is done, you need to sand manually with the grain. I strongly suggest no higher than #220. I’m using #220 here.
It took me about 4 minutes per stick. That’s a lot of time to sand, so keep that in mind. This is important and greatly affects the feel of your sticks.
Pasteurized Processed Cheese Spread
Damn straight boys. Represent.
Done
That’s it. Took me on average about 15 minutes per stick. My final length is 17.5” and the diameter is .490”.
I’m a tall guy and this means my legs necessitate that I sit further from the drumset. Even though my arms are longer as well, I find that the extra 1.5” makes a huge difference in how comfortable I am at the kit.
If you have any questions please leave them in the comments below!
Support me!
If you appreciate the information presented then please consider joining patreon or donating!