Wood blocks are cool. There’s many ways to make them, and many types and shapes.
I’m going to go through two methods of making one appropriate for use with a drum set: minimal tools and ‘appropriate’ tools.
At minimum all you need is a block of wood, a drill and a chisel. You can even substitute a screwdriver and file for the chisel. Anyone can do this!
The design I’m using was created through testing various shapes/styles of wood blocks until I found something that I felt was at home on a full sized drum kit.
So let’s get to it!
Contents
- Minimal tools
- No tool limit
- Maple Board
- Mark Maple
- Maple Cut
- Mark Center
- Rip Saw
- Sawn
- Prep Router
- Routed
- Route Groove
- Cut Sides
- Sides Cut
- Test Fit
- Mark Side Cut
- Pre-glue Test Fit
- Glue
- Clamp
- Glued
- Trim
- Plane Face
- Plane Back
- Trim Sides
- Drill Center
- Test Holder Setup
- Drill Holder Center
- Tap Holder Center
- Mark Center Mortise
- Chisel Mortise
- Glue Mortise
- Drill Holder Hole
- Shape Holder Hole
- Maple Finished
- Finished
- Sounds
- Conclusion
- Support Me!
Minimal tools
Wood
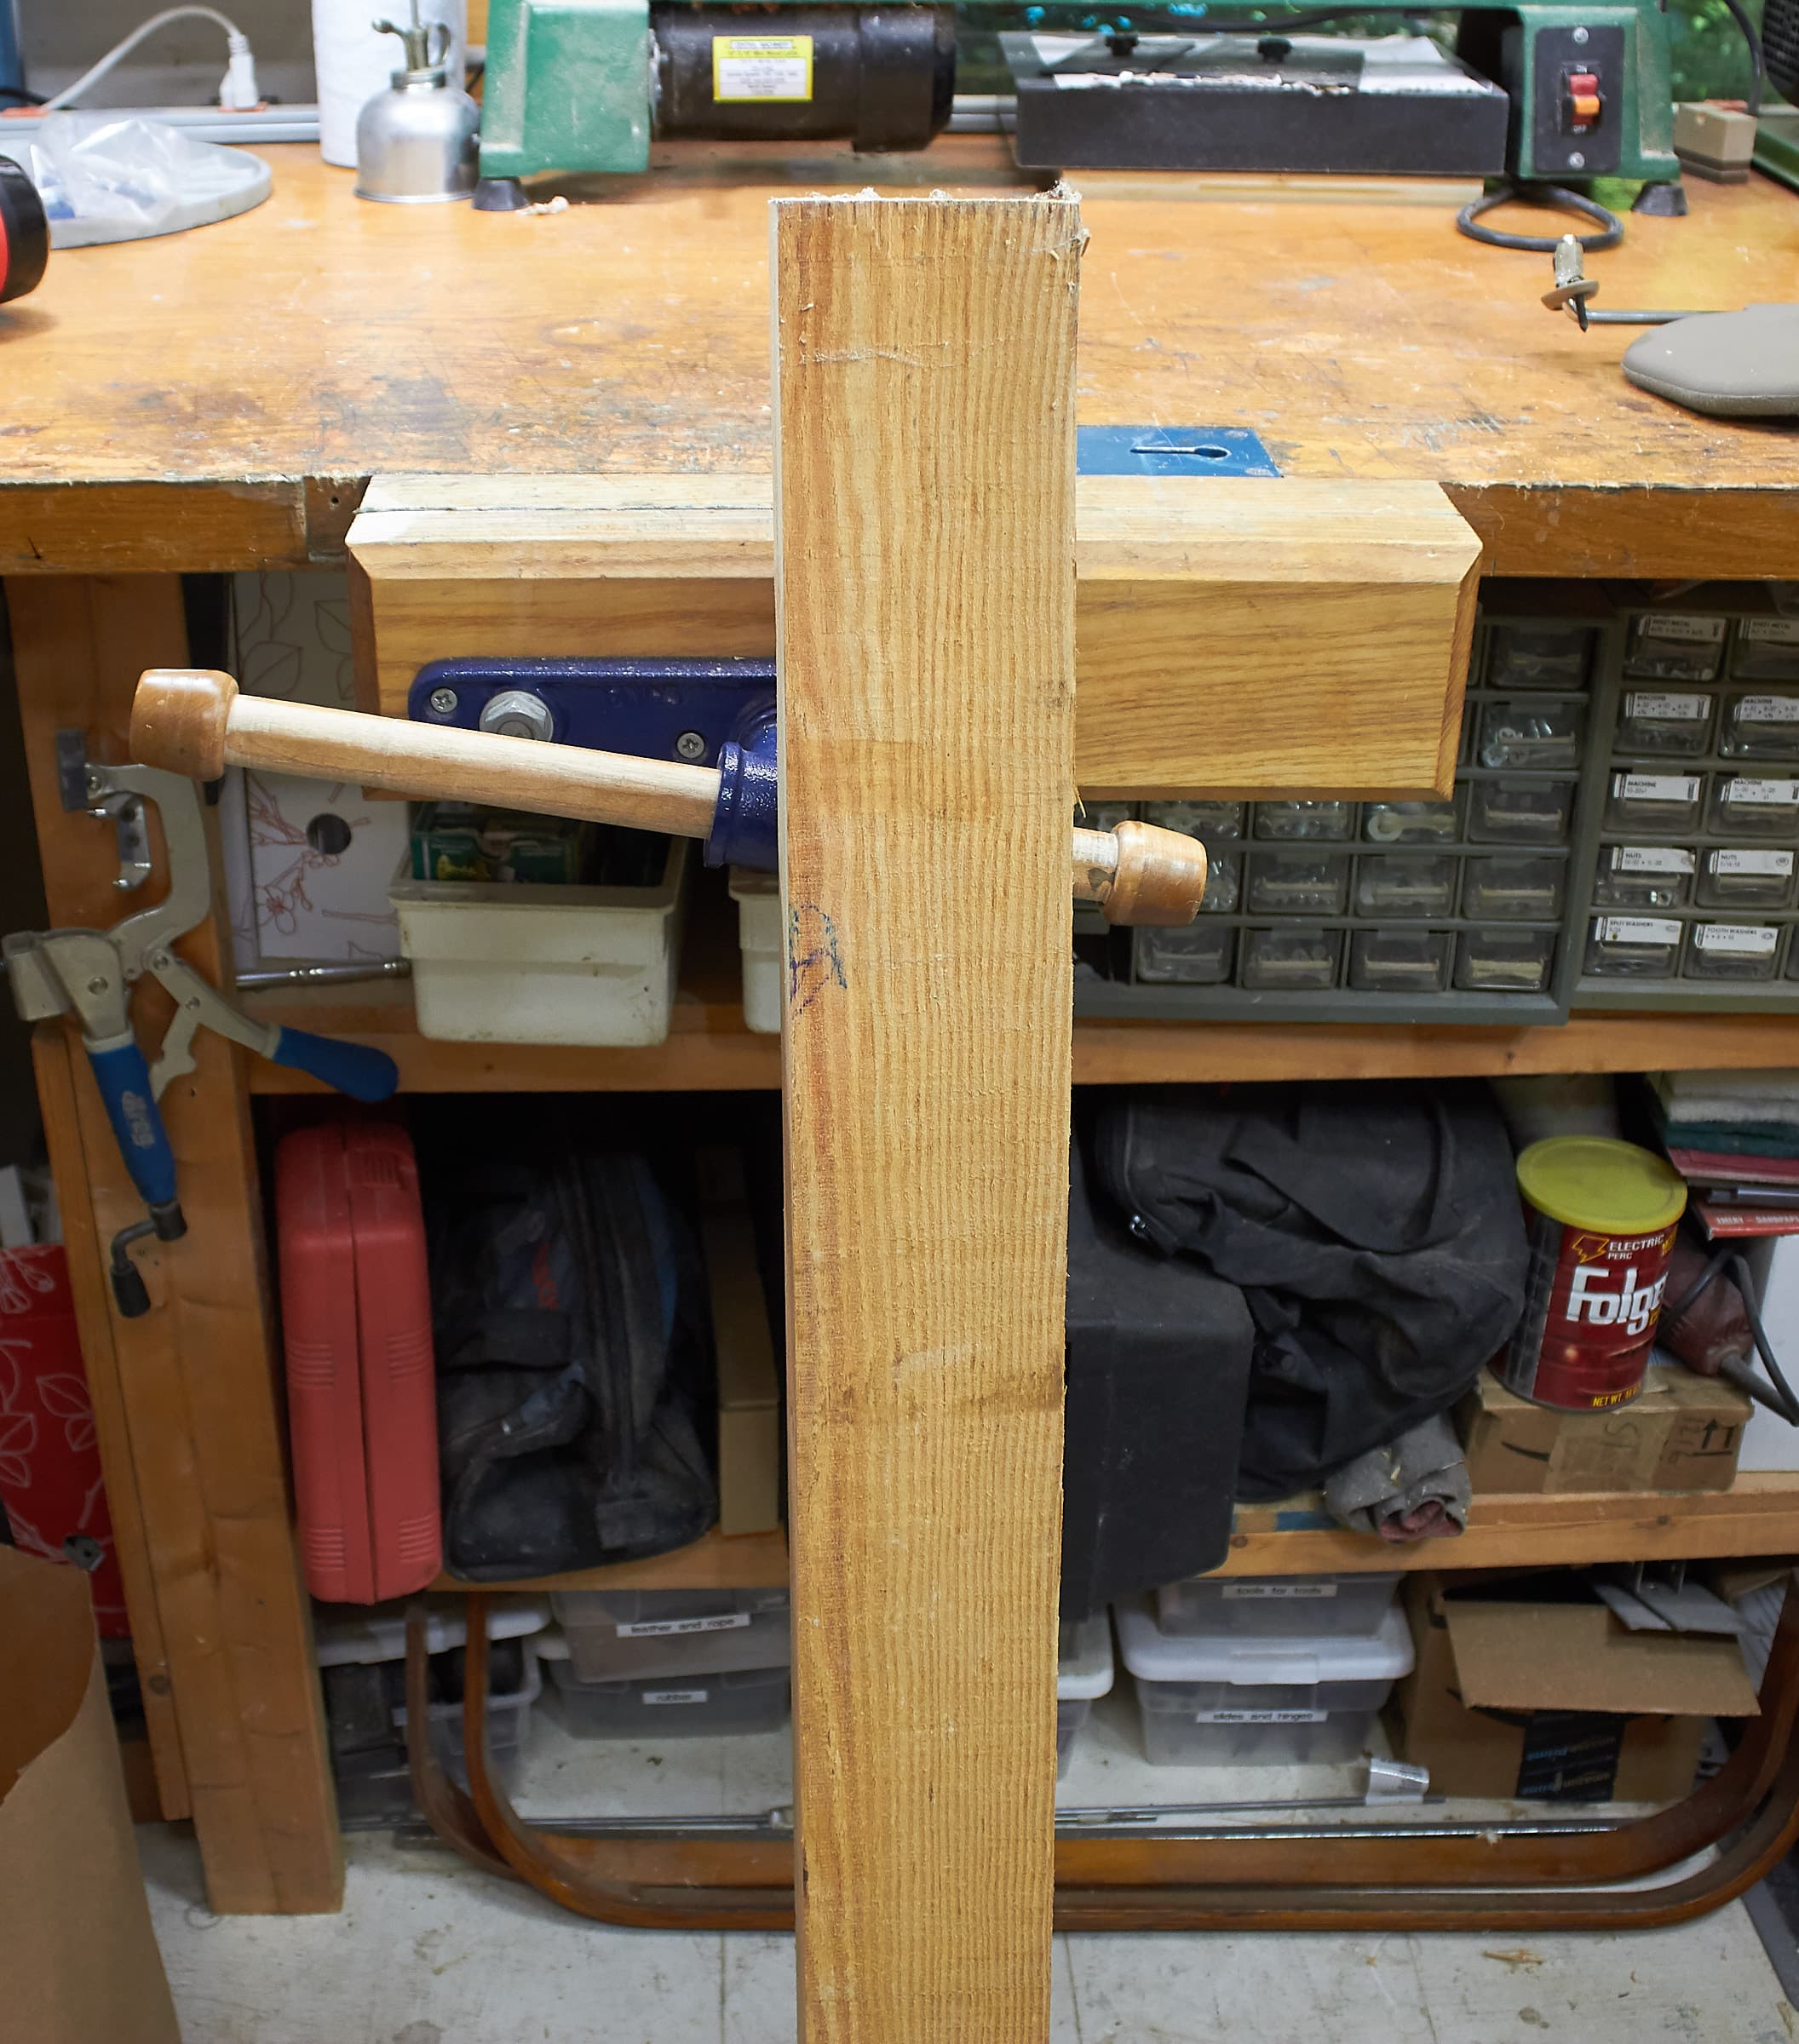
First we start with a piece of Pine. I pulled this off the side of the road as it was being thrown away. Totally free.
Mark the cut
Mark your cut. This is the width of the final wood block. Mine is 6”(15cm) wide, 2”(5cm) tall and 4”(10cm) deep.
You need to make sure that the grain is running side to side along your workpiece!
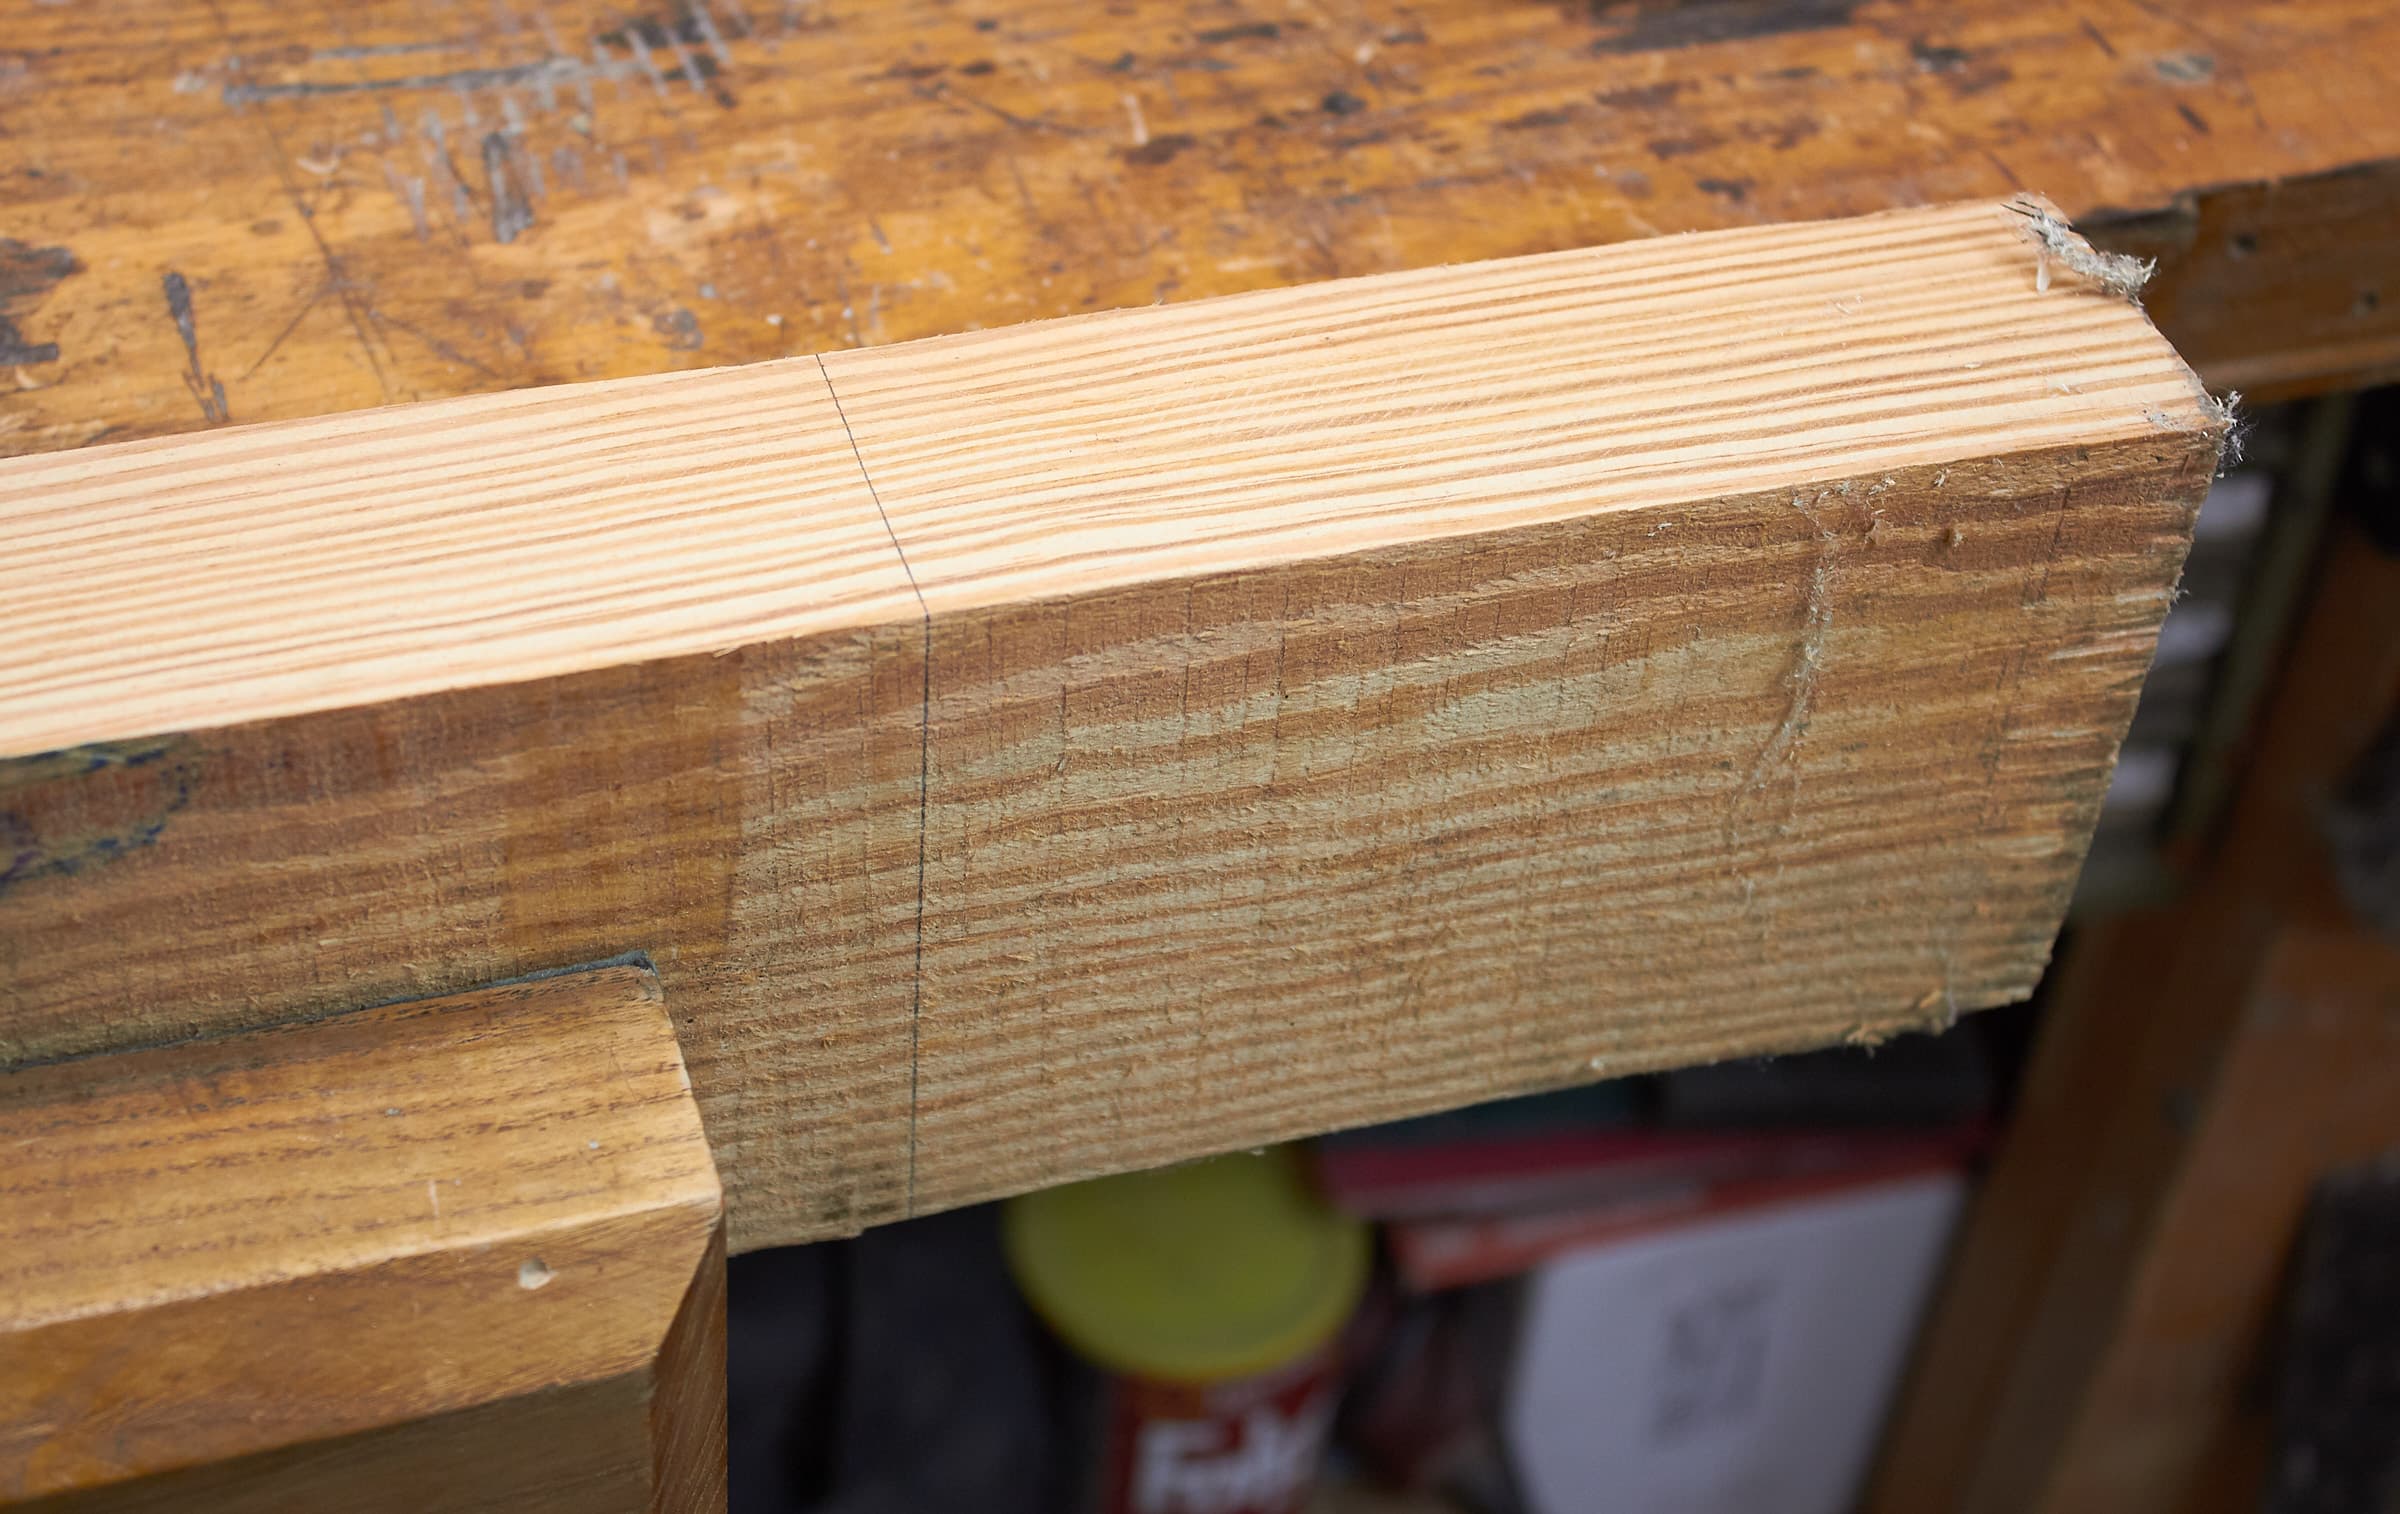
Workpiece Ready

Here’s our workpiece!
Mortise Marked
What we’re going to do is create what’s called a Mortise. So mark a square inside your block, with the grain oriented as shown.
My inner box is about 1/2”(1.25cm) from the edges. The thinner the faces, the deeper the sound of the wood block.
Drill Depth
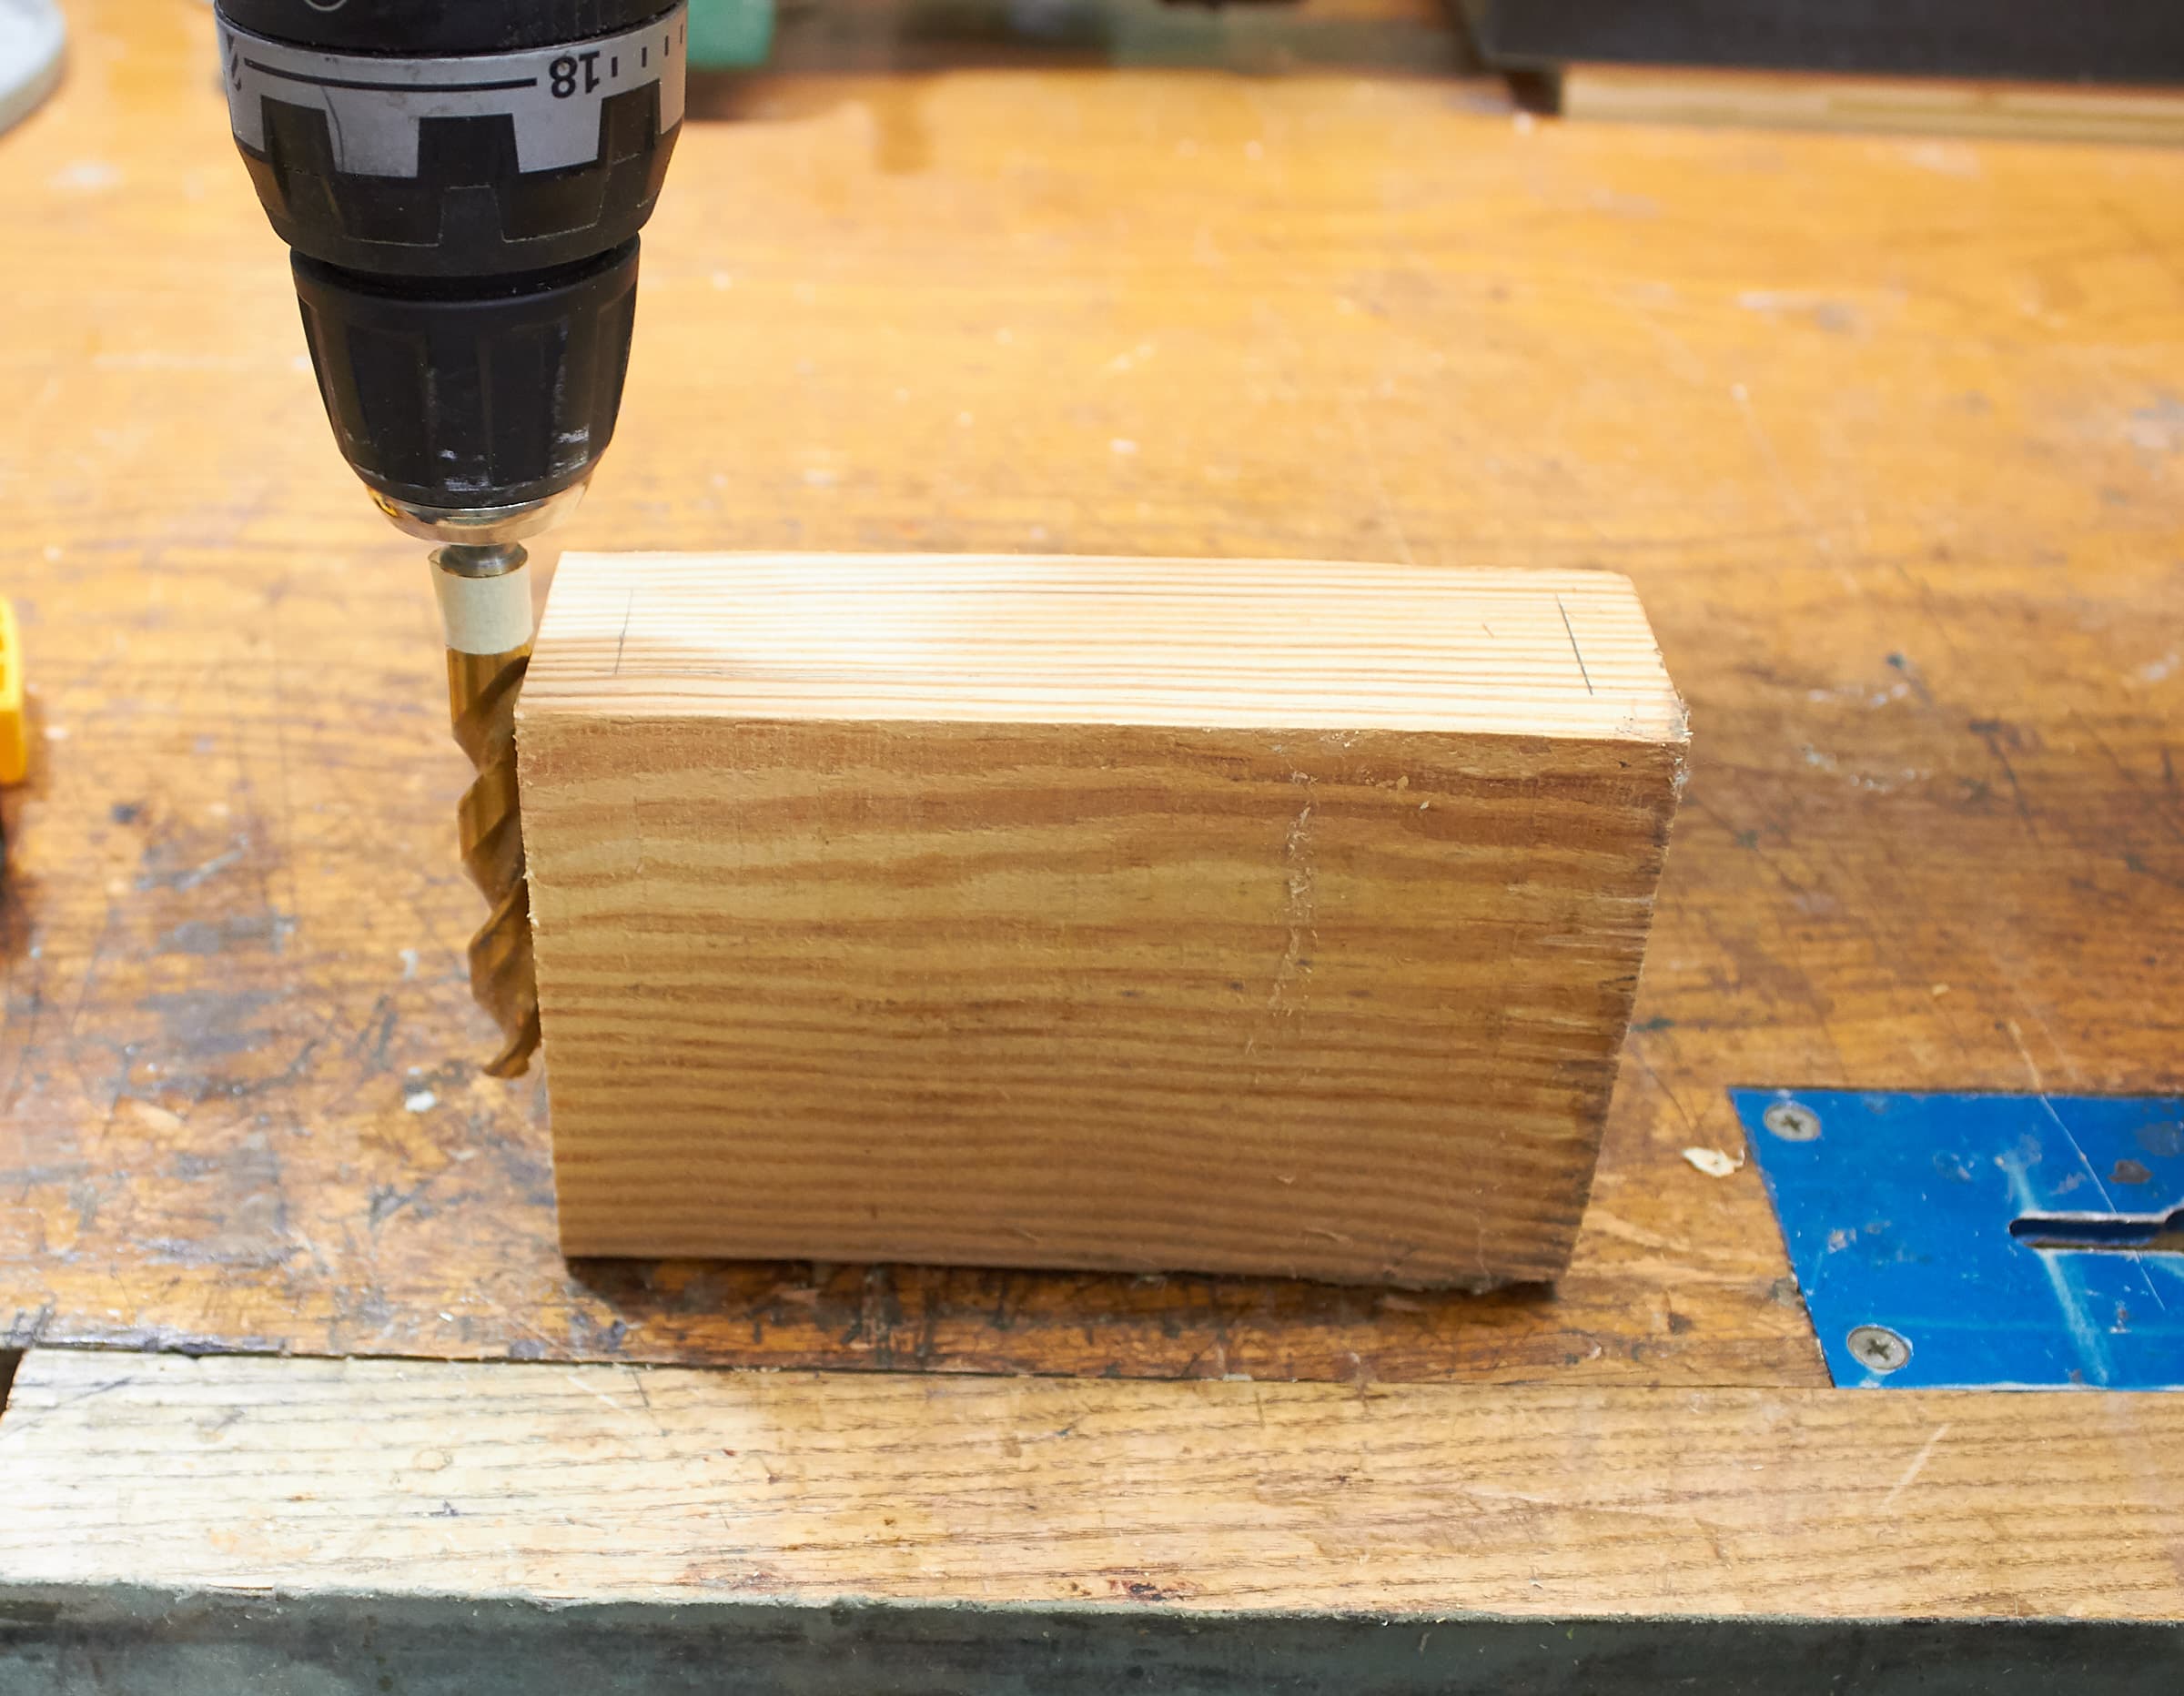
To remove most of the waste in the mortise, we’re going to drill it out. You don’t want to drill all the way through the back, so put a piece of tape on your drill bit to indicate the depth.
I leave about 1”(2.5cm) in the back.
Drill Holes
Drill the holes! Lots of them. Stay inside the lines and drill as much of the waste away as you can. Use whatever size drill bits you need to get the job done, but don’t go over your lines.
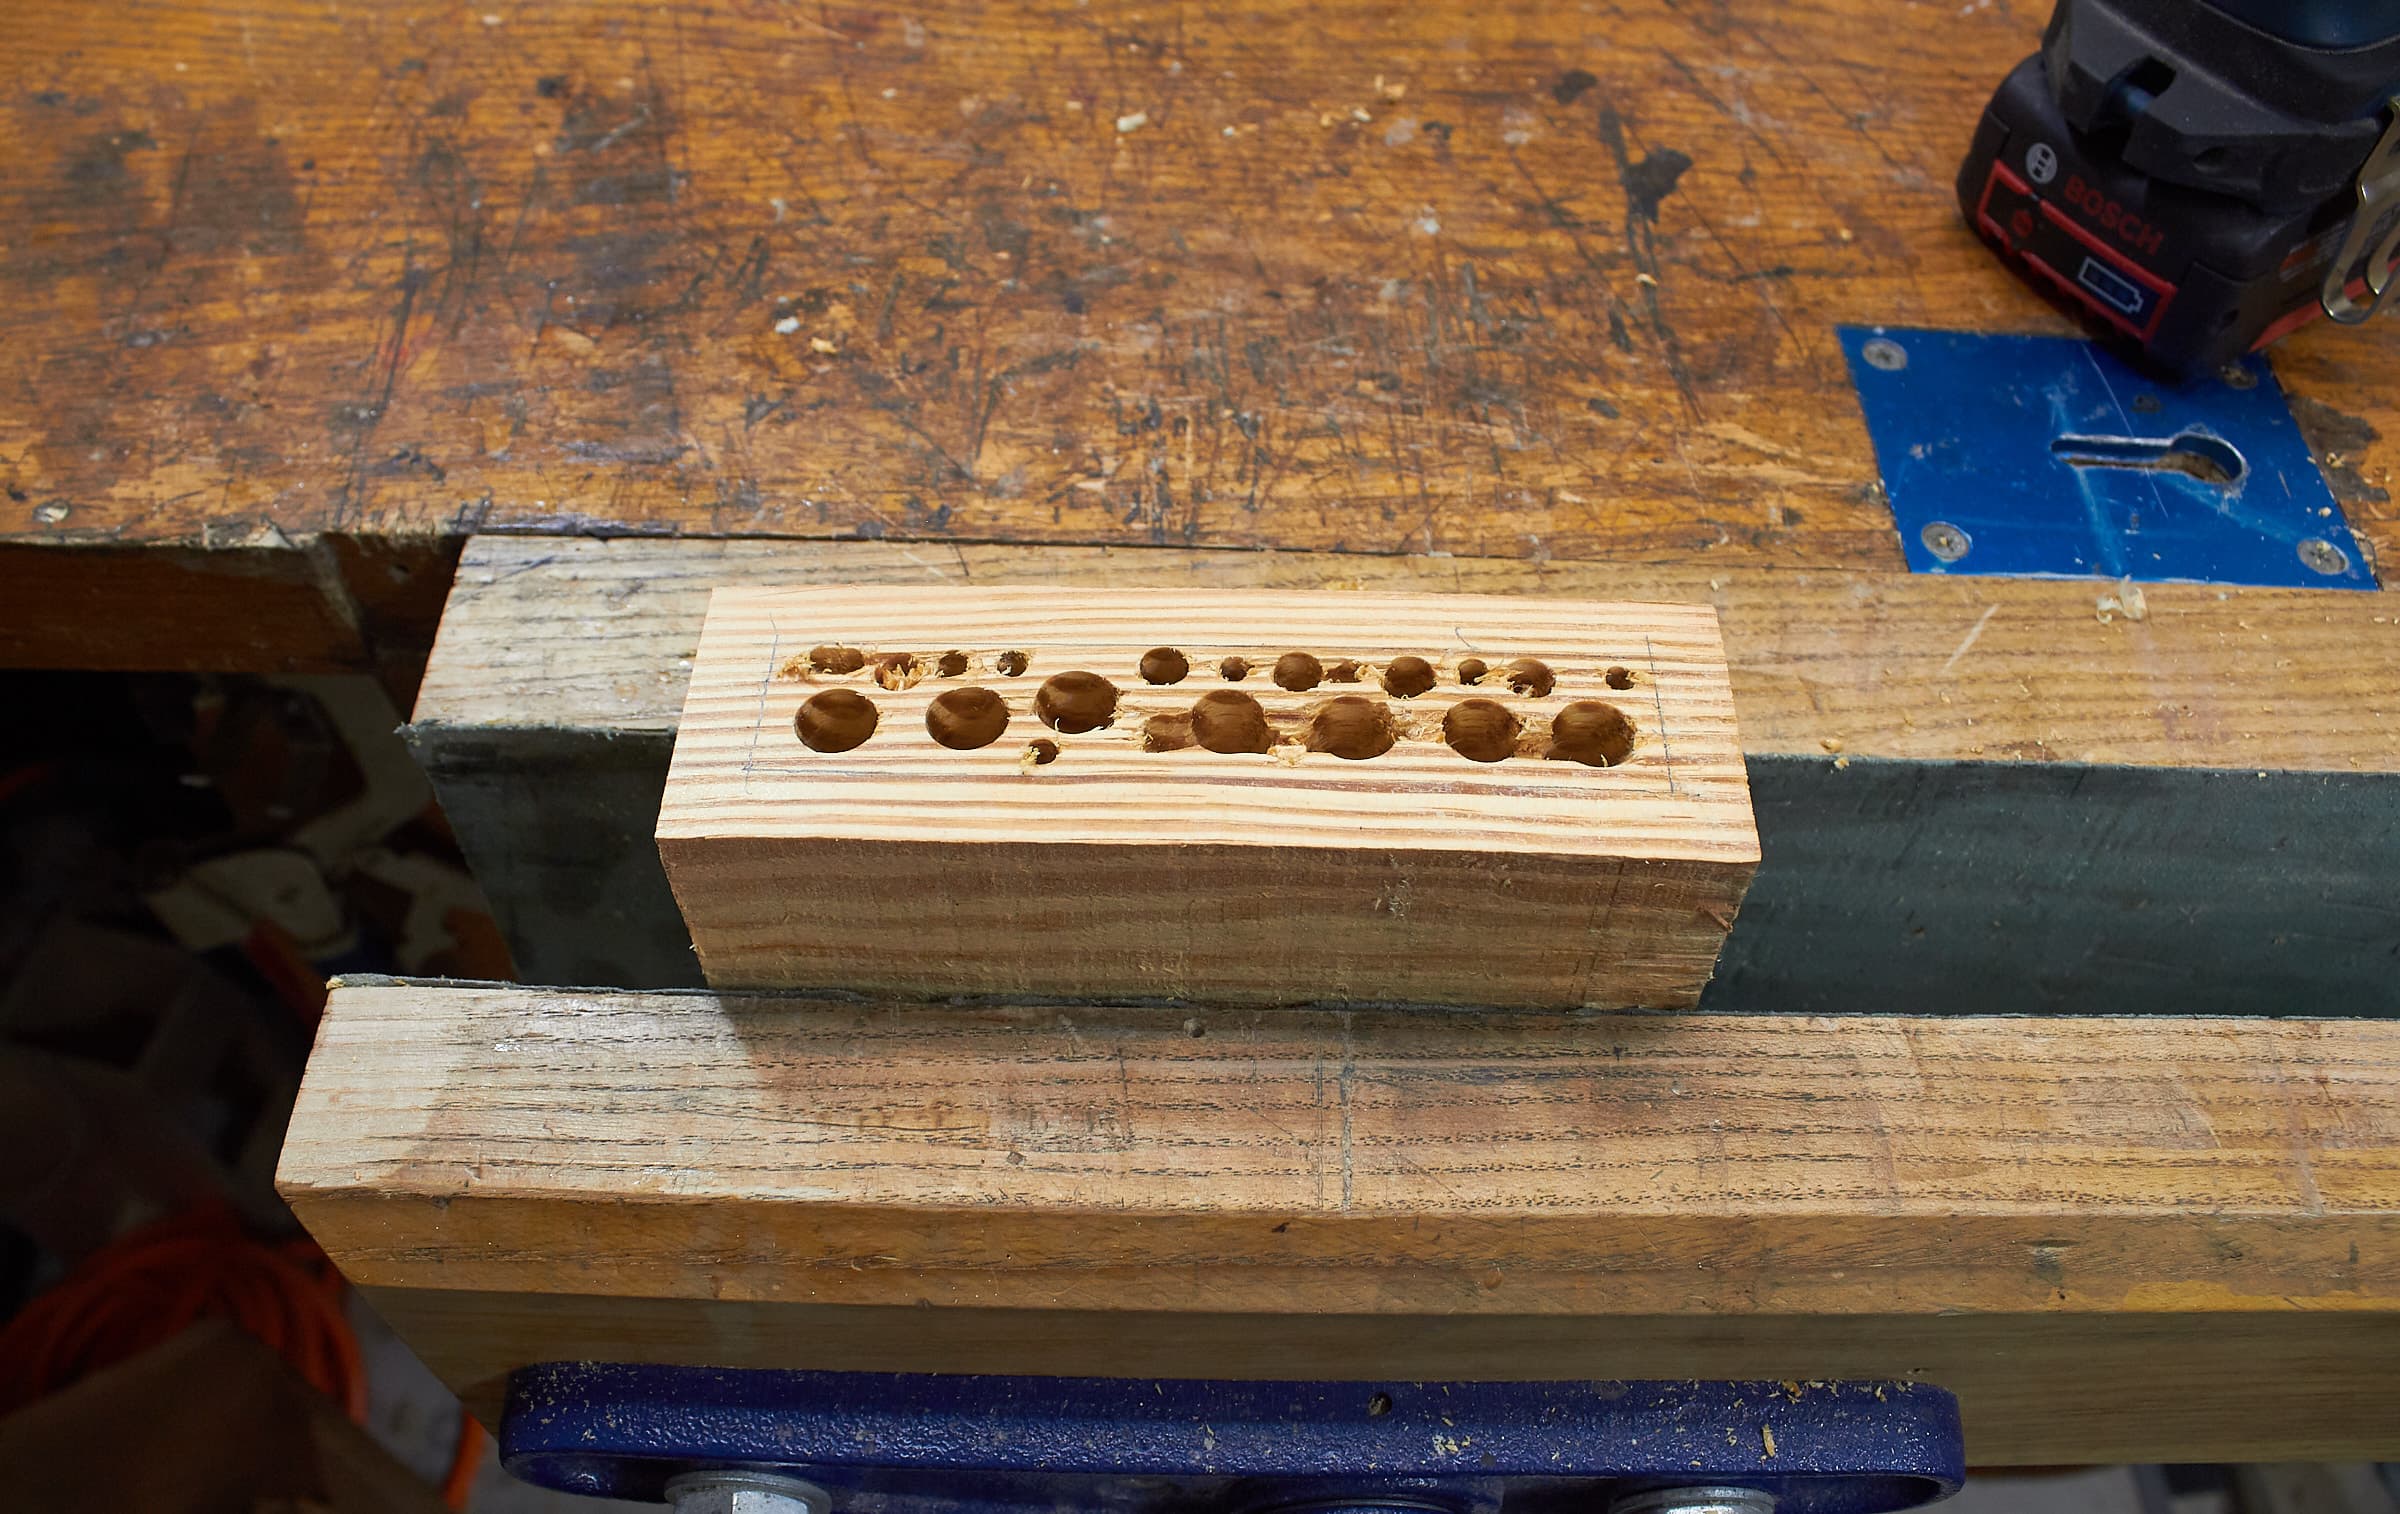
Remove Waste
Here’s the fun part. I remove the waste with a chisel, chopping perpendicular to the grain and moving in the direction of the bevel.
You can do anything you want though. You can hack at it more with drill bits, use a flathead screwdriver and file or poke at it with a knife.
Just get most of that wood out of there safely. Get close to your lines, but don’t be precise yet.
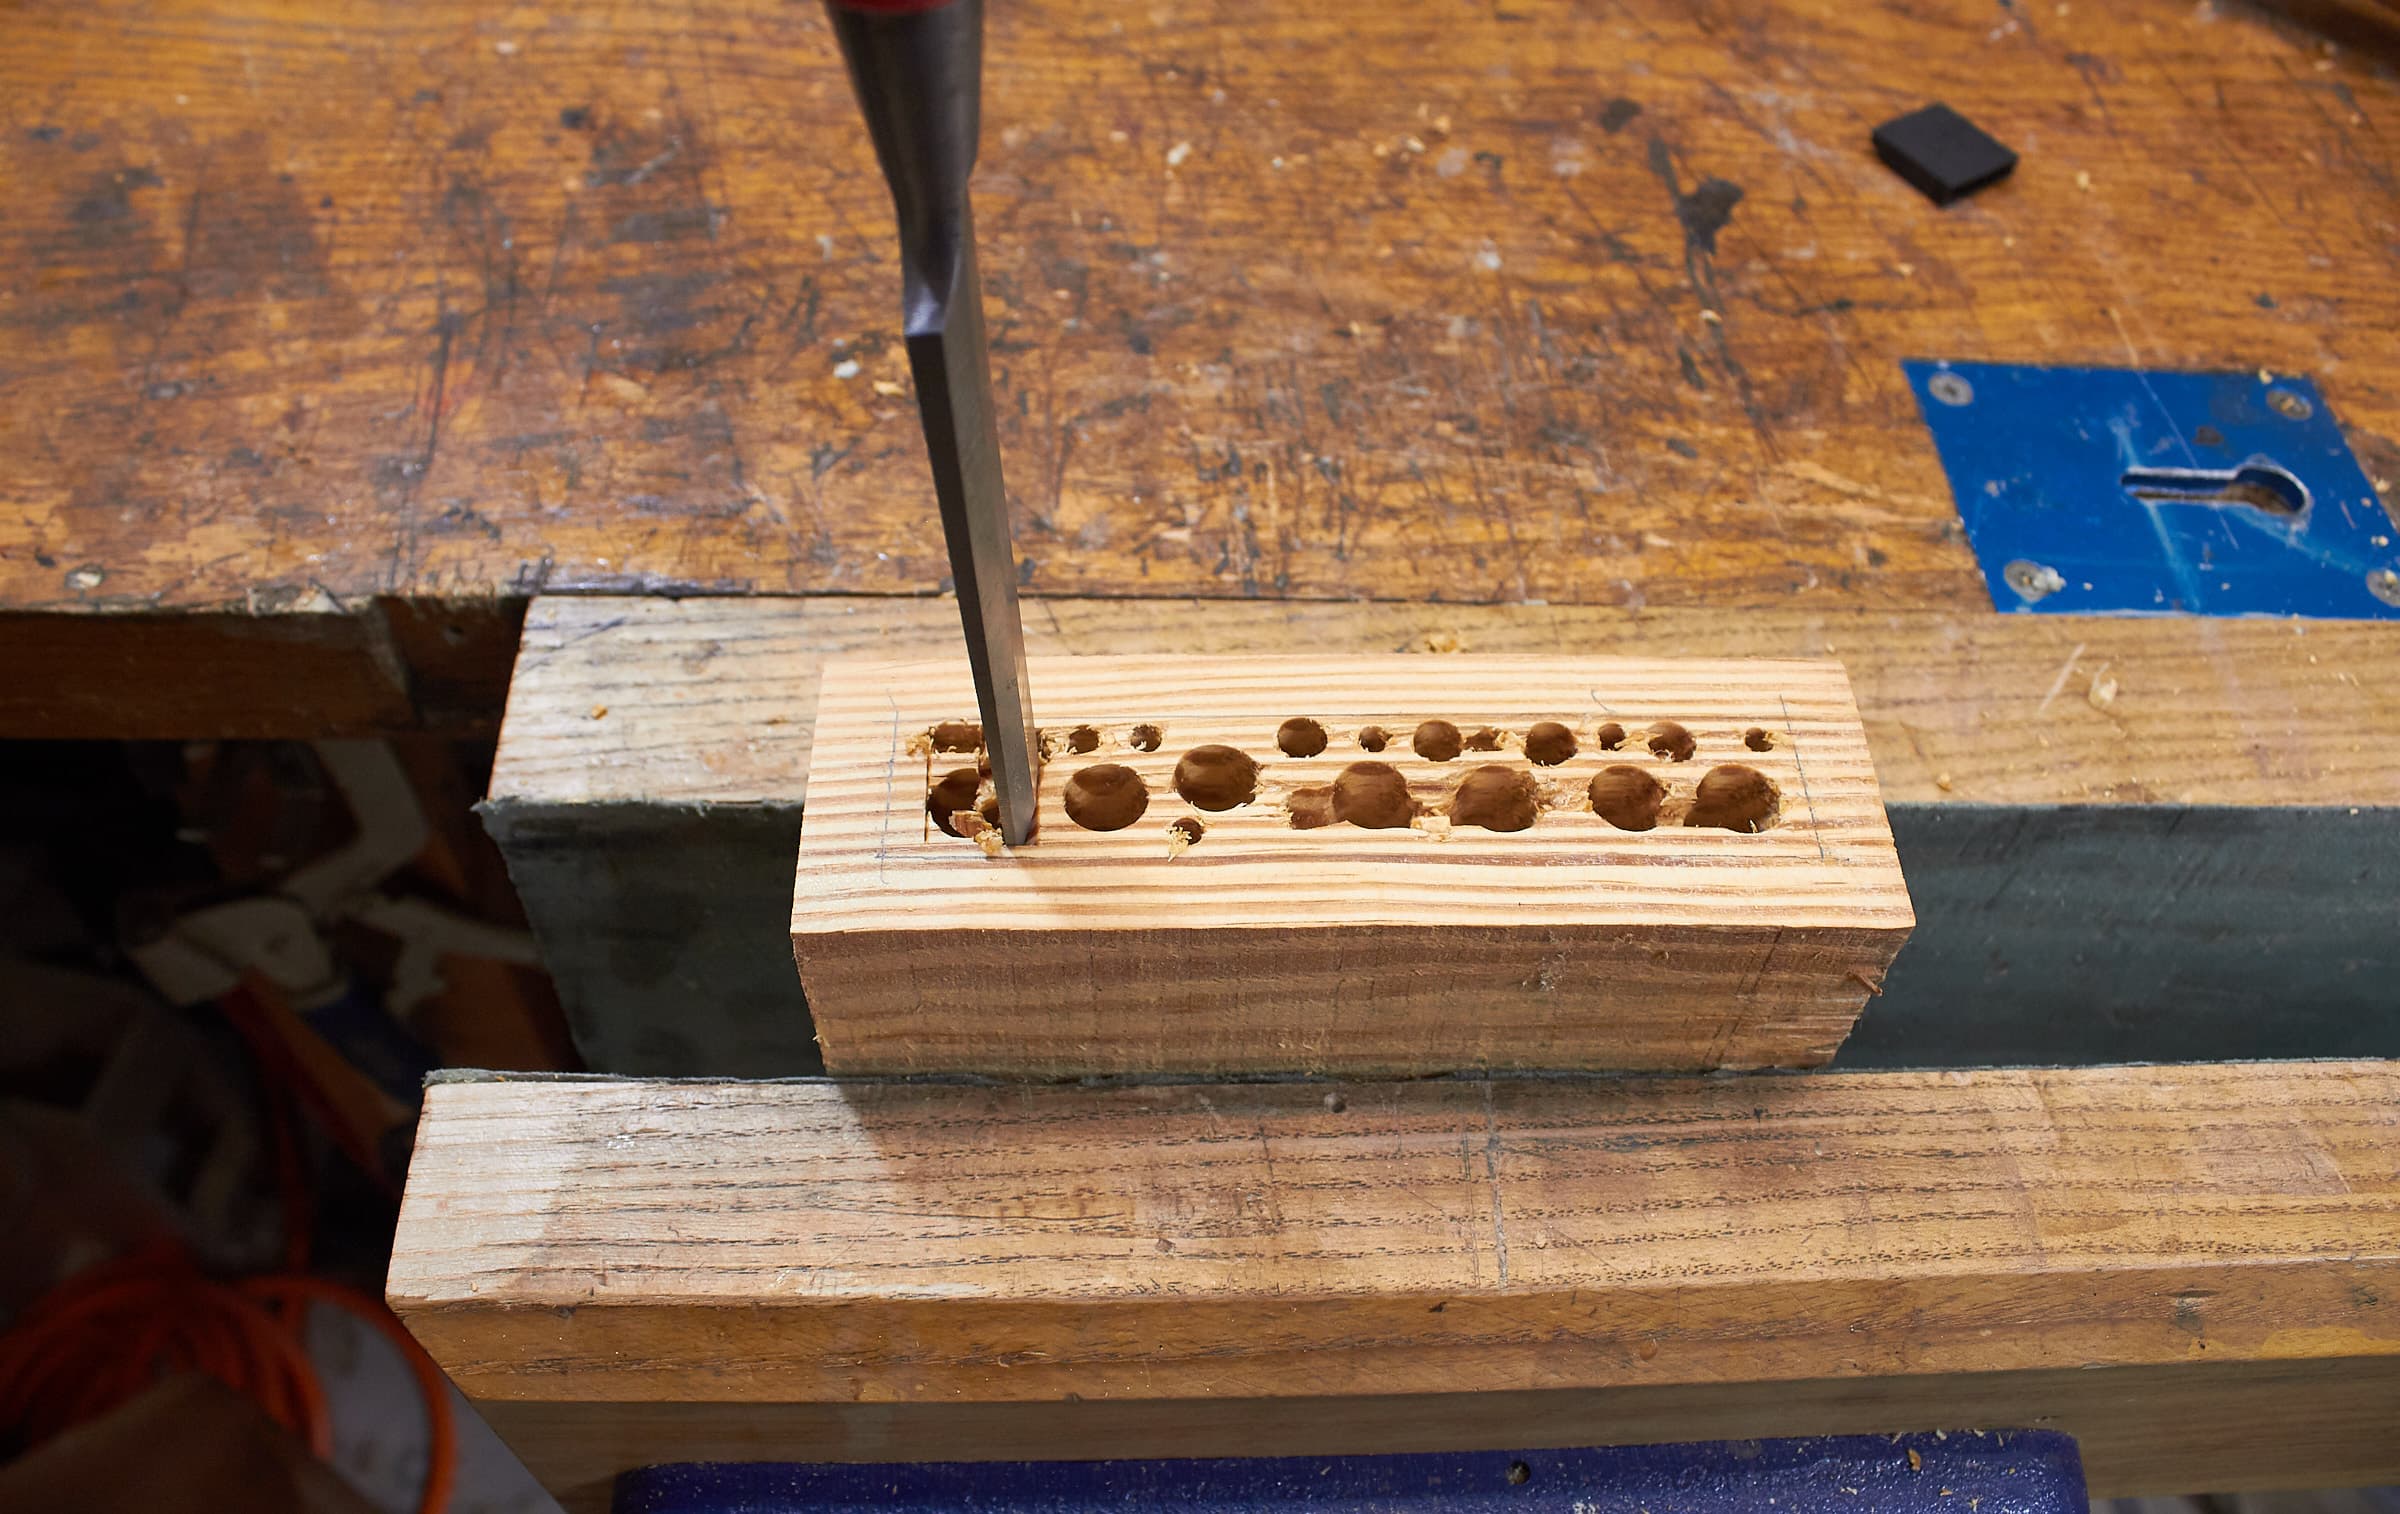
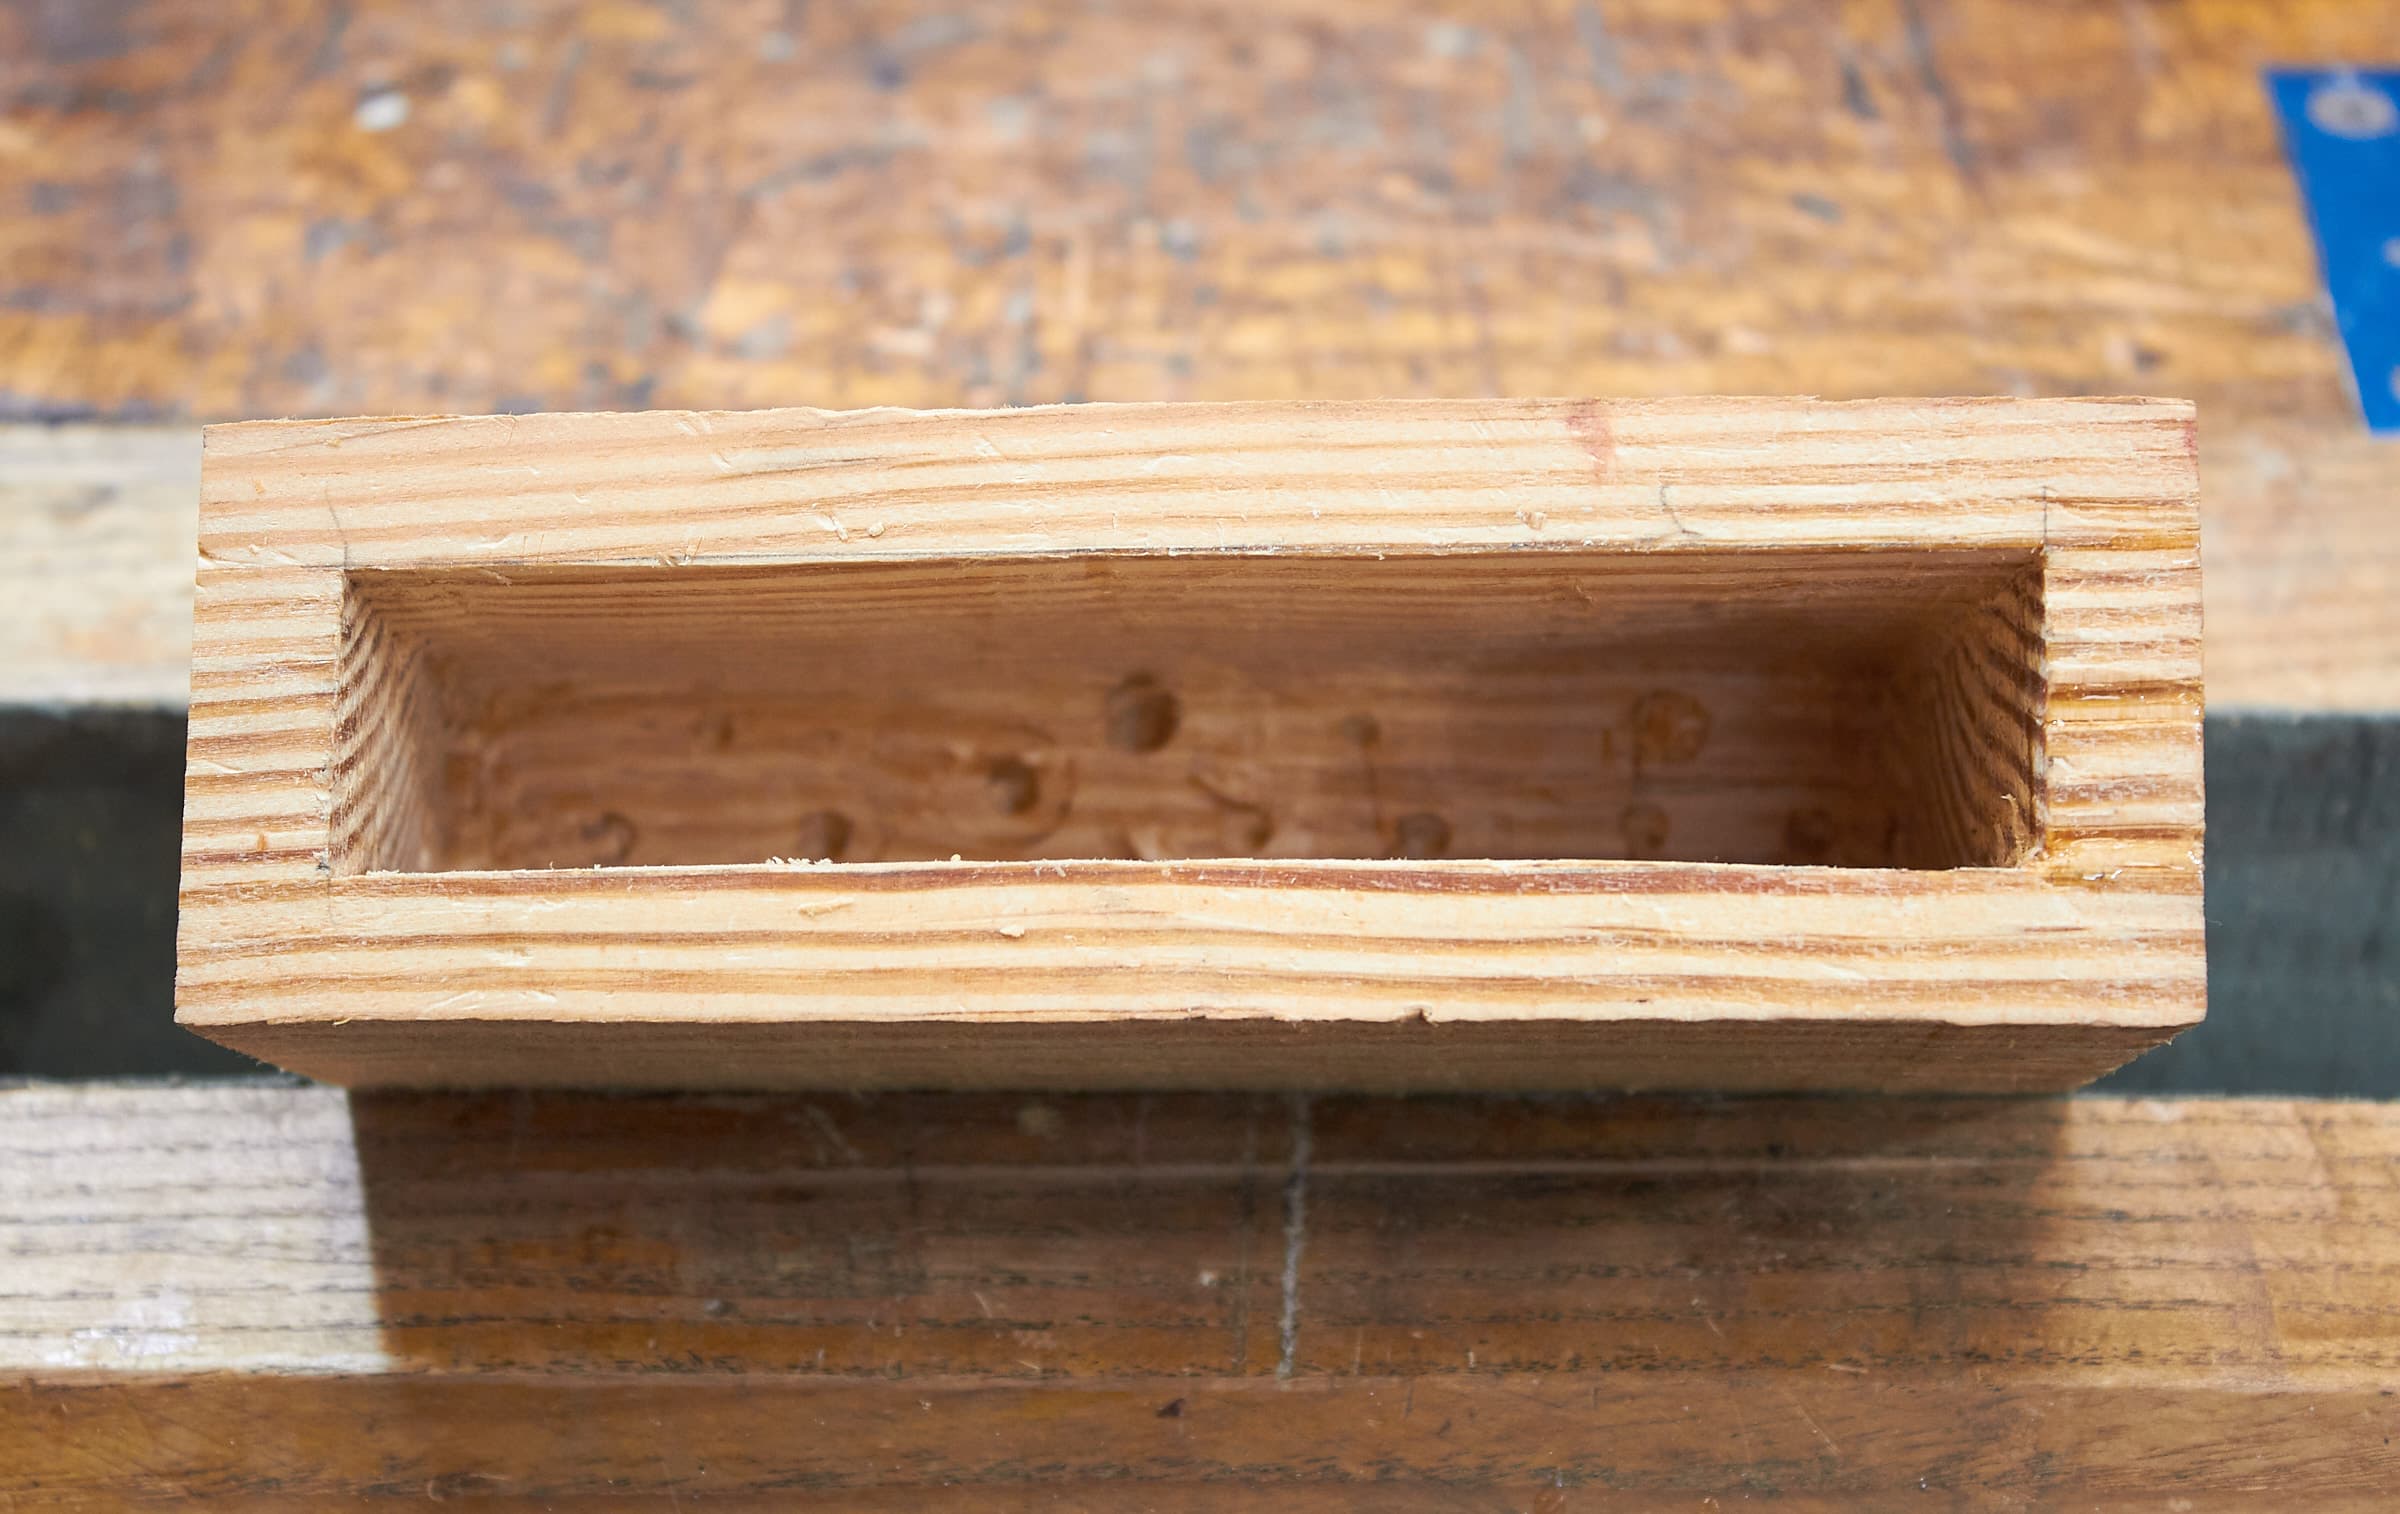
Most Waste Gone
Most of the waste is gone… Now I use a chisel and a float to slowly get closer to my lines.
You can see that I wasn’t very careful here and knocked out a bit of the wood. I just glued it back with some super glue and went back to work. After everything is sanded you’ll never notice it.
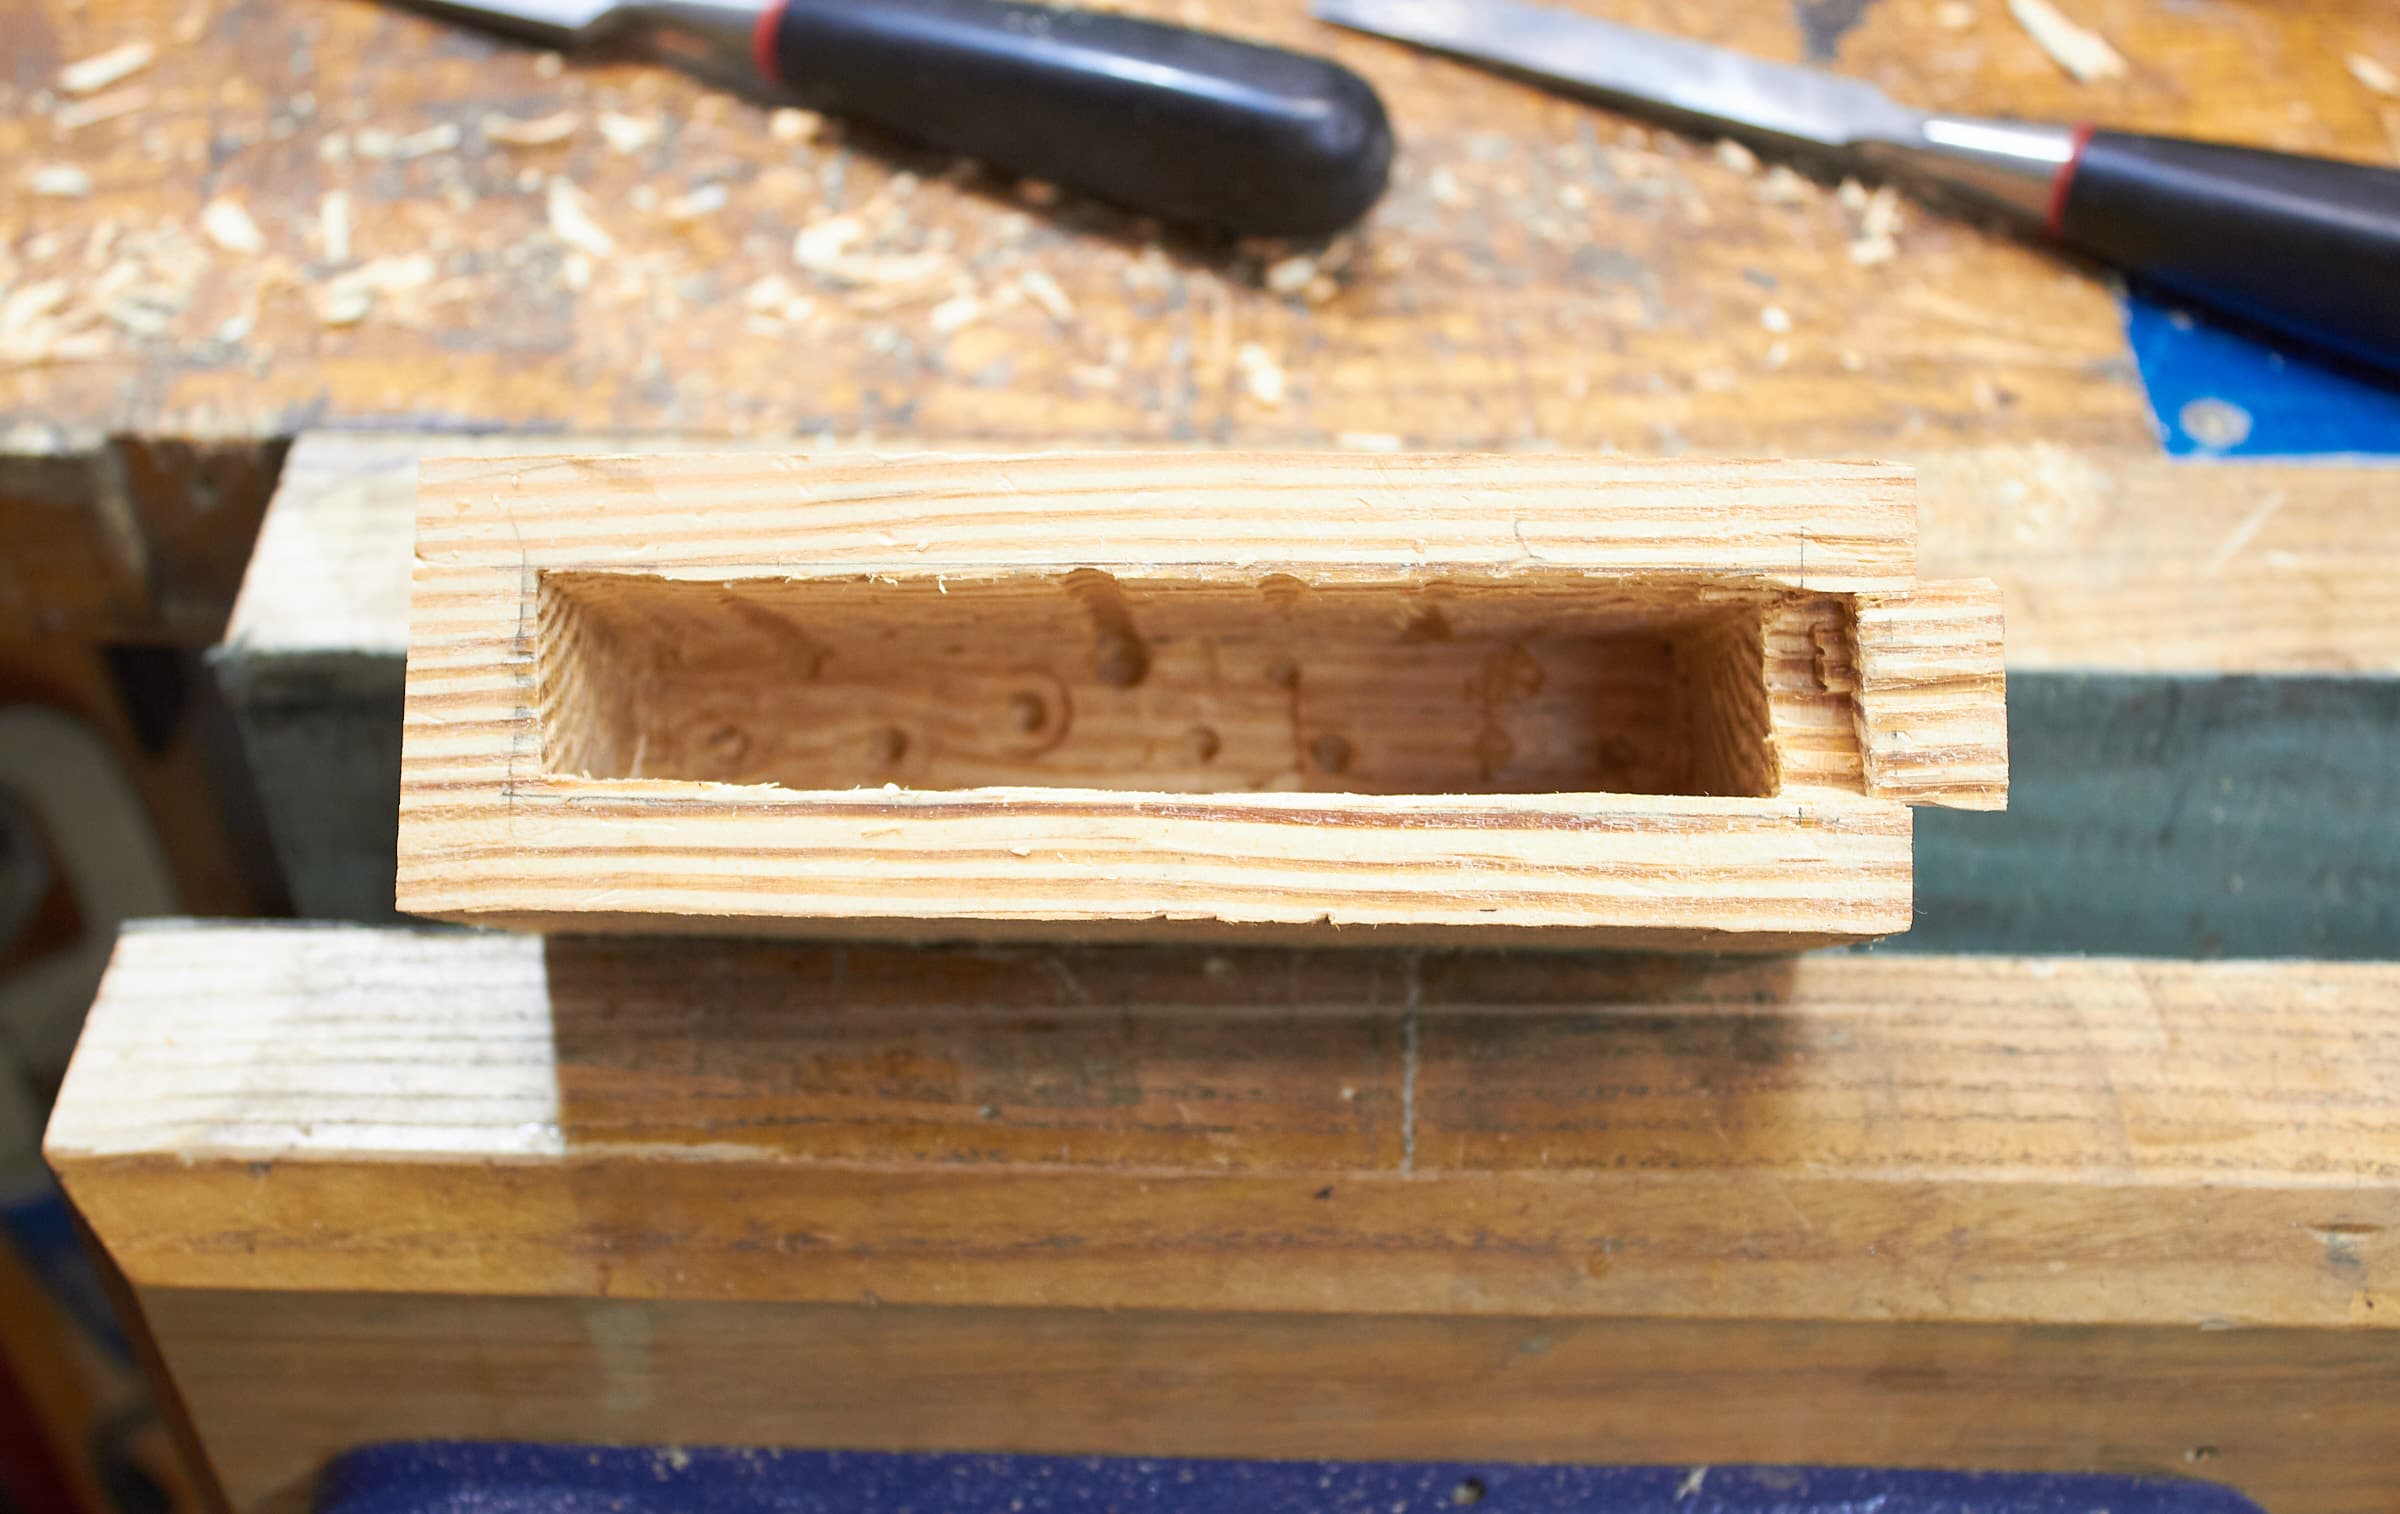
Cleaned A Bit
Here it is cleaned up a bit.
The grain pattern really makes this look crooked, but I assure you that it’s not.
Plane

I plane the surfaces smooth, but you can sand it or file it… or leave it. Who cares. Do what you like.
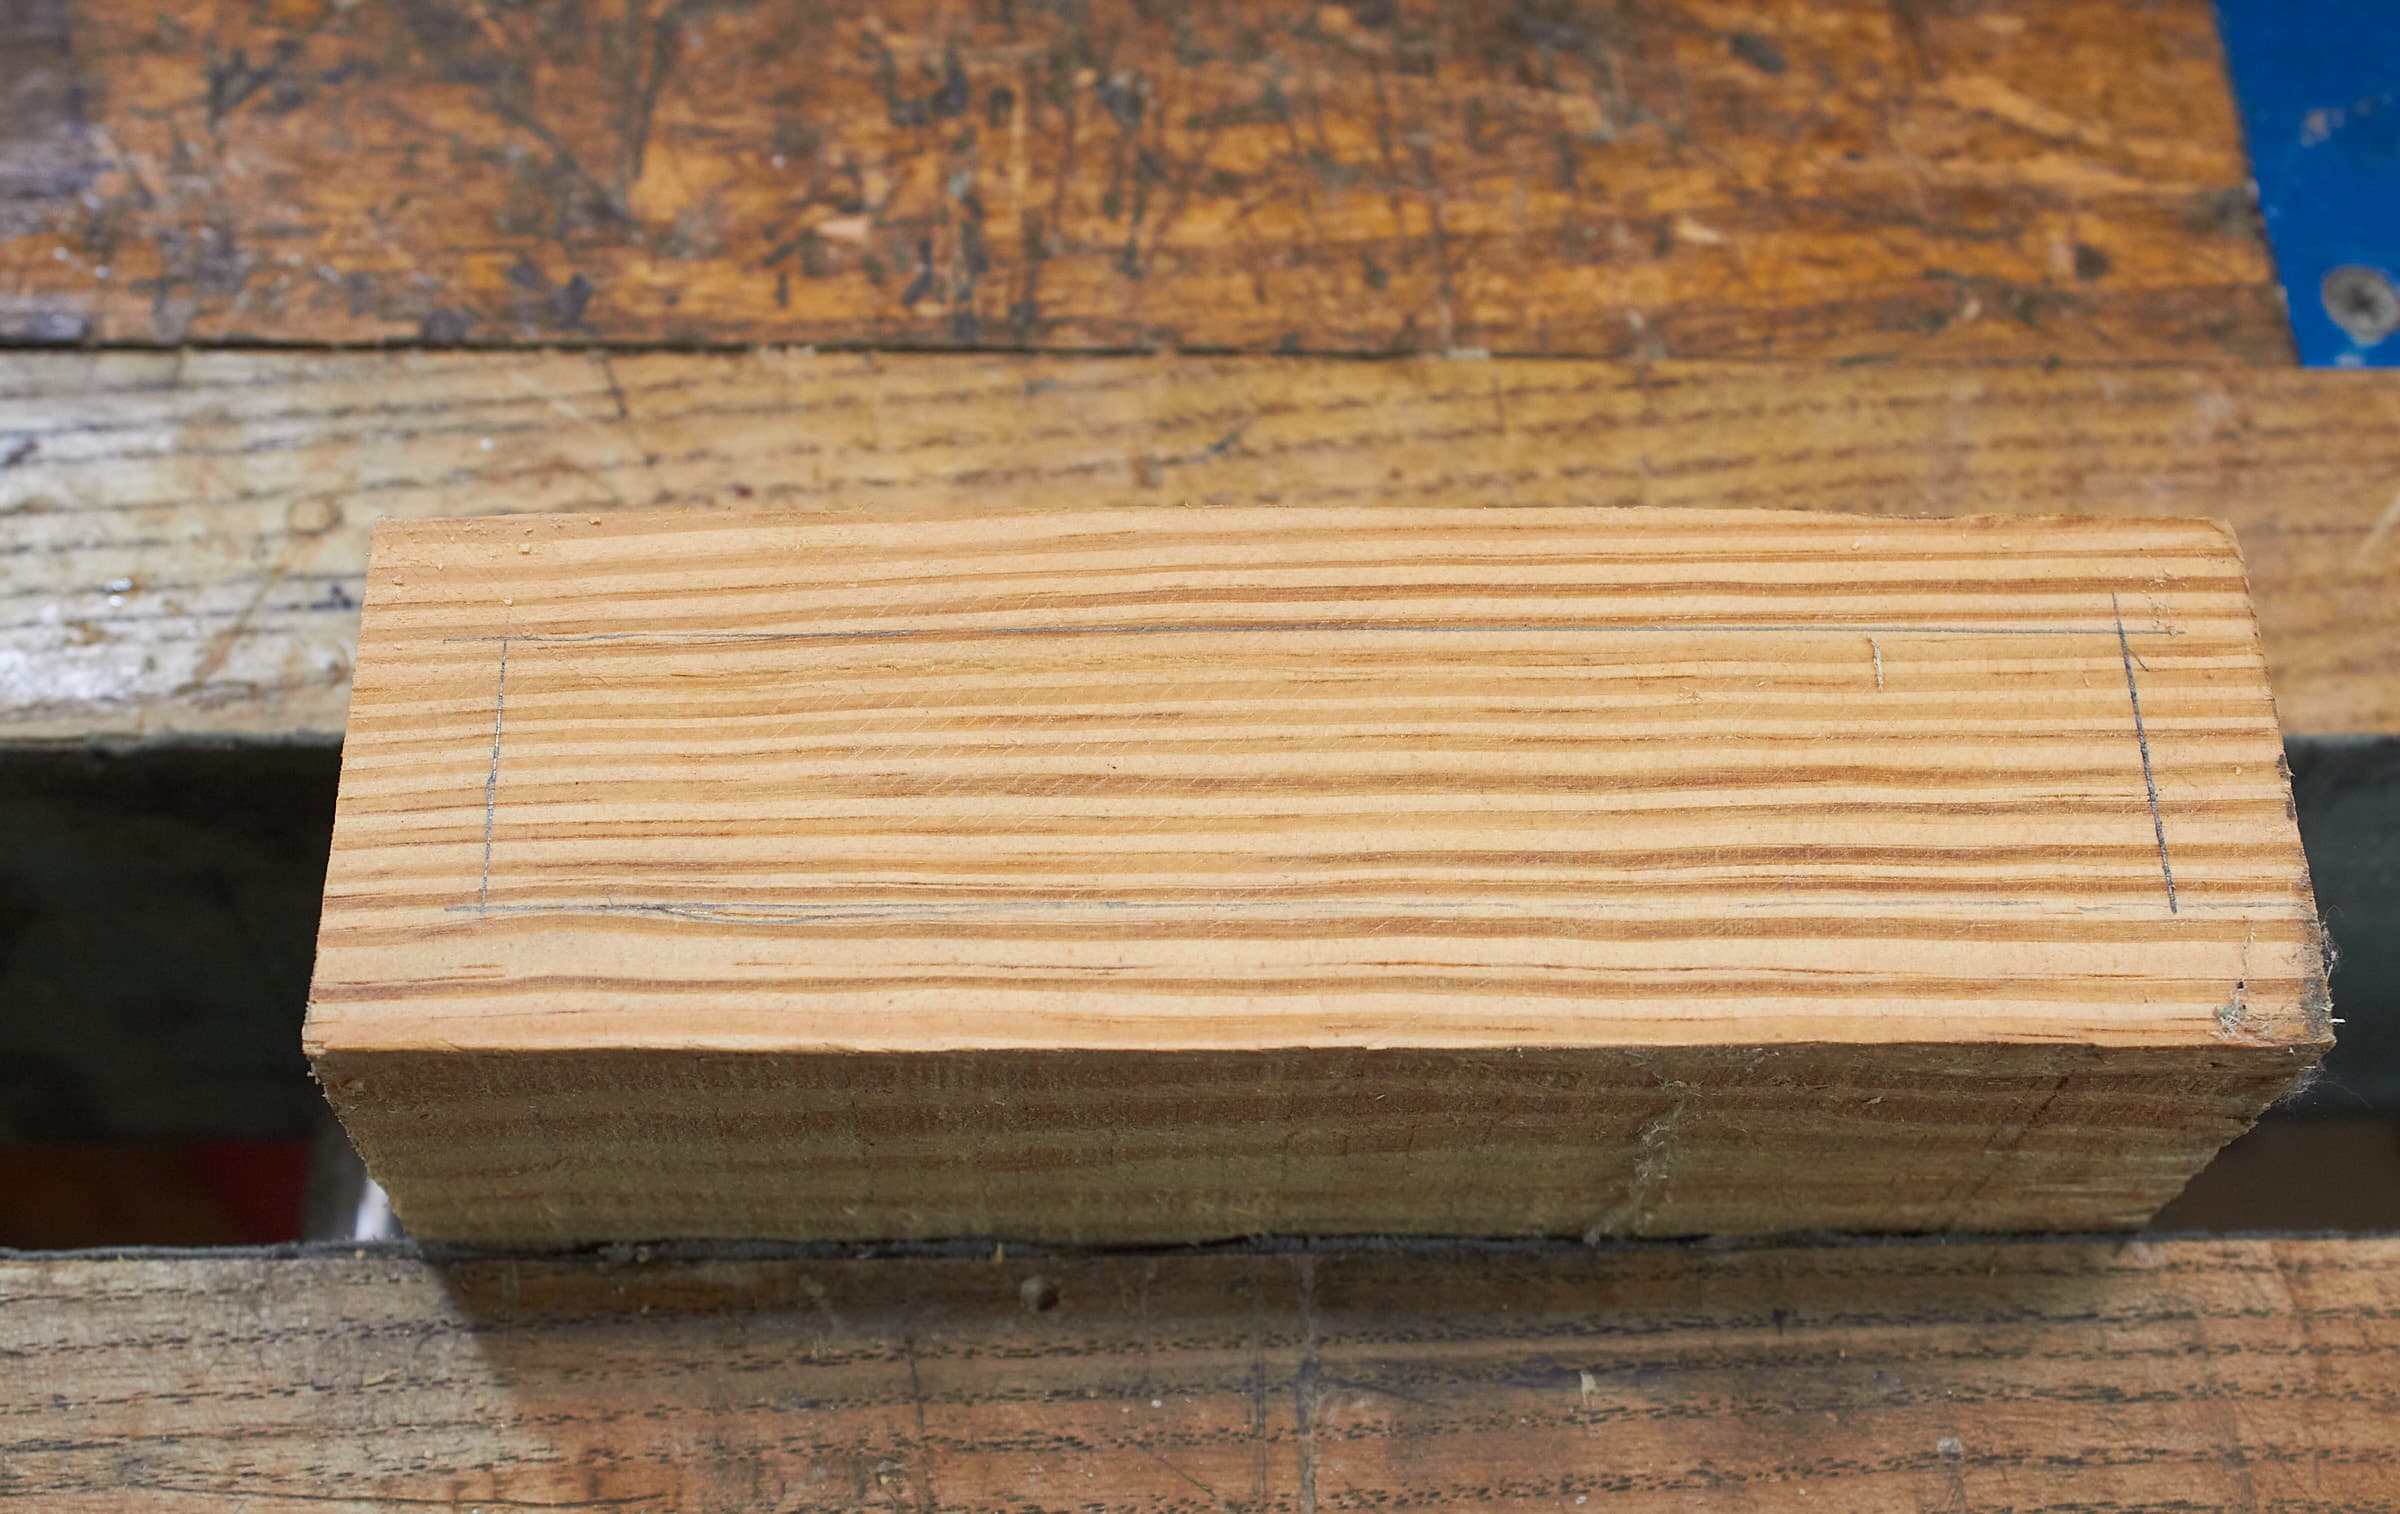
Mark Depth
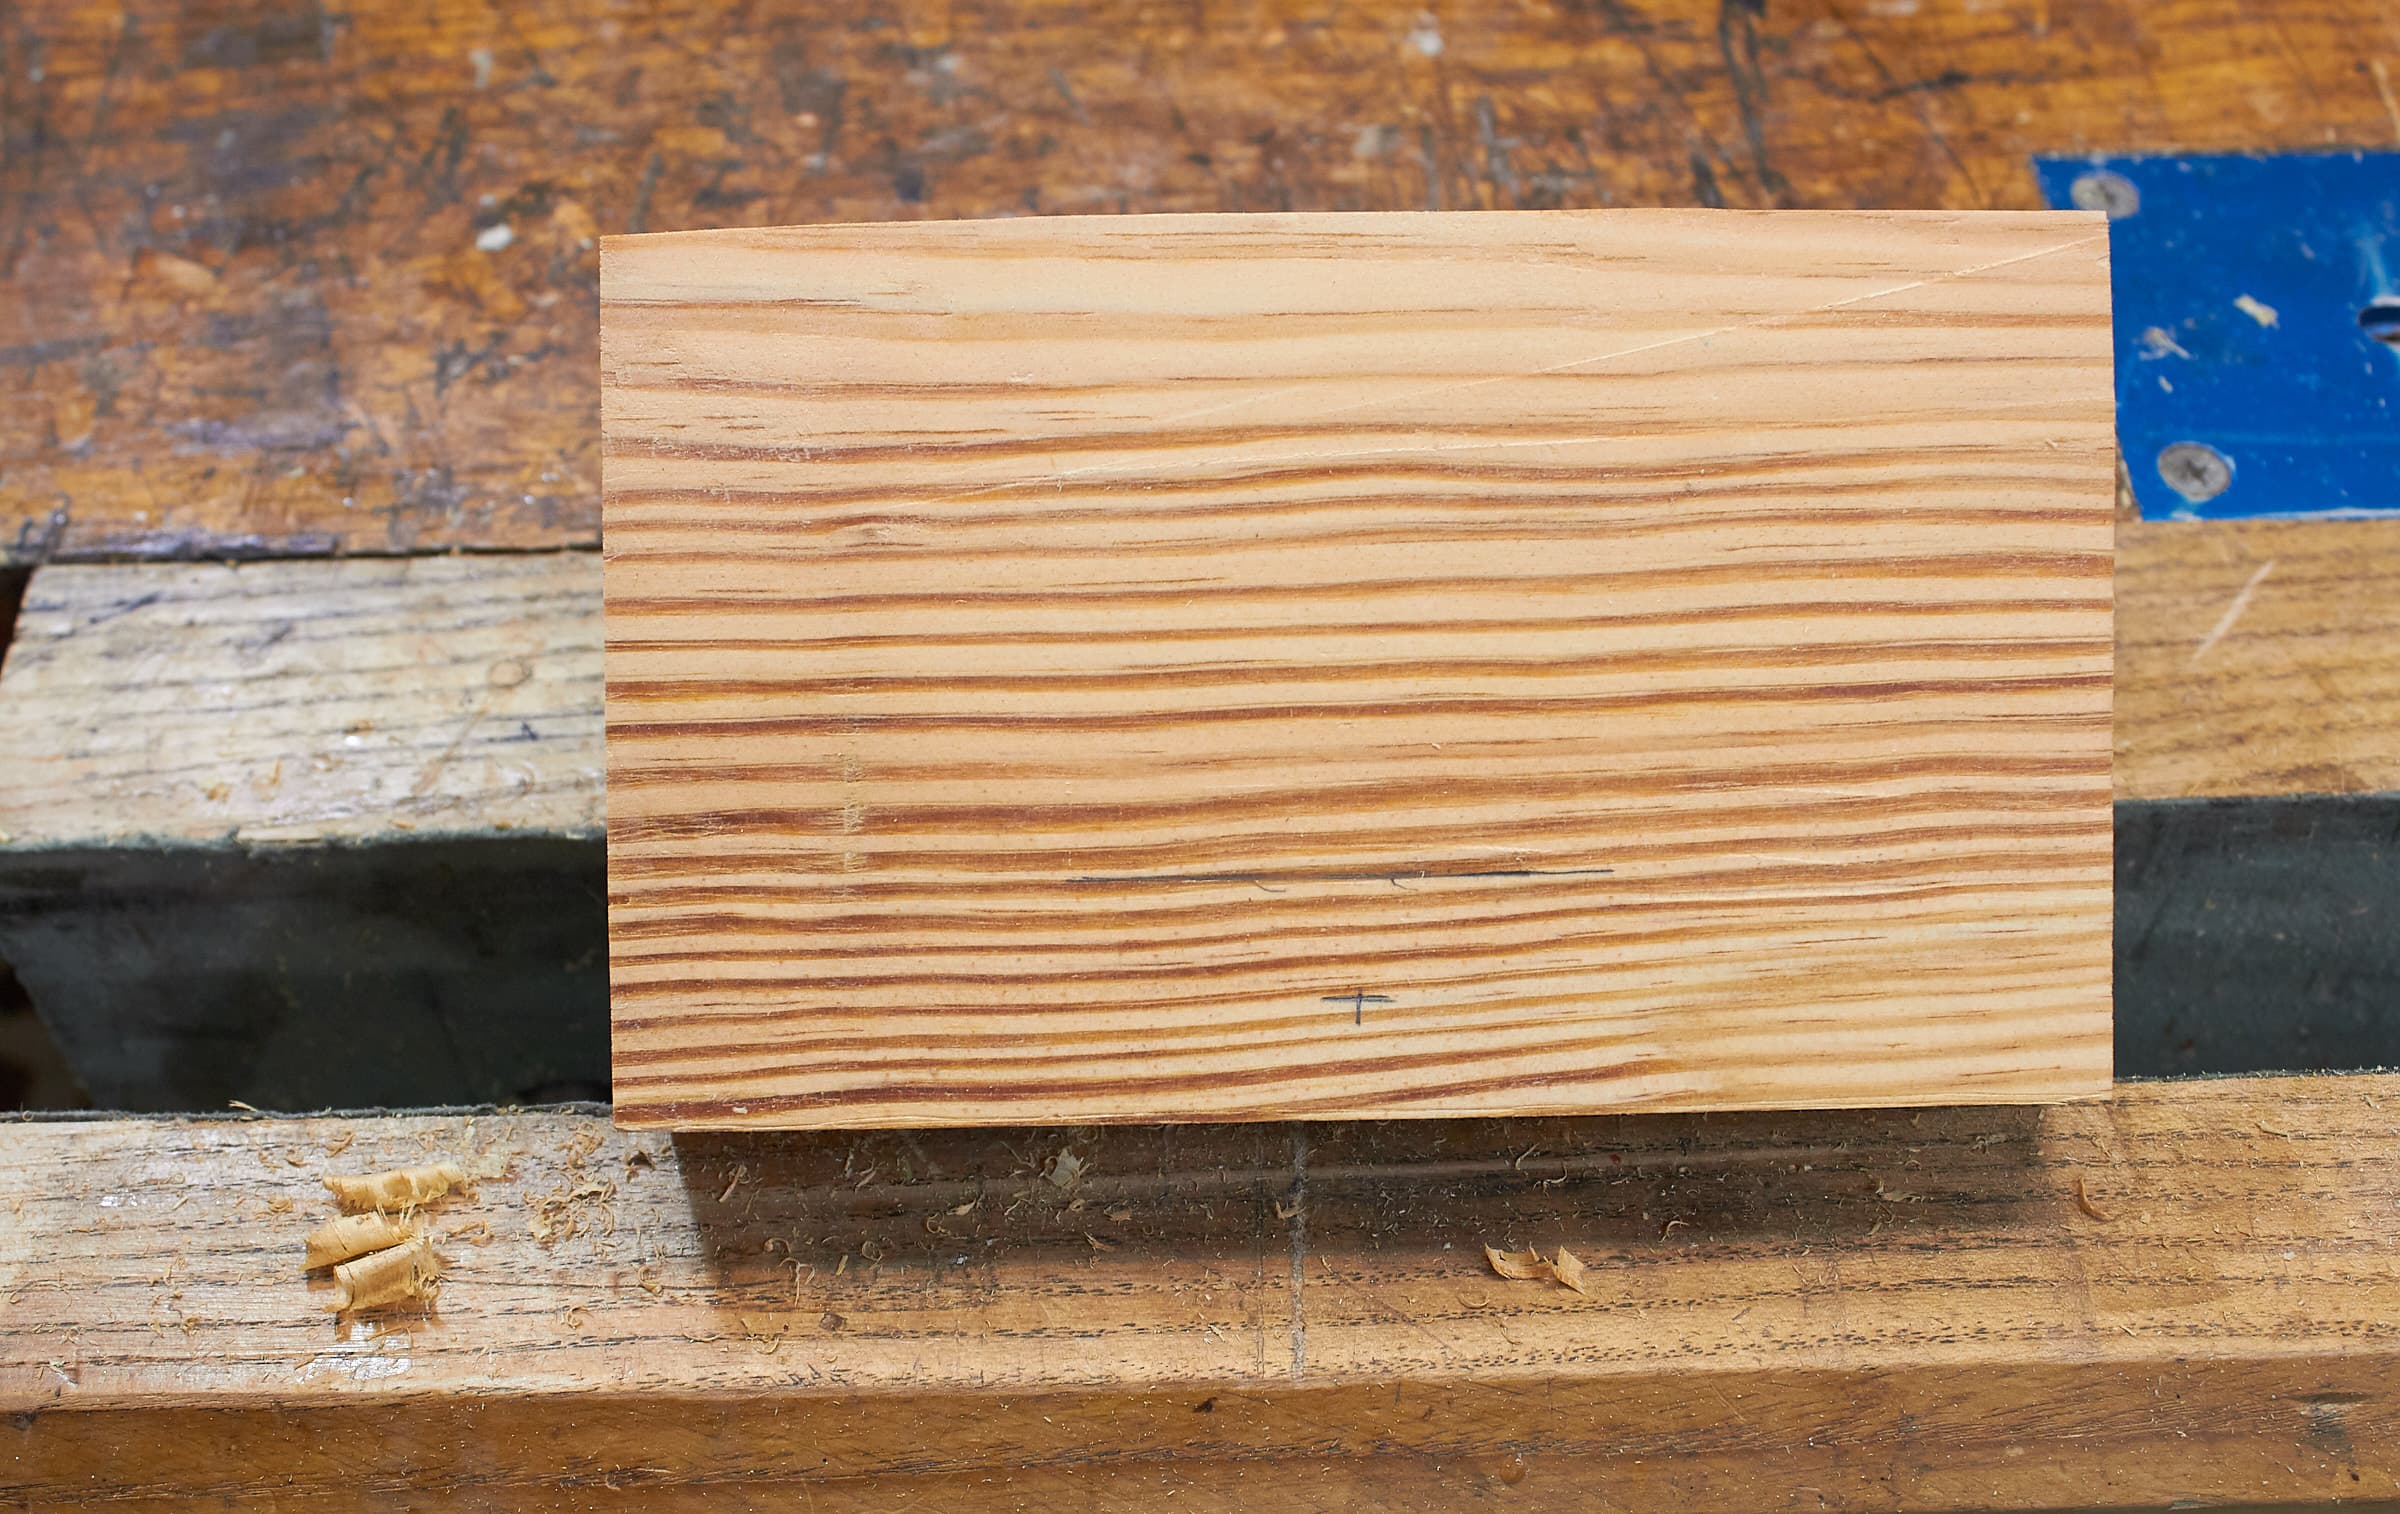
Now I mark the depth so I can drill a mounting hole. I don’t want to cut in to the mortise, but I want some wood to support the hole.
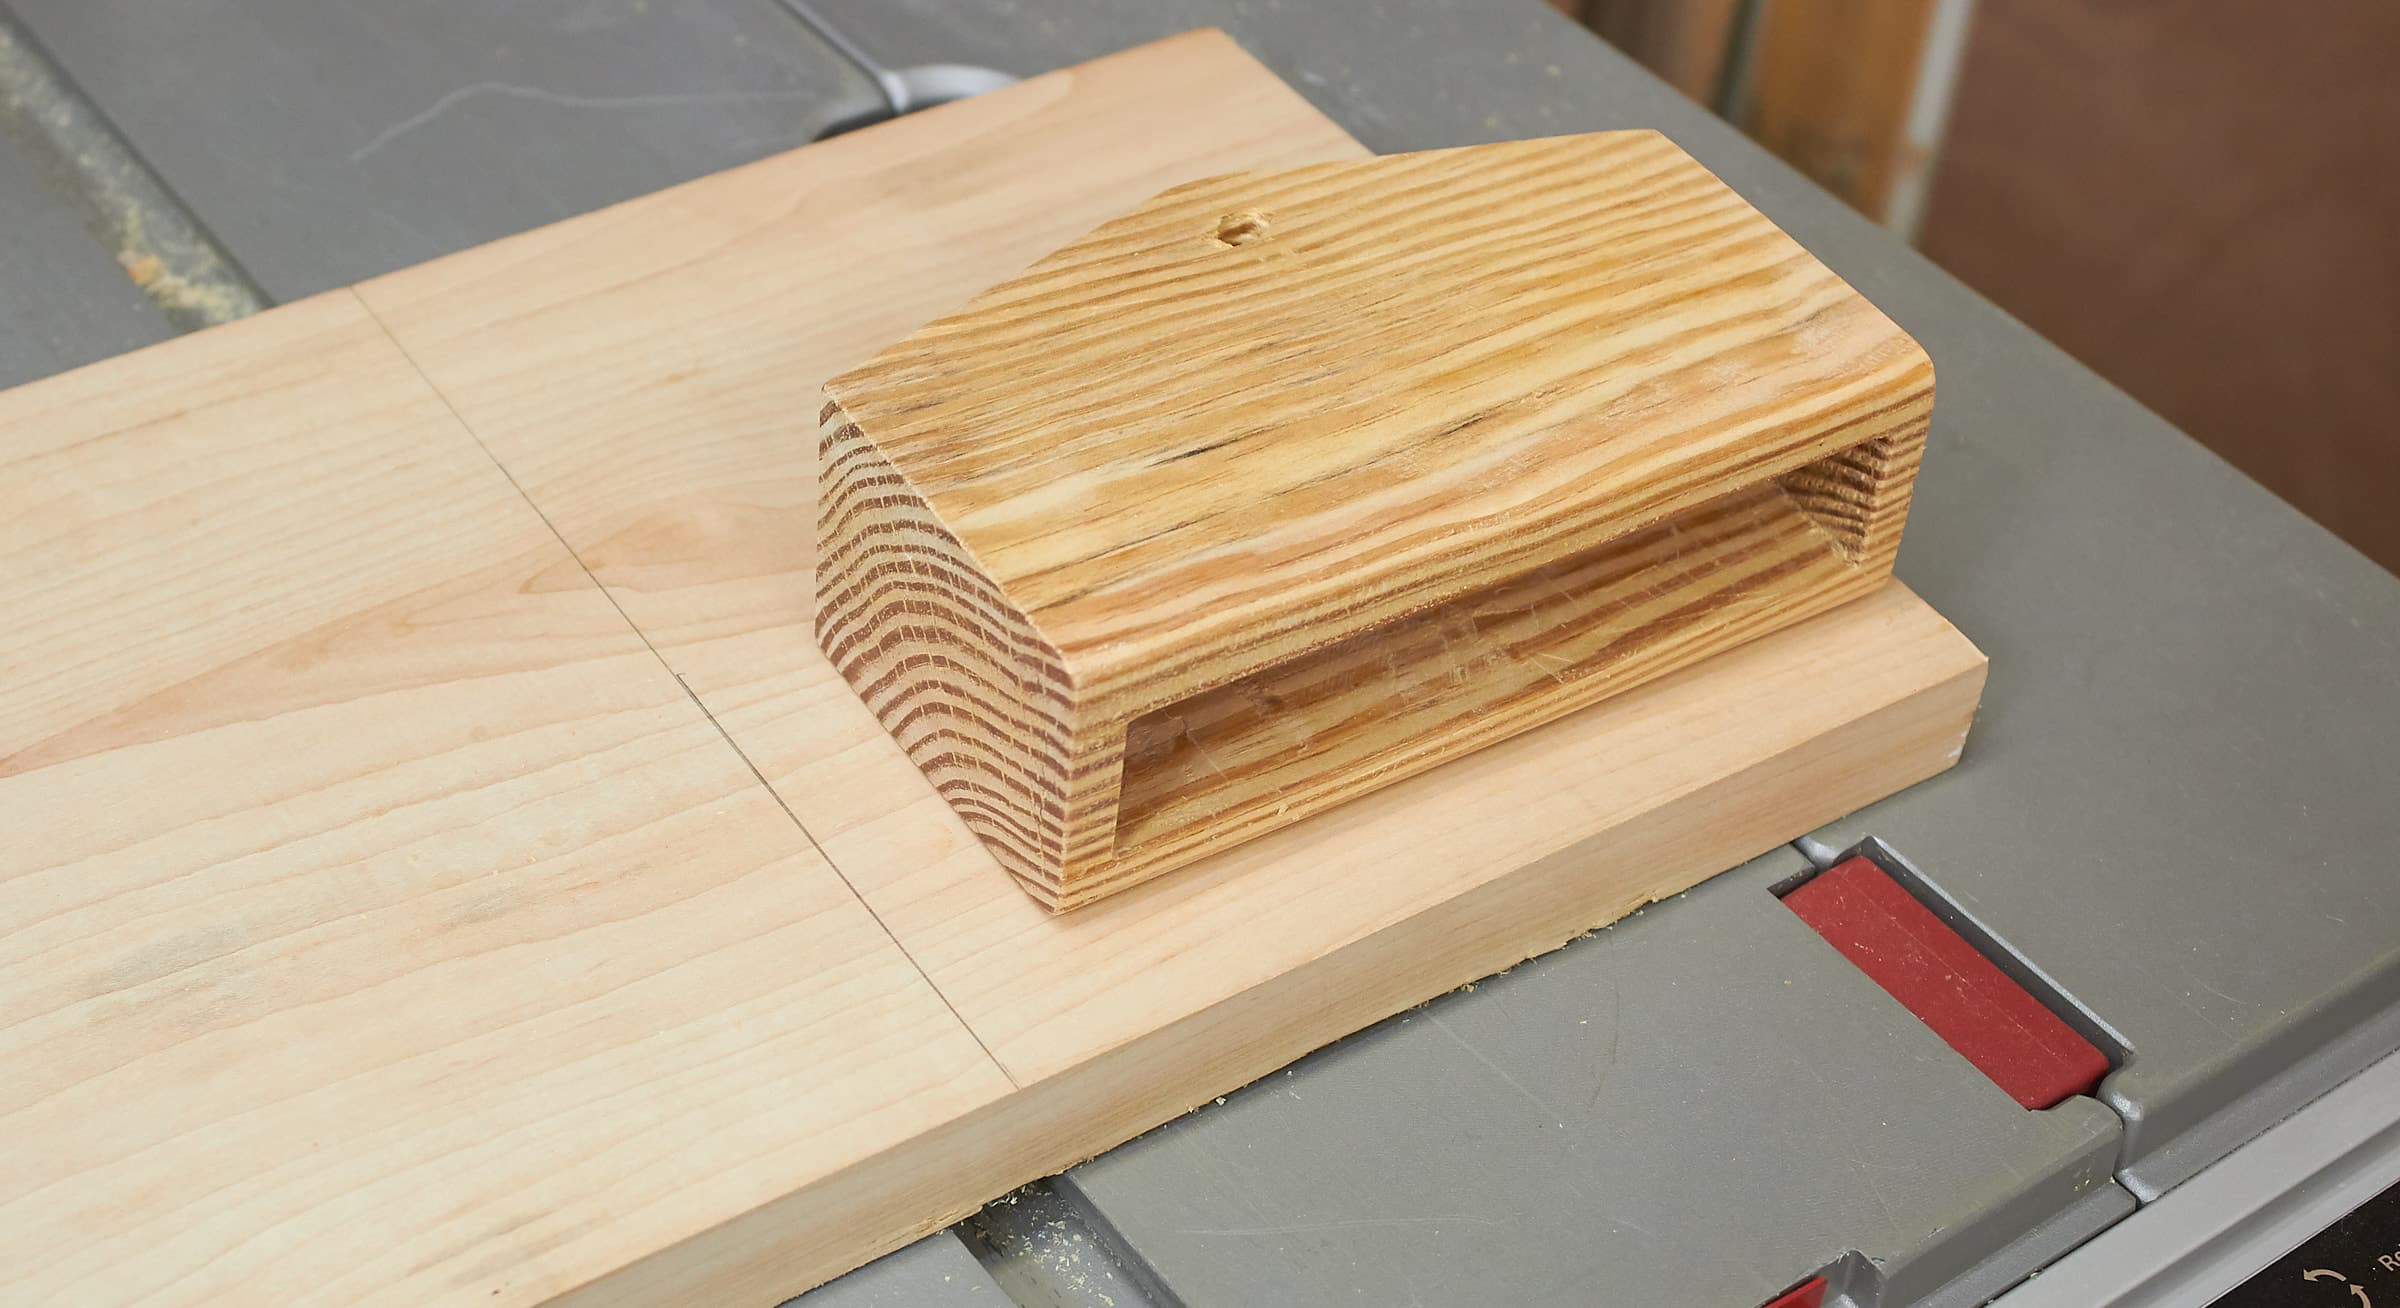
Drill And Shape

Now I drill the hole and shape the back.
That’s it. It’s done.
No tool limit
Maple Board
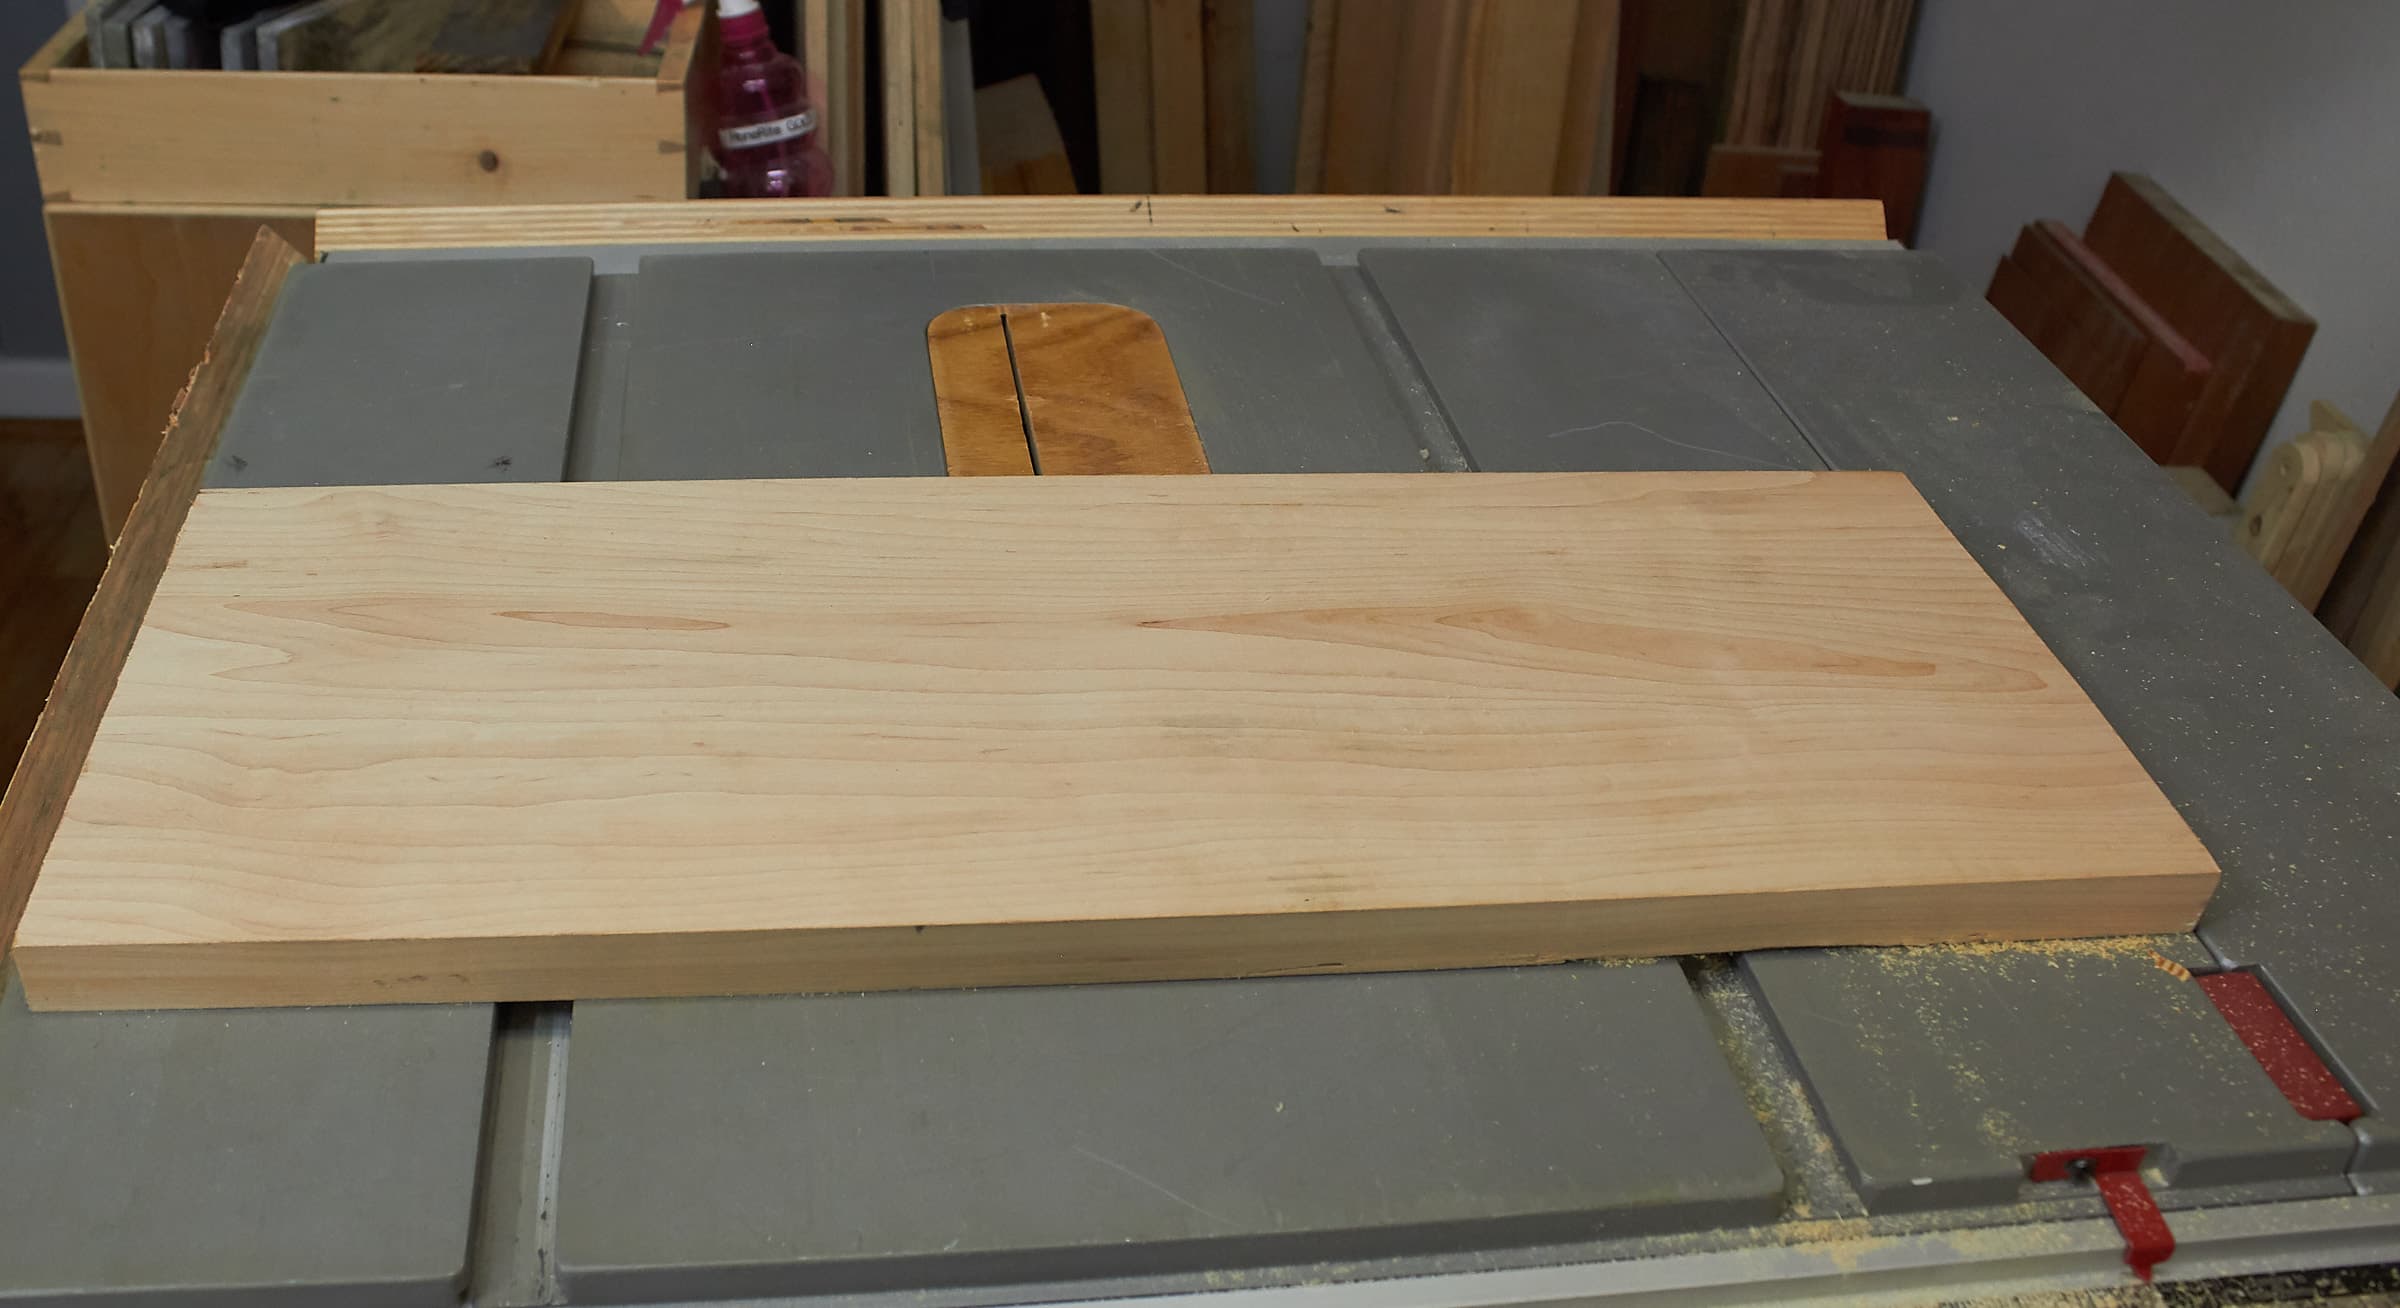
I’m making a nicer wood block here with some Hard Maple.
Mark Maple
I mark the cut, using the previous wood block as a basic template.
Maple Cut
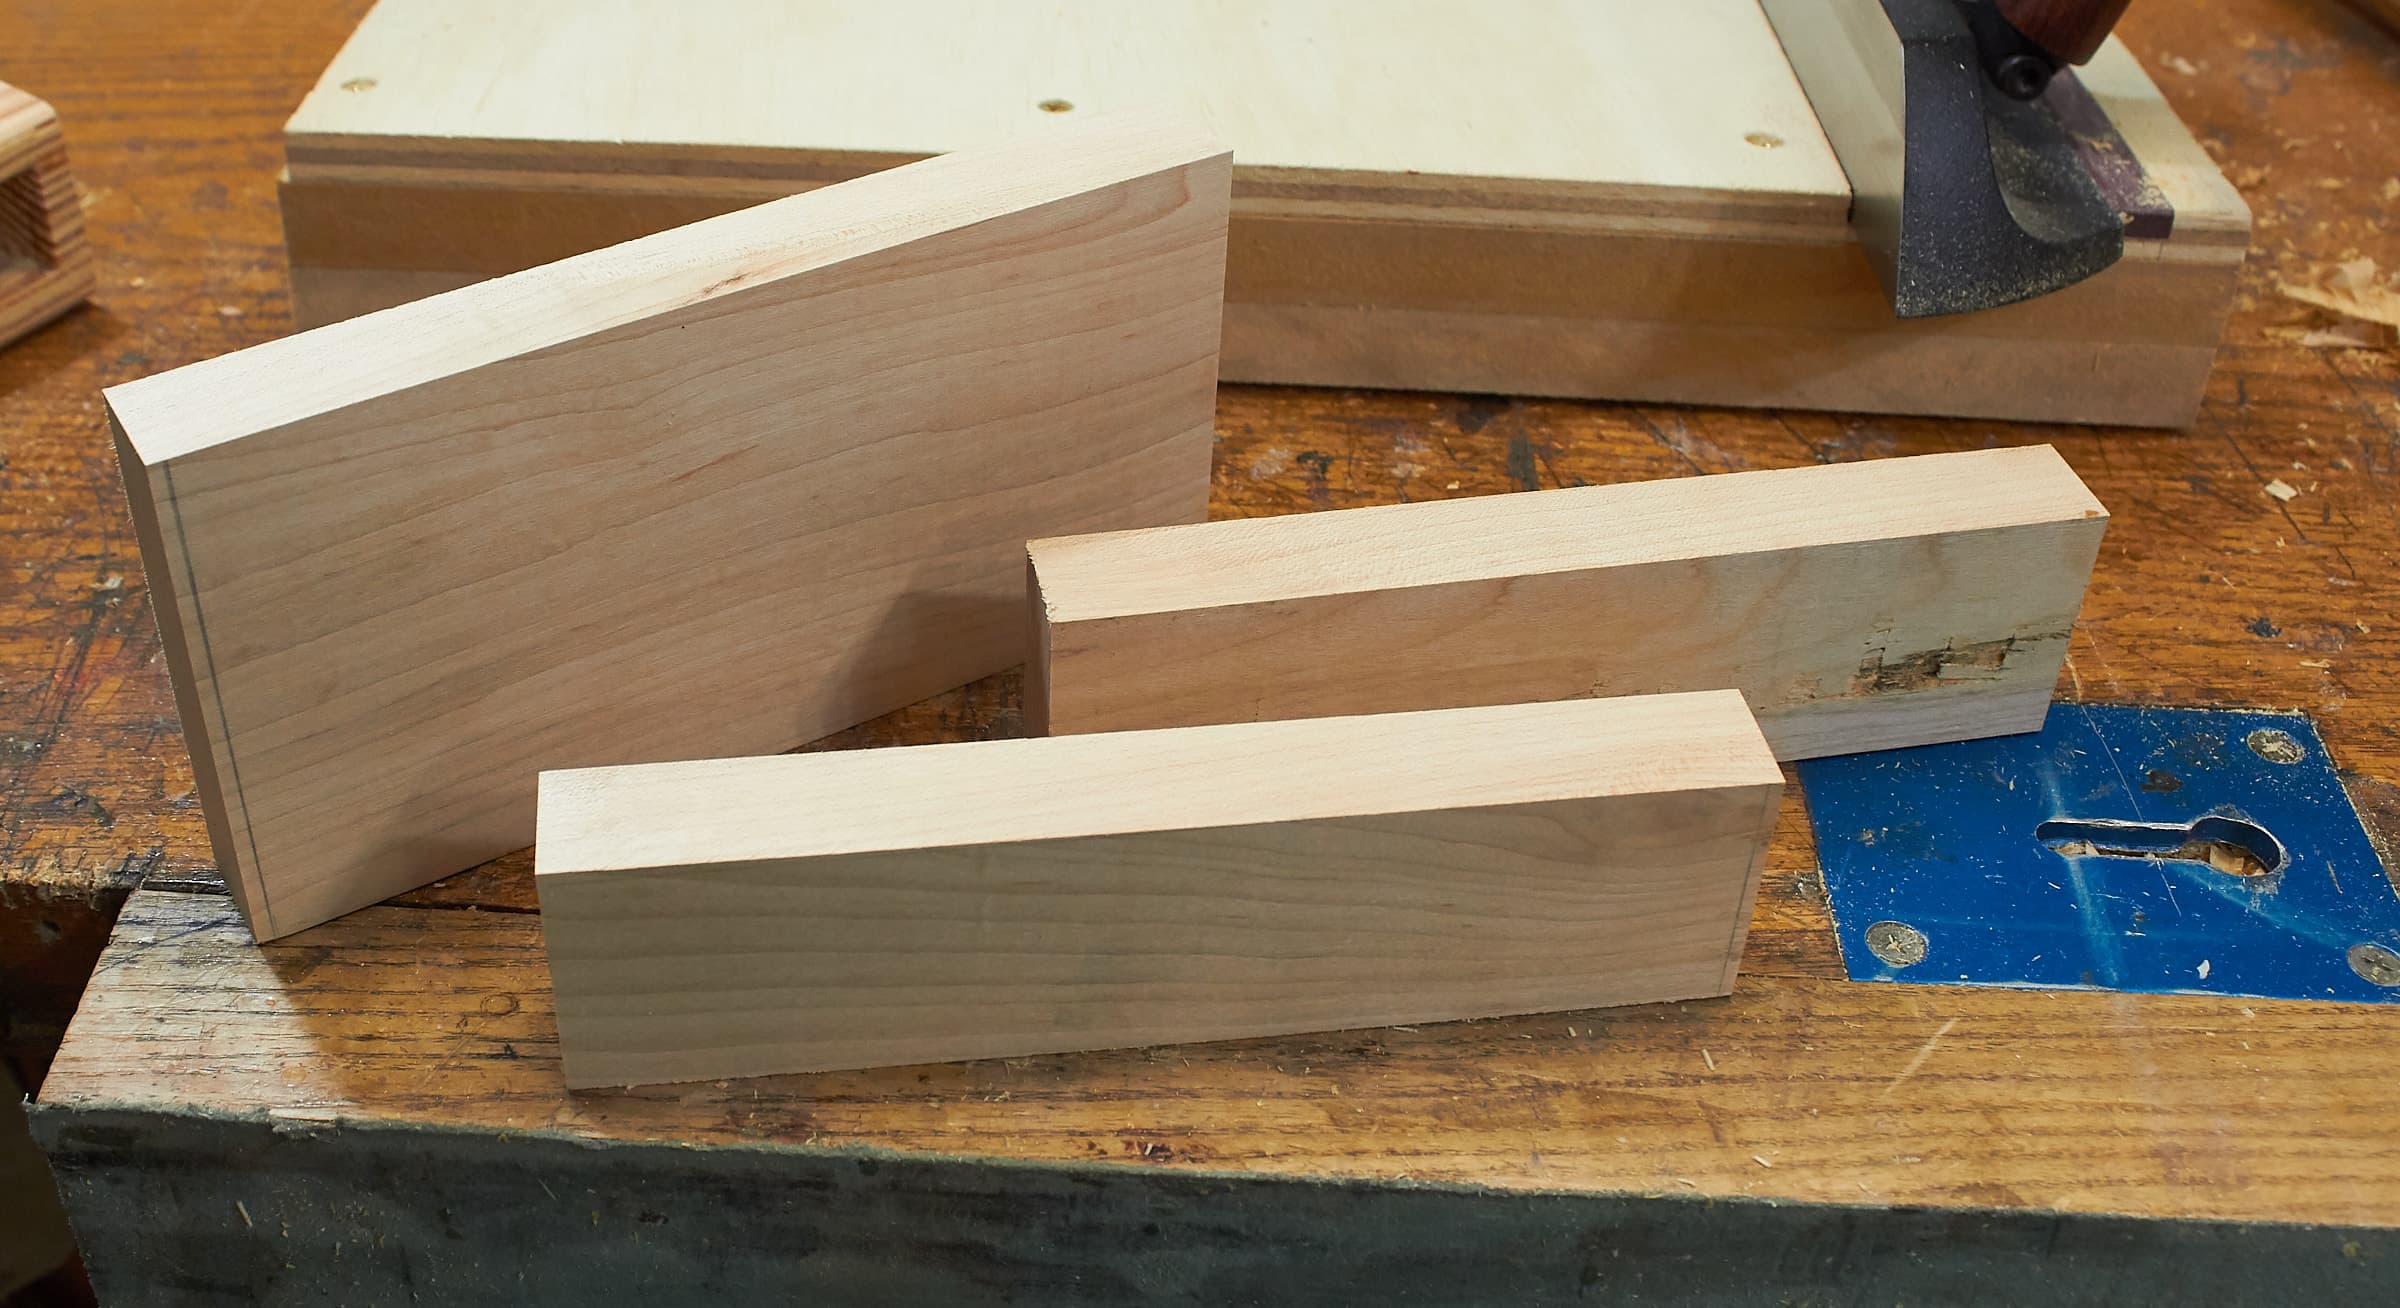
Here’s my pieces. I cut one extra piece for the sides in case I screw up later… (I don’t, but just in case!)
Mark Center
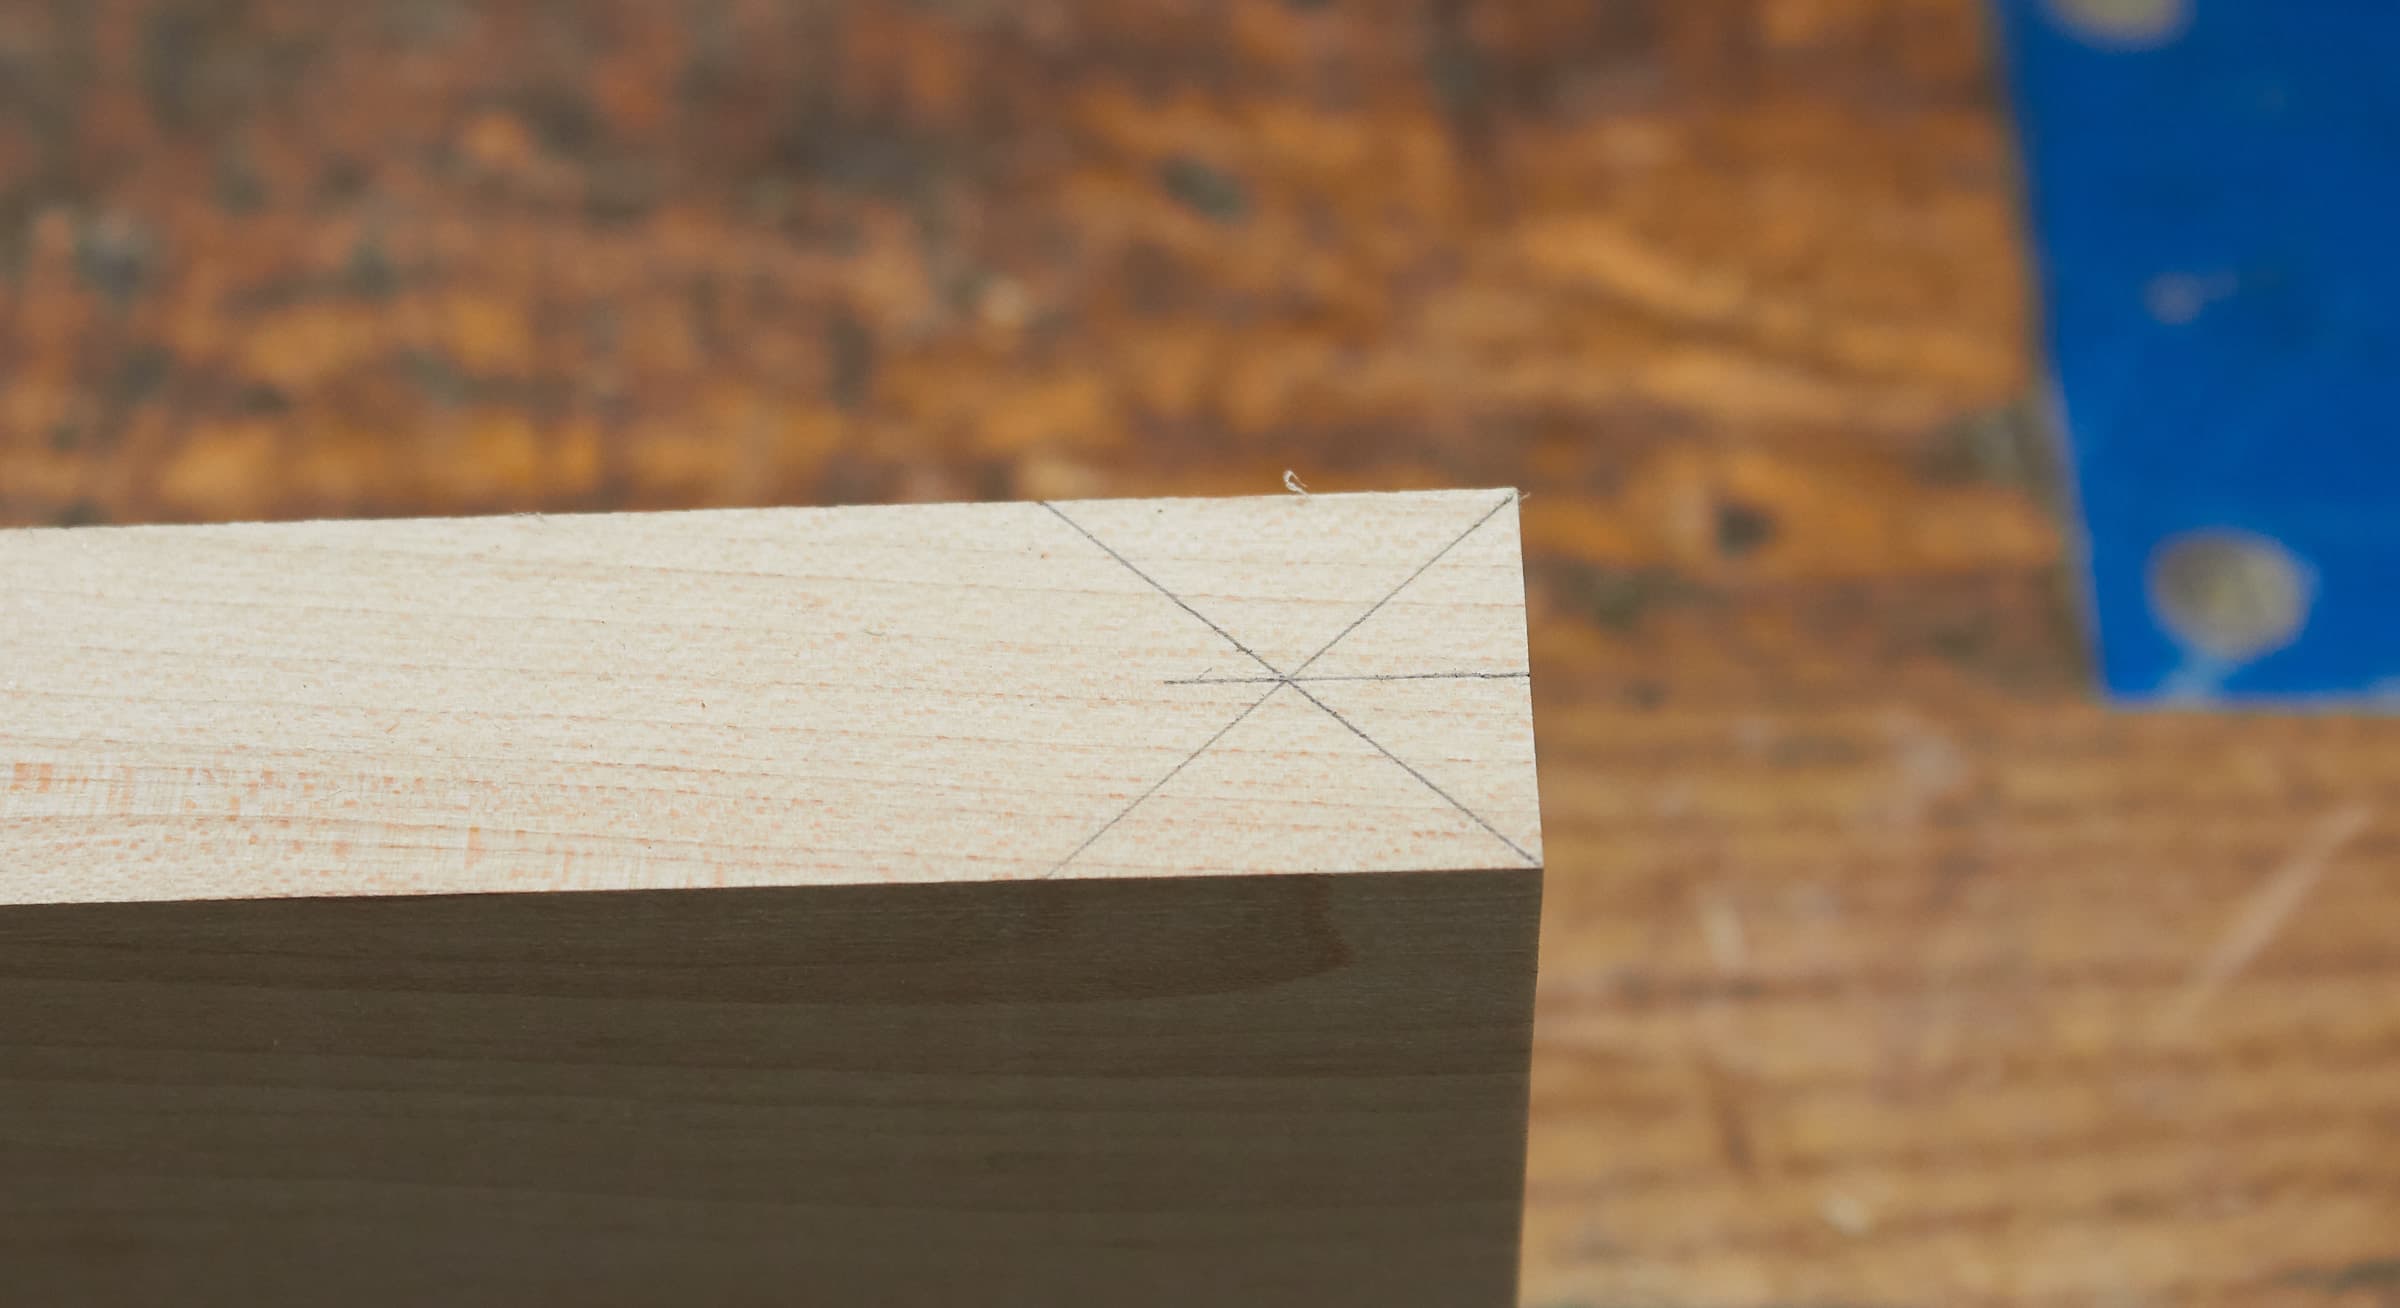
On the larger board that makes the top/bottom, I mark the center so that I can split it in two on my band saw.
Rip Saw

Here’s the fun part! I Resaw it in to two pieces.
I the workpiece offset slightly so one side is thicker than the other. This gives me 2 different sounds.
Sawn
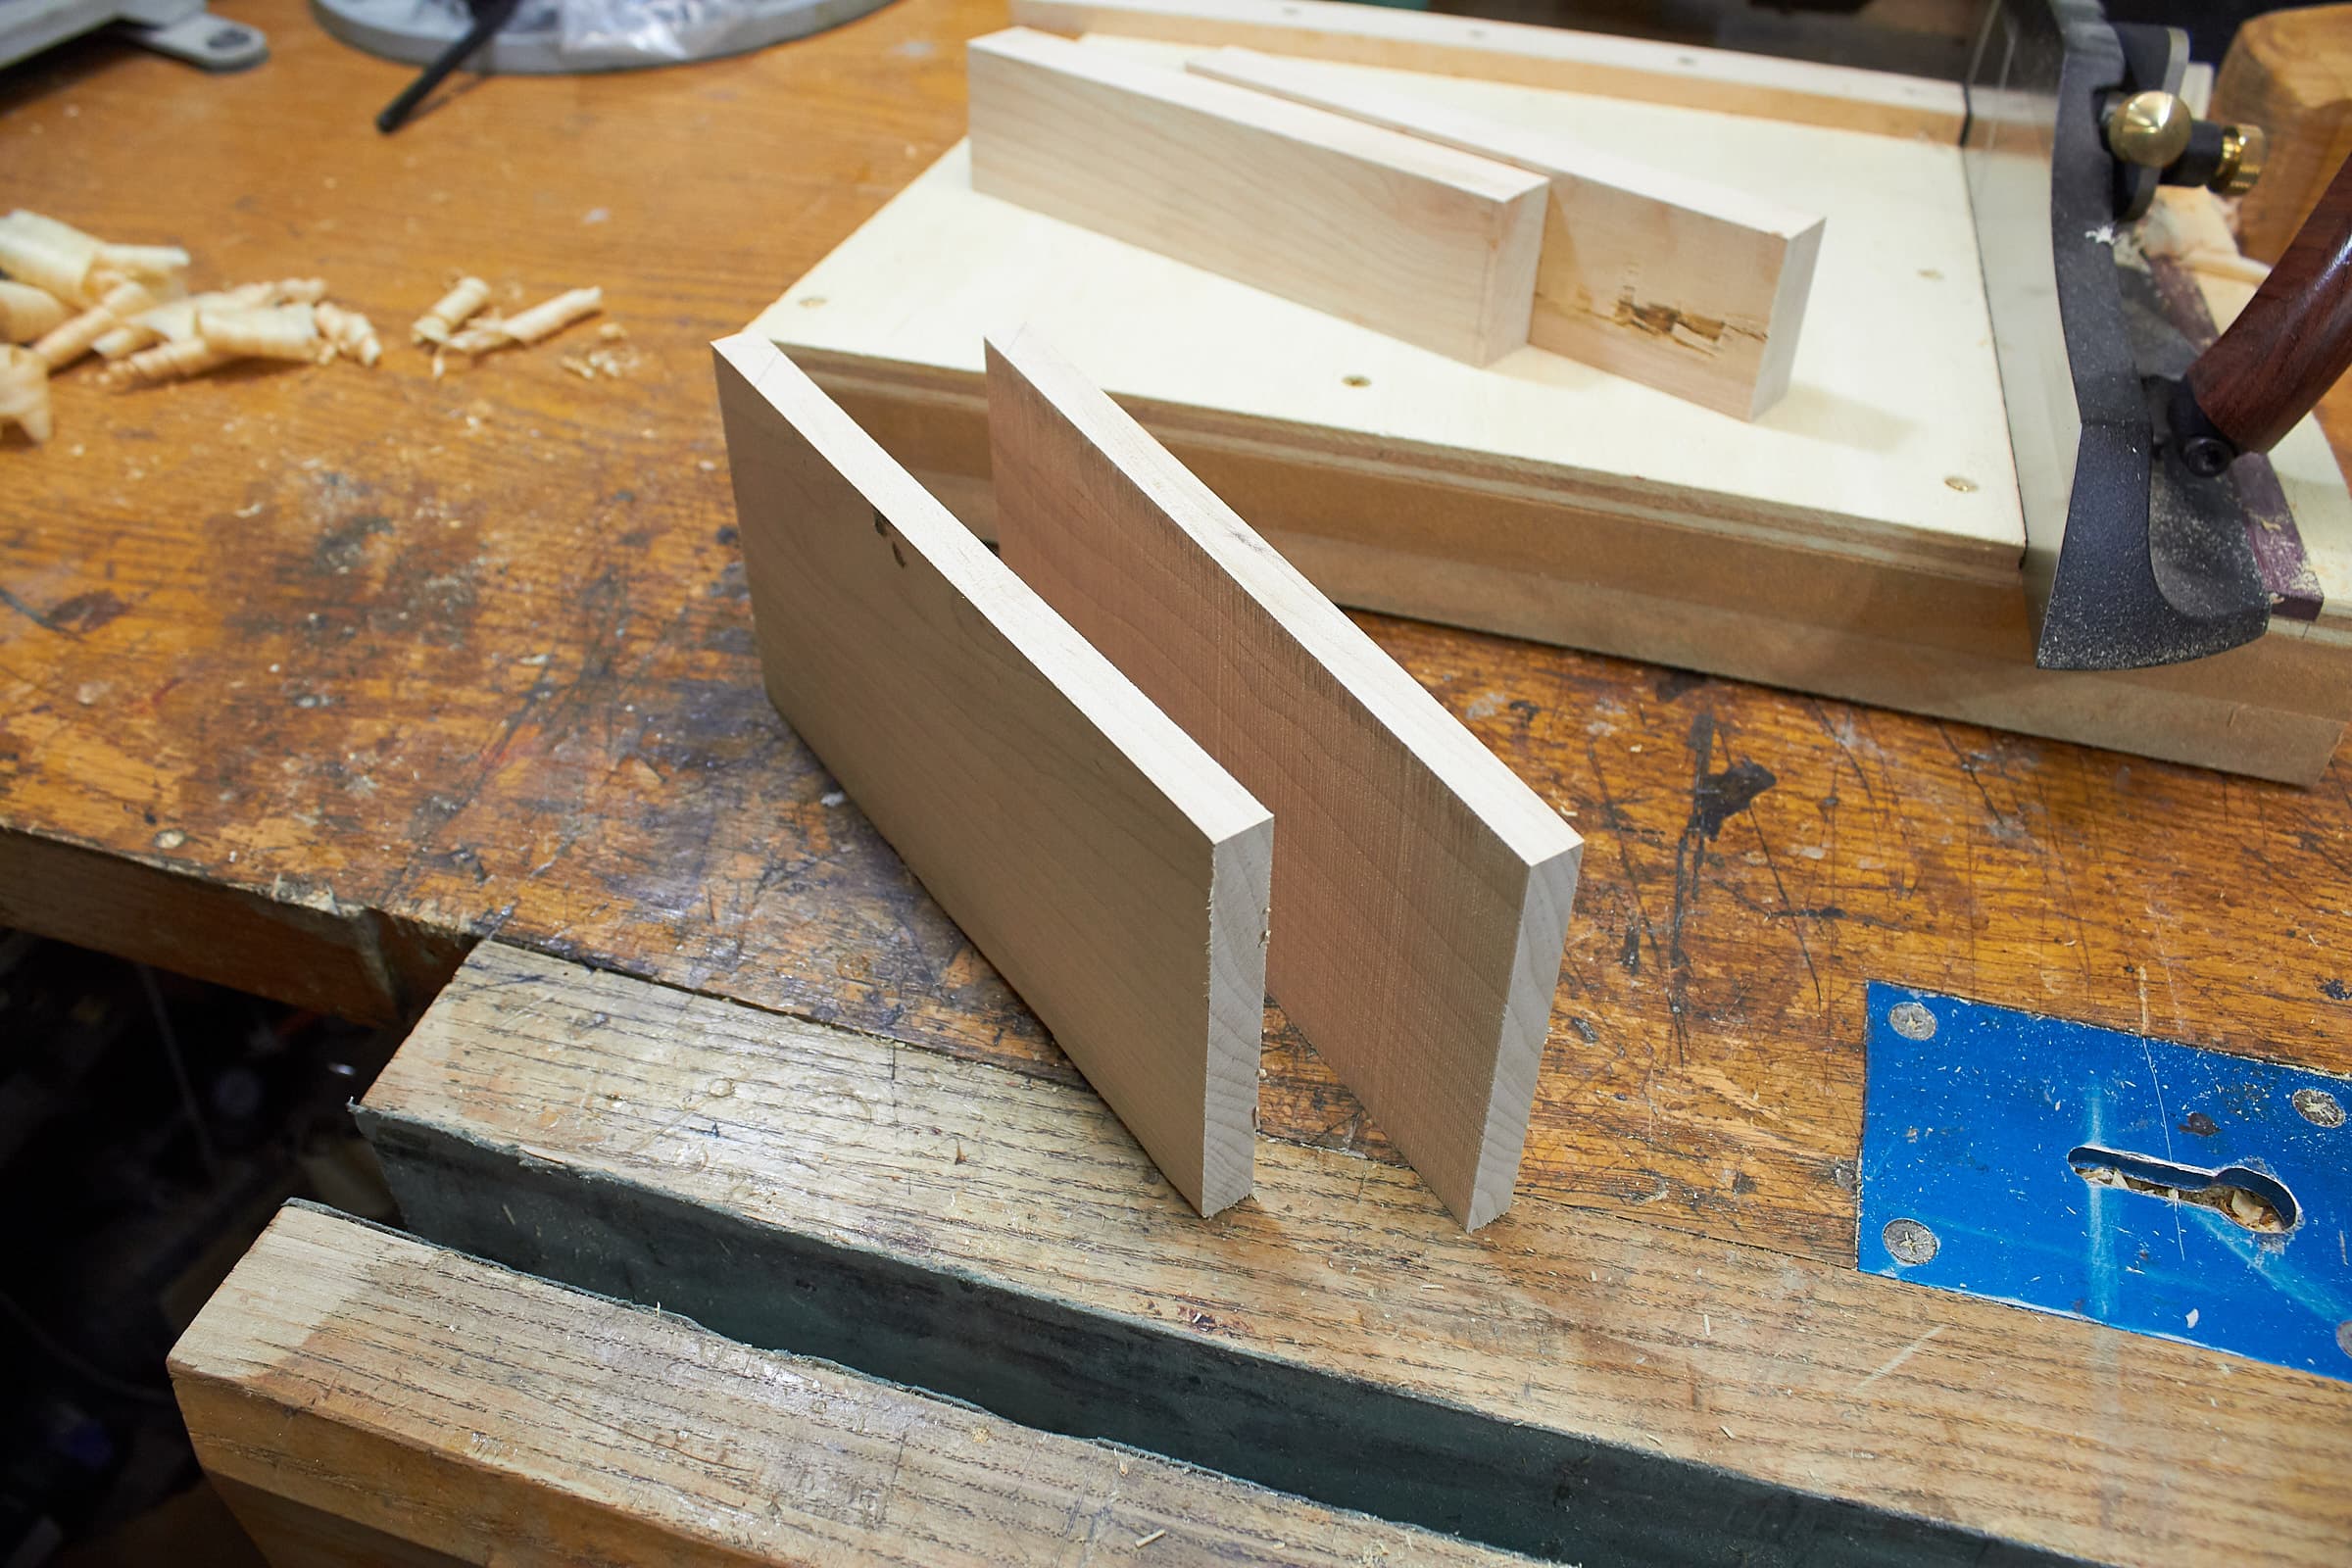
Sawn! I planed them as well to make everything tried and true.
Prep Router
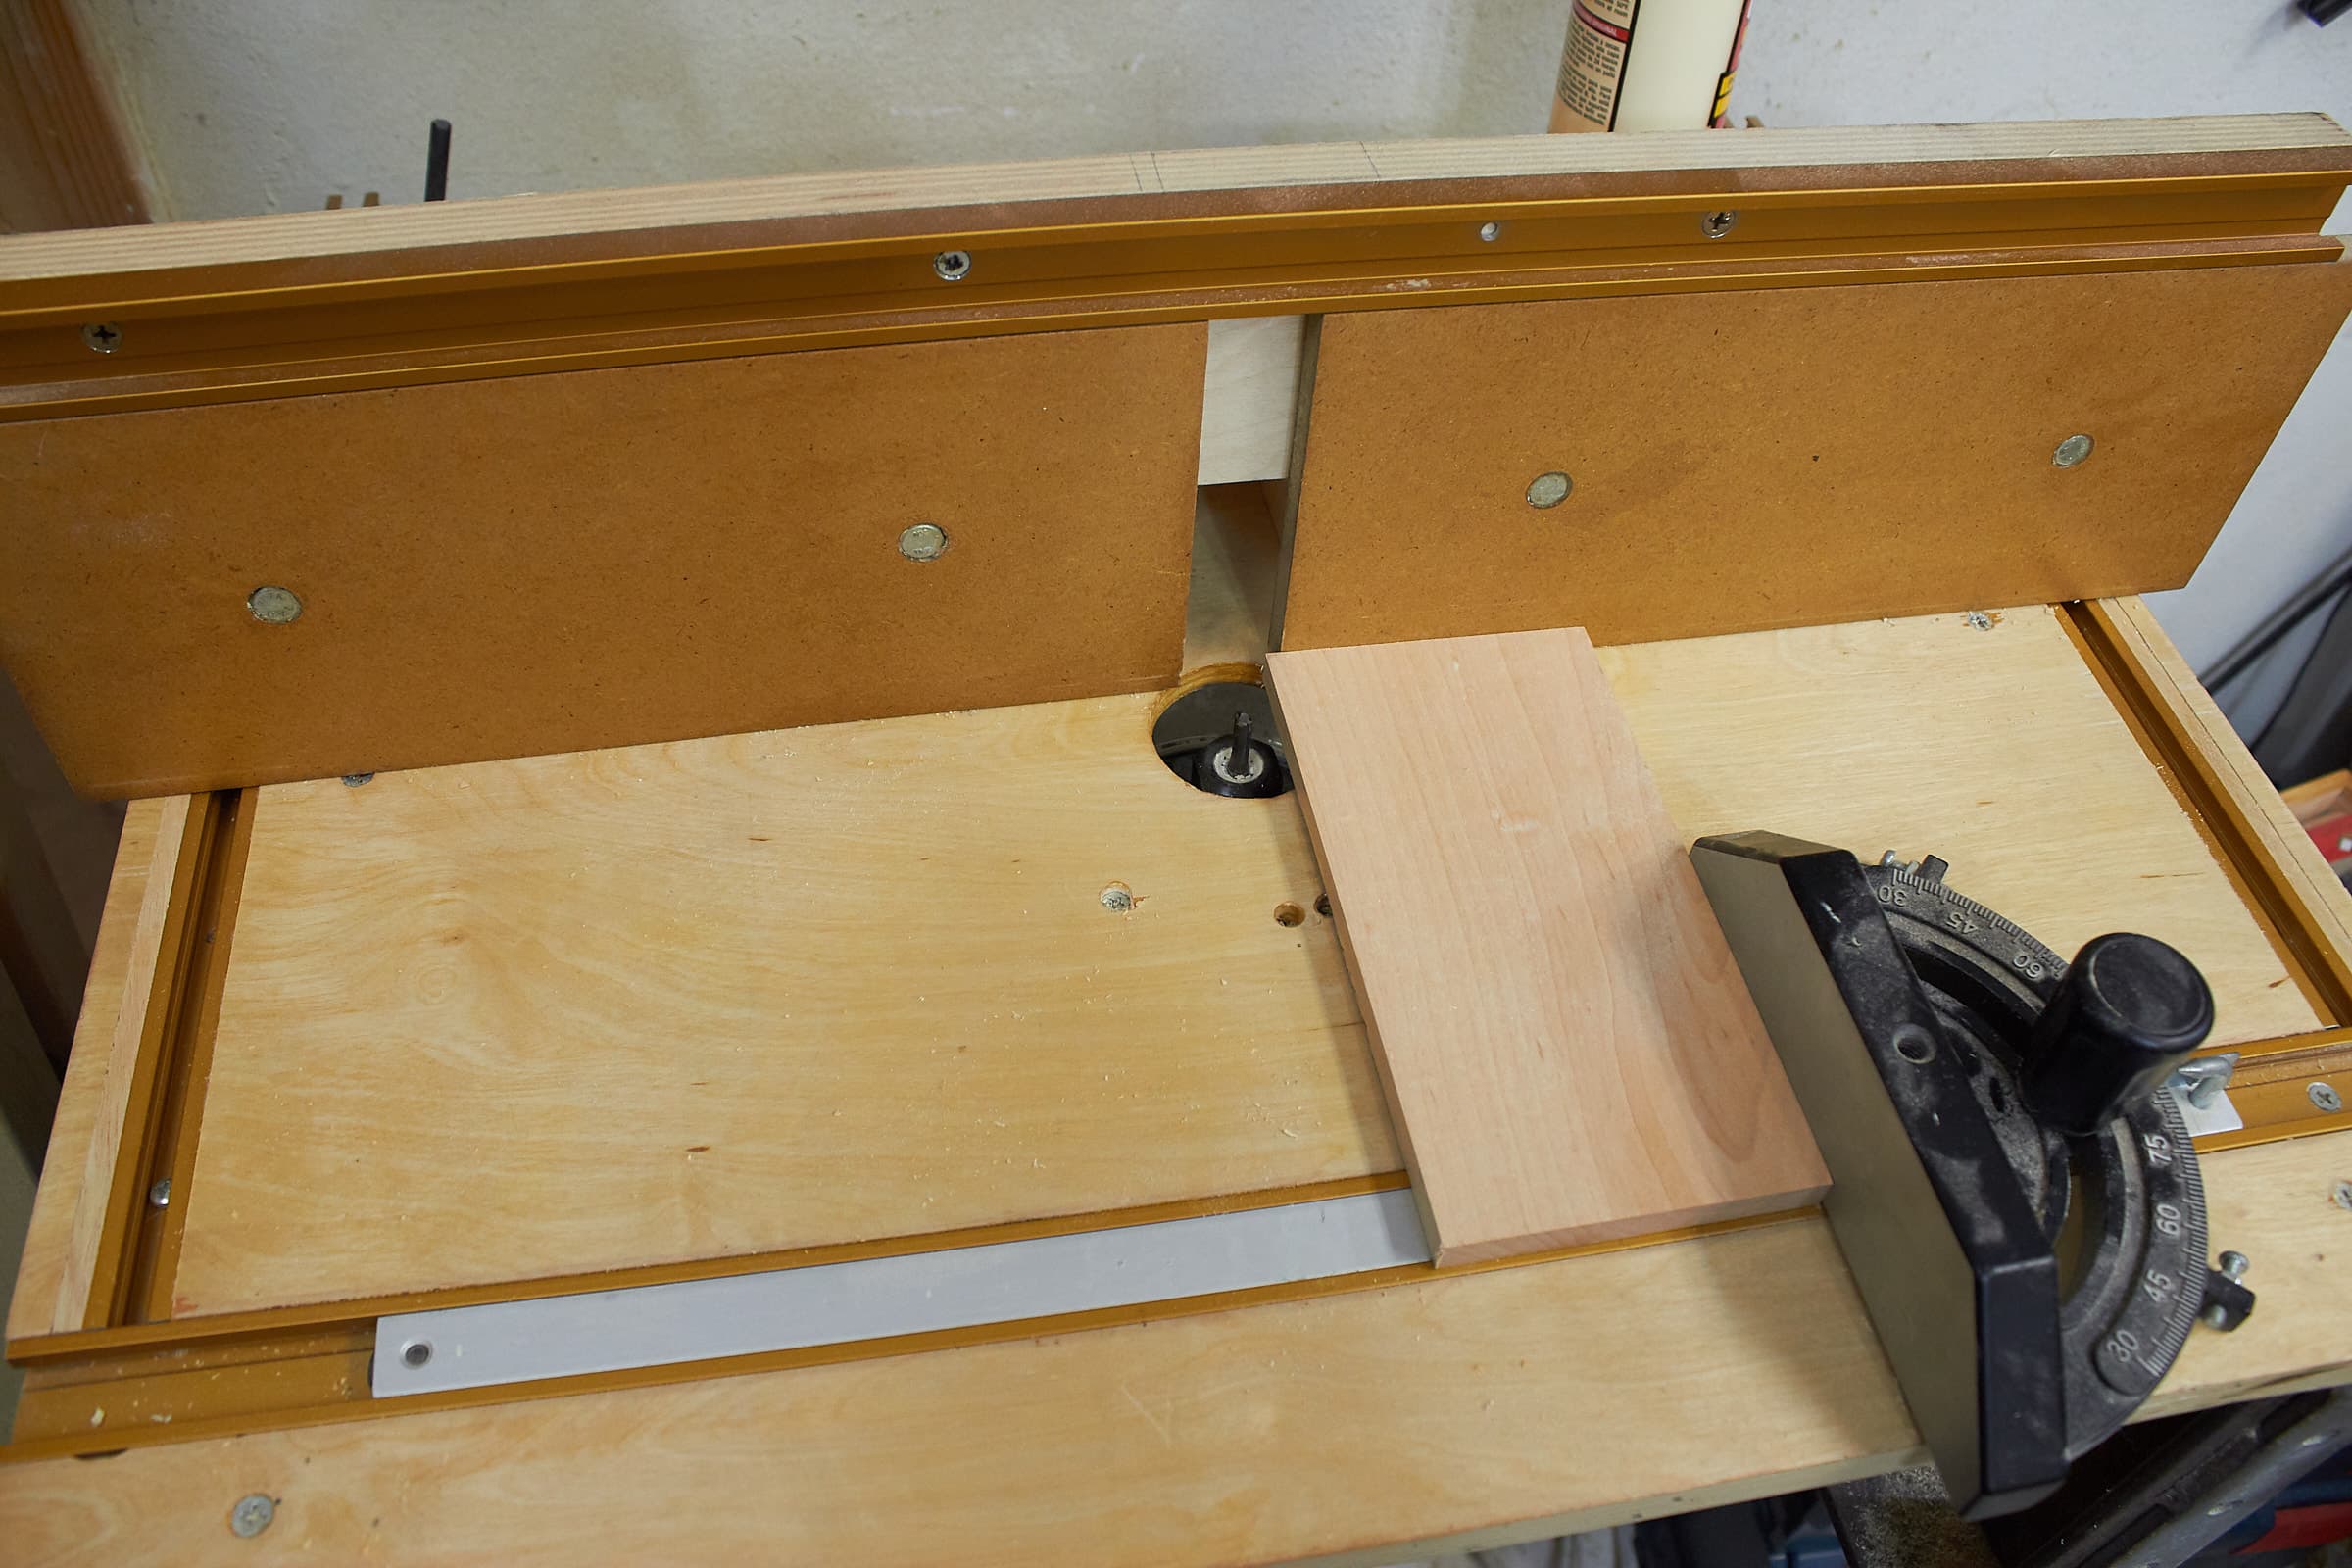
I’m going to cut dadoes to hold the sides.
I use a 1/4”(6mm) router bit on my router table. I’m also using a miter gauge for extra support
Routed
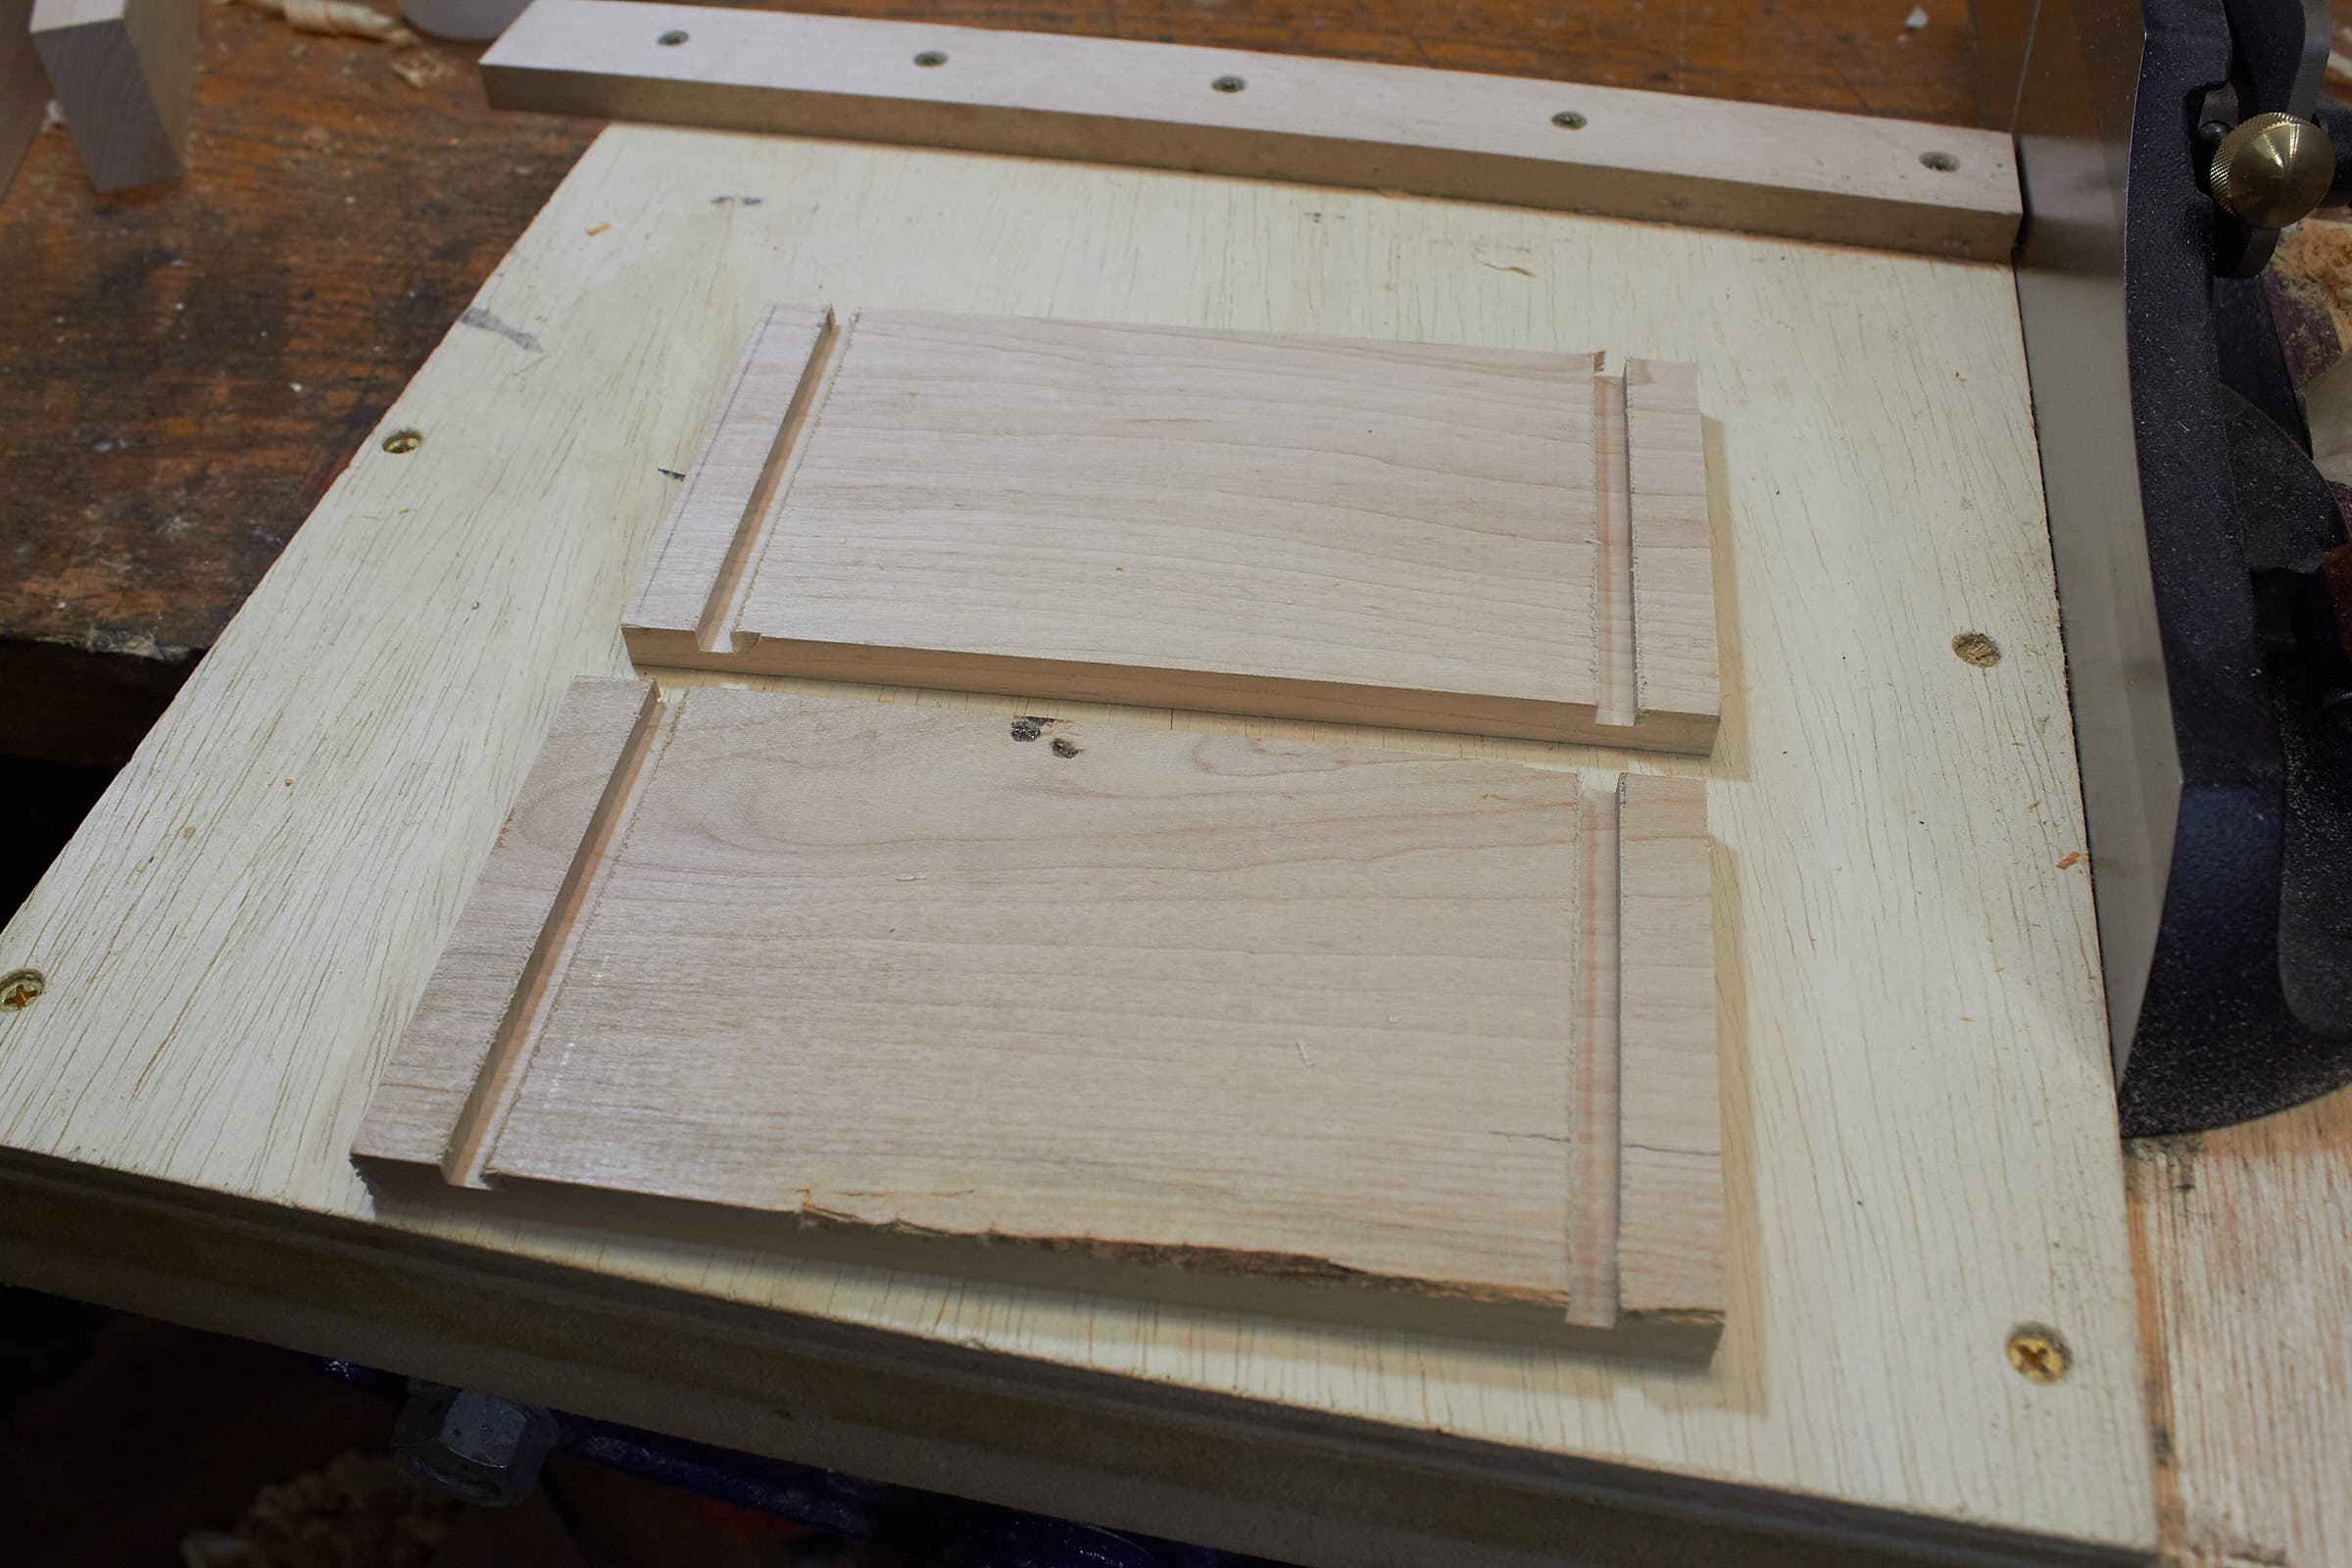
Here’s the sides routed. The size is basically the same as the other wood block.
Route Groove
The back needs a groove routed, so I do that.
Why a groove and not a dado? Grooves go with the grain and dadoes go against it. So this is a groove. The perpendicular cuts are dadoes.
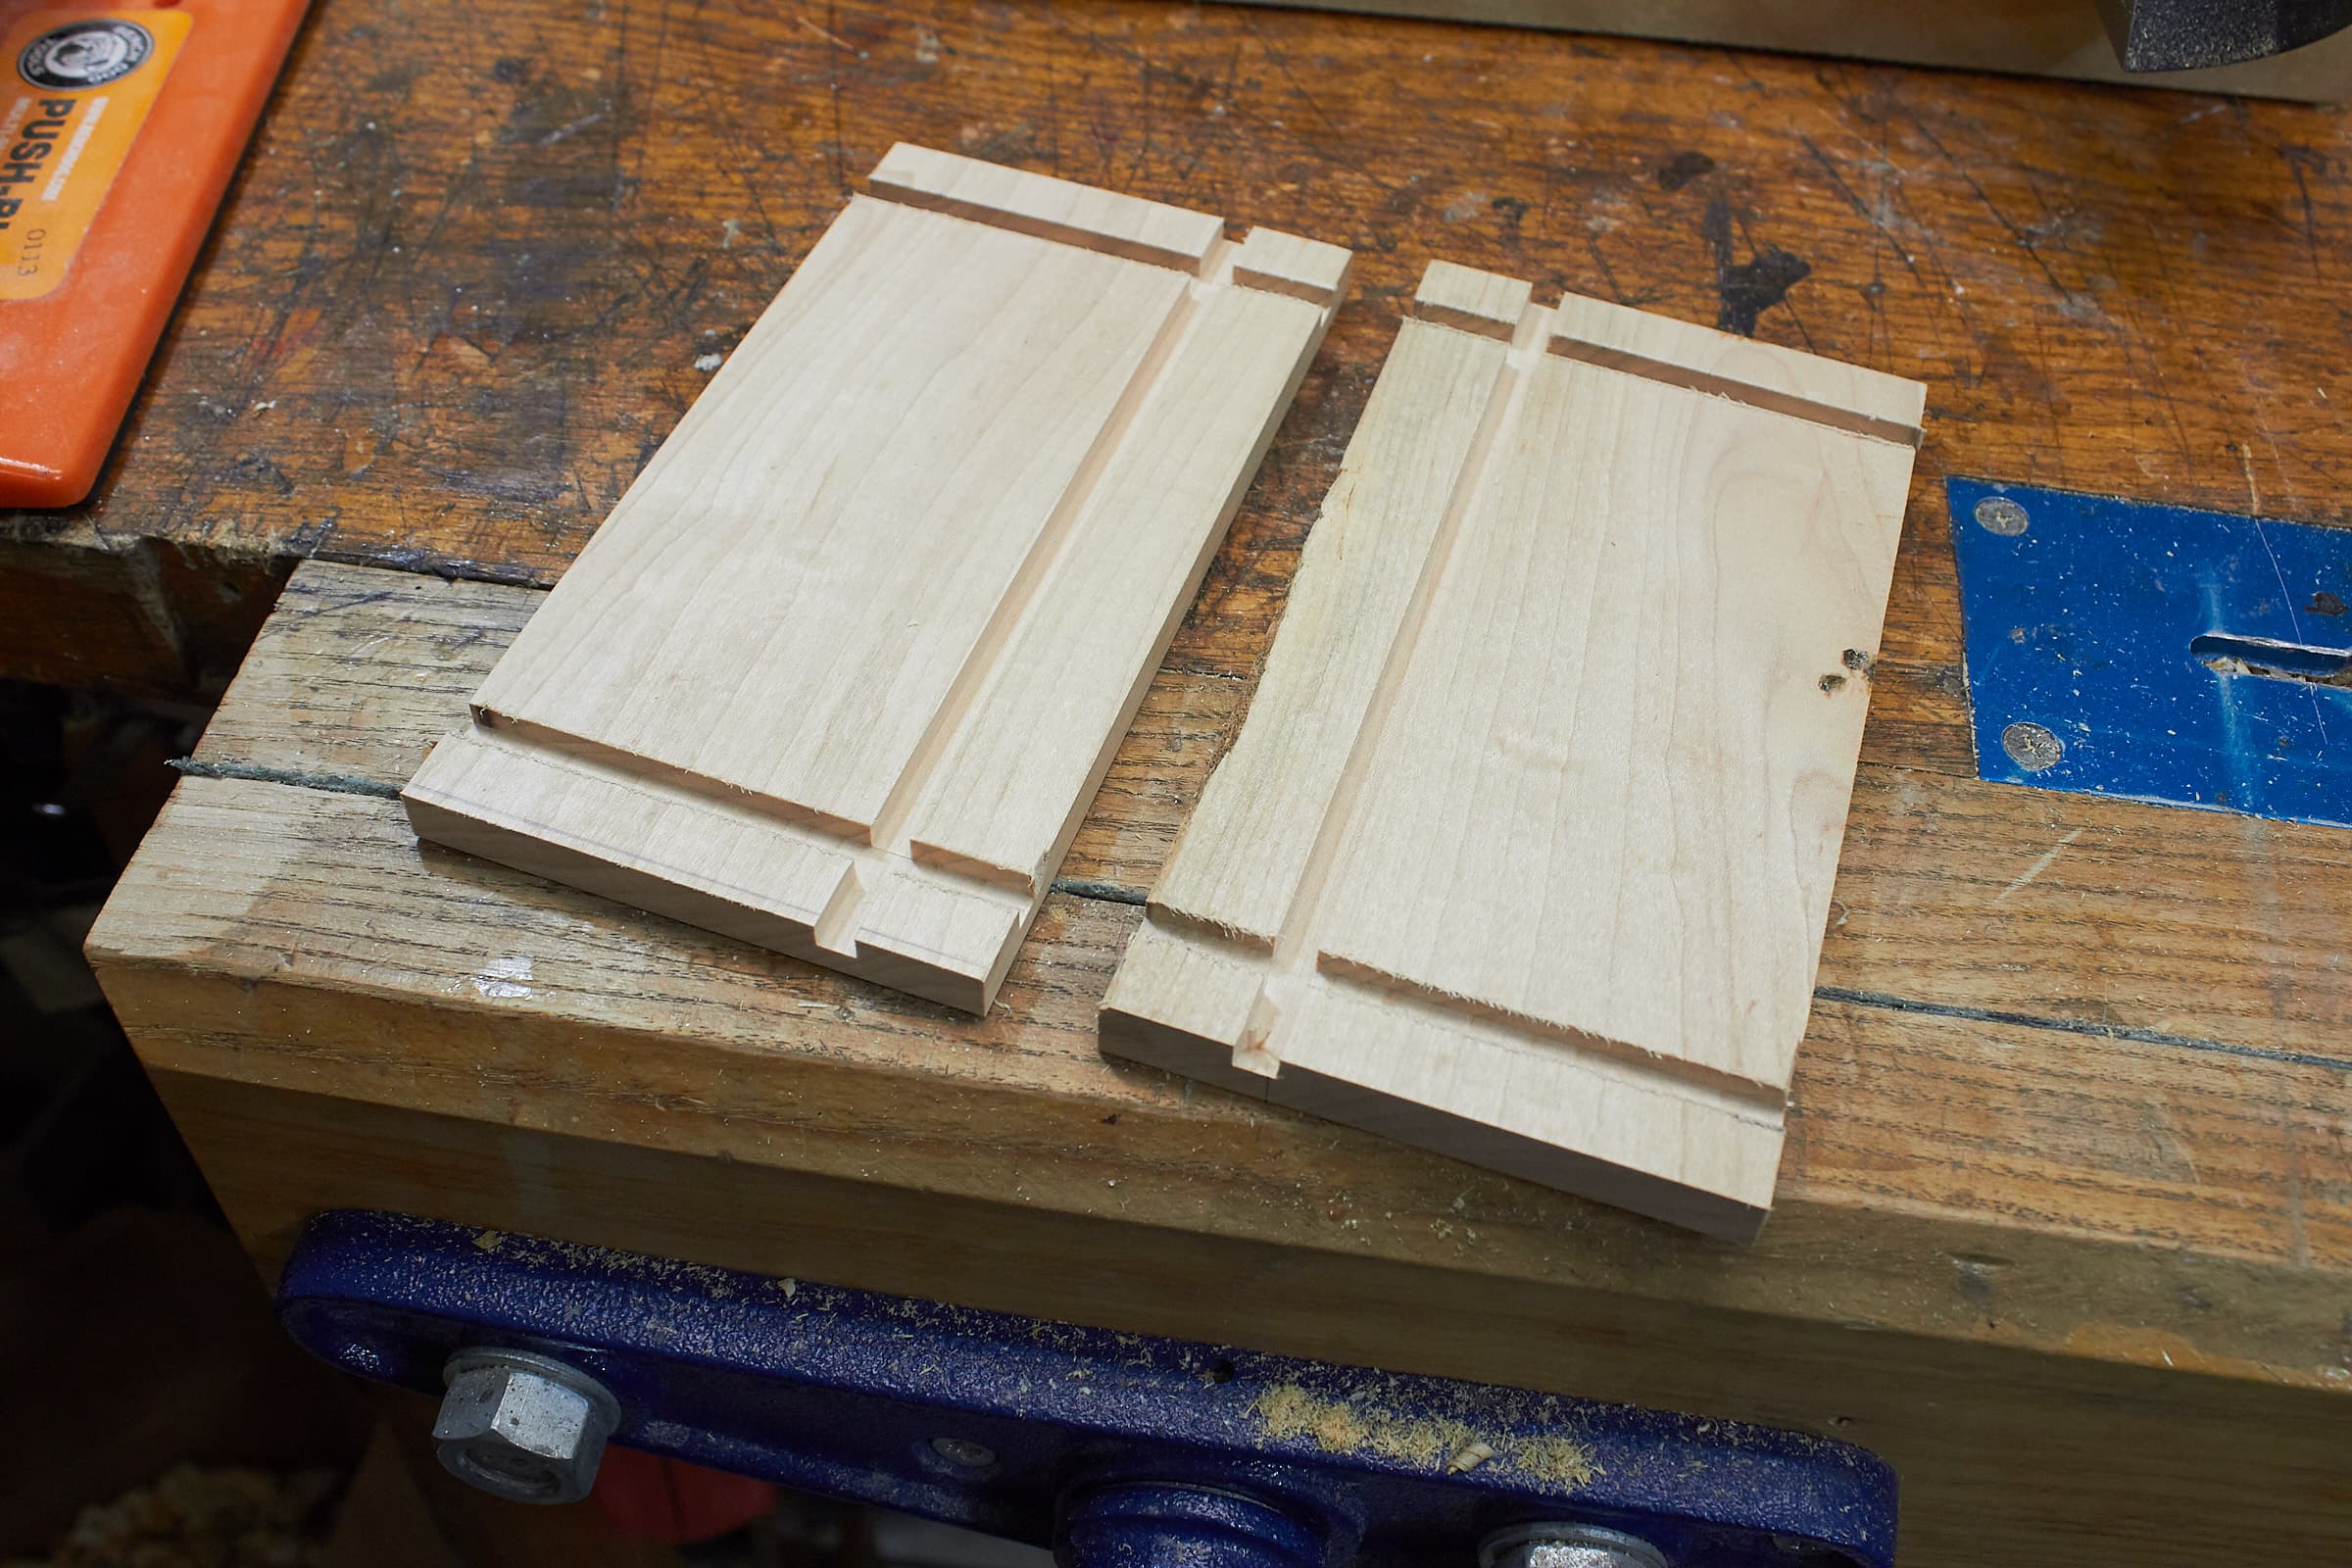
Cut Sides
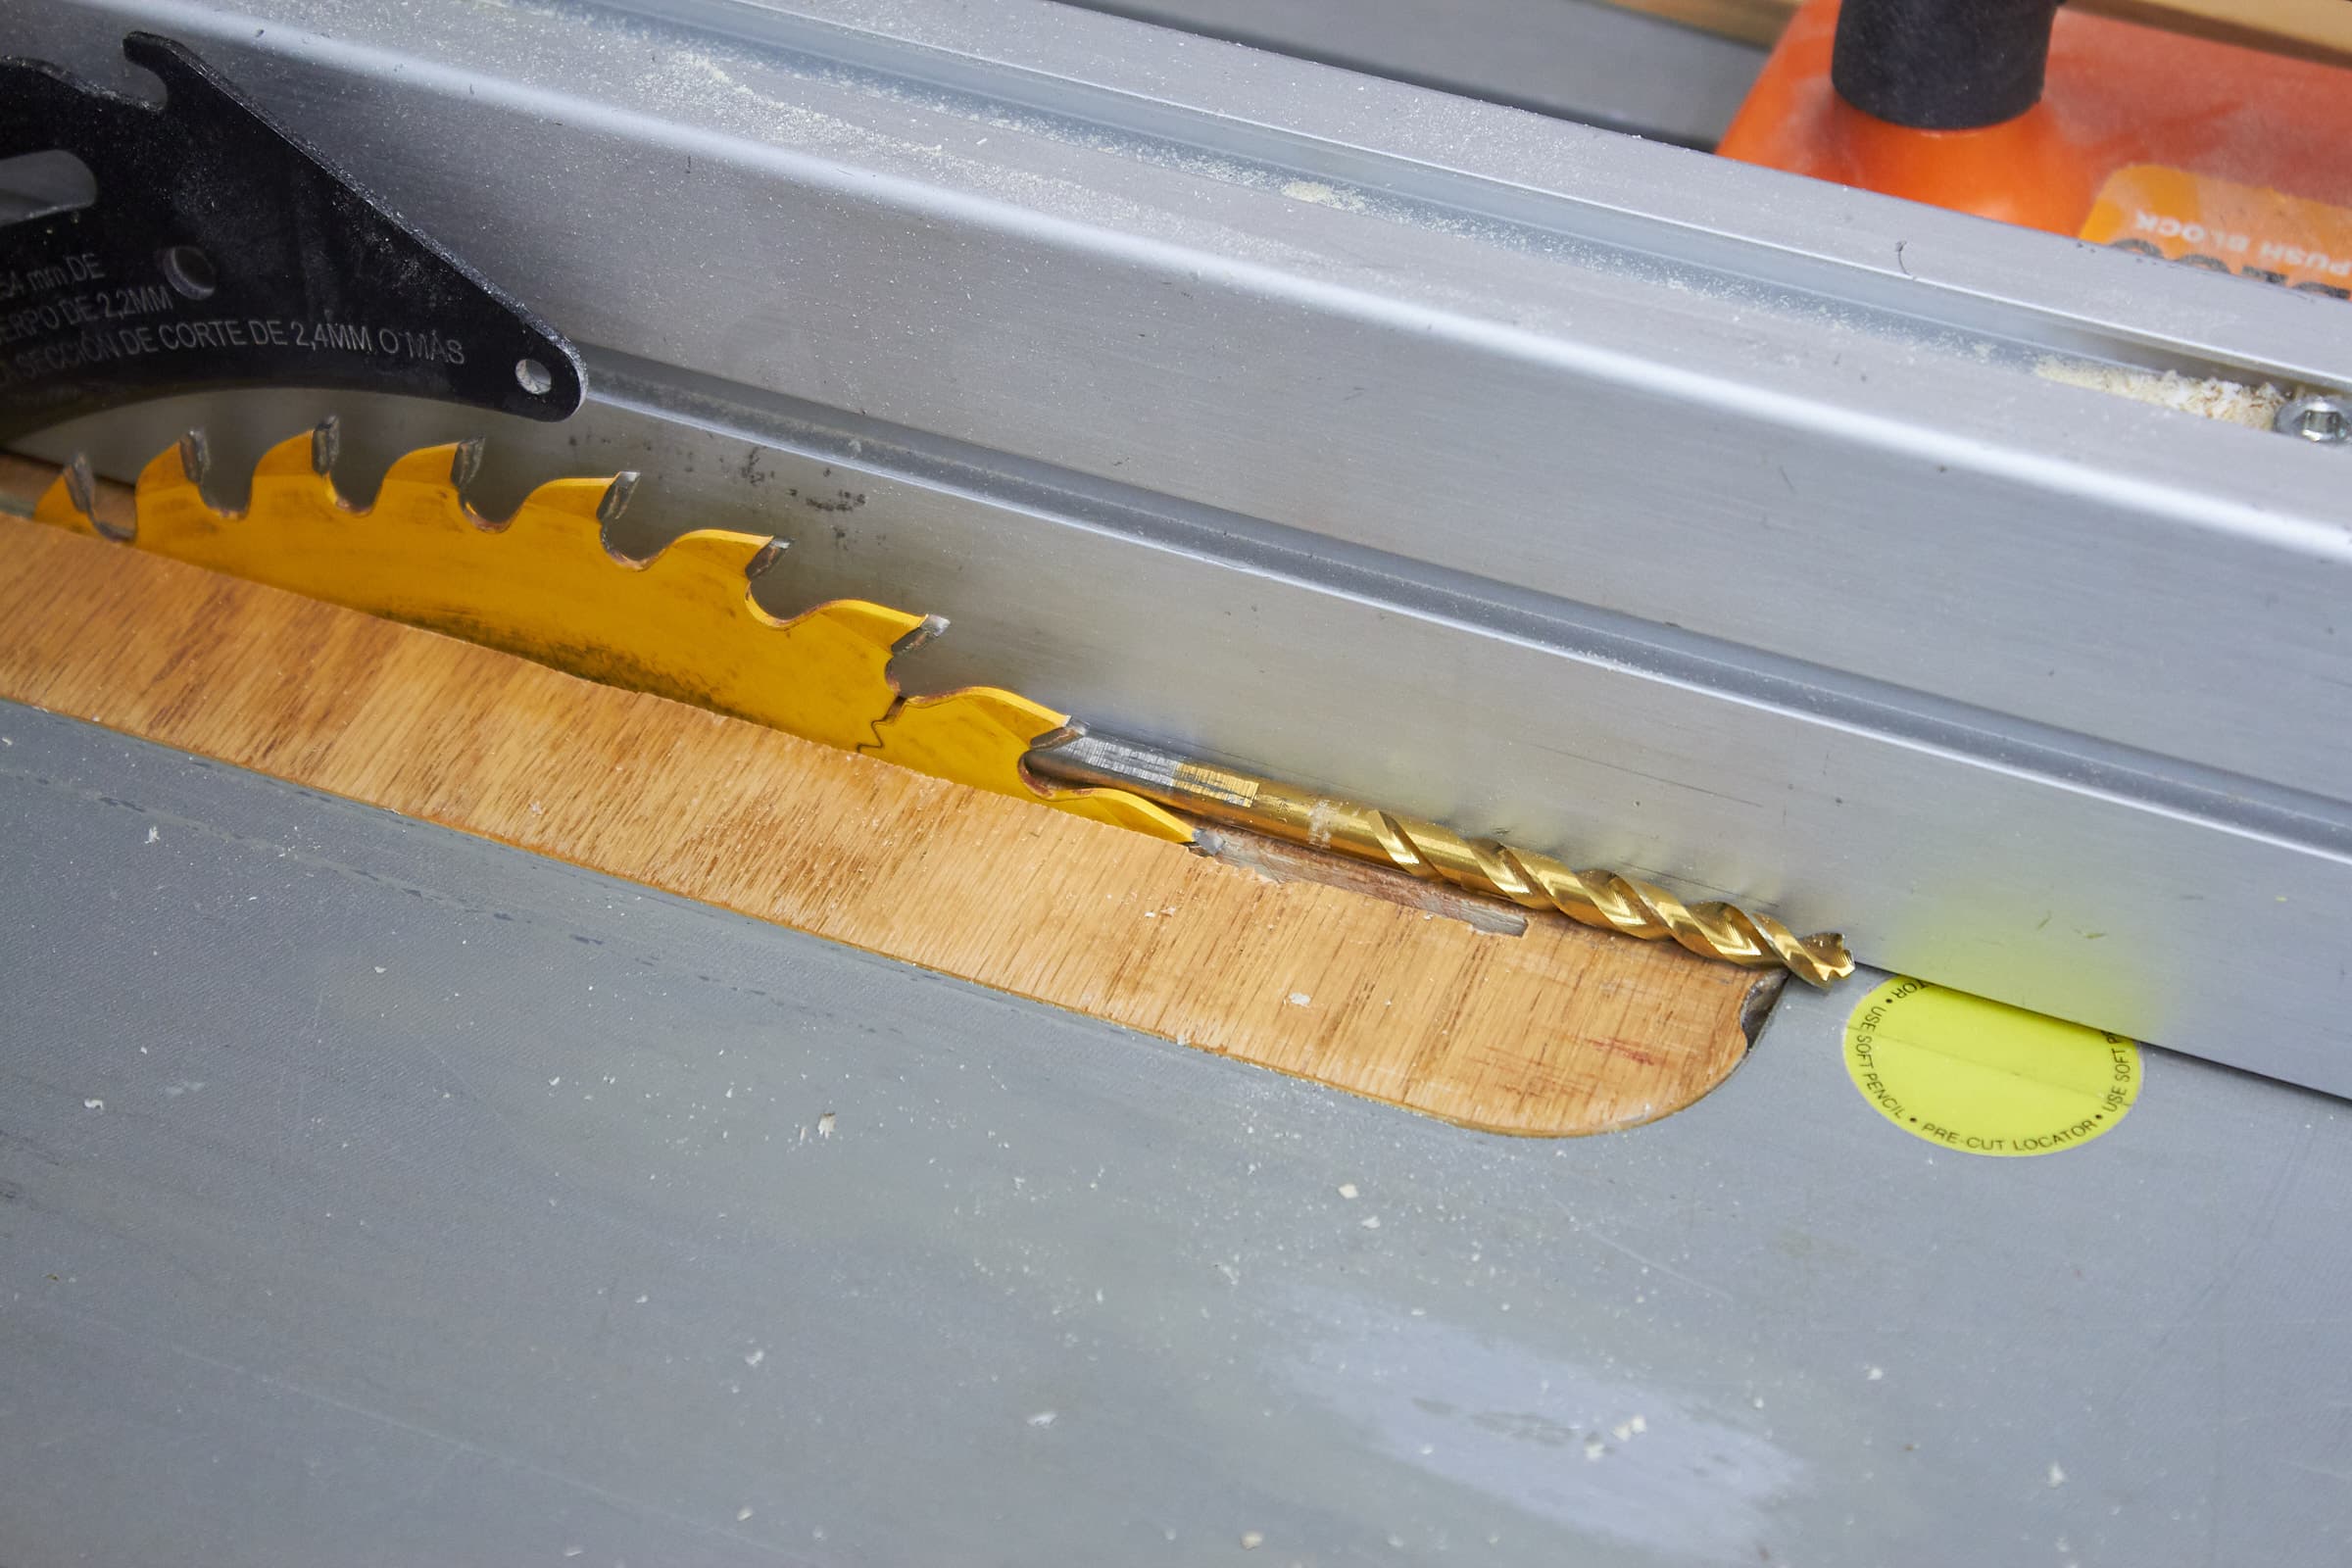
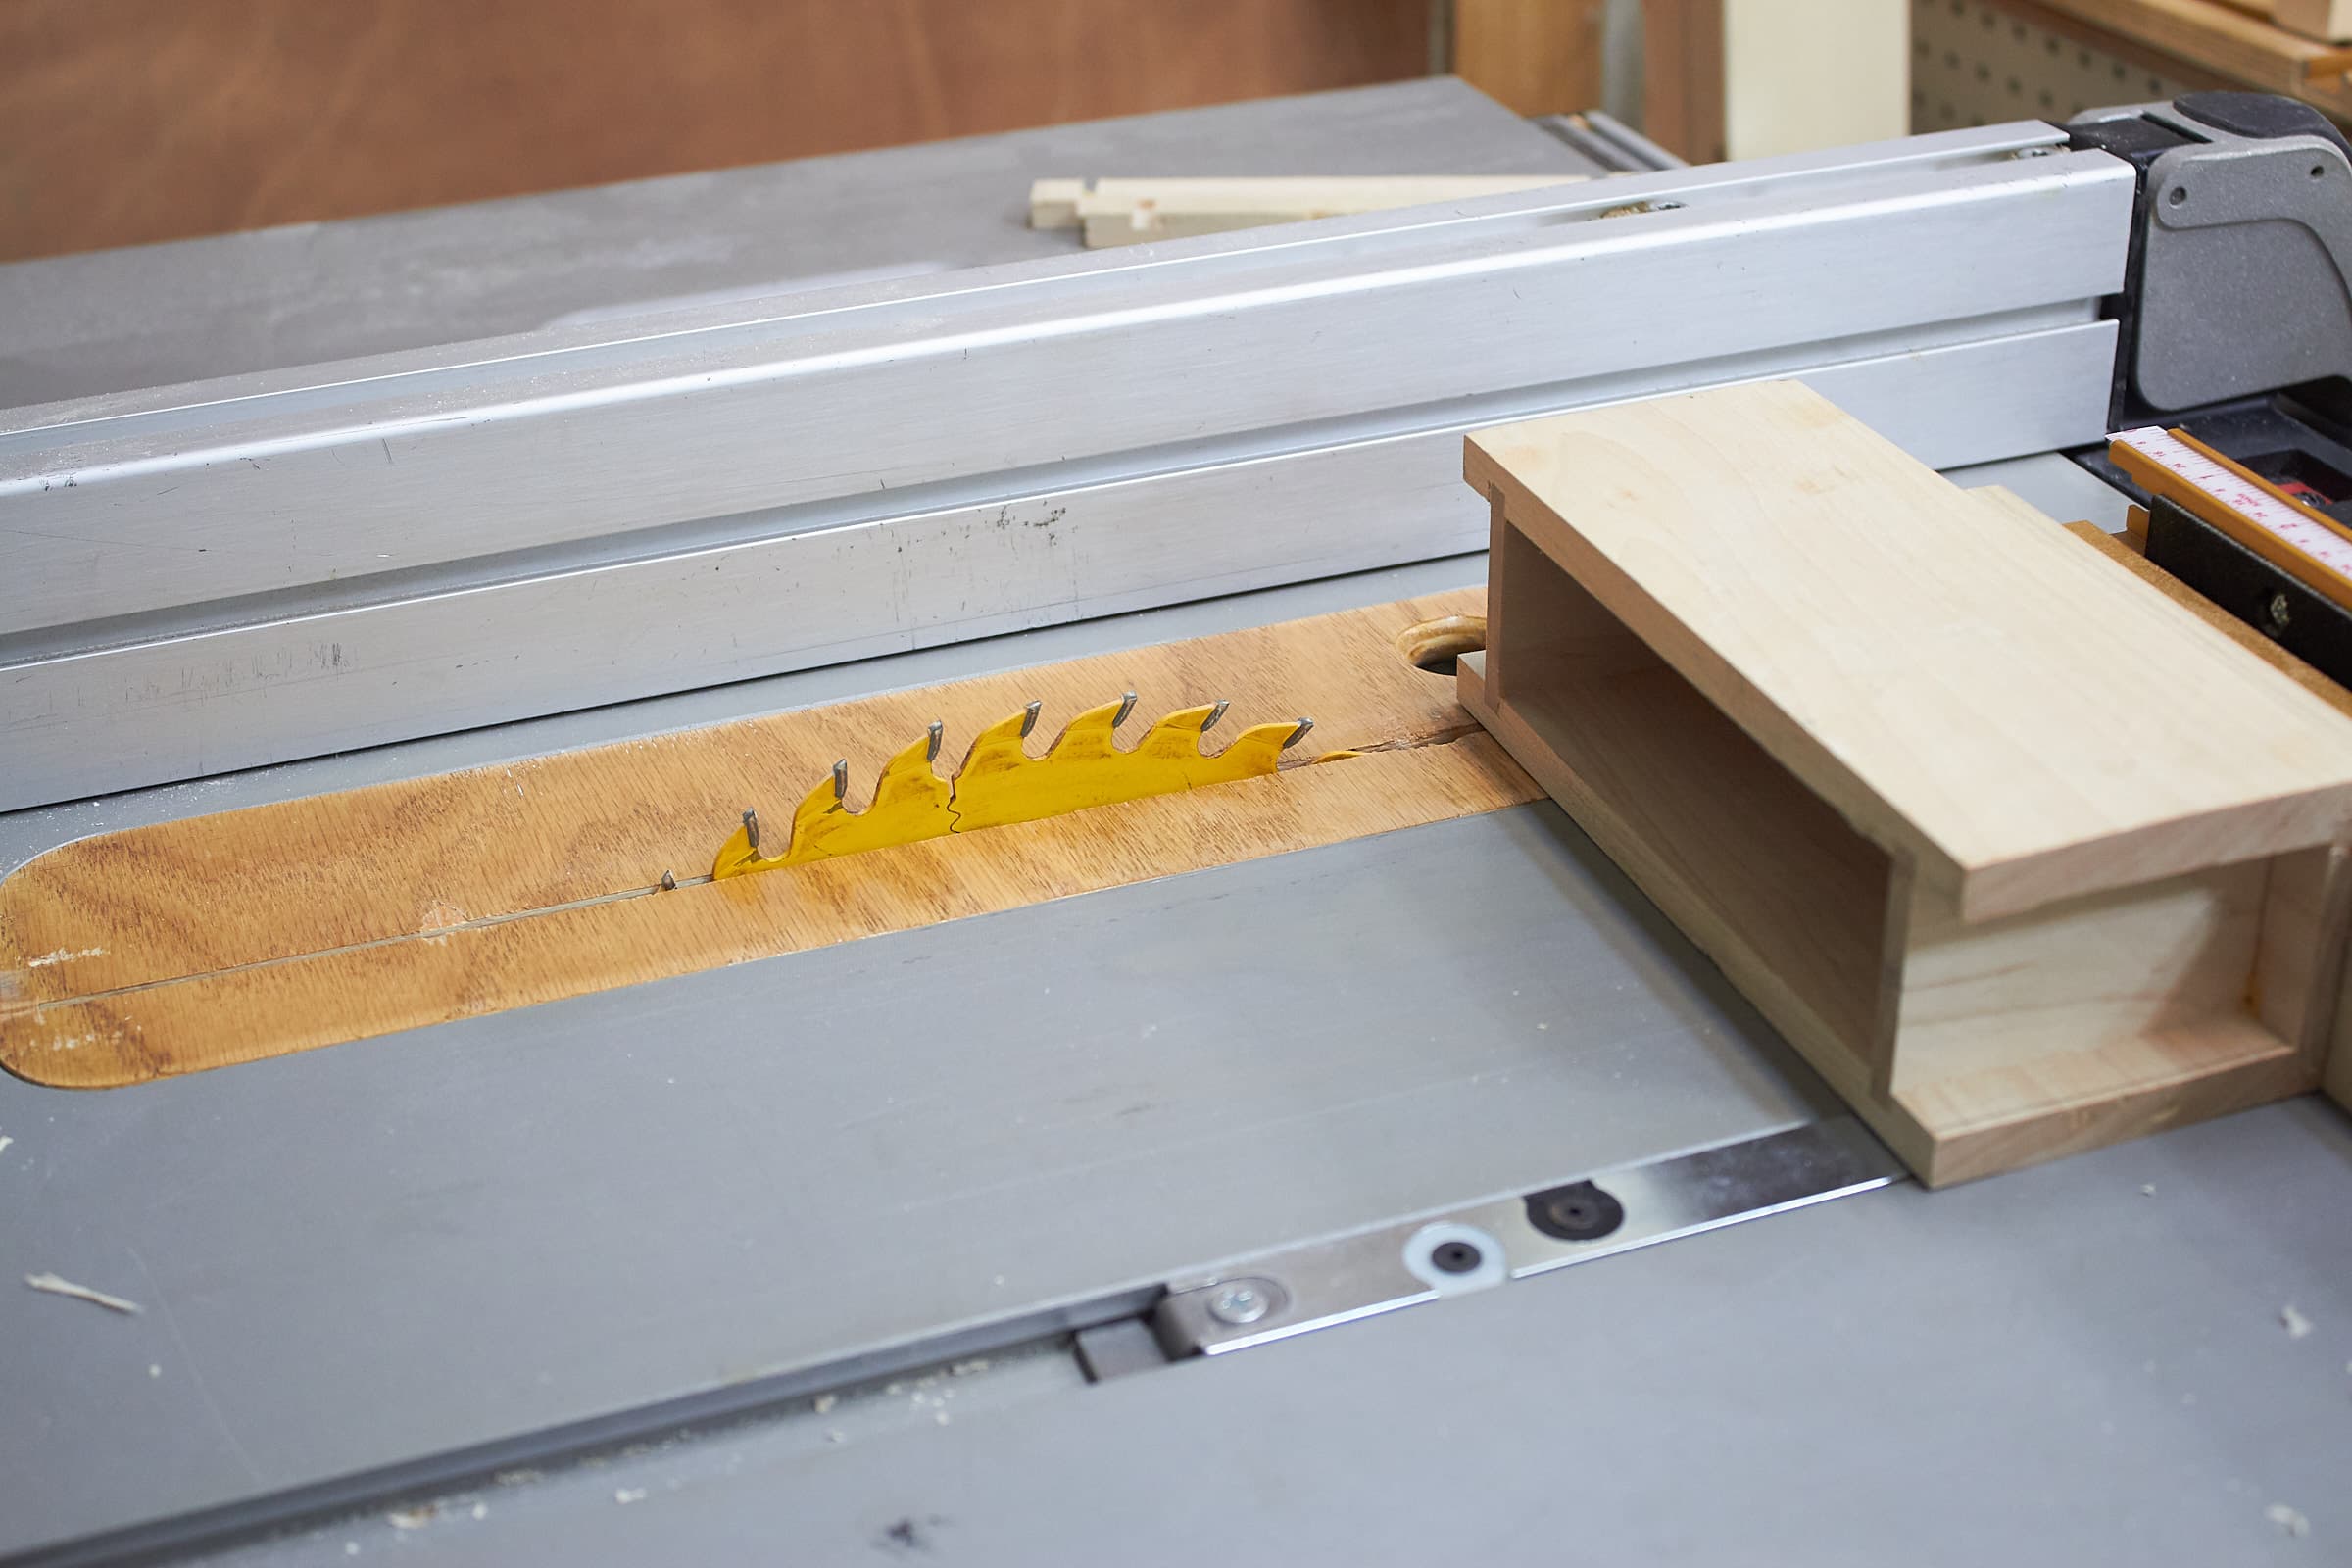
I want 1/4”(6mm) thick sides. I do this on my table saw.
I’m using a trick to set the fence where I grab a 1/4” drill bit and use that to set the cut to exactly 1/4” without much trouble.
Sides Cut
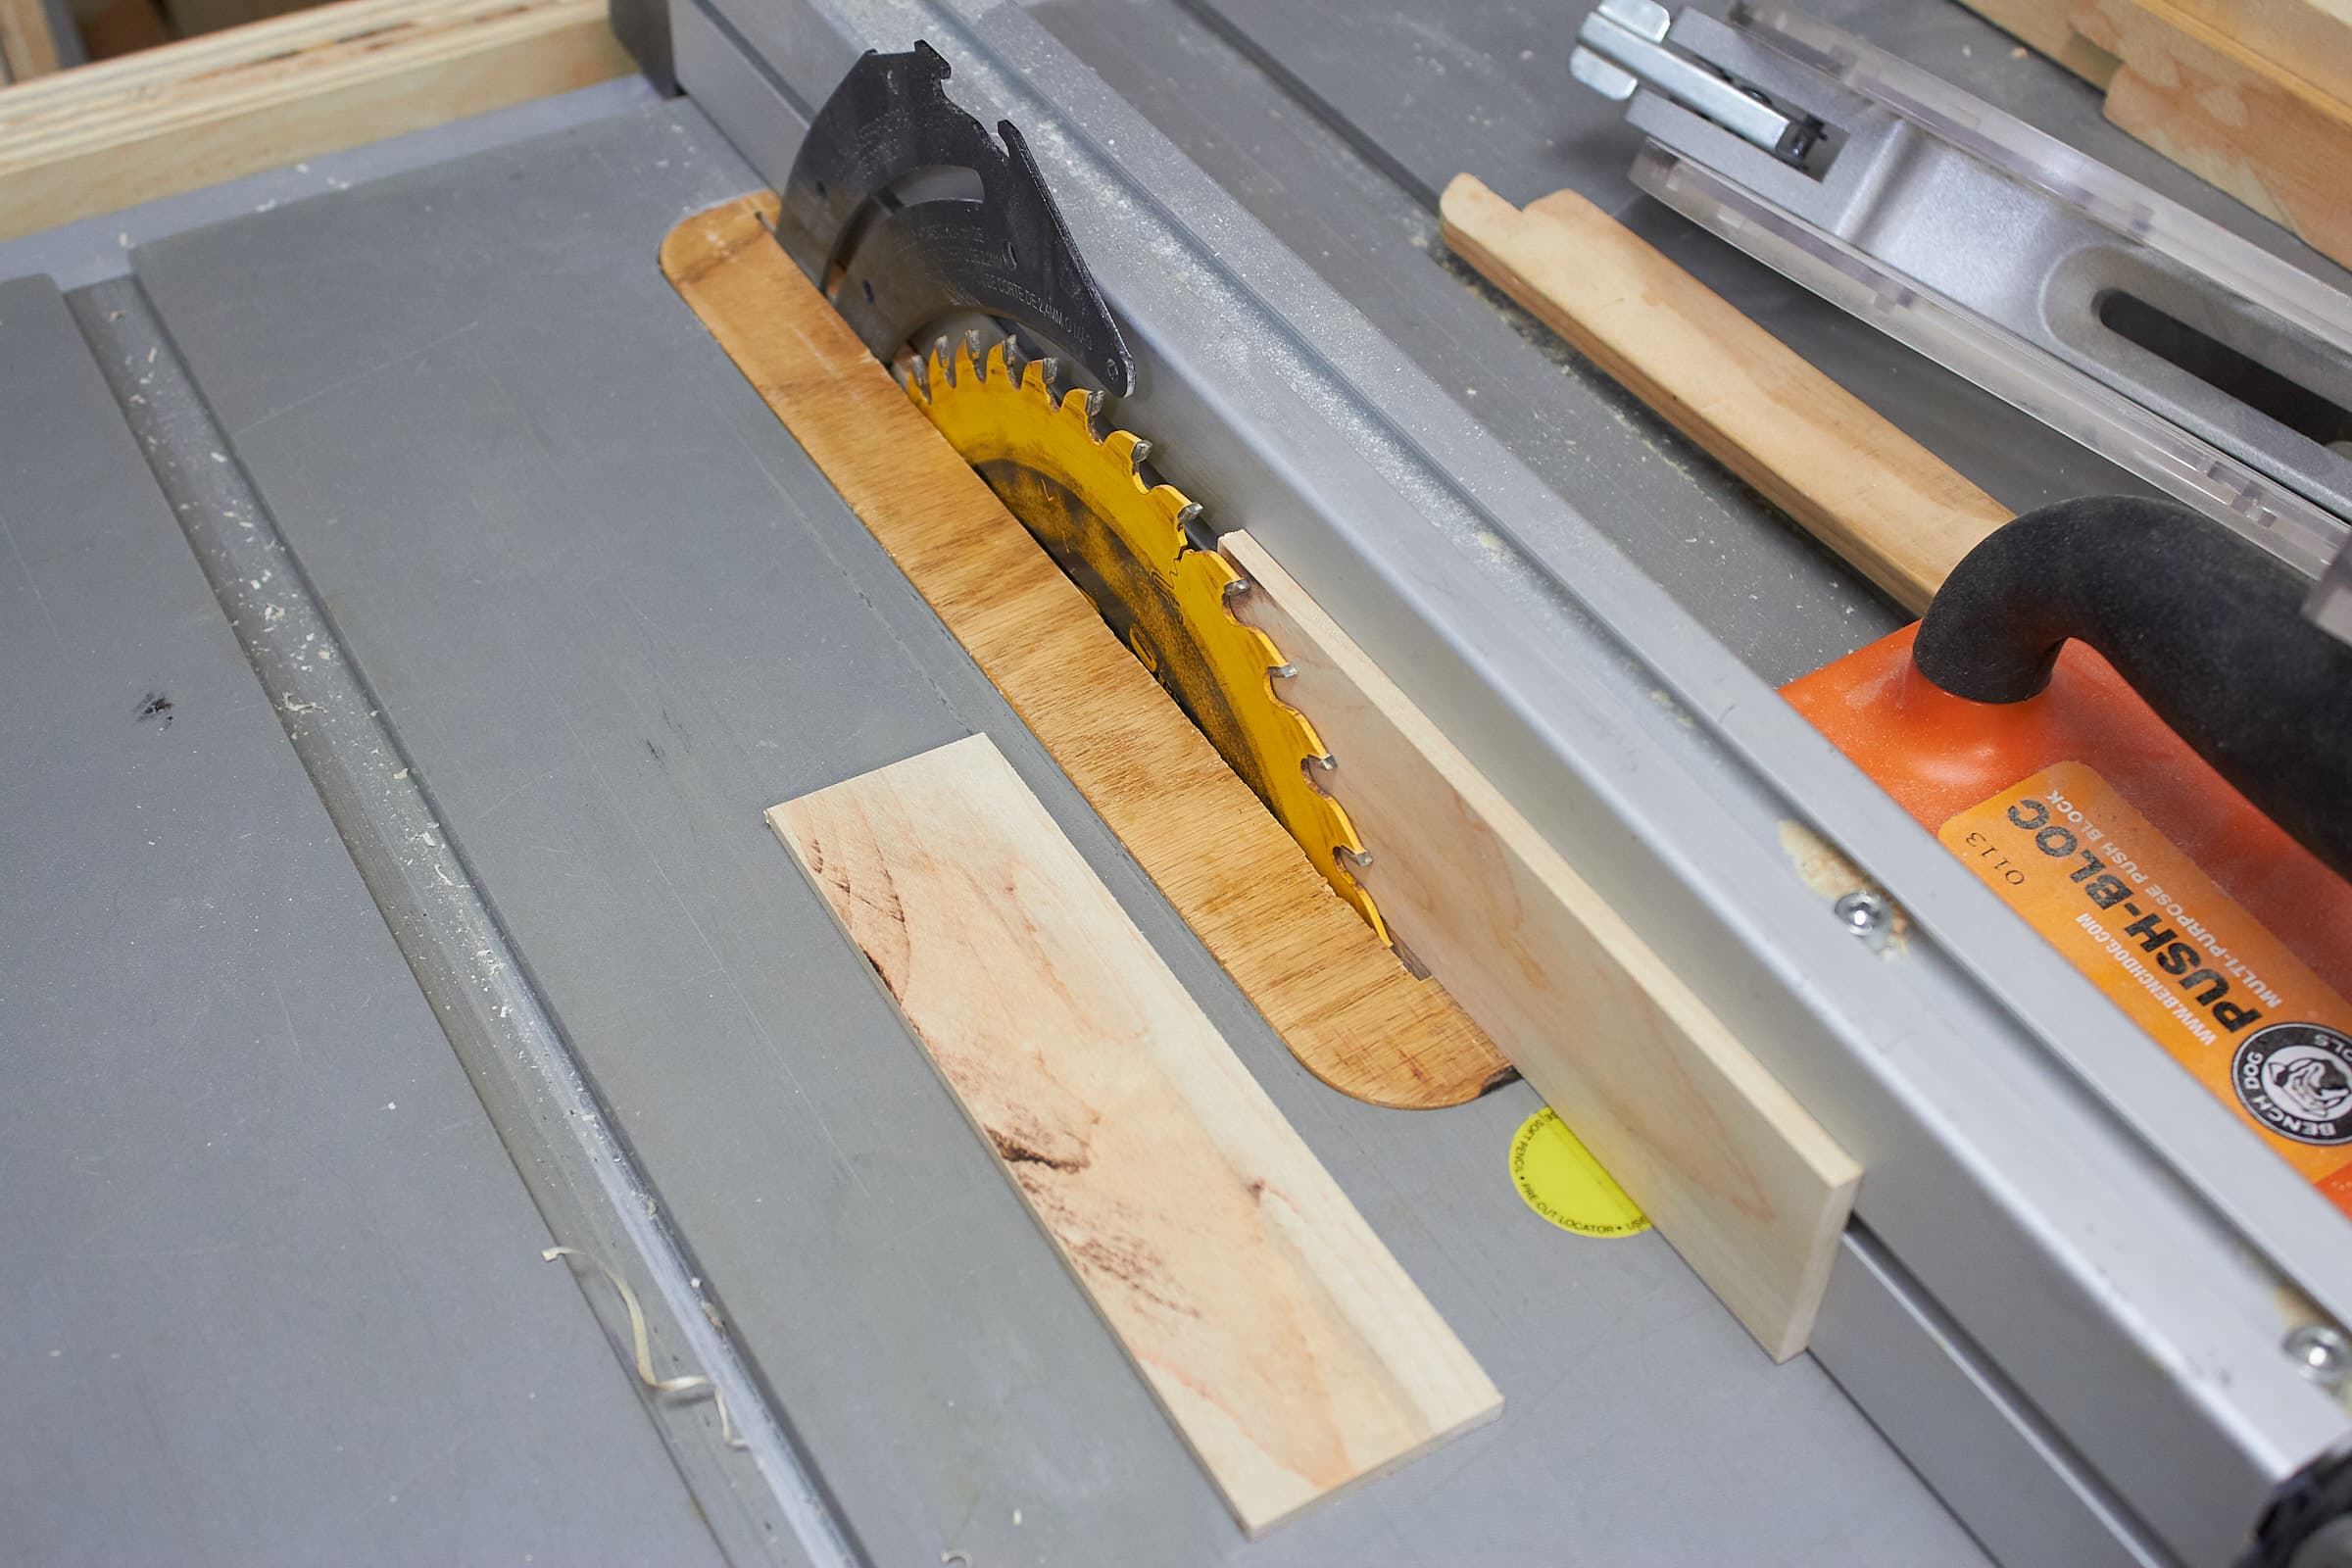
All cut. Perfect.
Test Fit
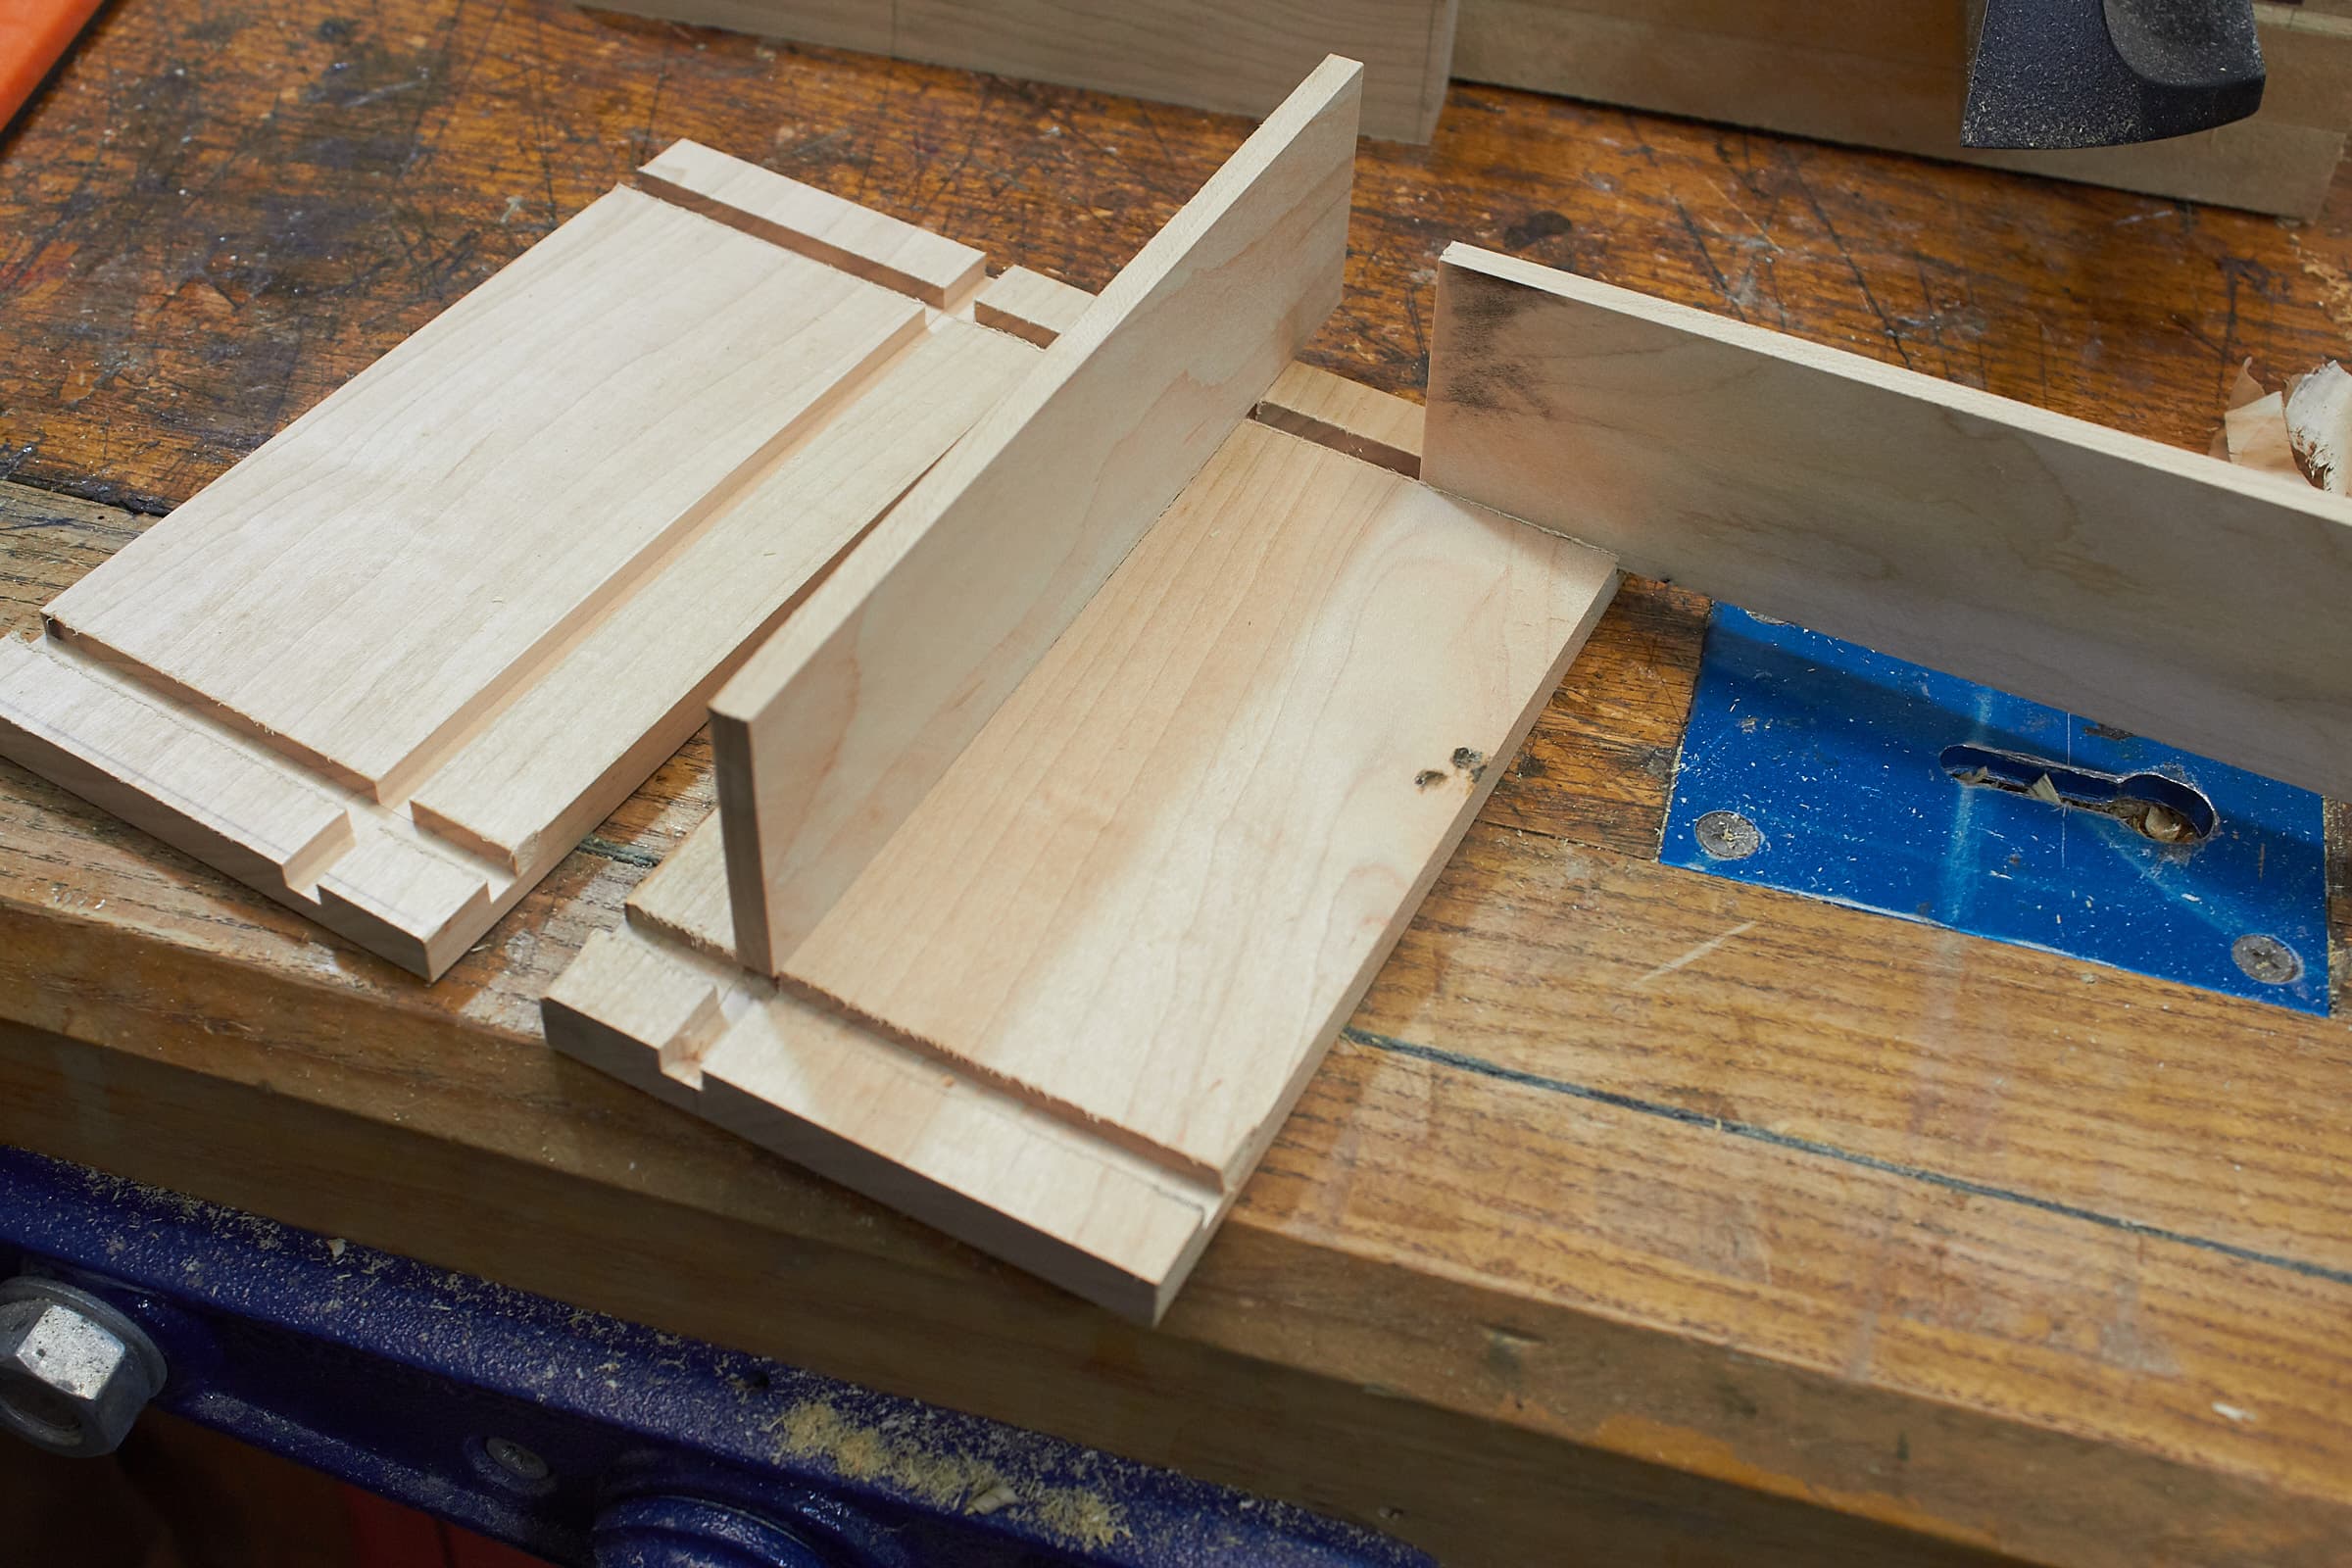
A quick test fit and everything is nice and tight on the first try.
Mark Side Cut
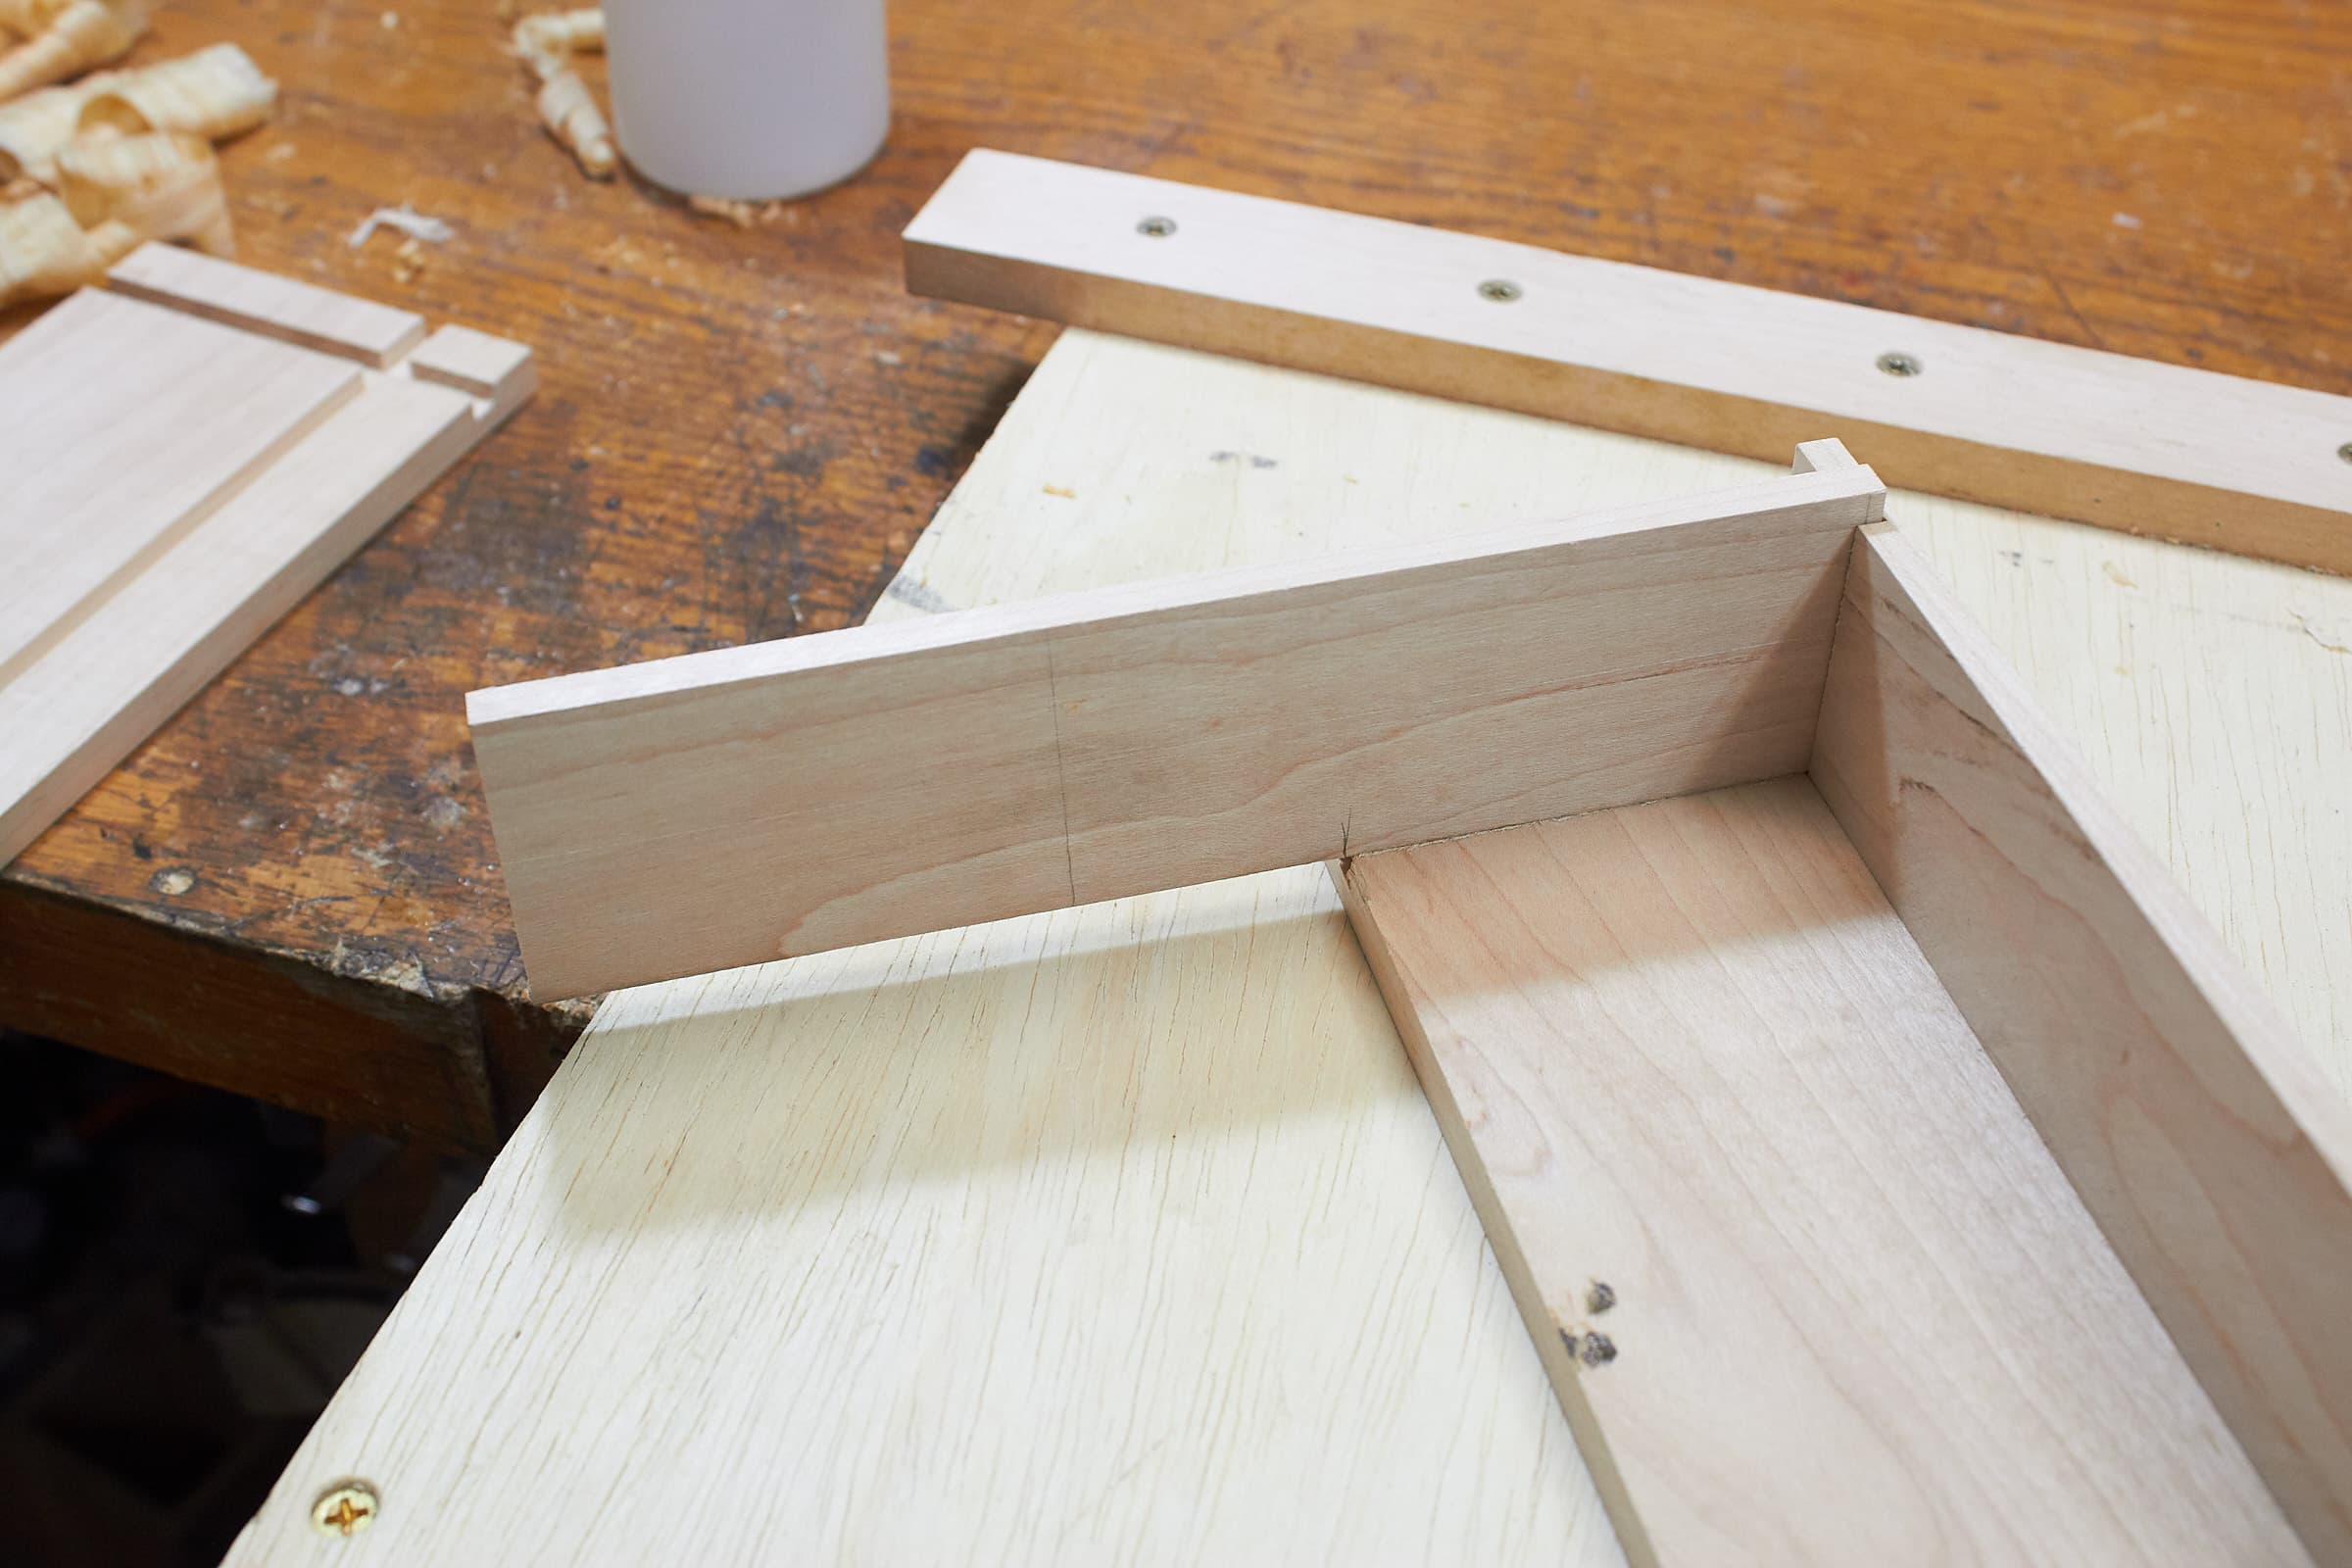
So I forgot to take a picture here… I made a back piece, and cut dadoes in it to match the top/bottom. Then…
My side piece is too long so I fit it in and mark it to cut. I use the cutoff as the other side and make sure that is trimmed to size.
Pre-glue Test Fit
I fully fit everything together before gluing, which was a mistake. It took me forever to get the thing apart!
Glue
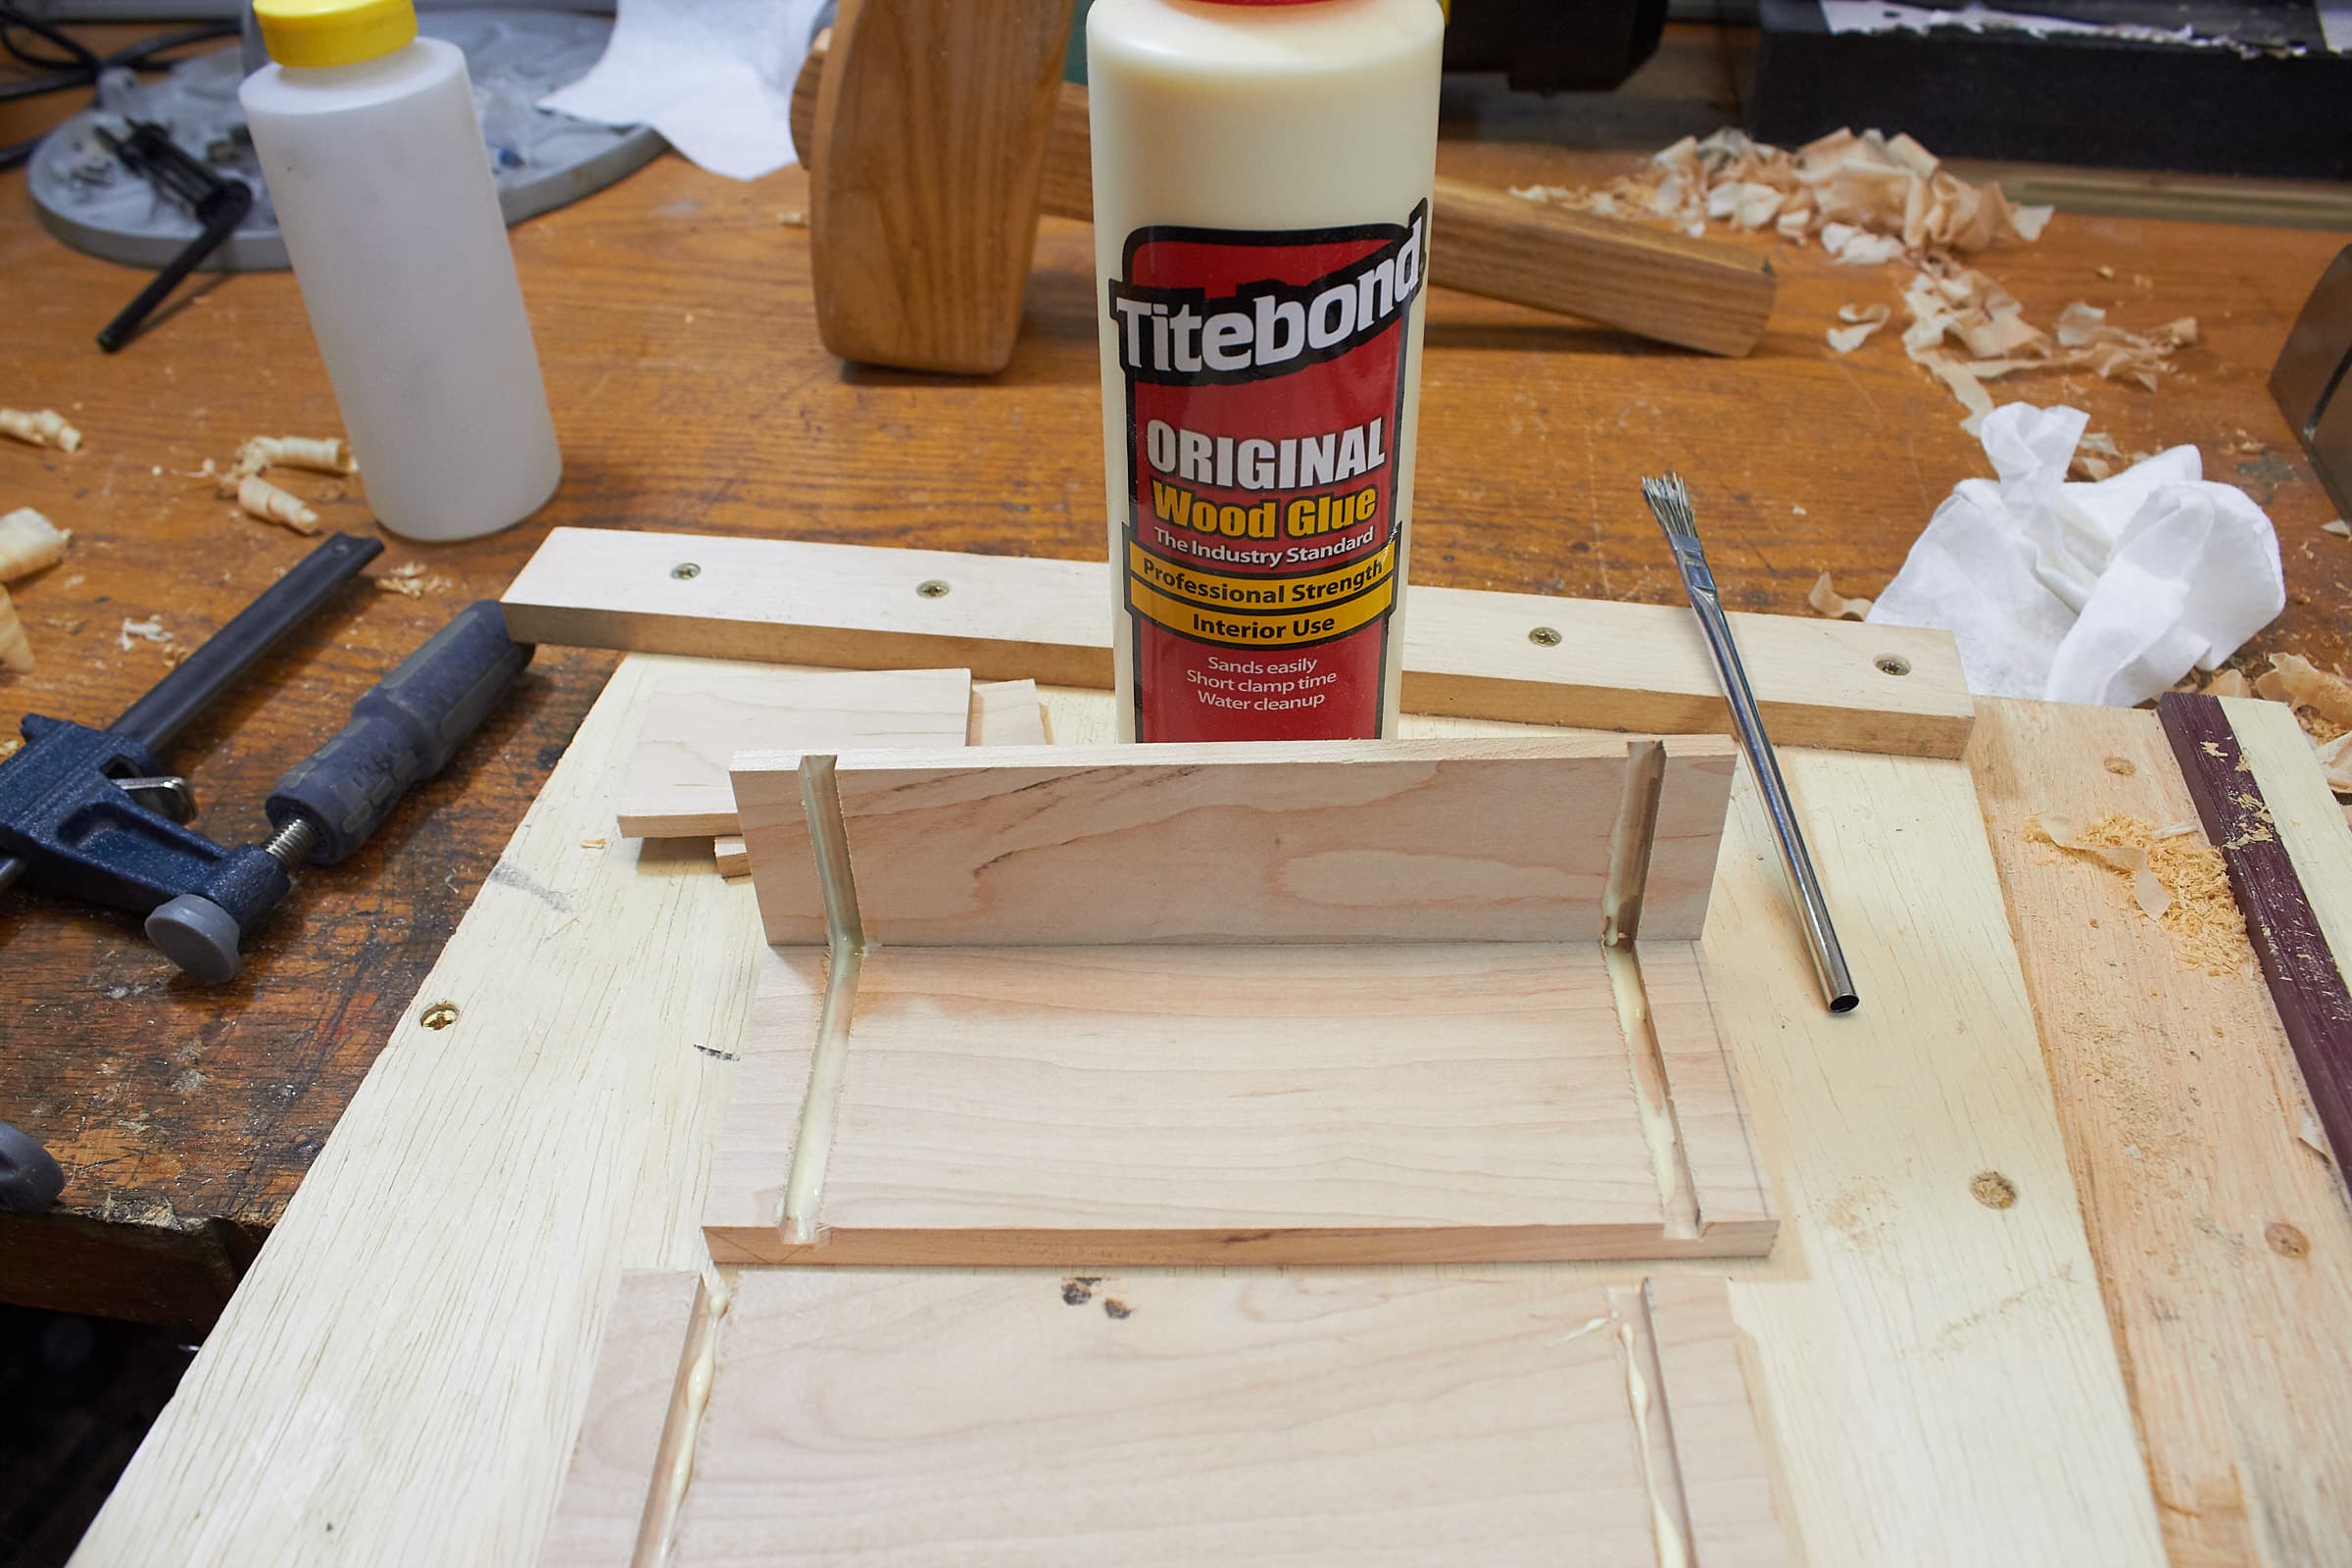
Now I glue it with some wood glue. Any wood glue will do, but I’m using Titebond Original
Clamp
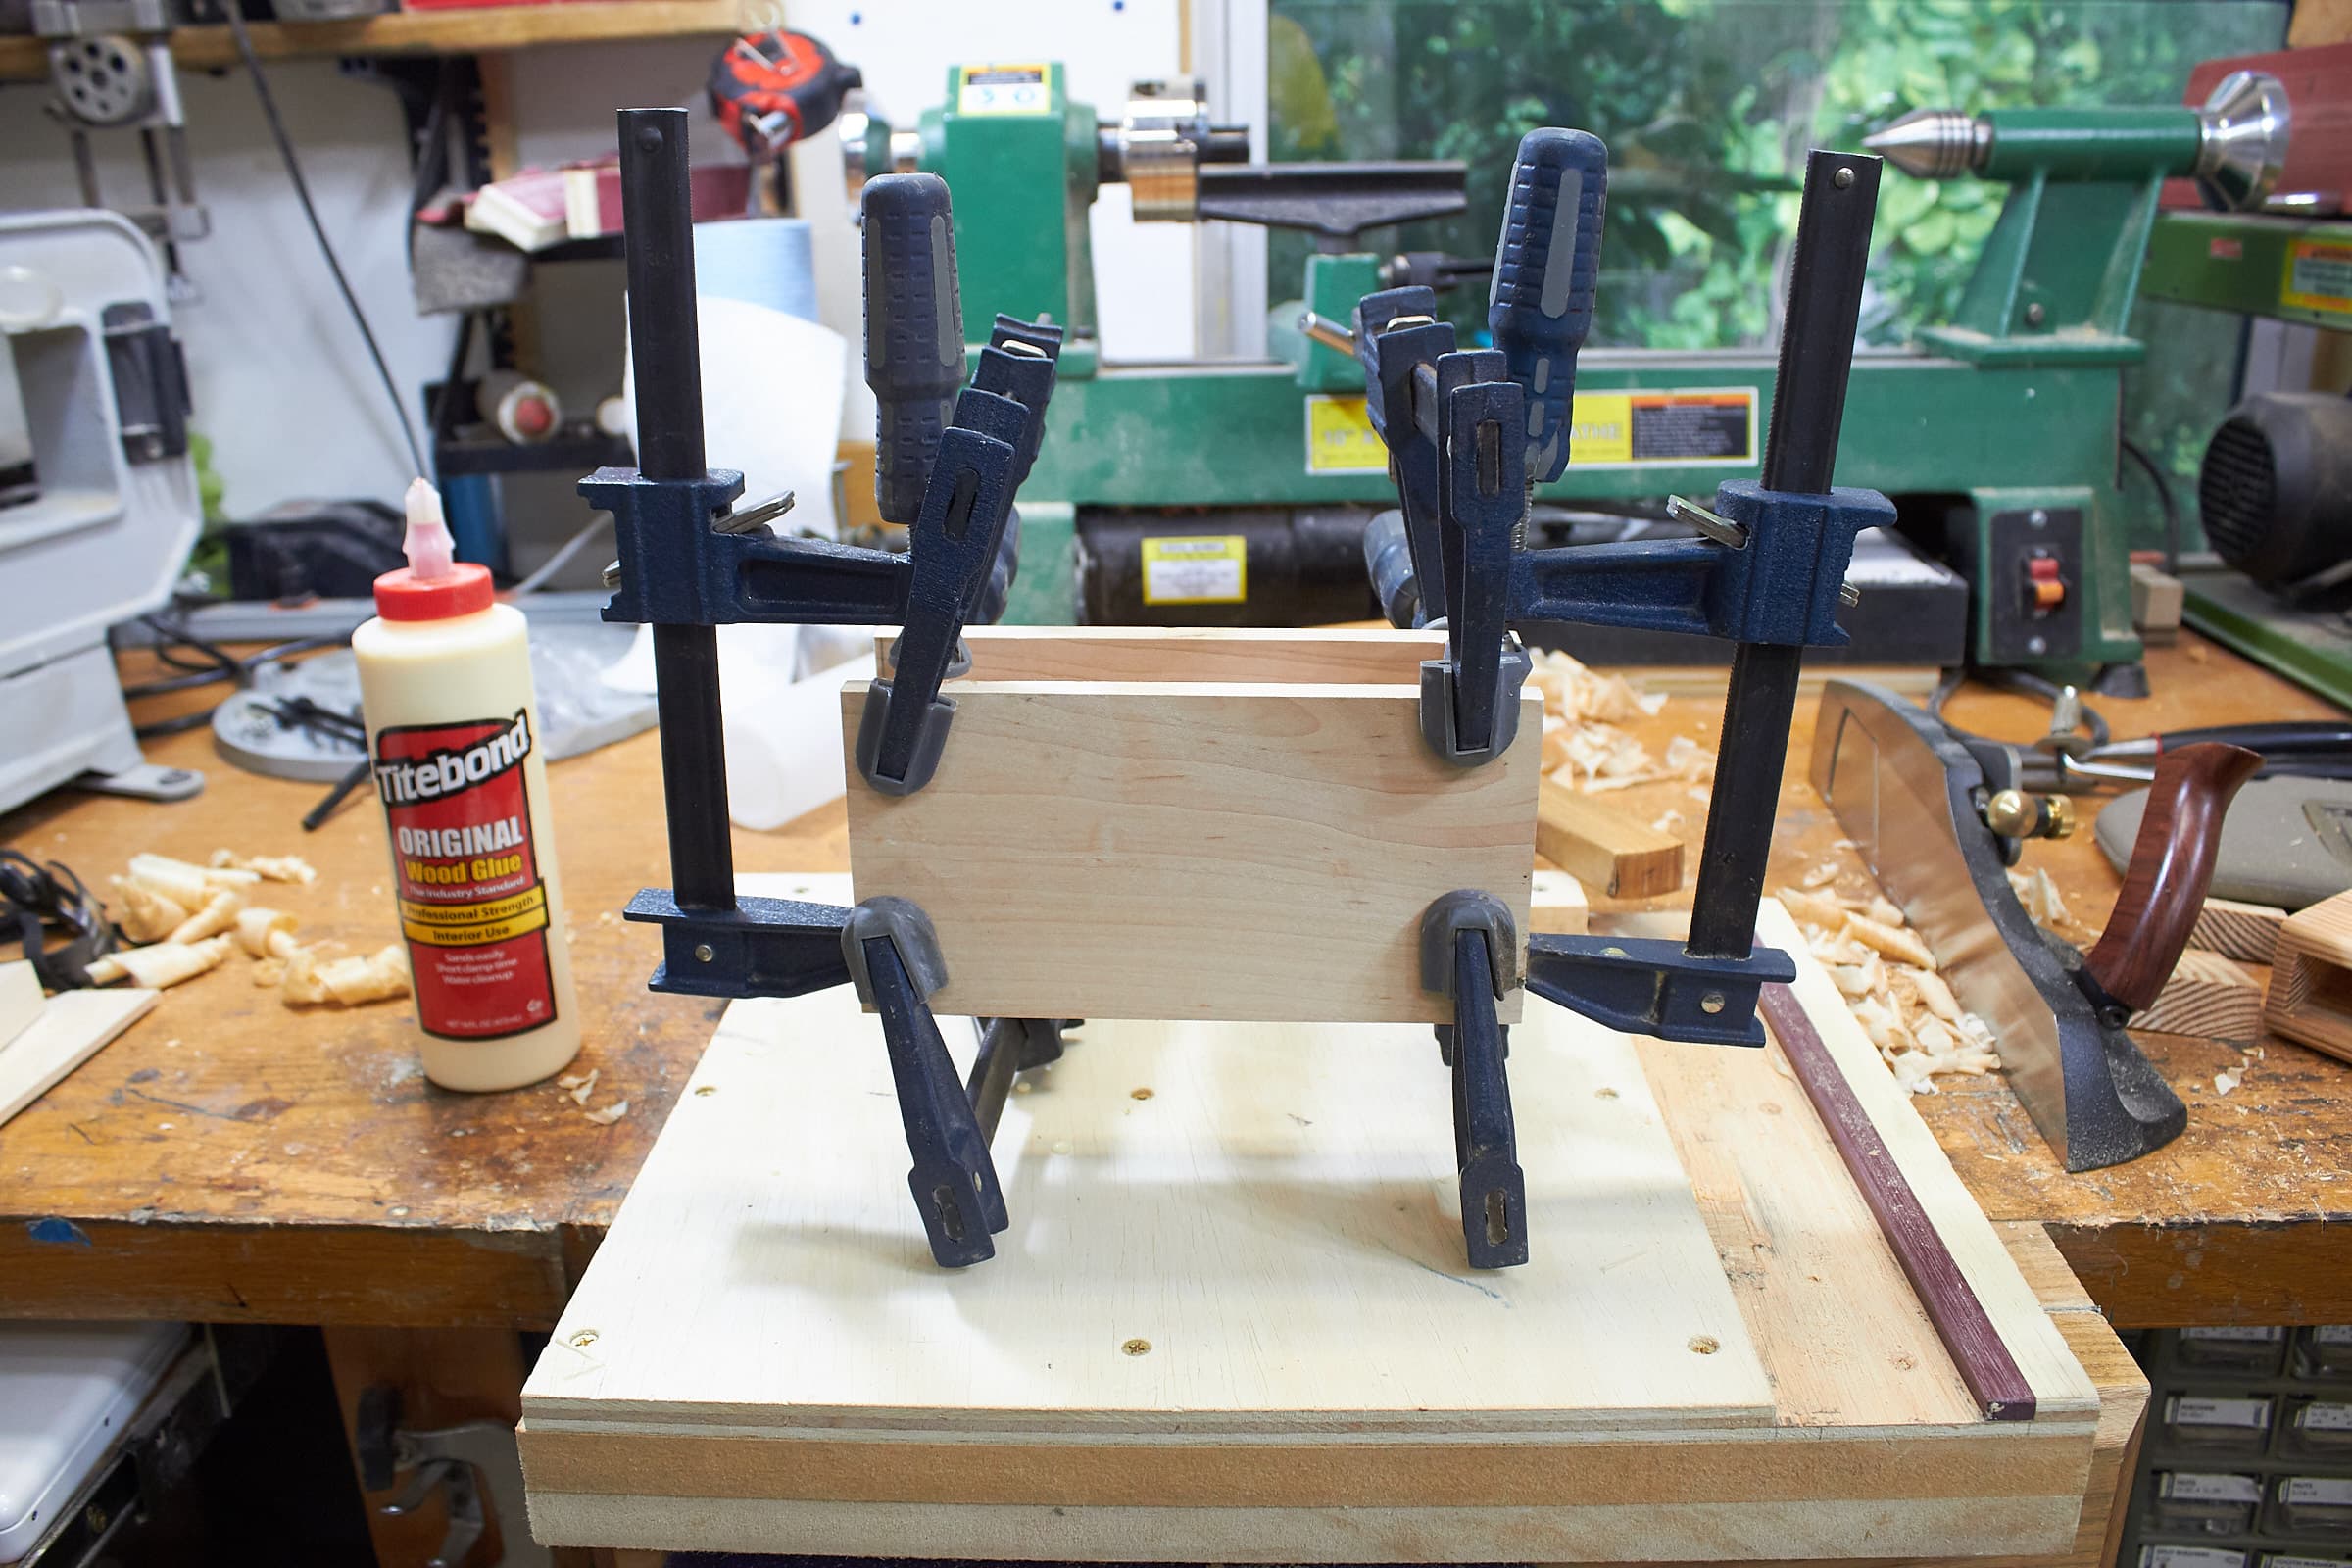
Clamped up…
Glued
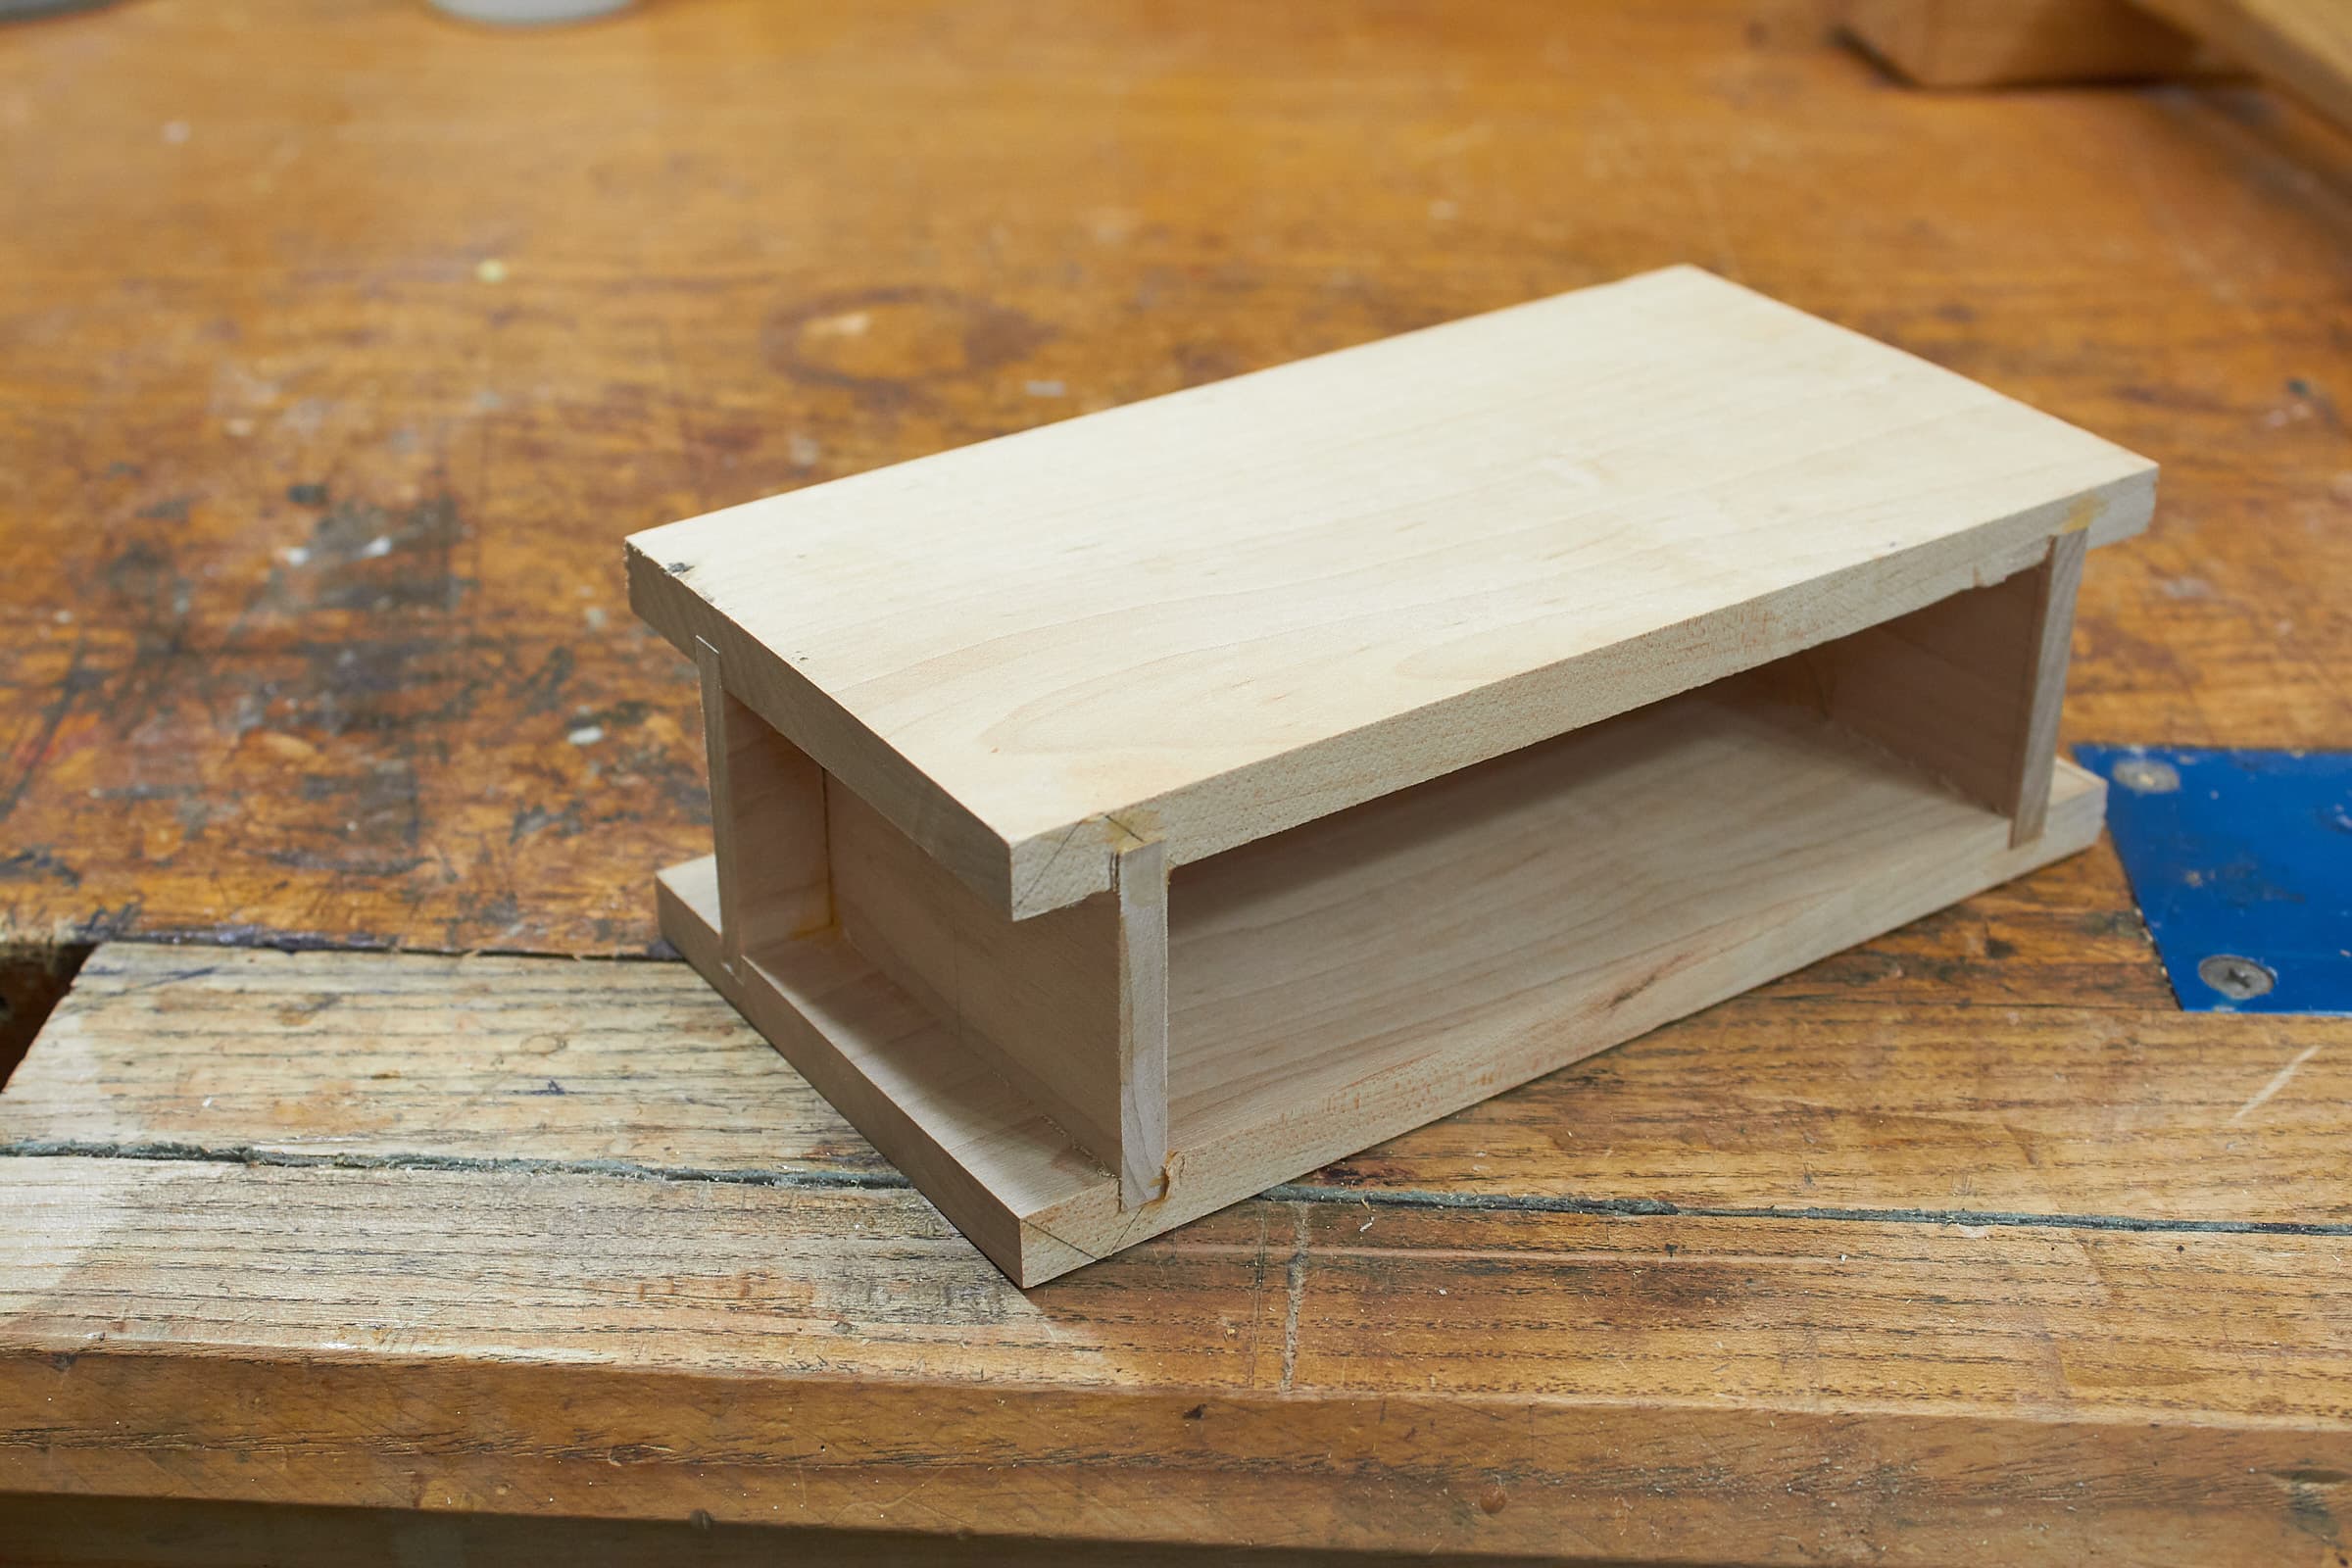
Glued up.
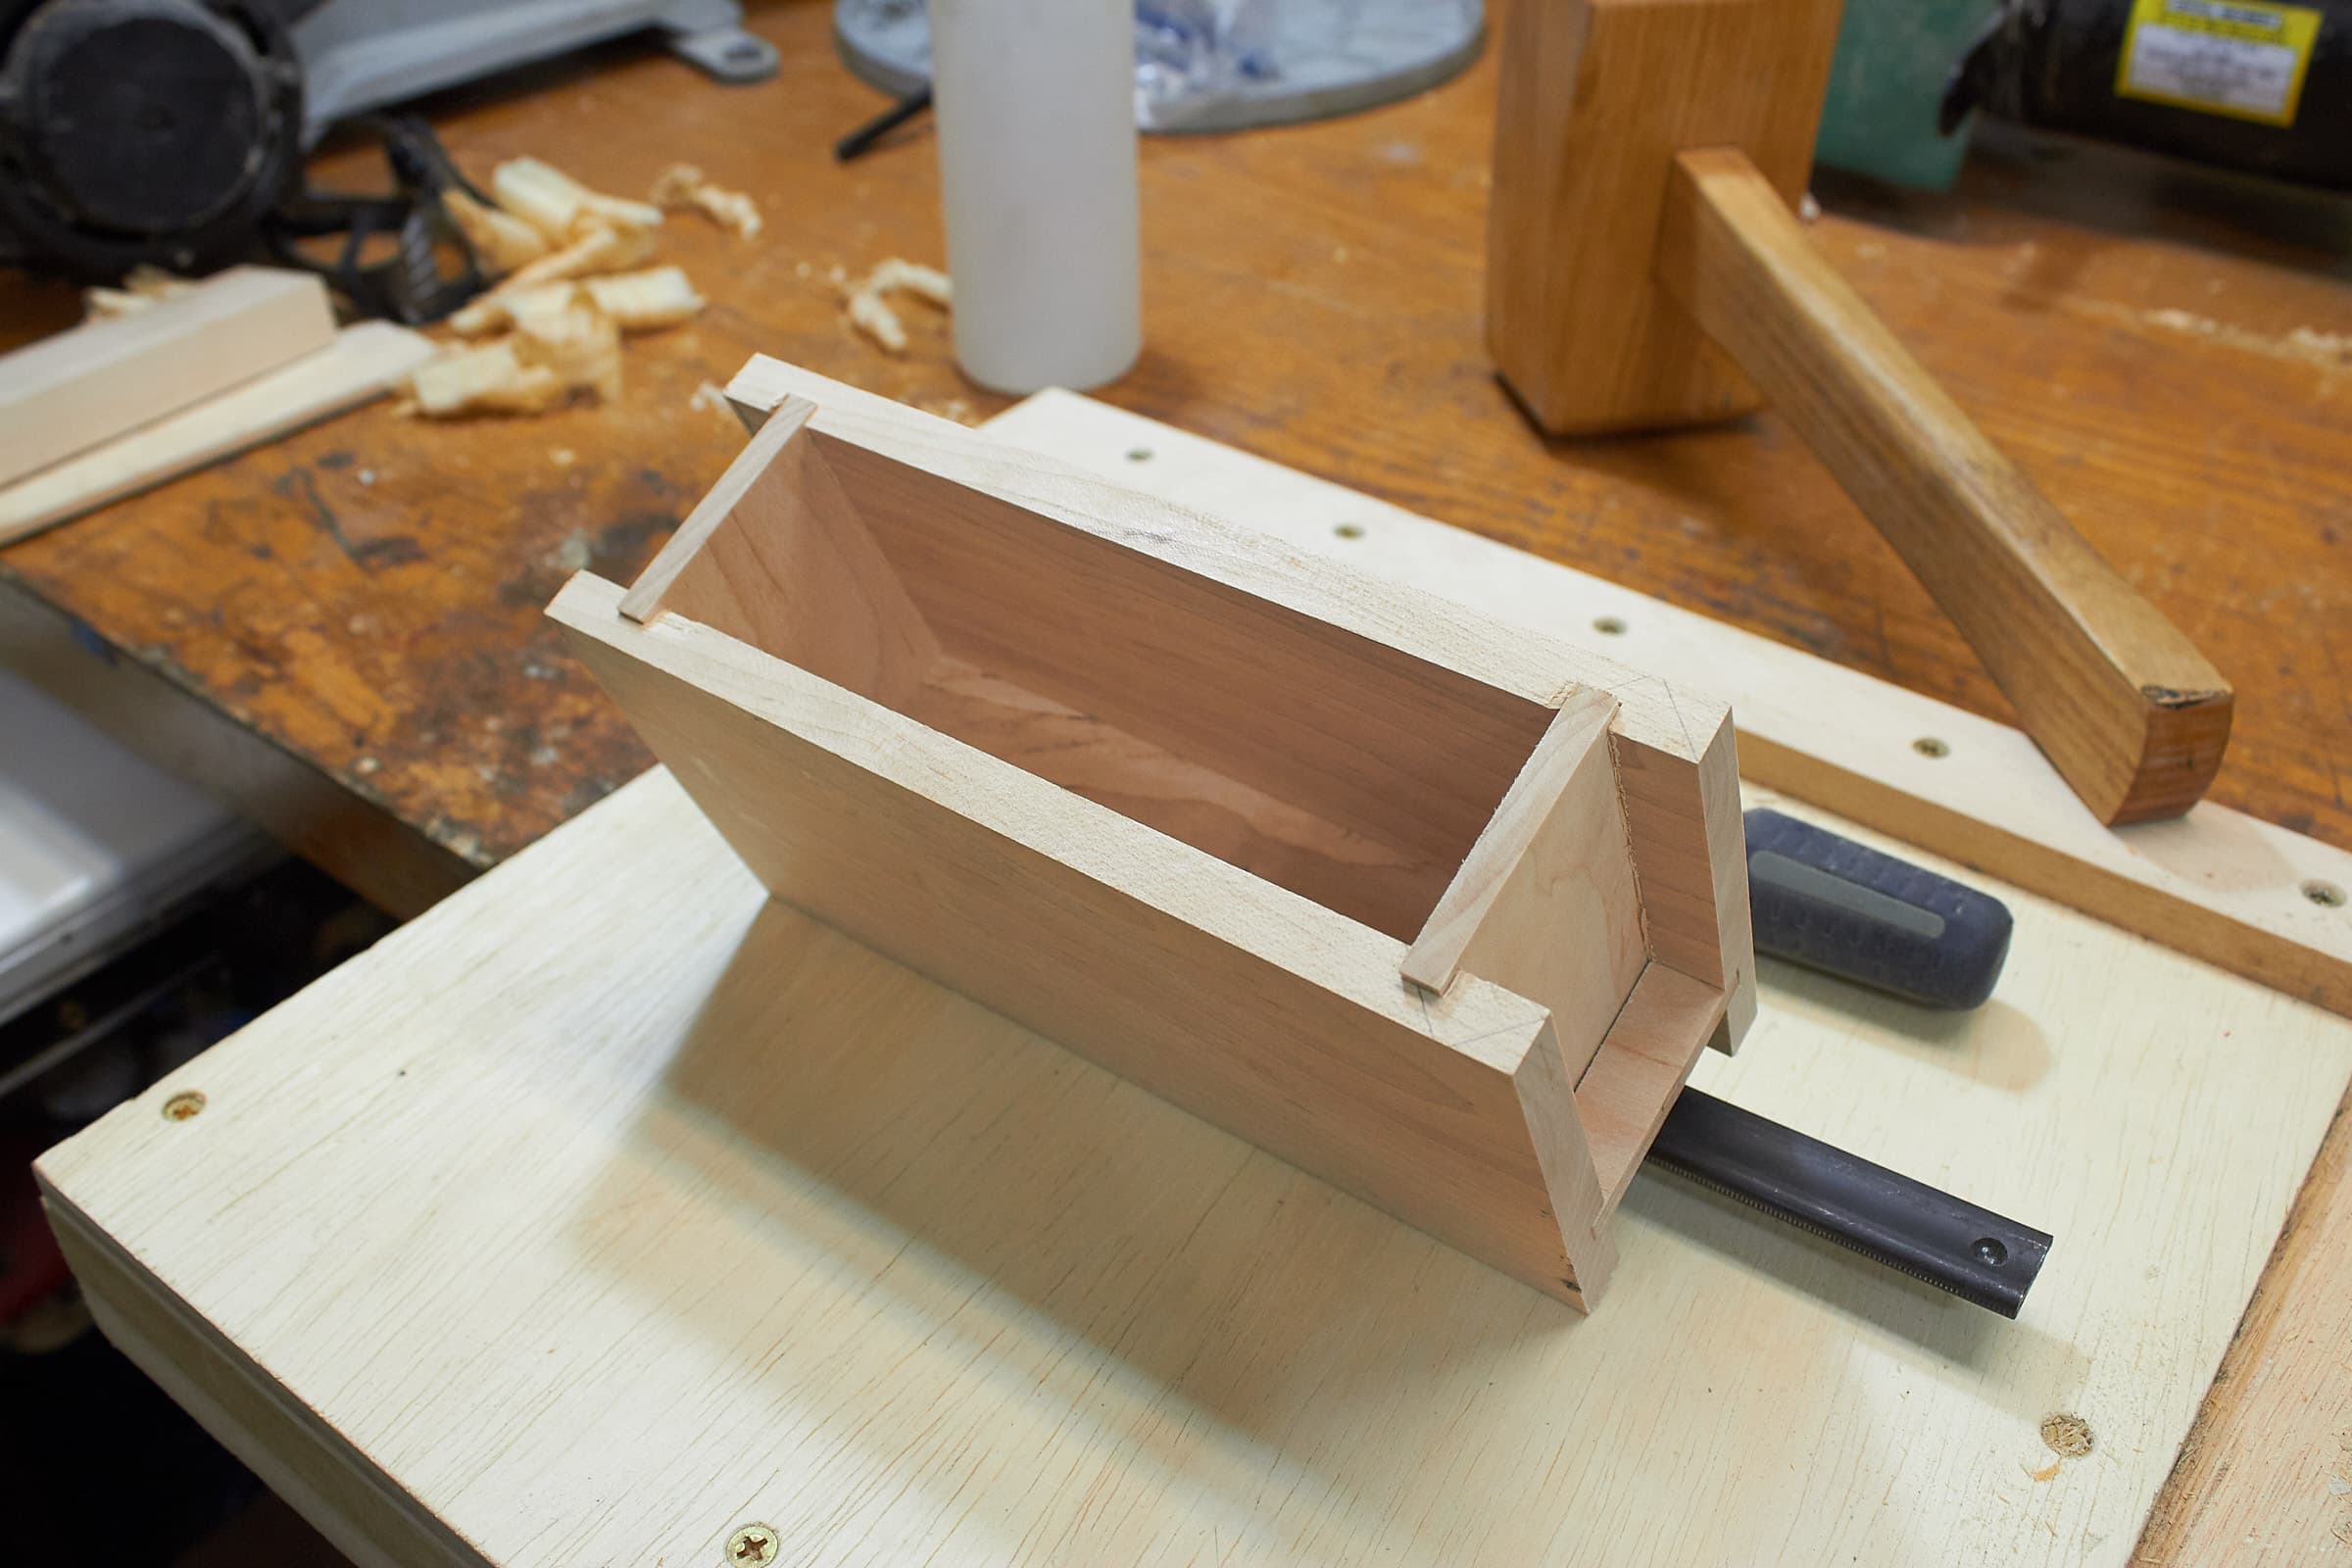
Trim
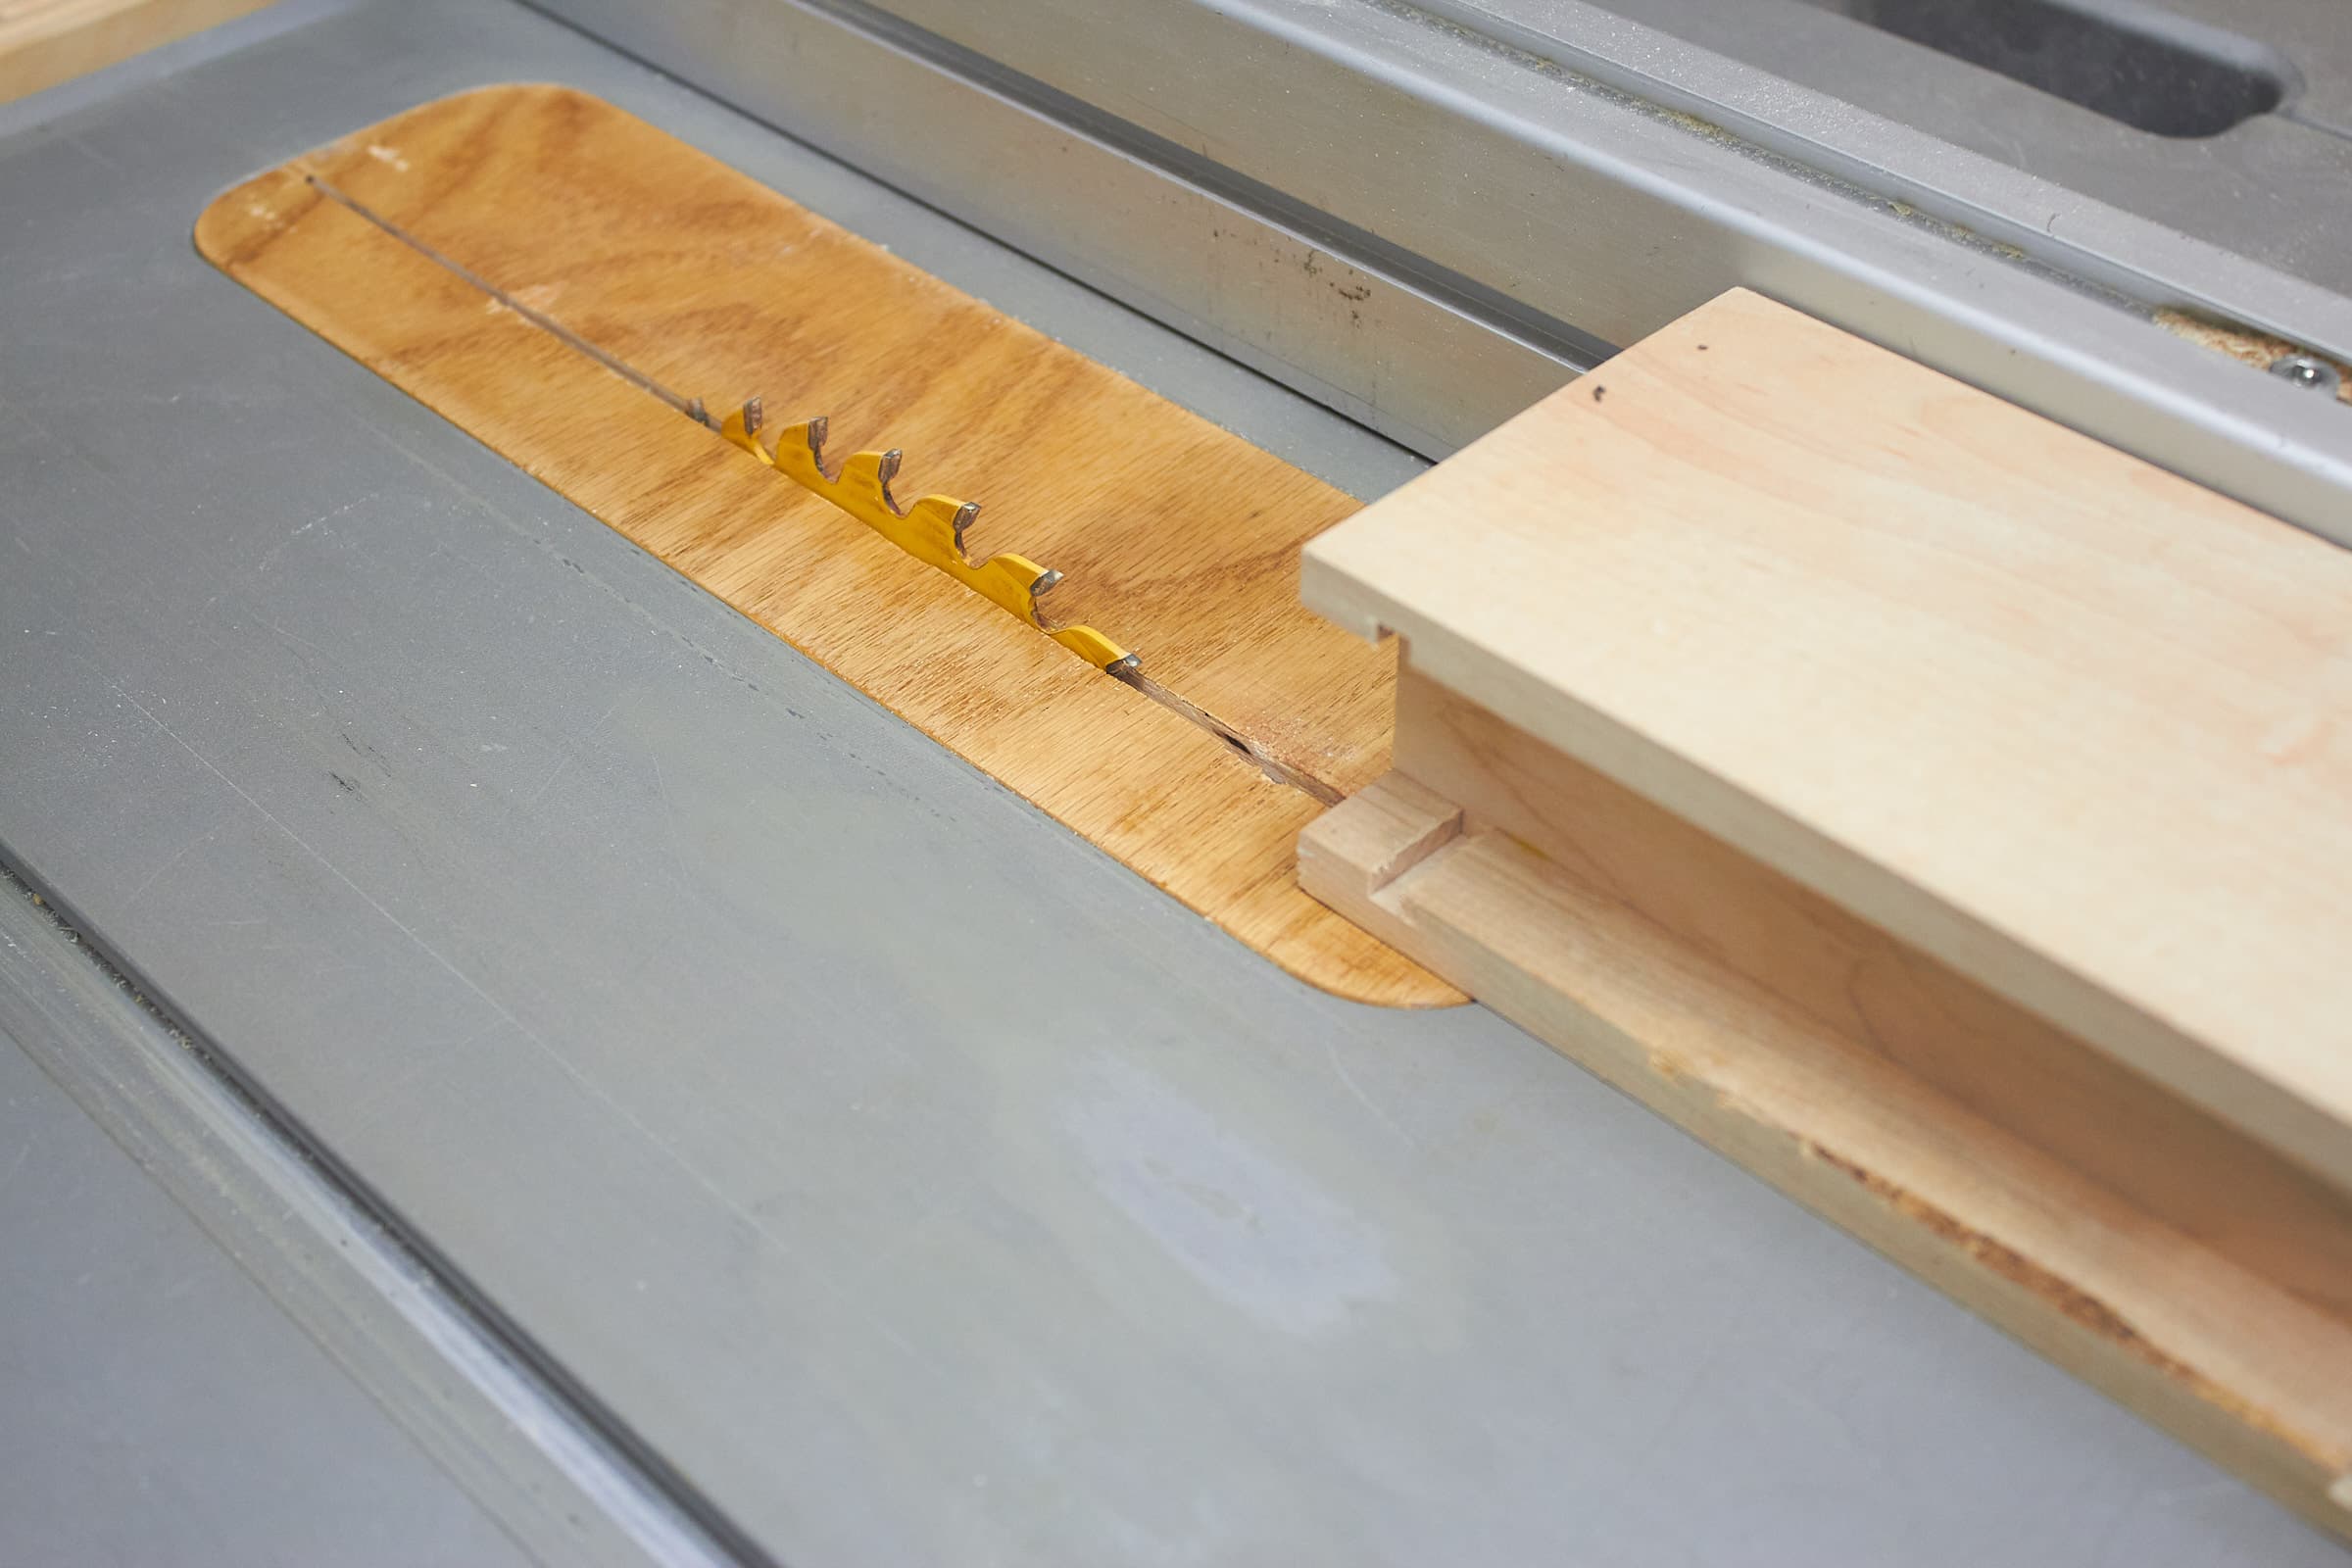
Now I trim the back and front on the table saw. I leave a tiny bit of wood so the blade doesn’t accidentally cut in to a face.
The sides are left on so I don’t blow out the end grain when planing.
Plane Face

I plane the faces so they look nice.
Plane Back
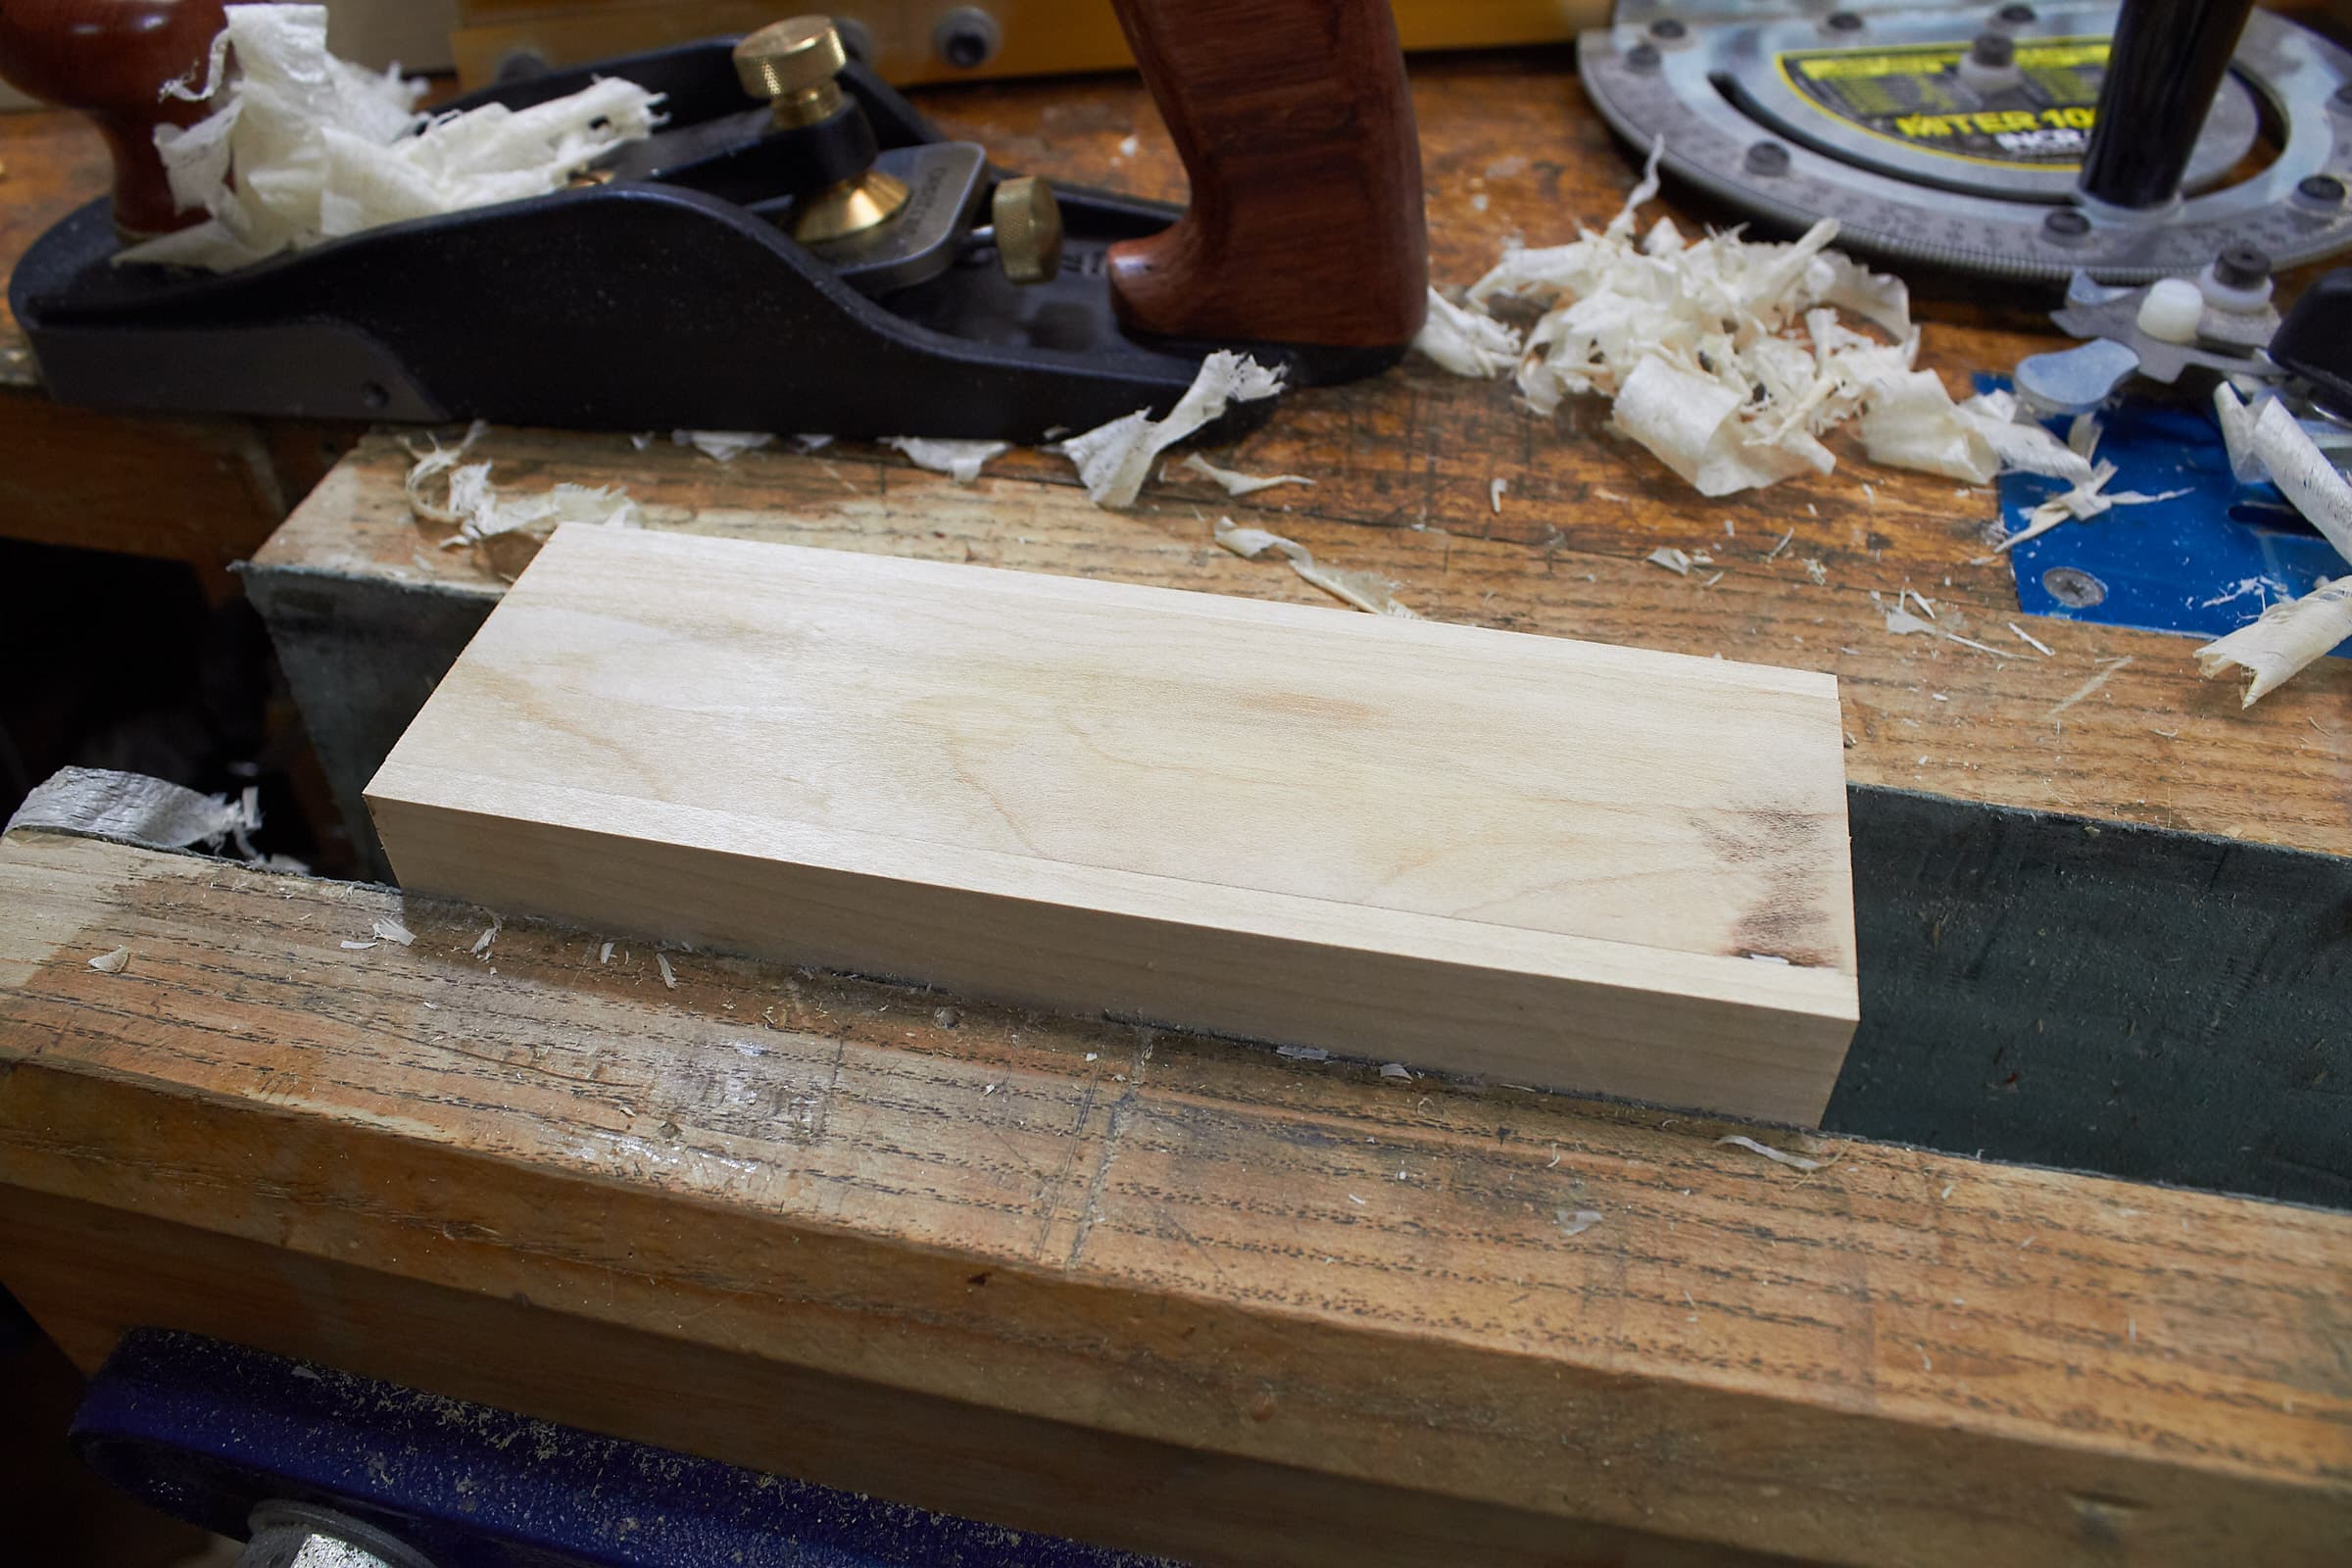
The back is planed as well
Trim Sides
Now I trim the sides, and subsequently plane them.
Drill Center
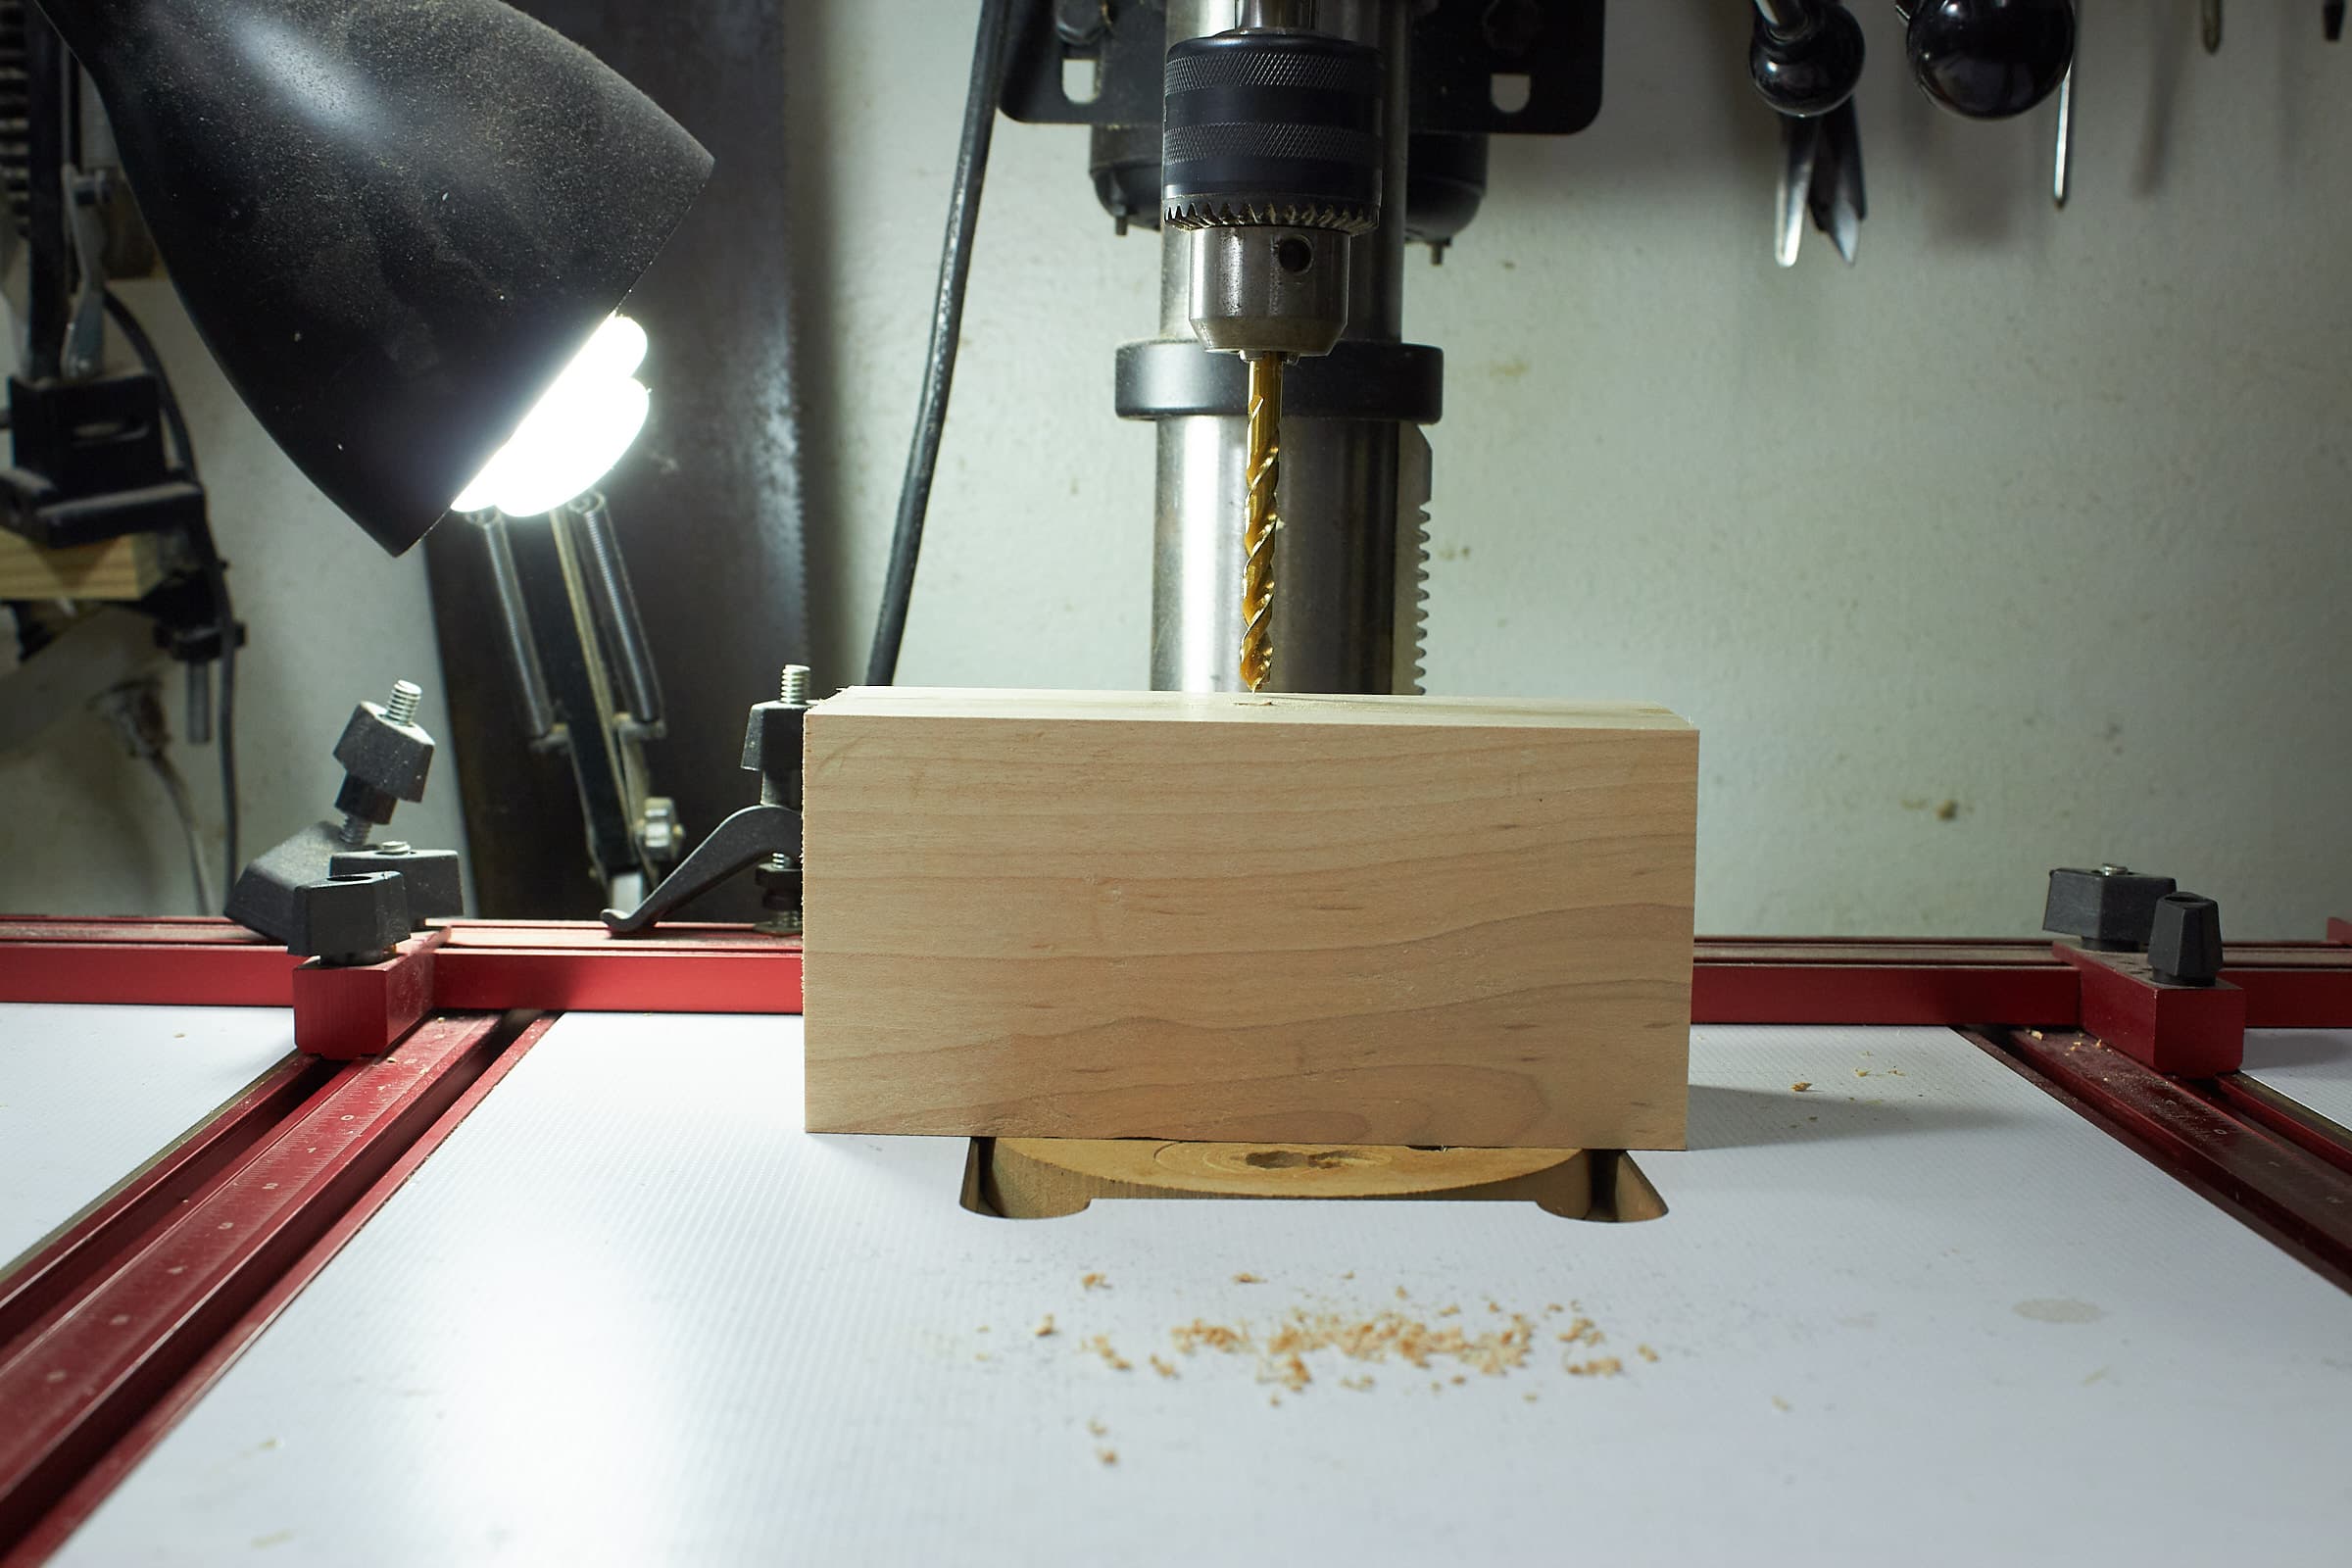
I’m going to add a mounting point which is mortised in to place, but I want to use a screw to pull it in and add strength.
So I drill a hole in the center of the back.
Test Holder Setup
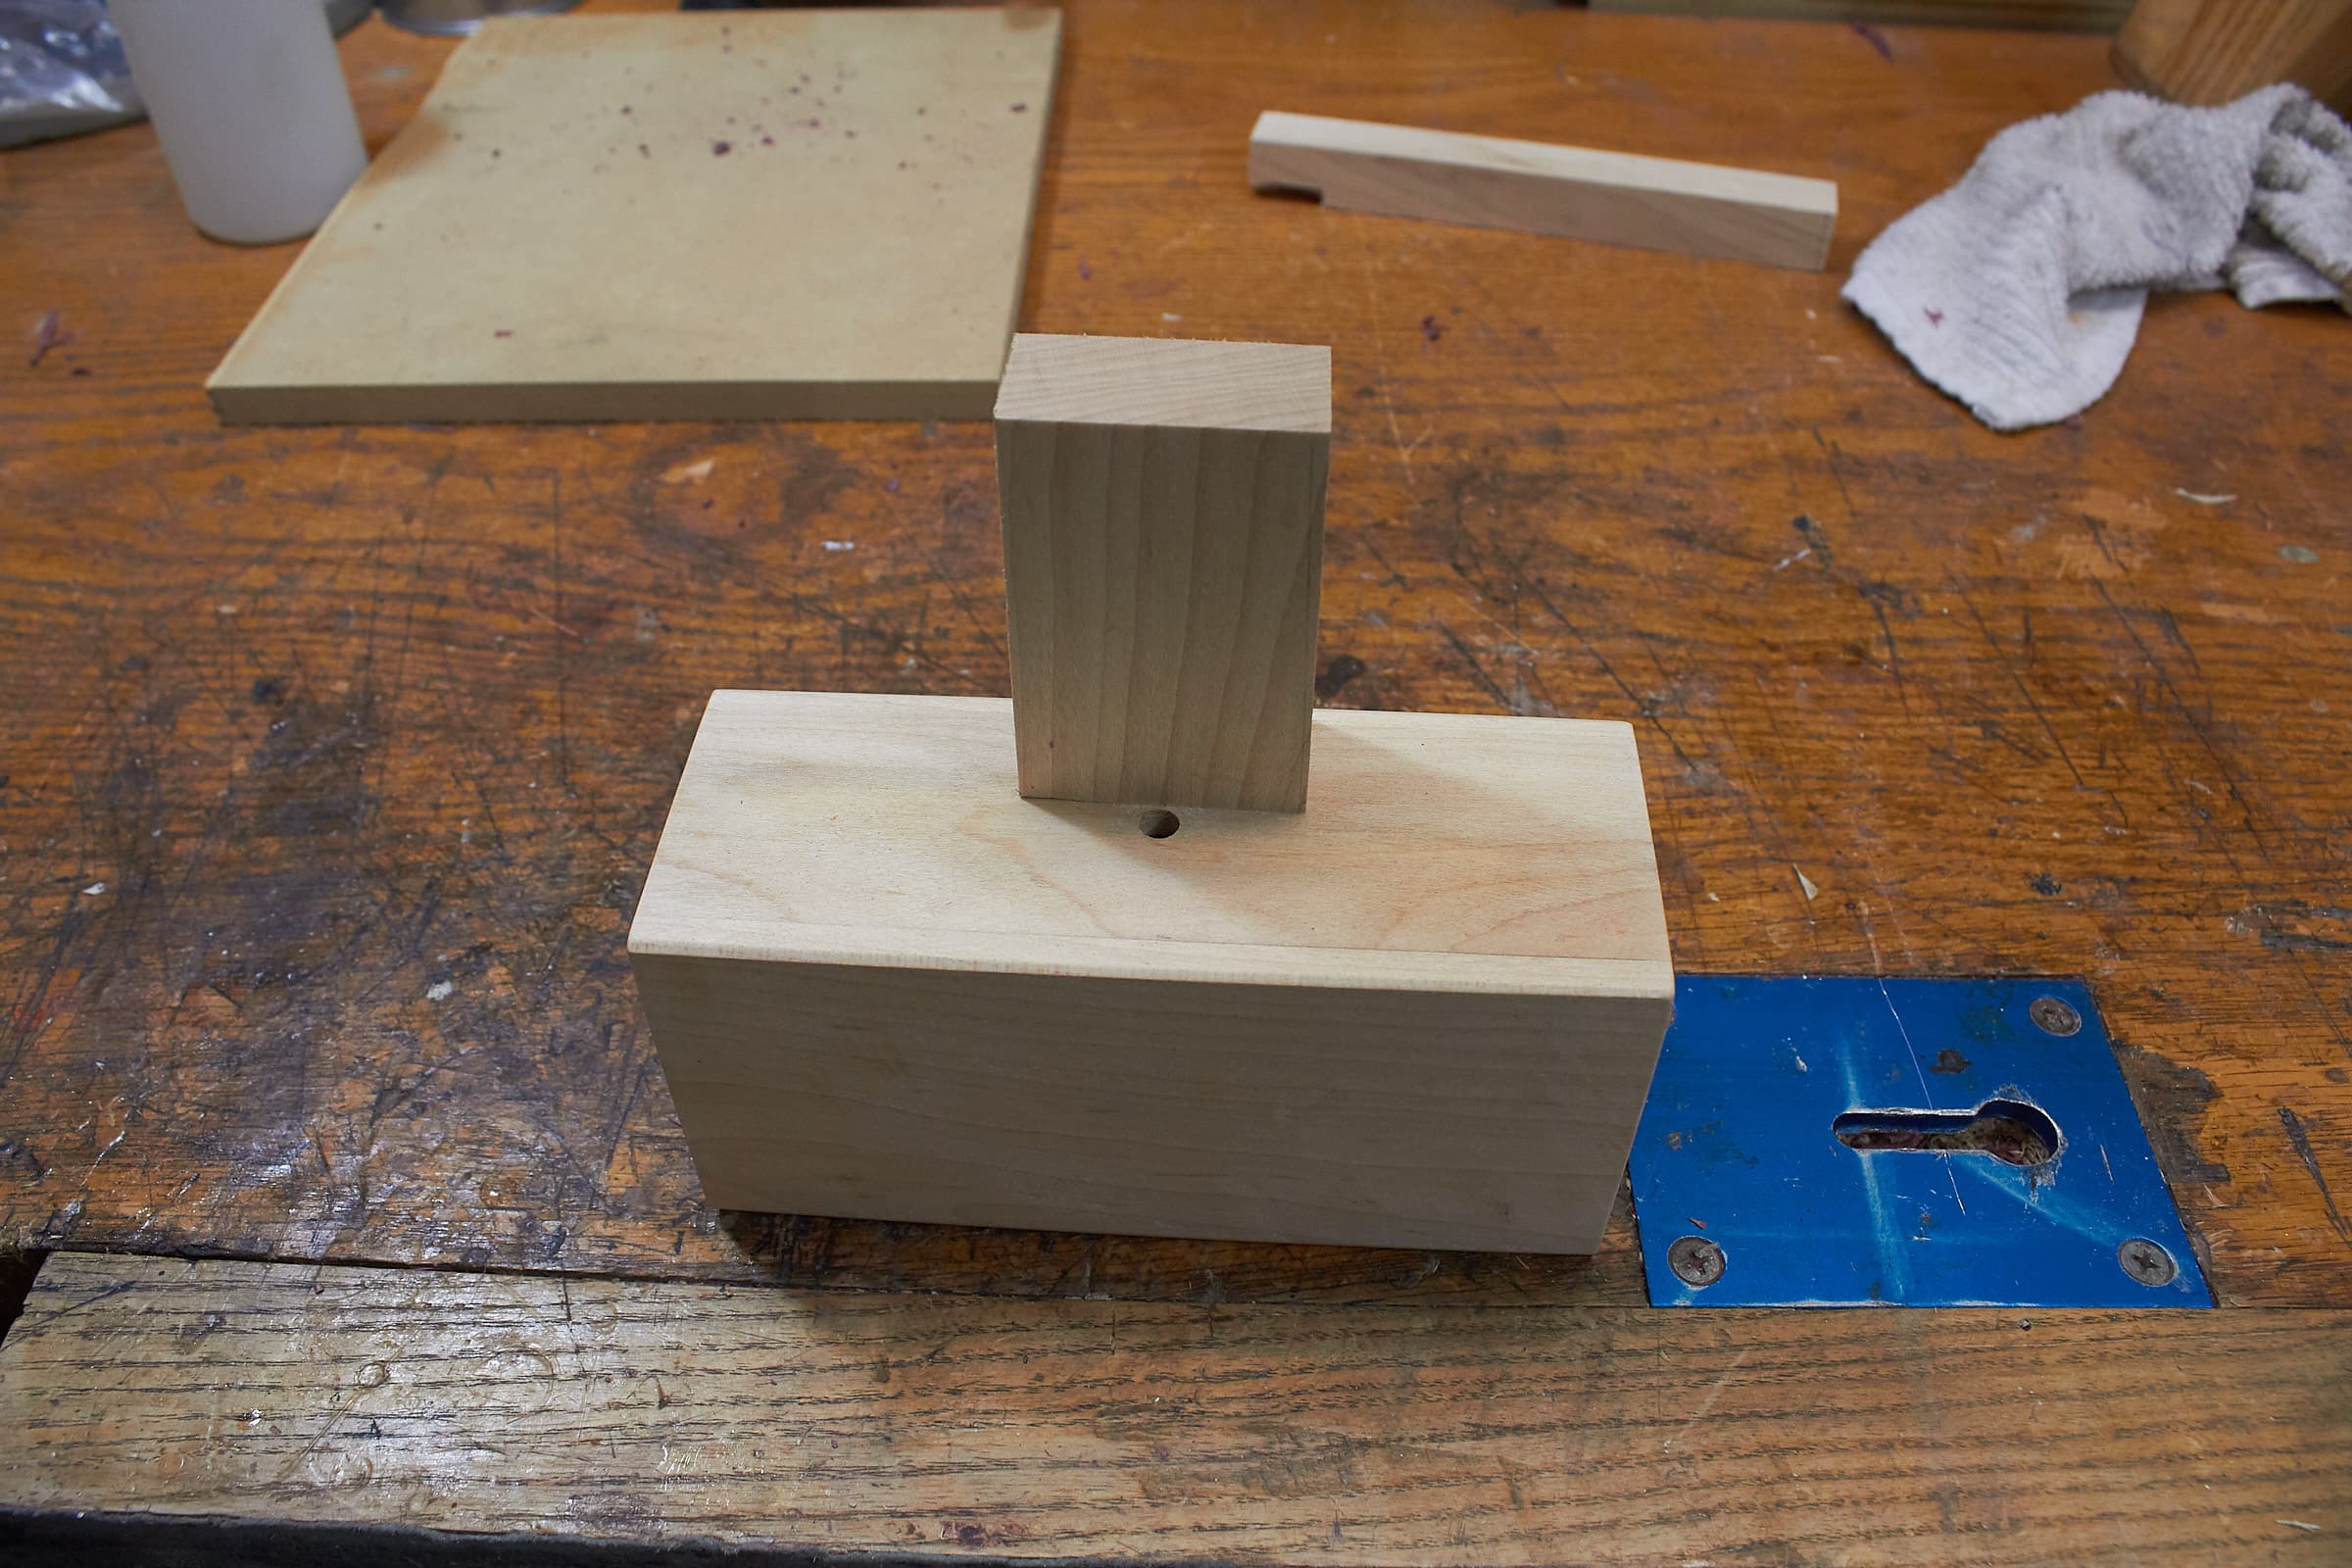
That wood piece will go over the hole centered.
Drill Holder Center
I drill a hole in the center of the holder.
Tap Holder Center
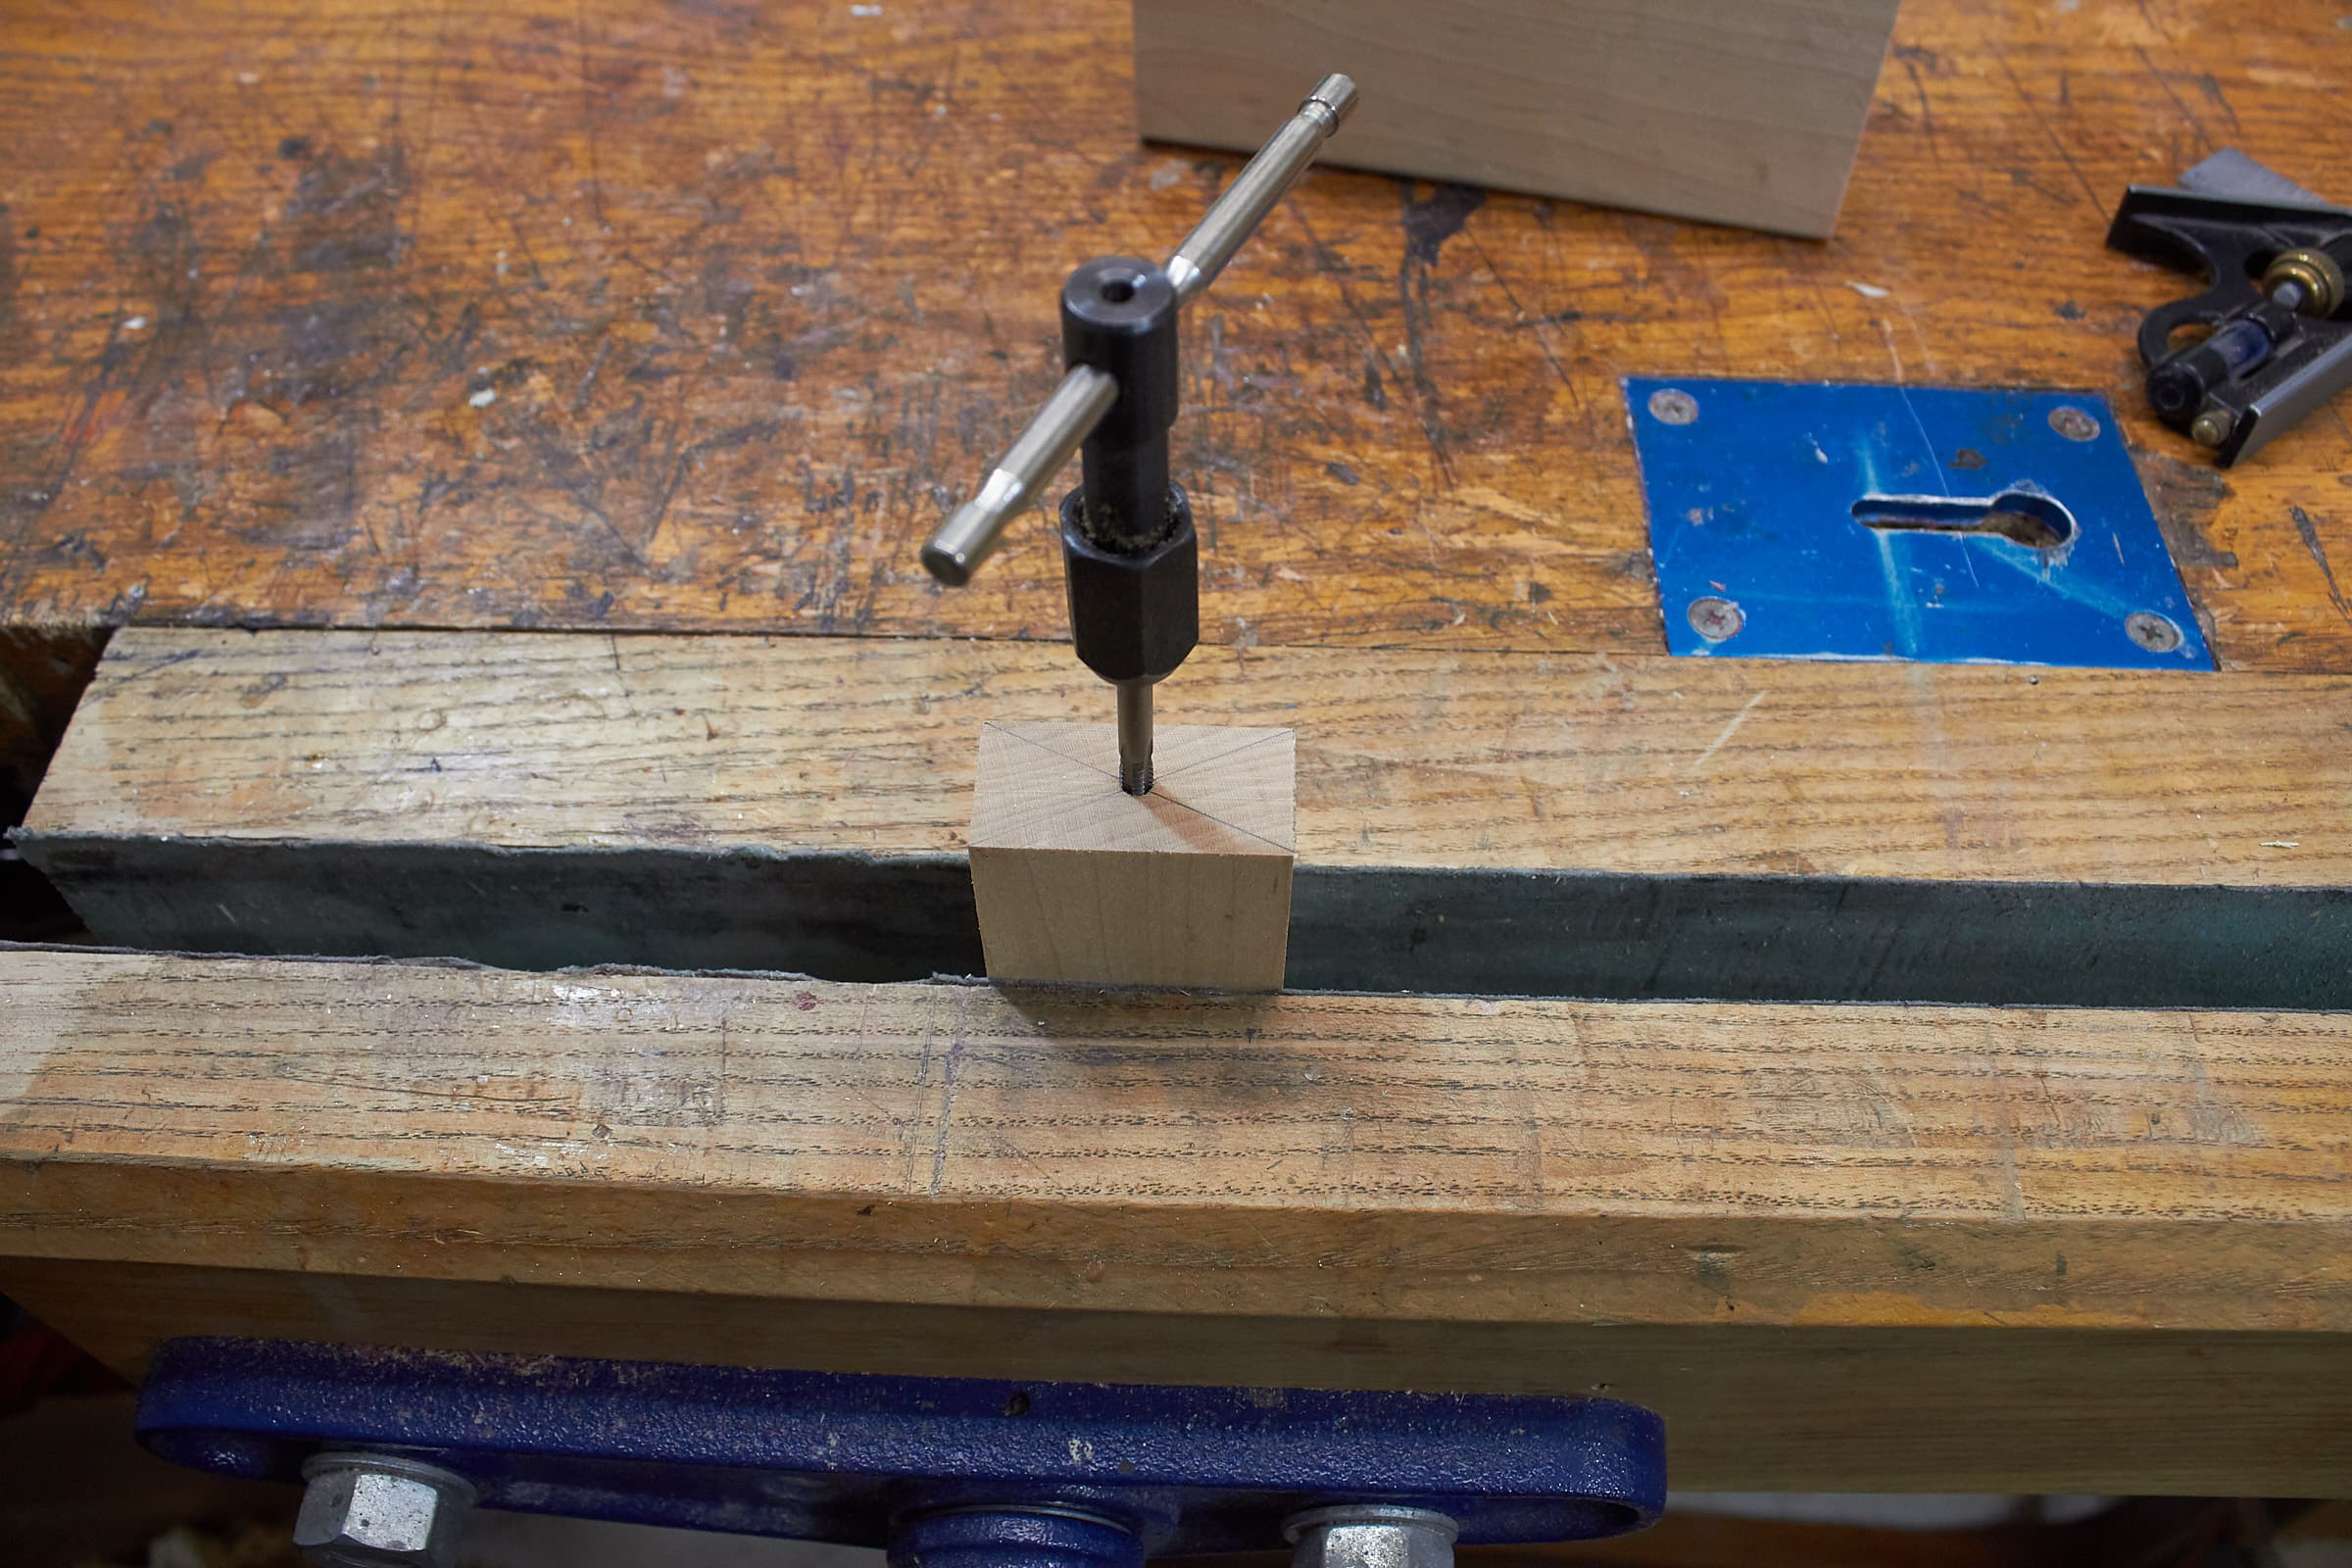
Now I tap a hole for a 1/4-20 bolt. A 13mm bolt will be about the same.
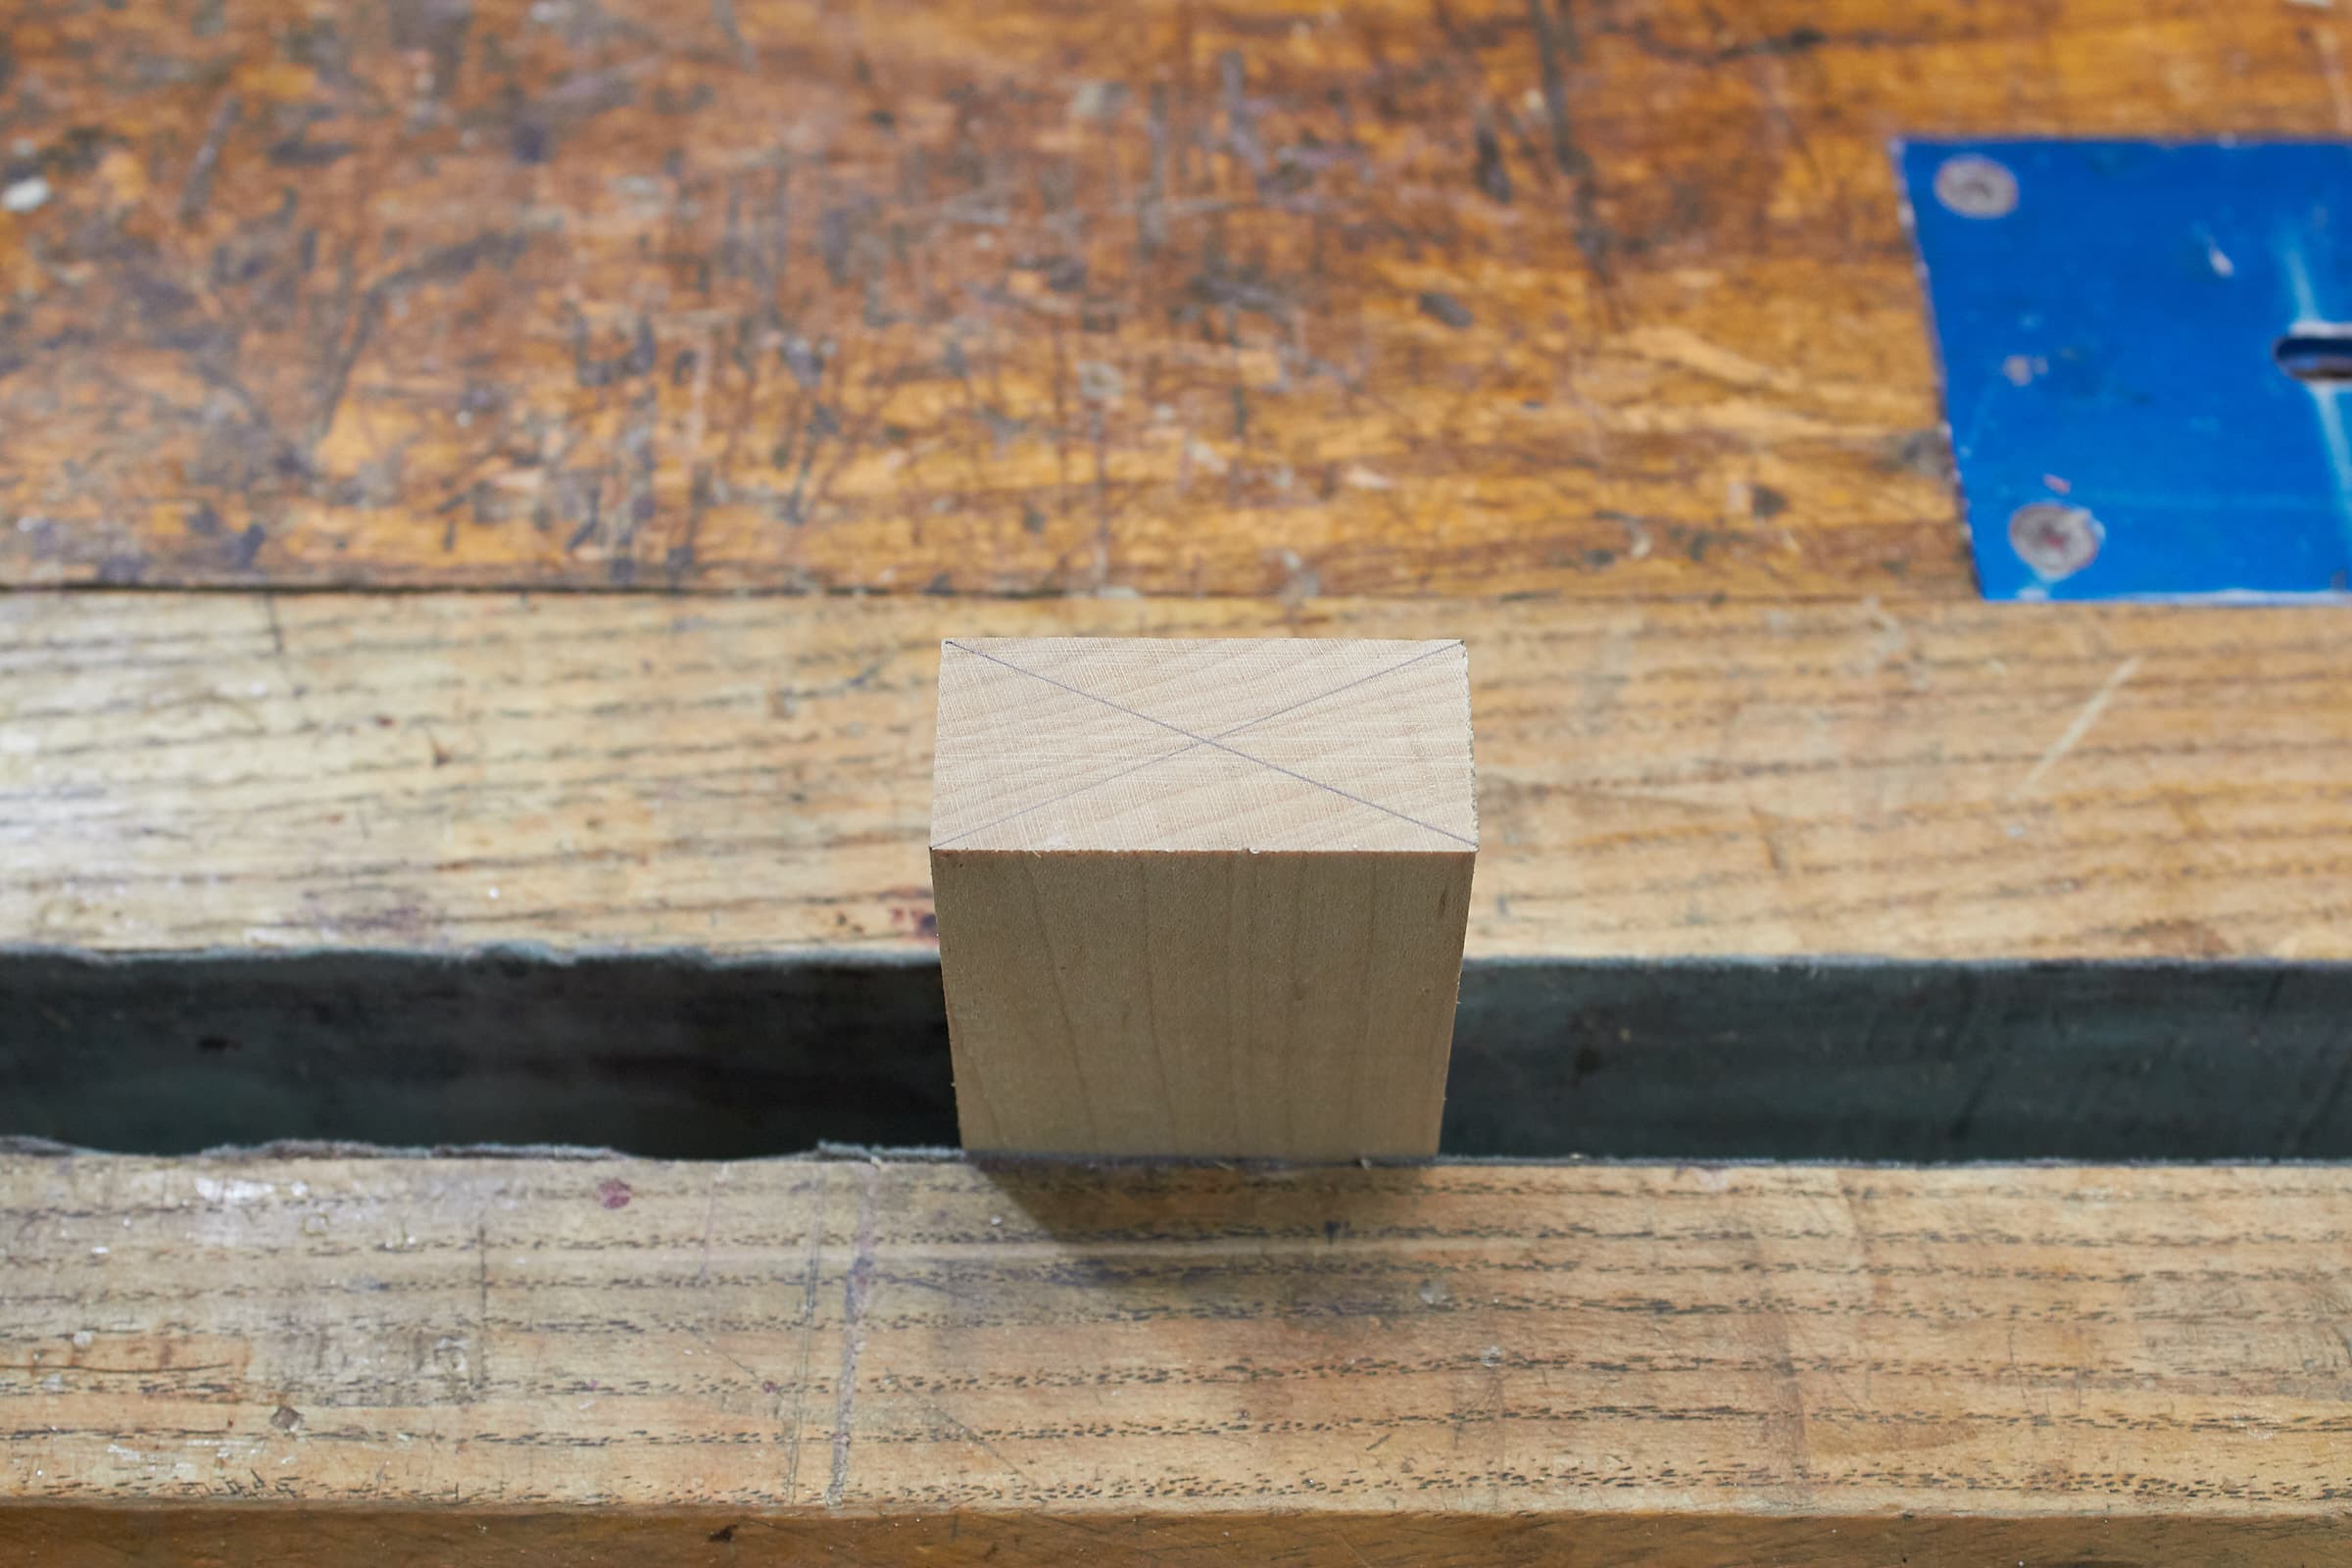
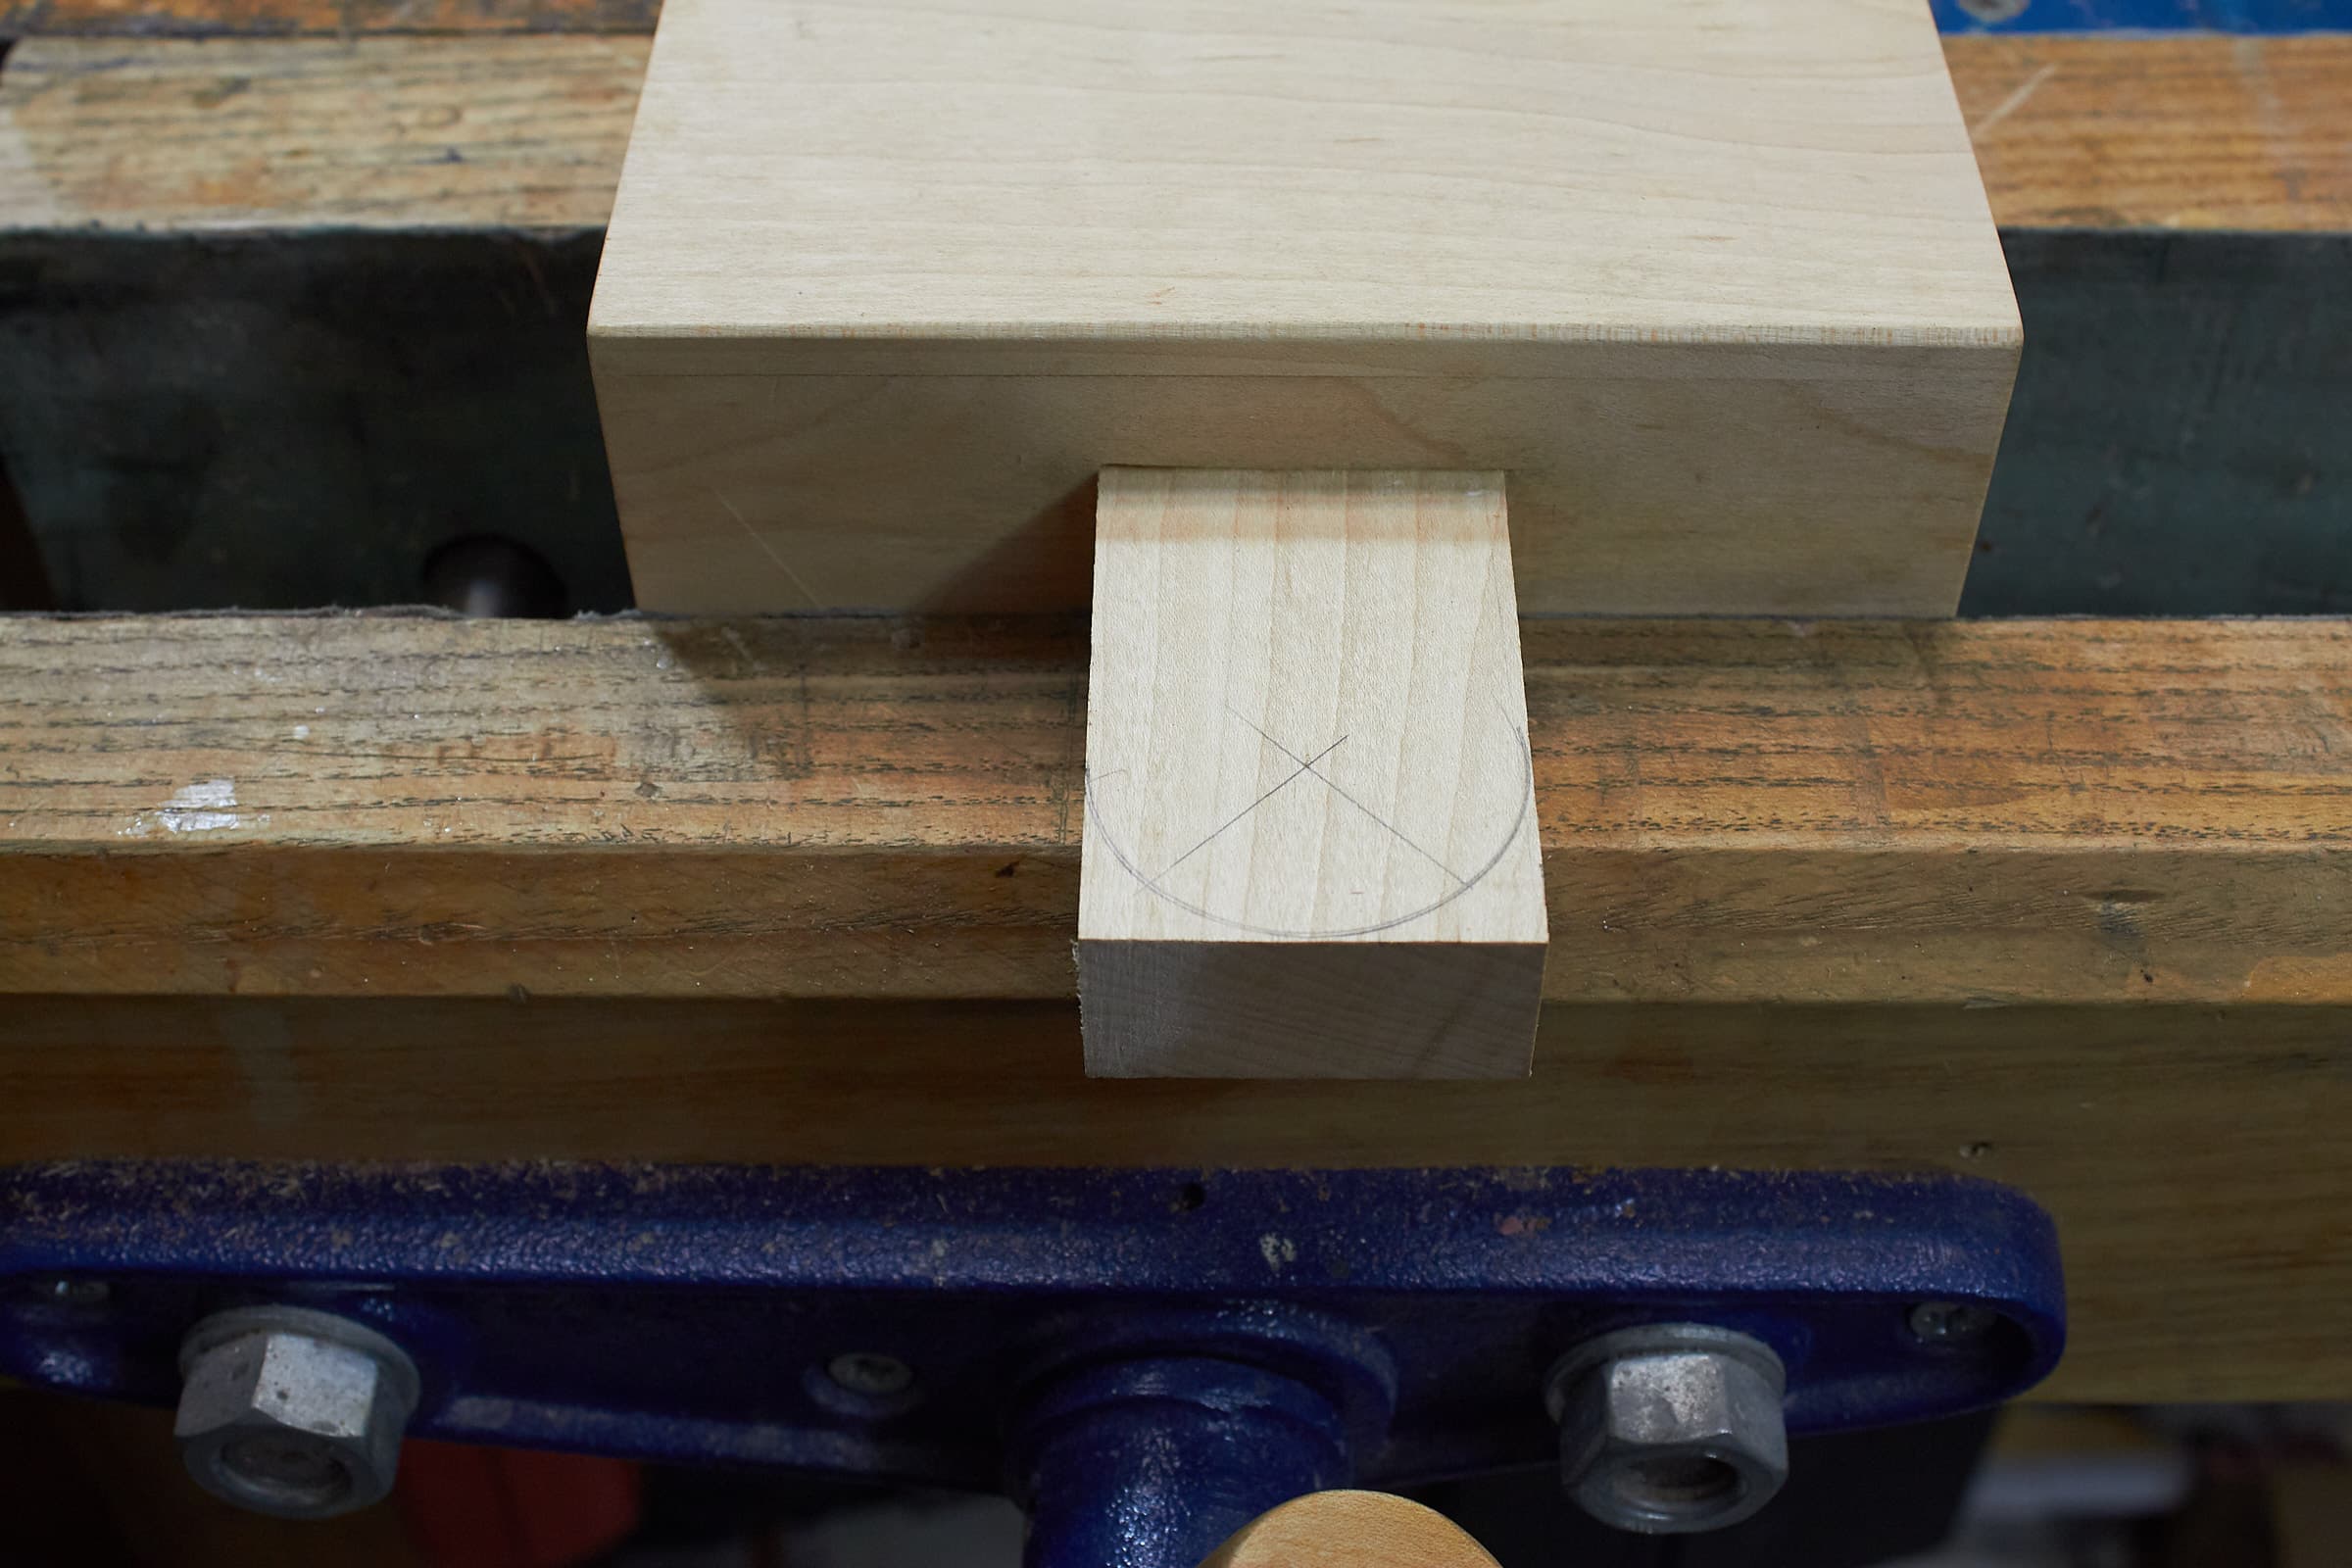
Mark Center Mortise
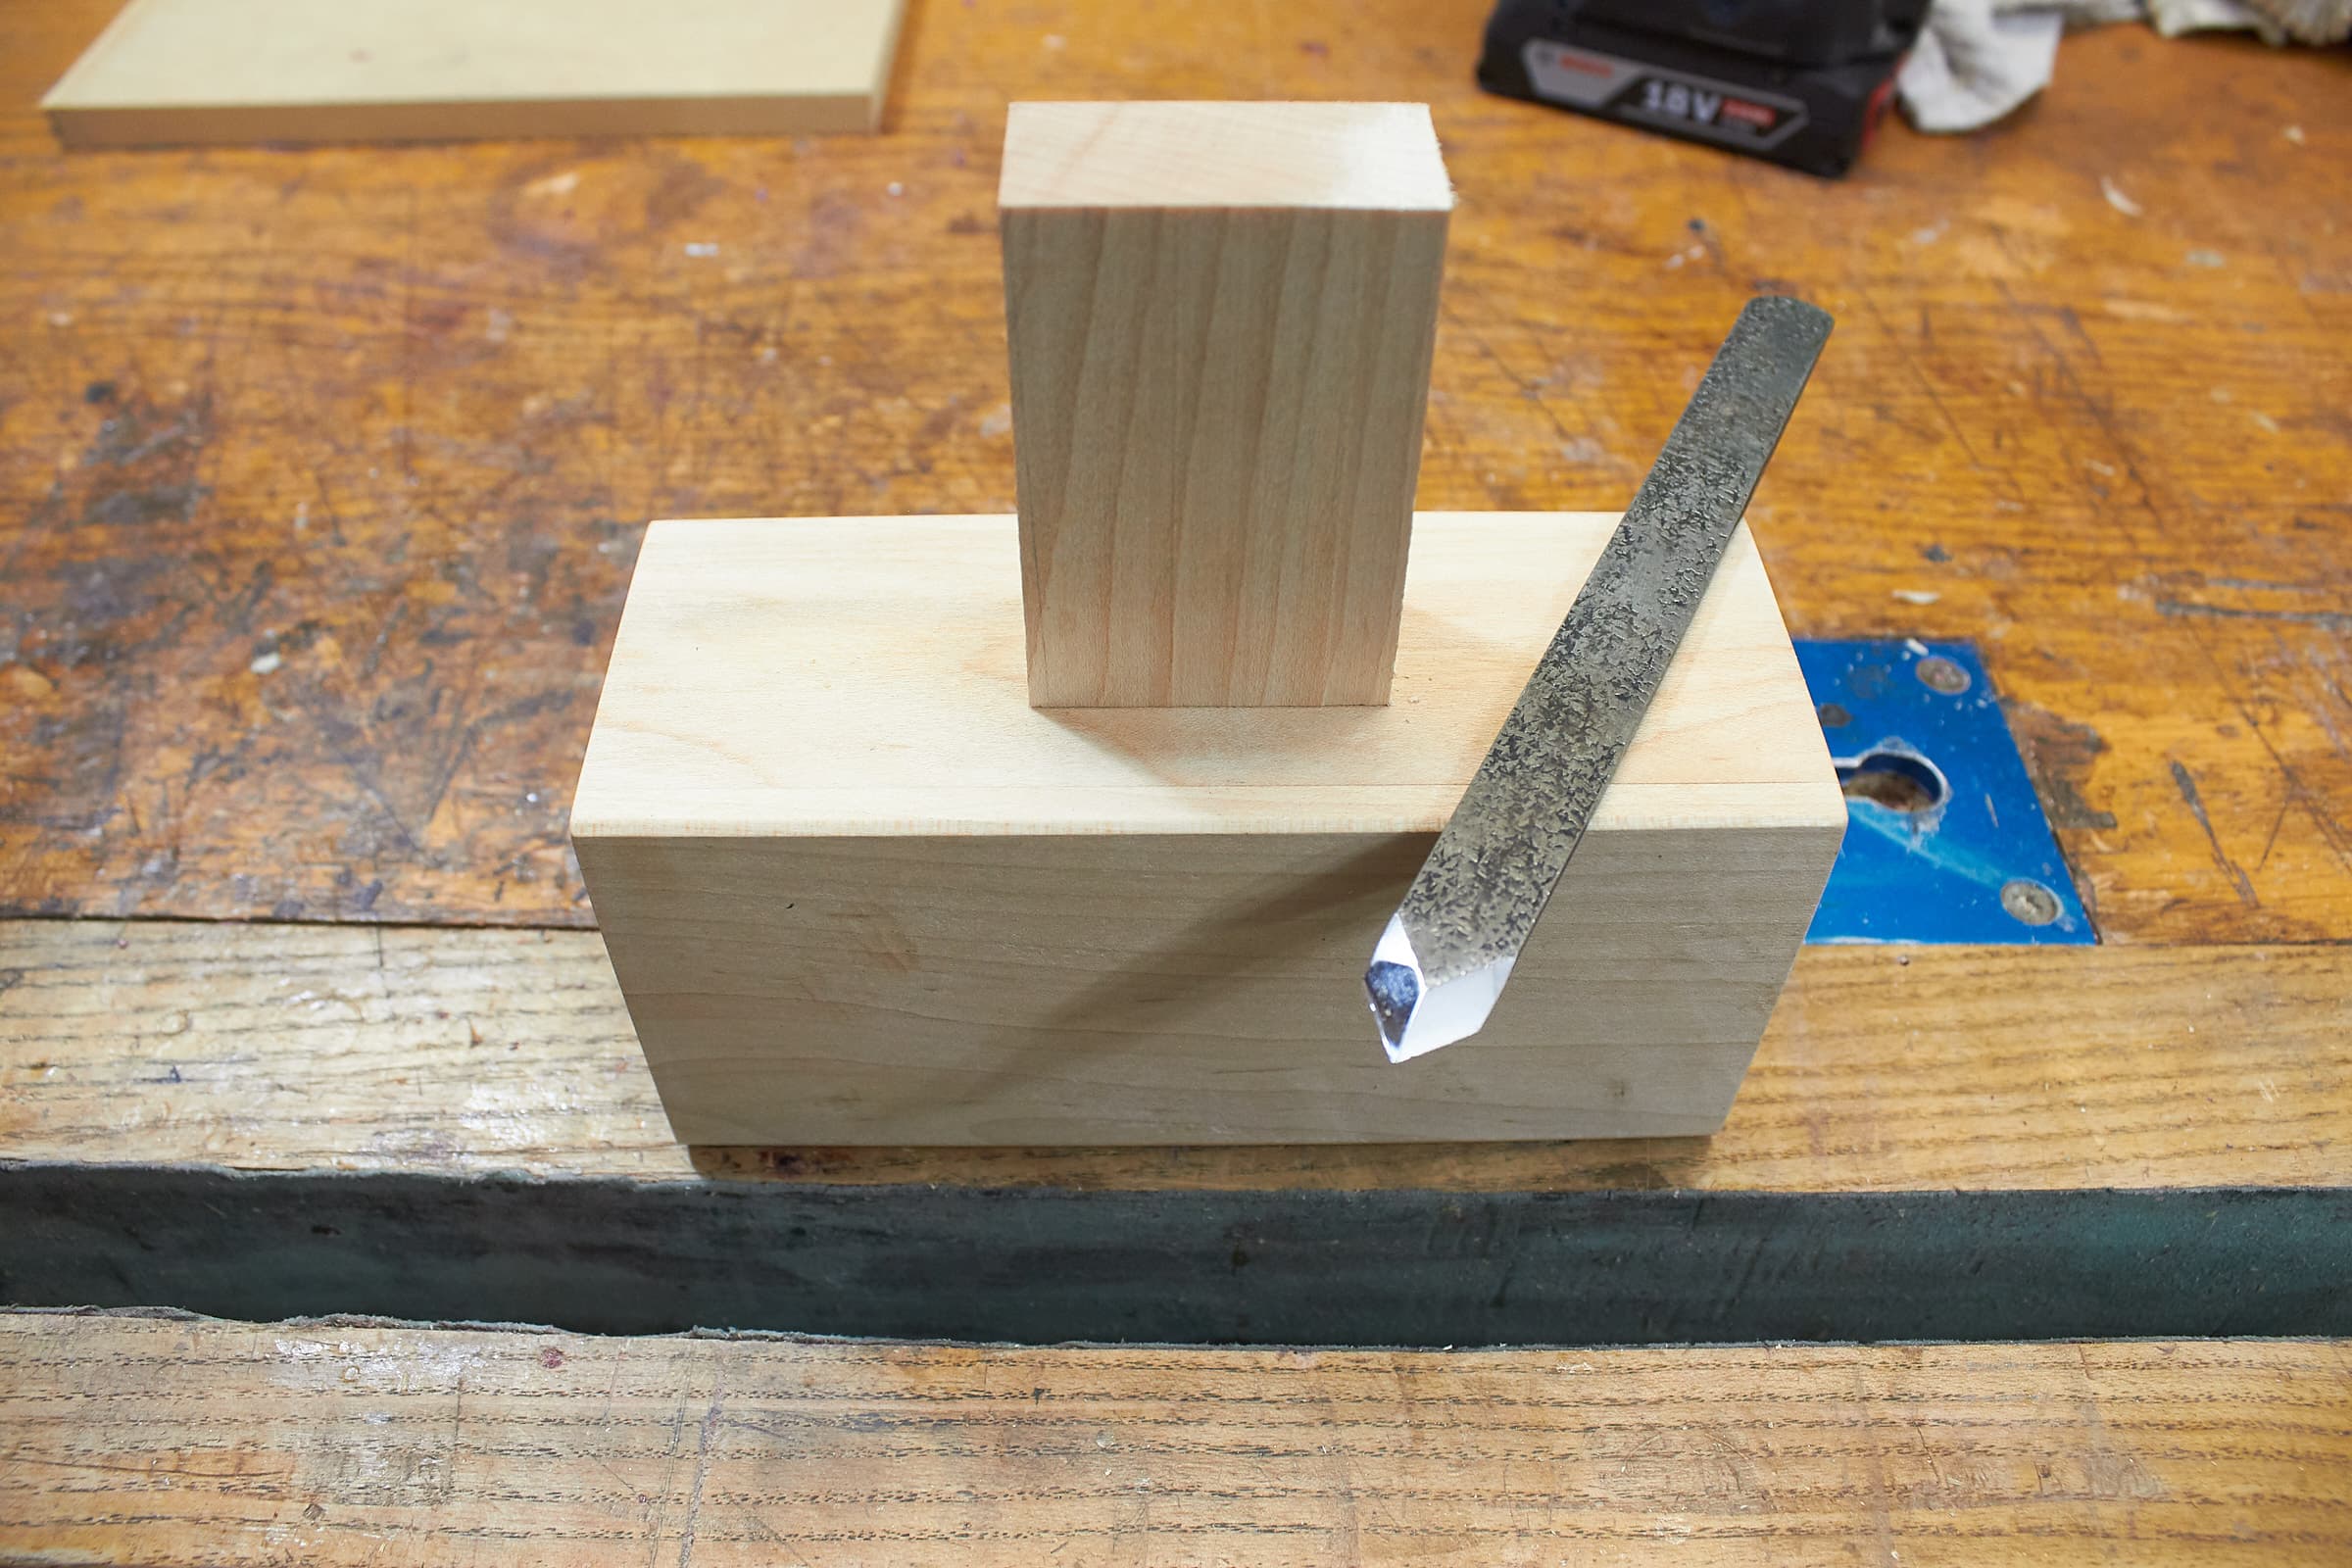
I want a mortise here so that the holder will have a nice squared place to seat. This will help stop it from spinning when hit hard.
Chisel Mortise

I chisel out the mortise.
Glue Mortise
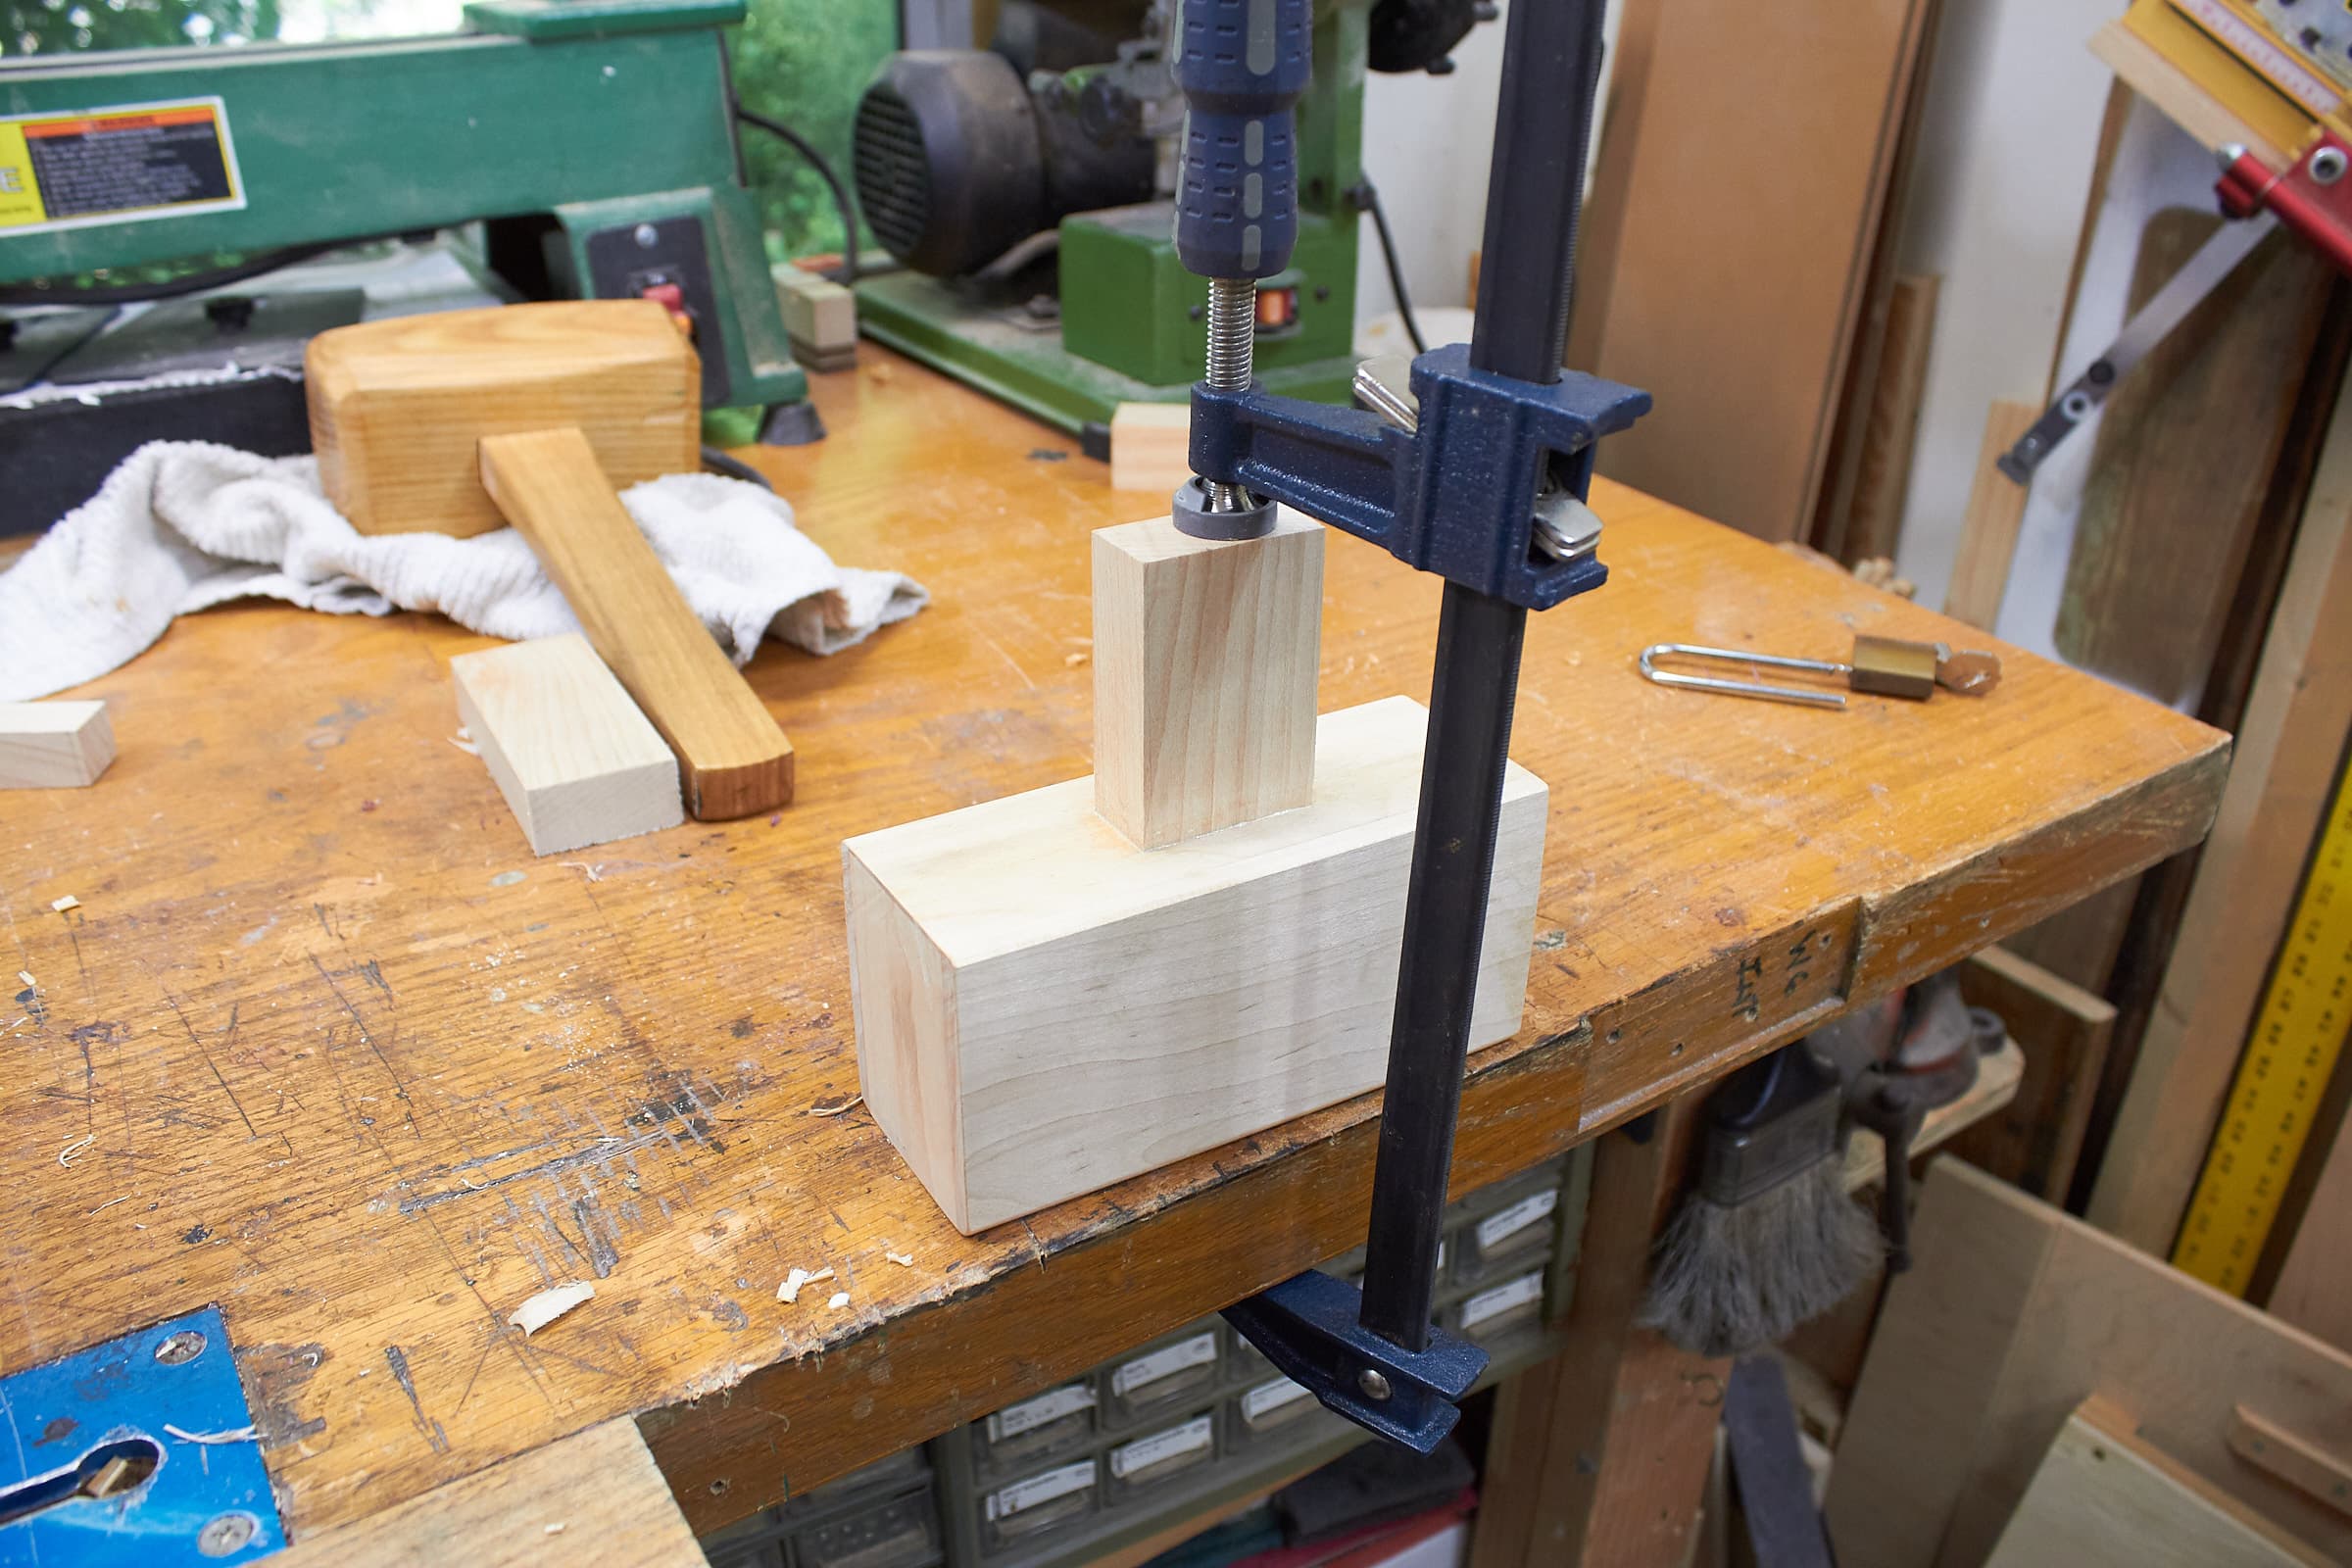
The holder is glued in to place. The mortise was about 3/16”(5mm) deep.
Drill Holder Hole
I want to shape the holder and obviously drill a hole, so I mark that out.
Shape Holder Hole
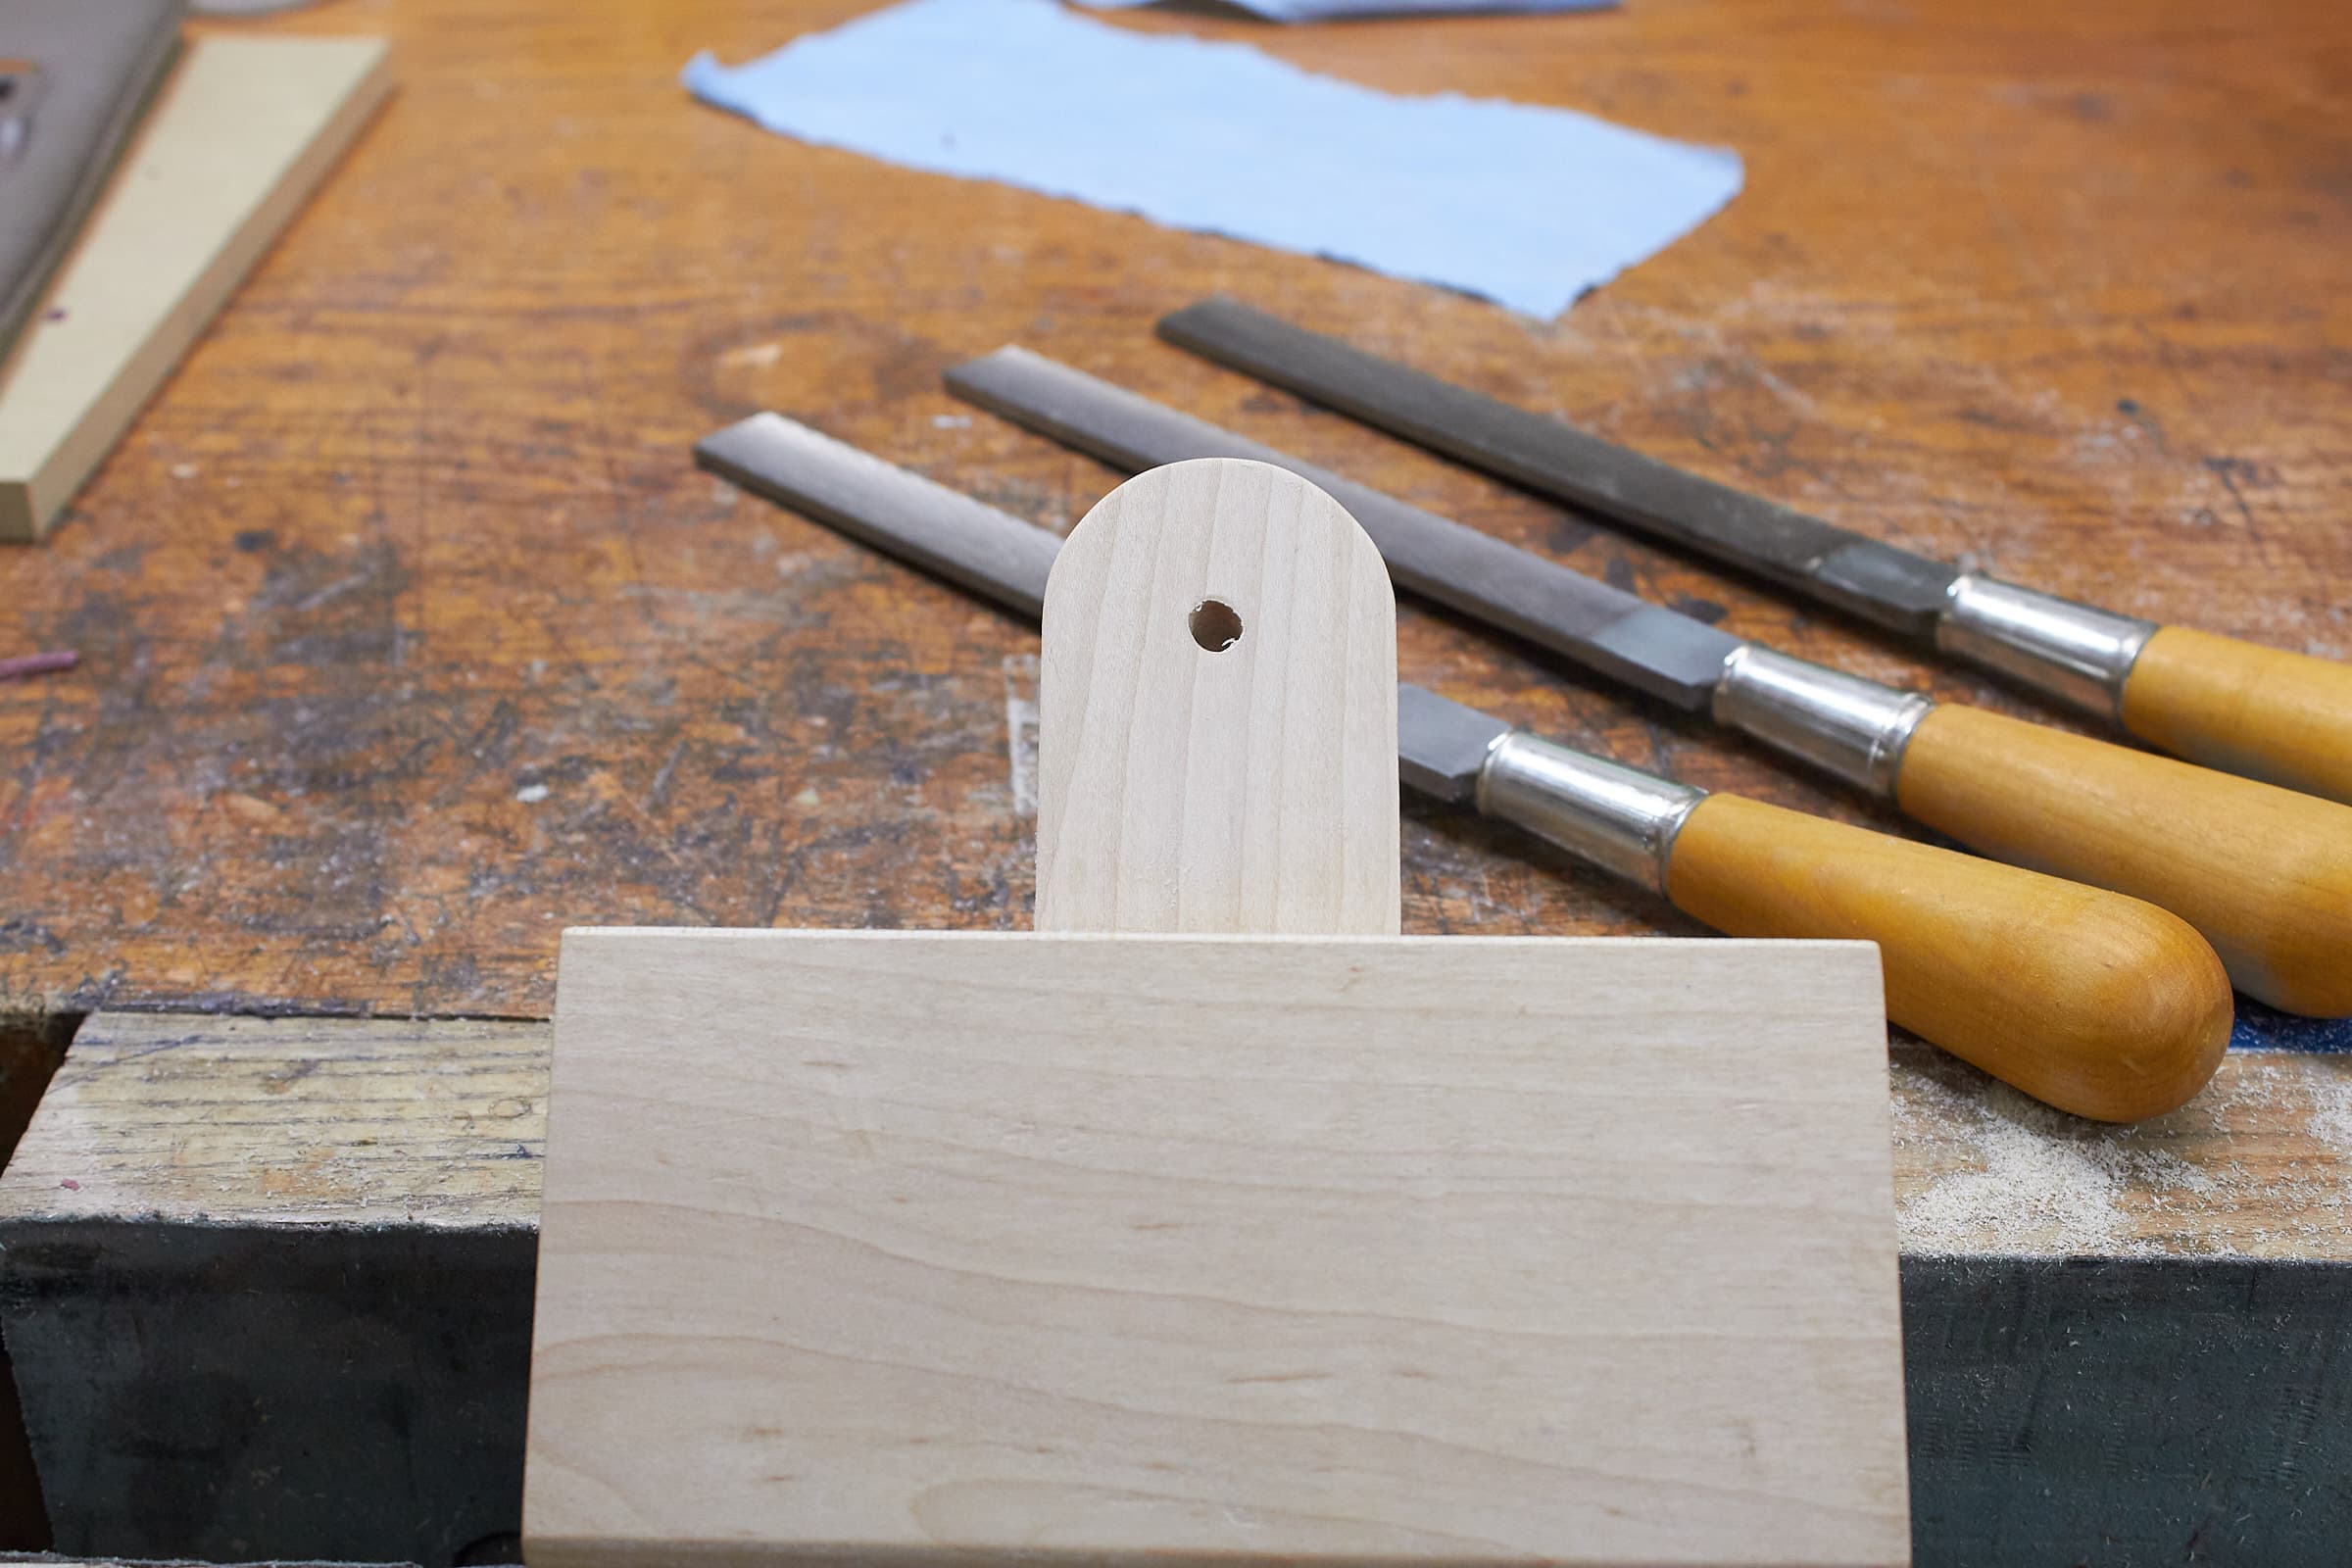
Shaped and drilled.
Maple Finished
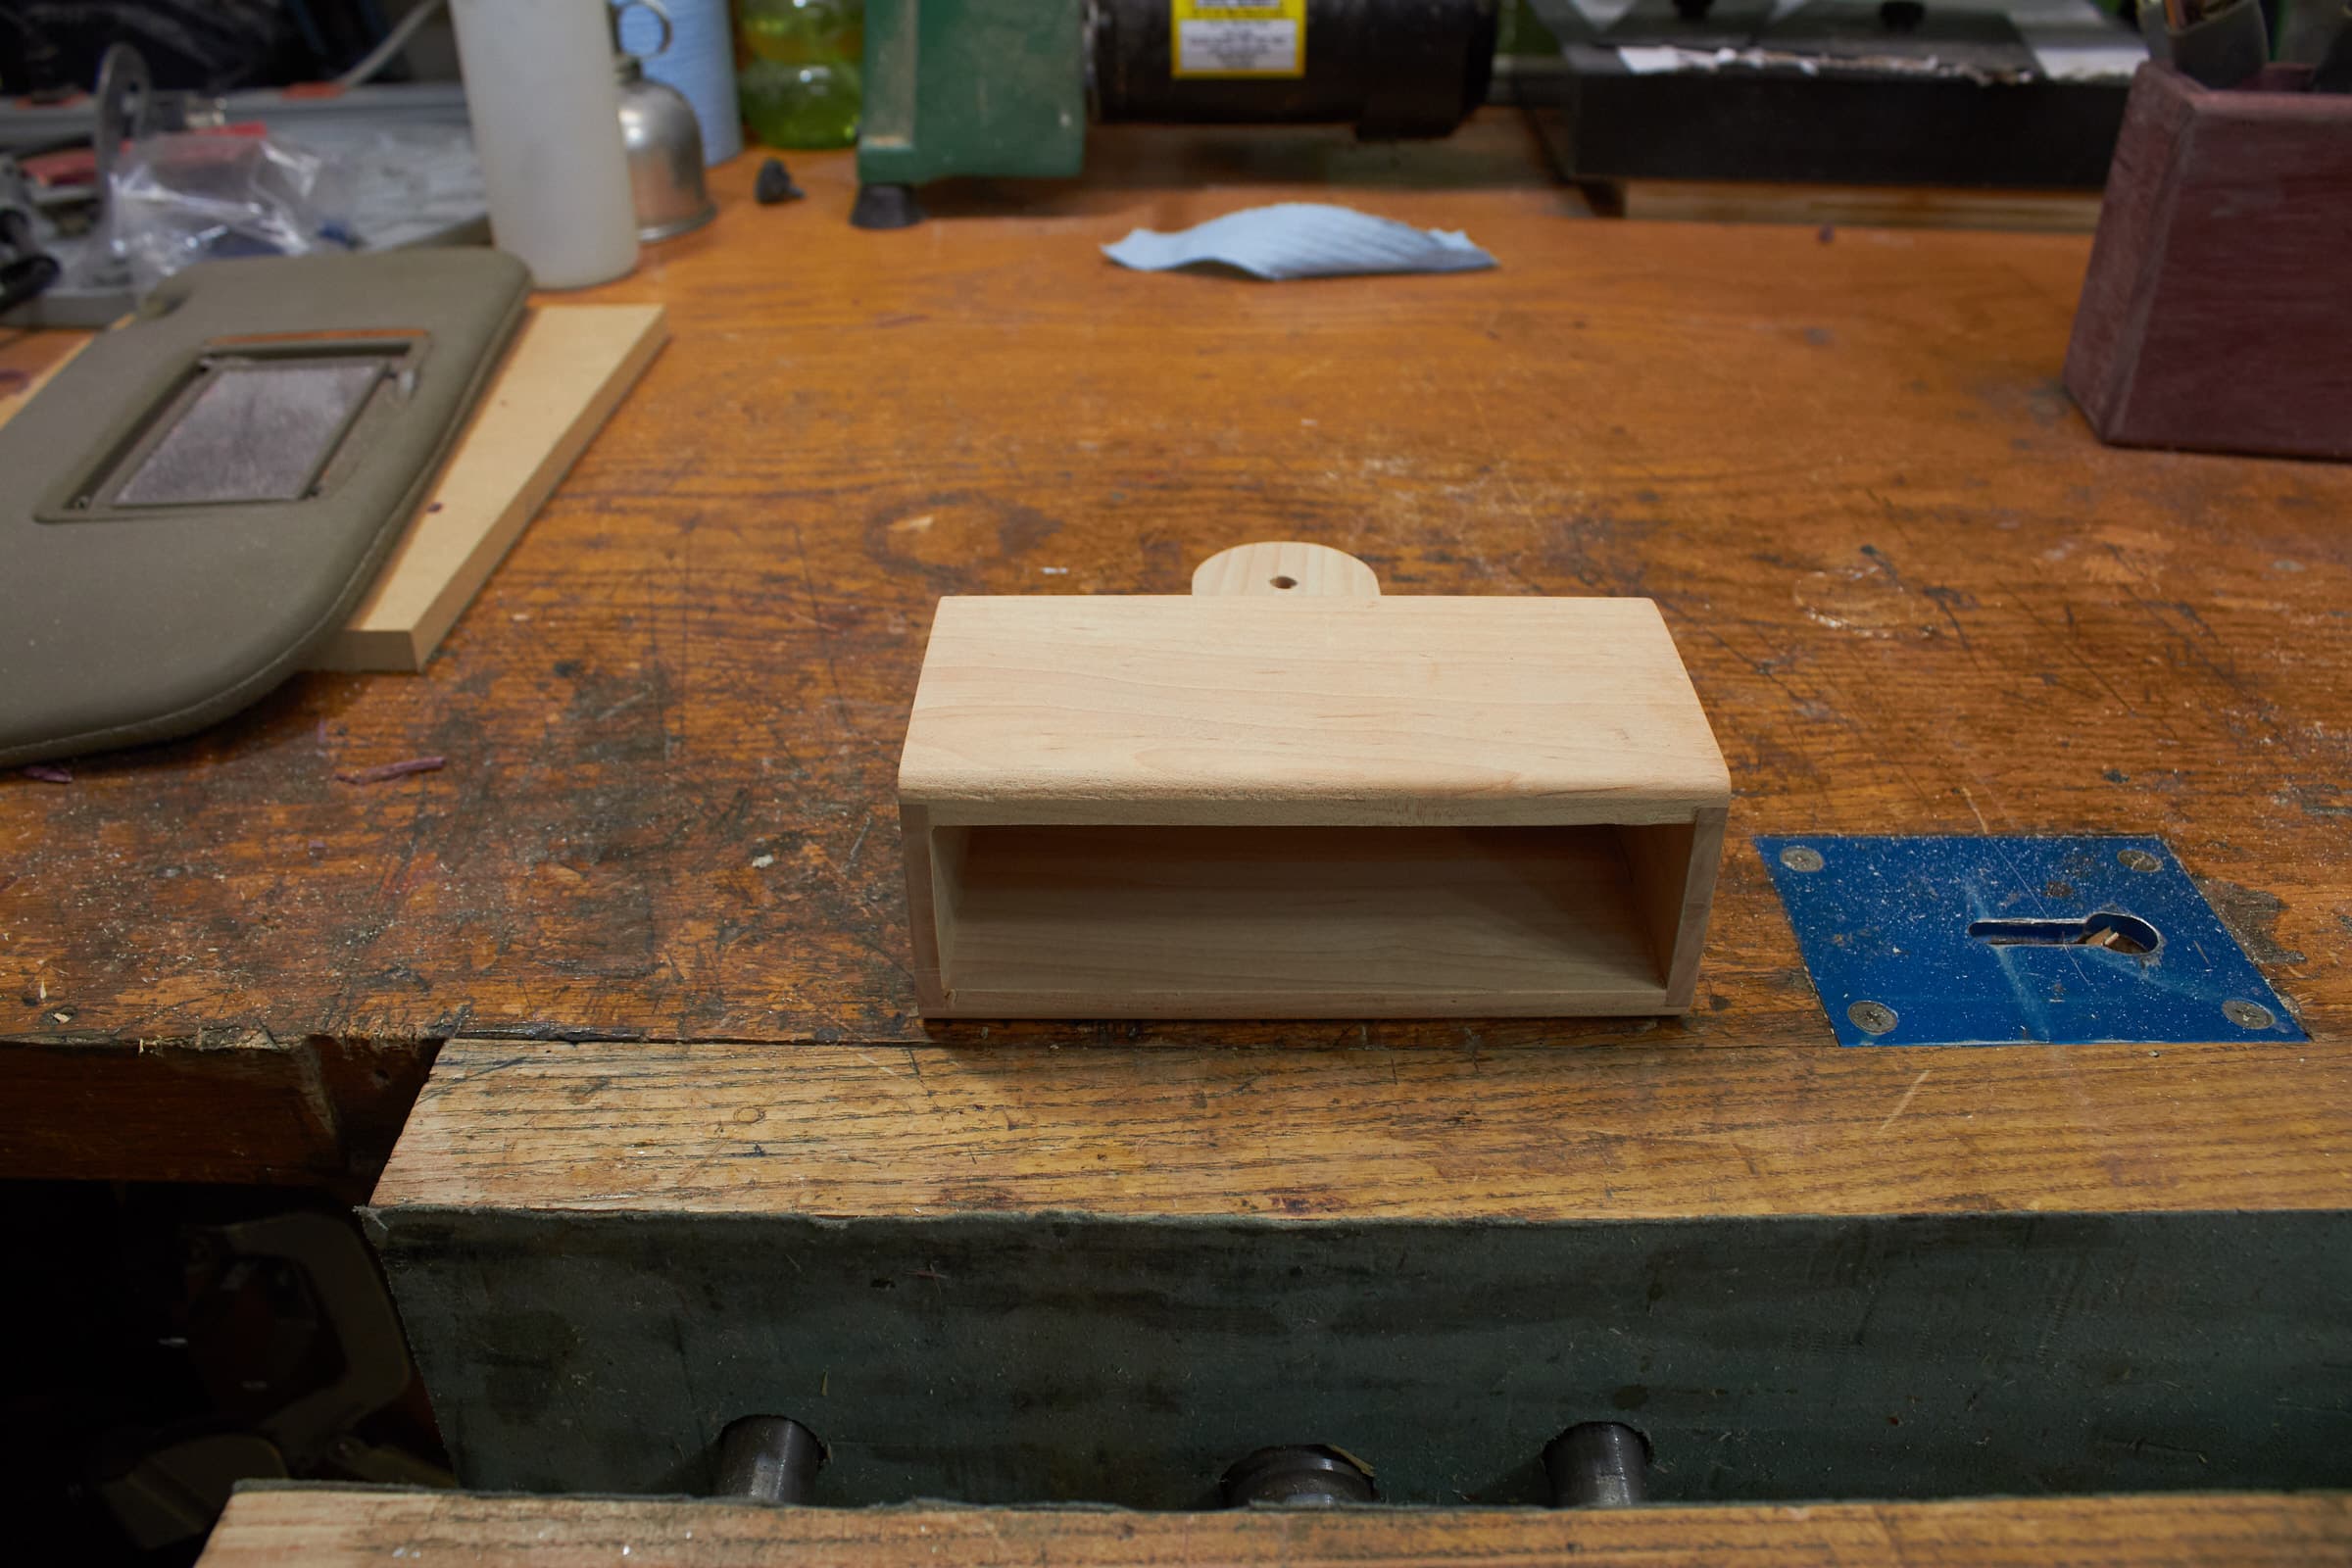
Finished
Simple on the Drums
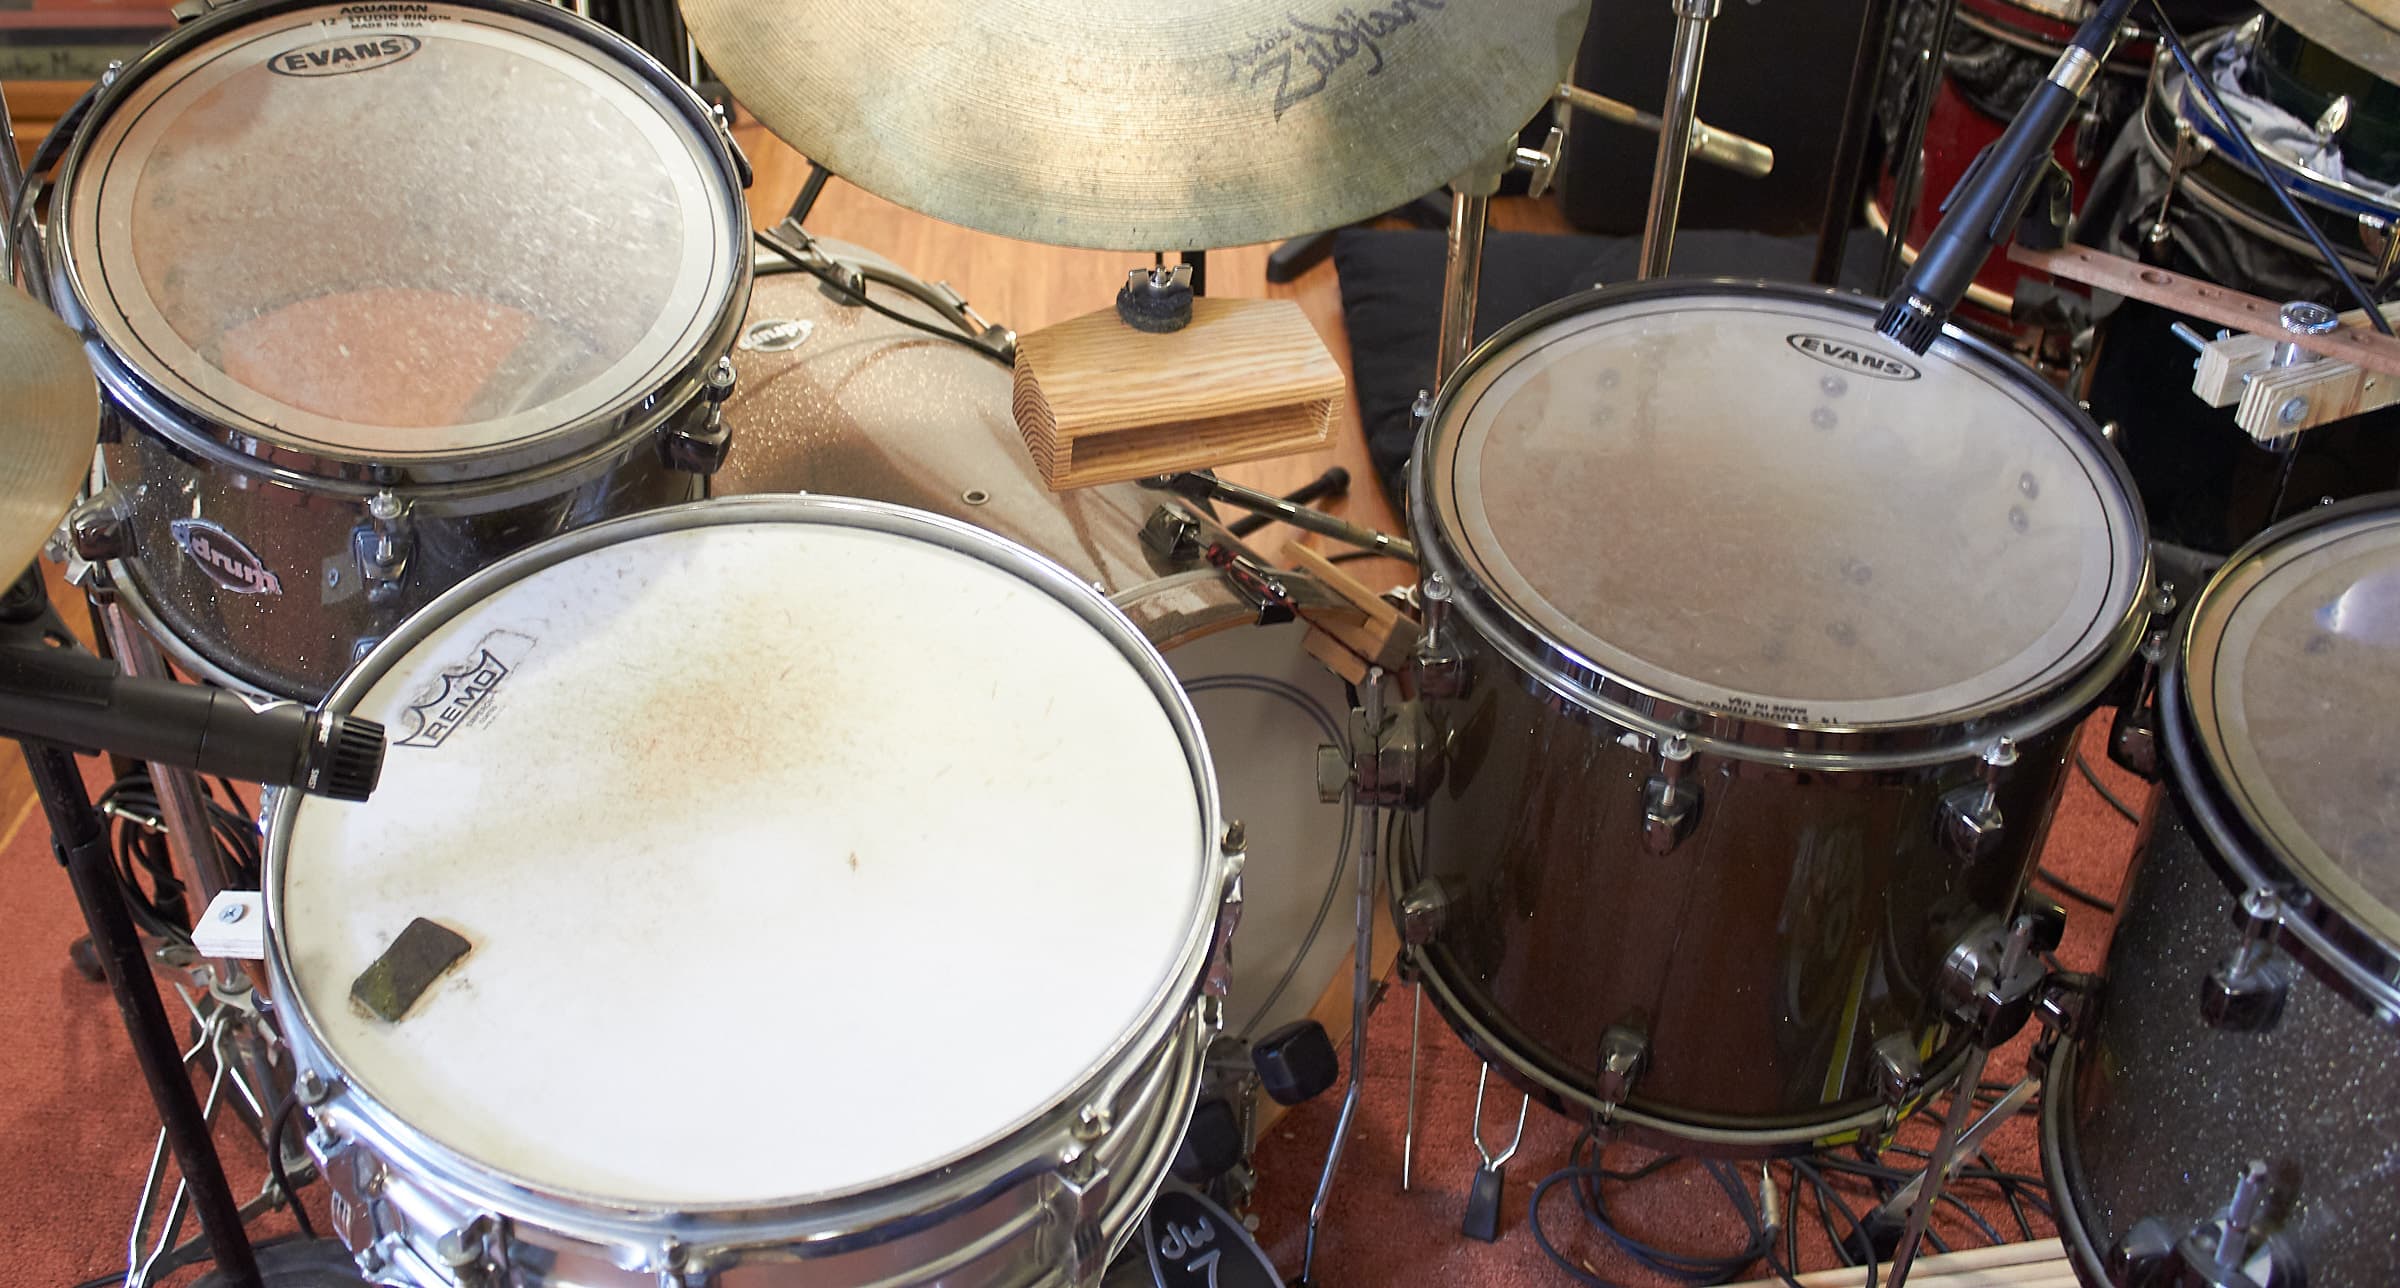
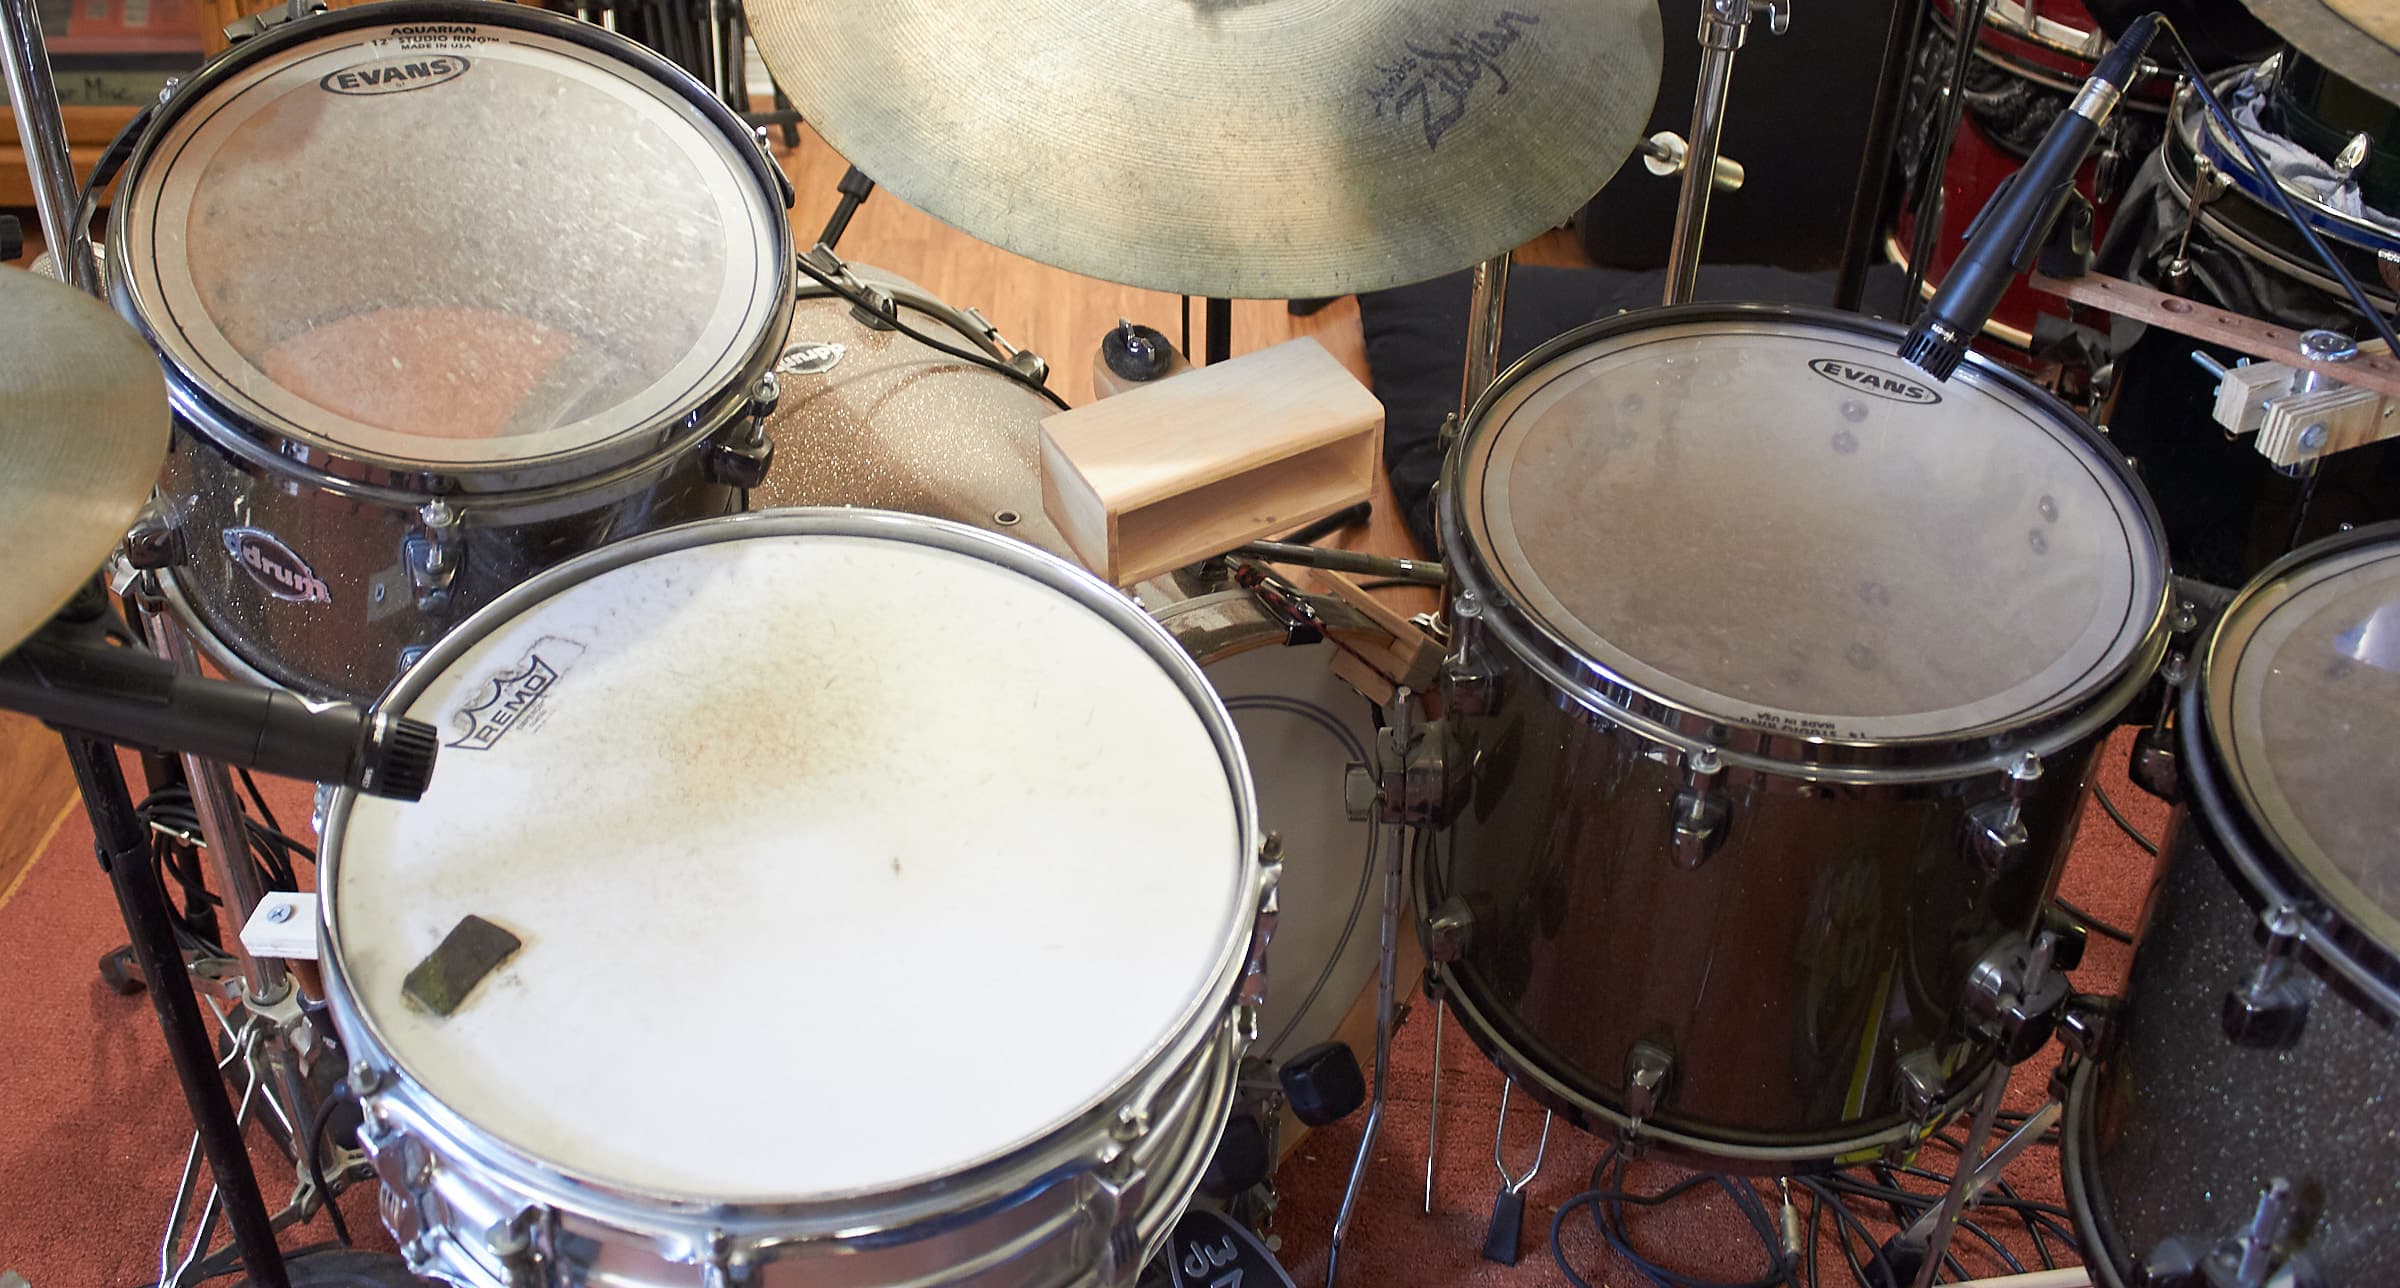
Maple on the Drums
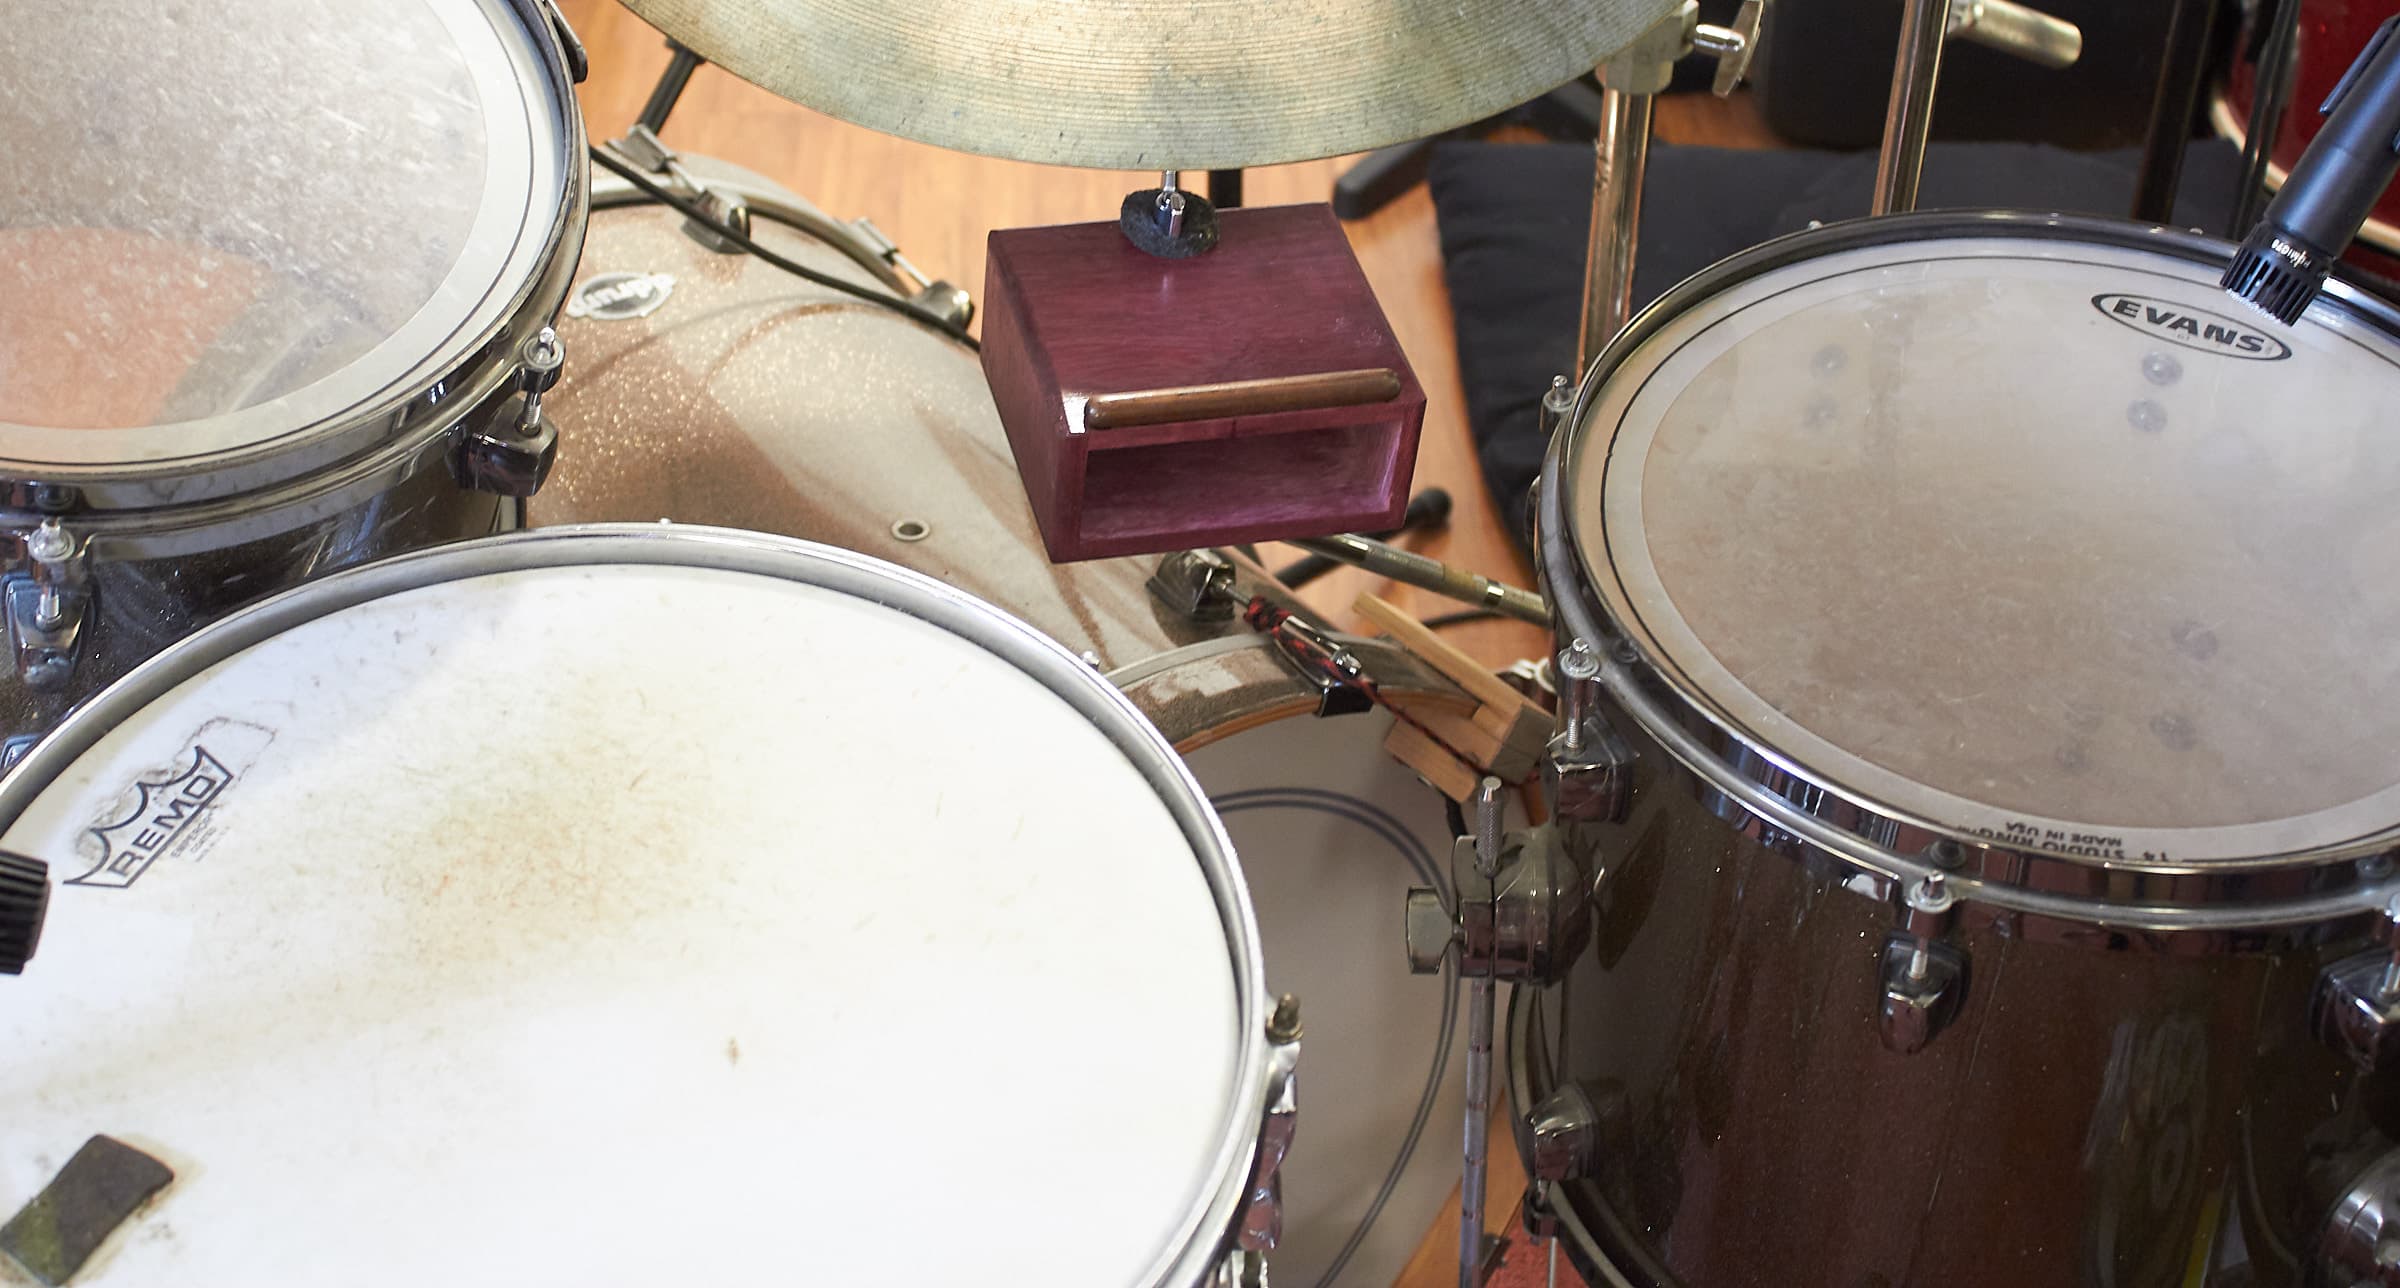
Purpleheart on the Drums
I made another one that I’d probably use mainly. This is made from Purpleheart with an Ipé striking rod inlaid in the top.
Unfortunately I think that the Maple version sounds better.
I really should have had a thinner top on this, but that’s something I can adjust on my own in the future with a chisel.
Sounds
So here’s the sounds of them. On the simple and Maple versions I show hitting the edge and the top. The Purpleheart is only struck on the striking bar.
The maple version sounds most like a wood block on its own without a doubt. However the purpleheart version cuts through a dense drum part better.
The simple version likely suffers from the type of wood. If you make thinner walls and use a harder wood (maple or oak) then you will get a much more “wood blocky” sound. The point of making that one was to show how easy it can be.
The simple version can be tuned by removing wood from the striking face until it sounds as “wood blocky” as you want.
Conclusion
It’s not hard. Make your own.
Really. Do it.
The only thing you need, is to be aware of failure modes when working with tools. Always keep in mind what could go wrong and seek be safe in that instance, or to avoid that totally.
Support Me!
This post took 11 hours to make the things, photograph, write and edit. If you appreciate the information presented then please consider joining patreon or donating!