My wife does not have a wedding band. We’ve been together since 2000, and she’s never had one. So I’m going to see if I can make one.
I’ve never made a ring before and I did zero research on how to do this. I just put some thought power in to it and then whacked at some wood.
Here’s my process…
Contents
- Starting
- Slice
- Smooth
- Strips
- Inches
- Metric
- Smoothing the Walnut
- Smoothing the Maple
- Stack
- Glue
- Glued
- Trim
- The endgrain
- Create the workblock
- Shavings
- Shaving
- Chucked
- Oops.
- Size
- Hollowed
- Cut
- Mandril
- Shaped
- Wax
- Finish
- Polish
- Polished
- How I polish pt. 1
- How I polish pt. 2
- Inside
- Ring
- Support Me!
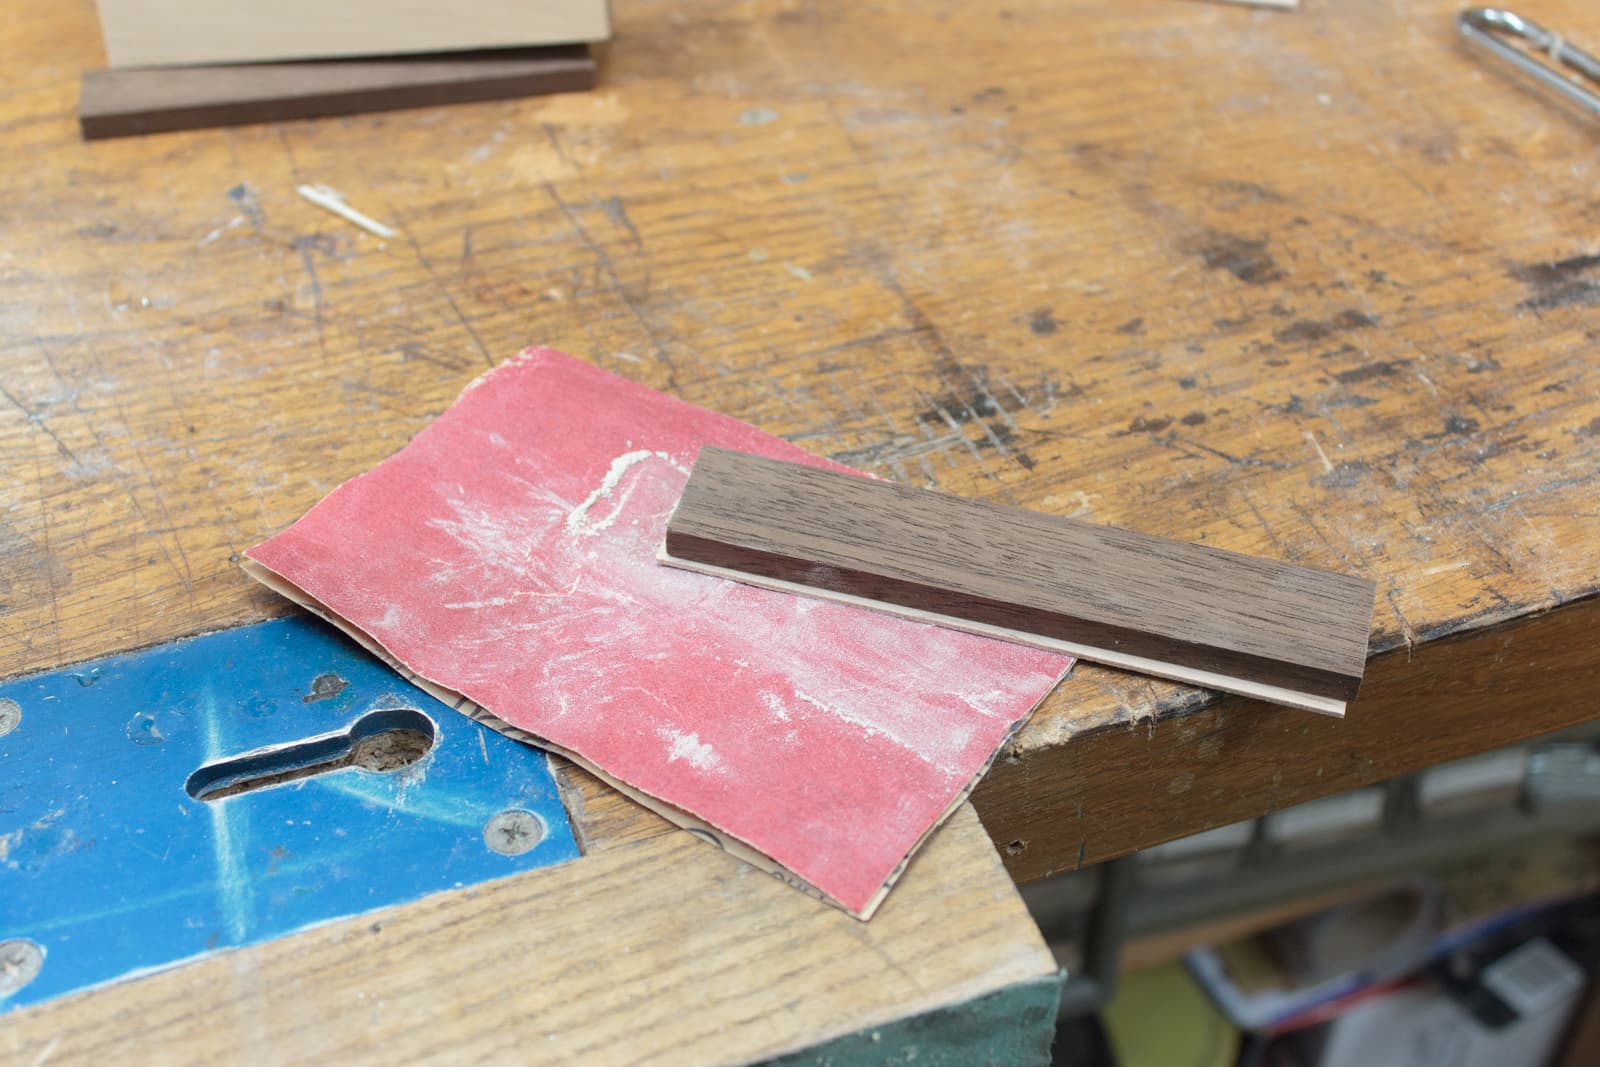
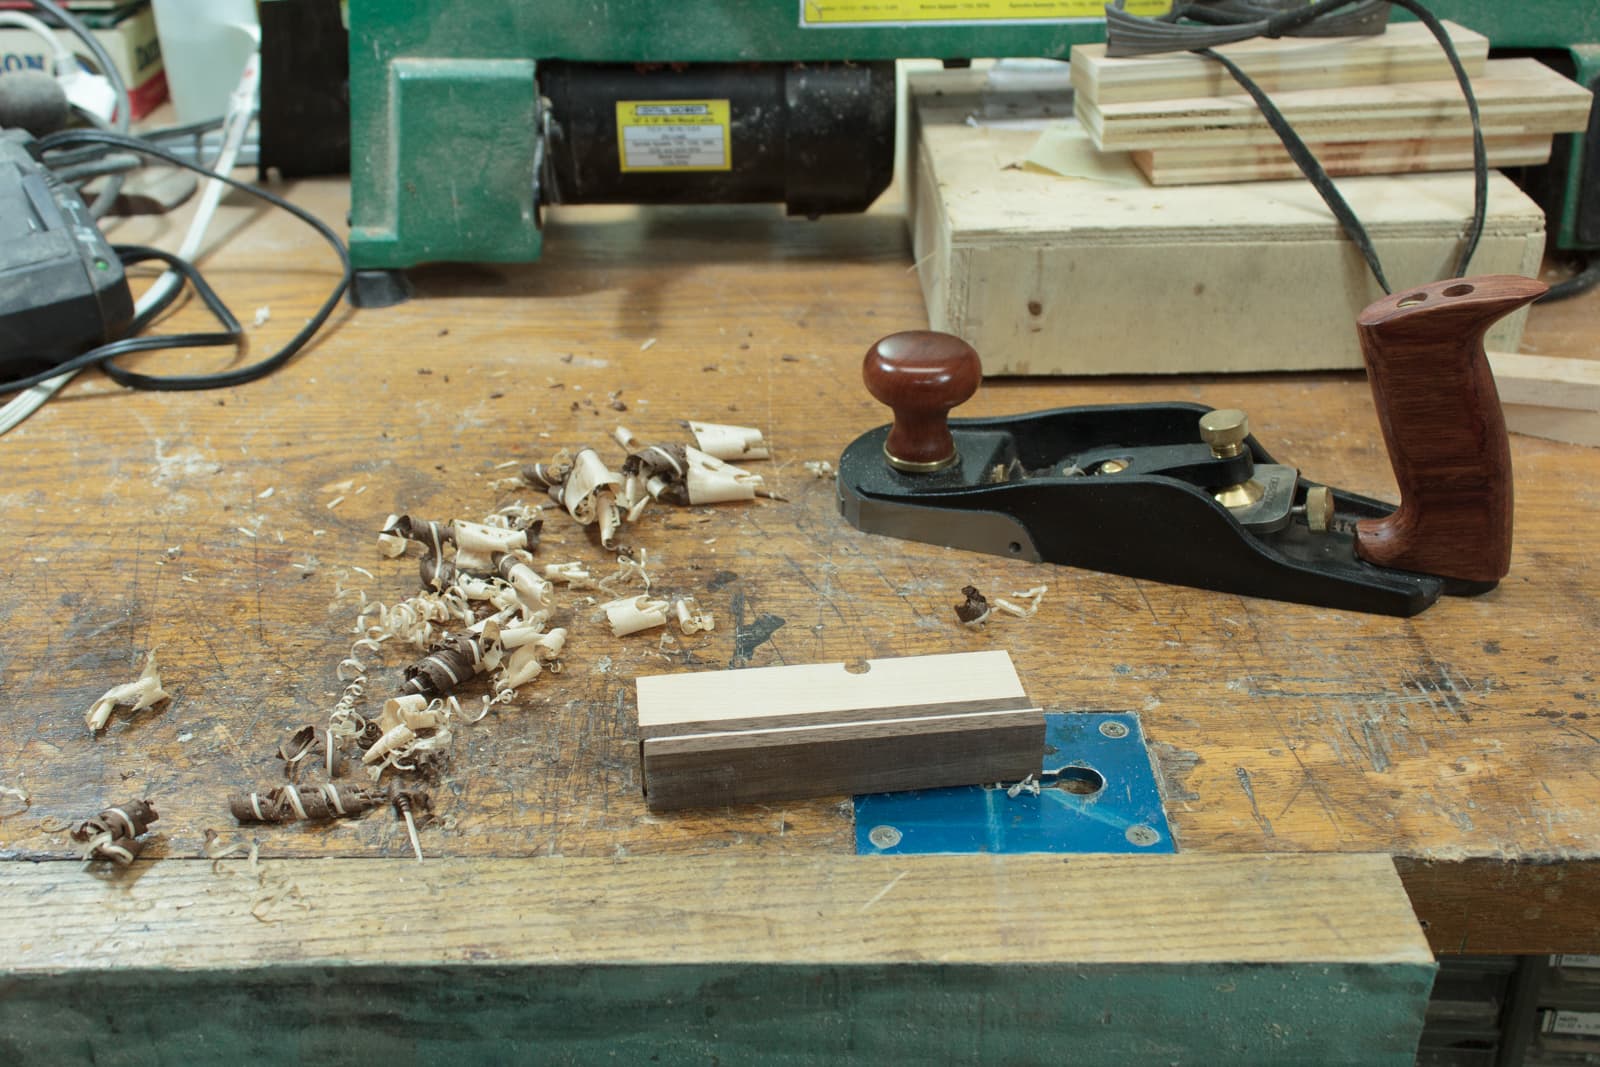
Starting
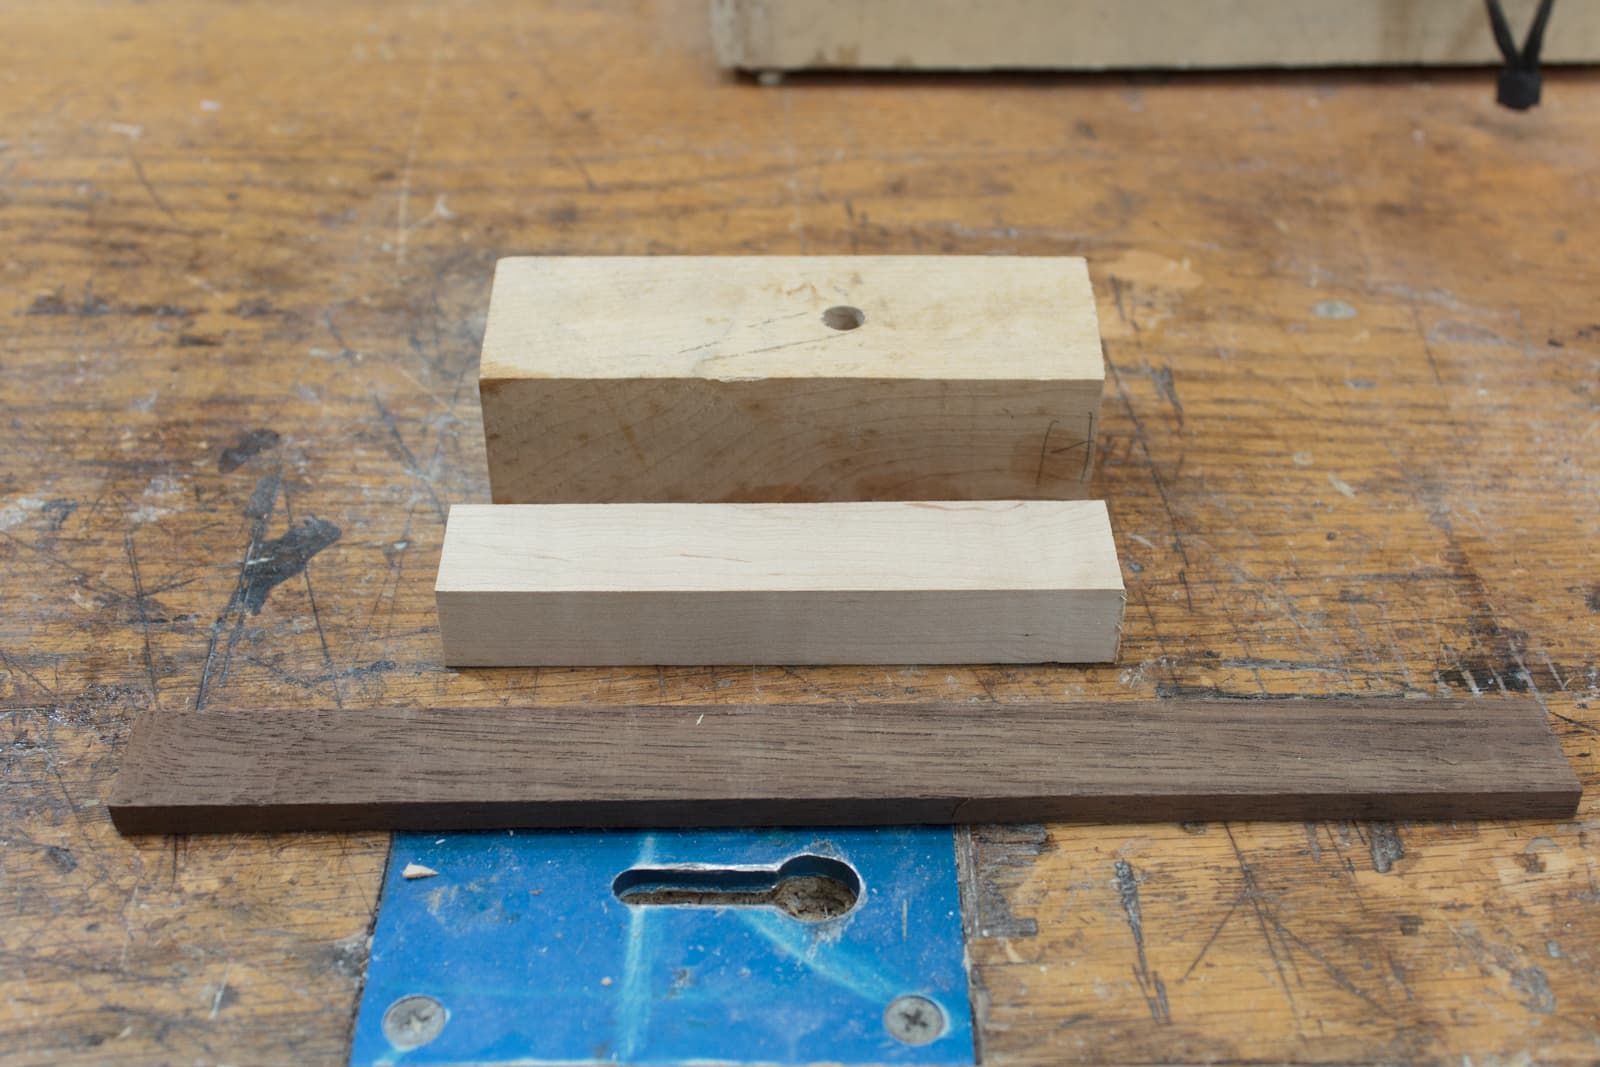
To start I grab some Peruvian Walnut, some Hard Maple and some more hard maple.
My plan is to laminate these together then chop the laminate perpendicular to the longest dimension. This will give my a piece that I can make the ring from.
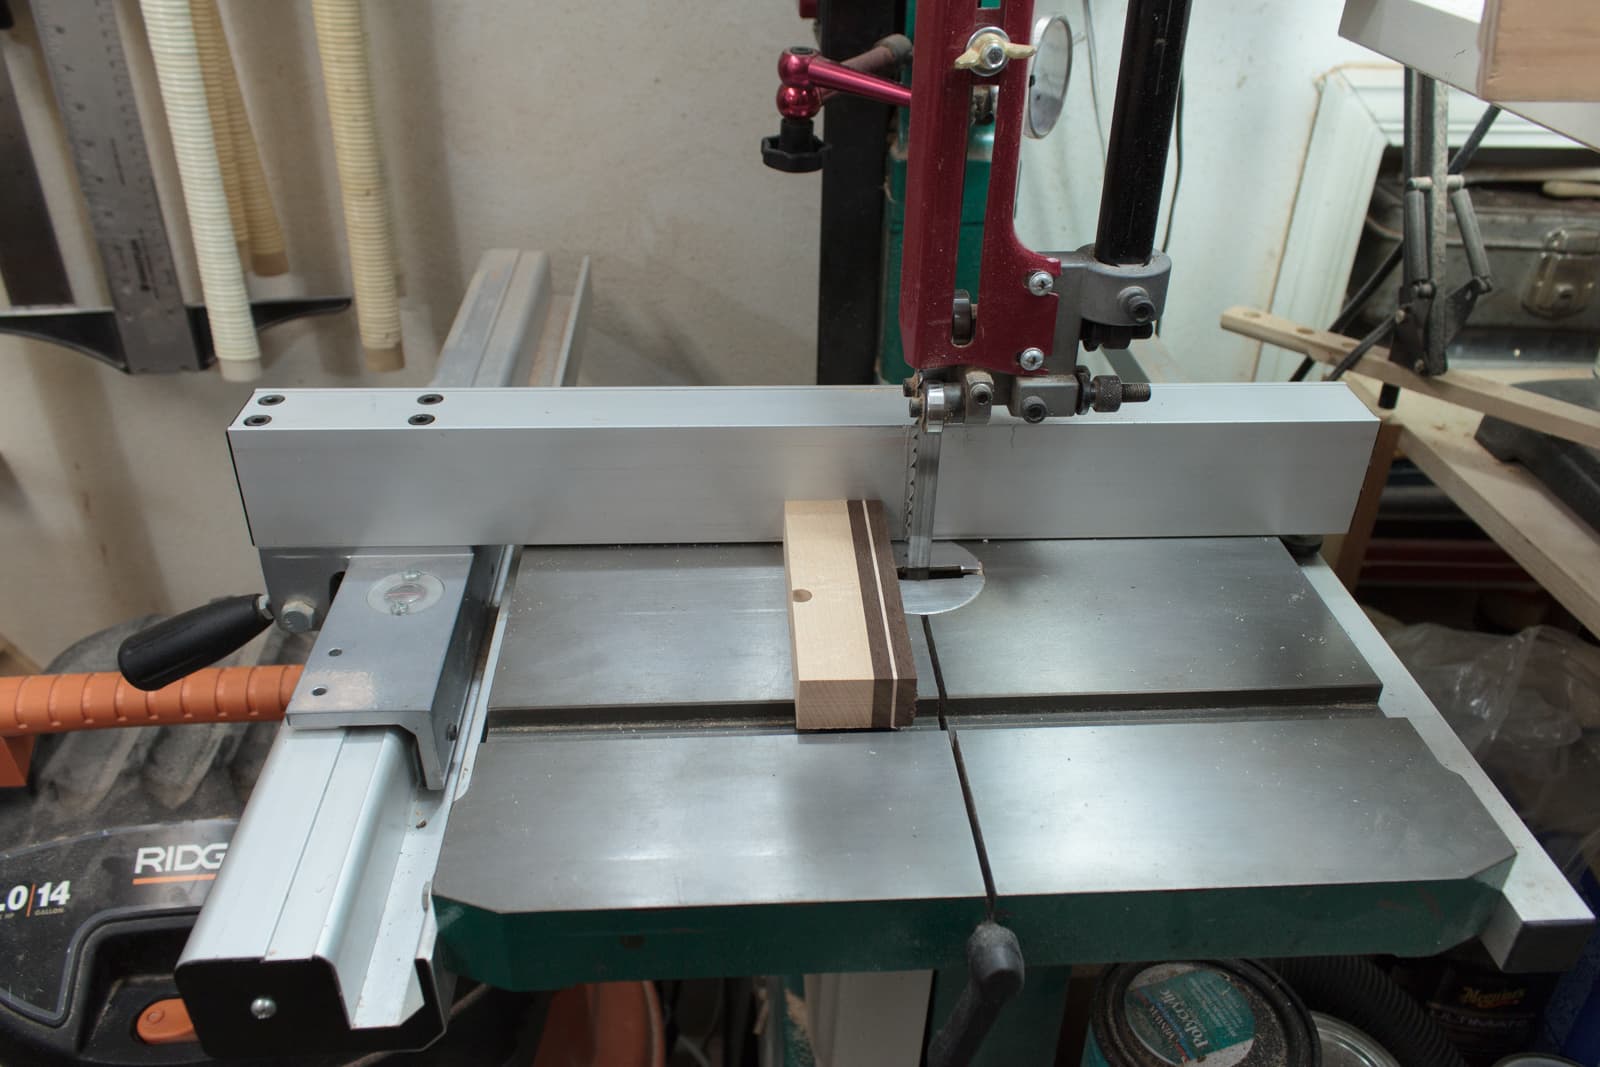
Slice
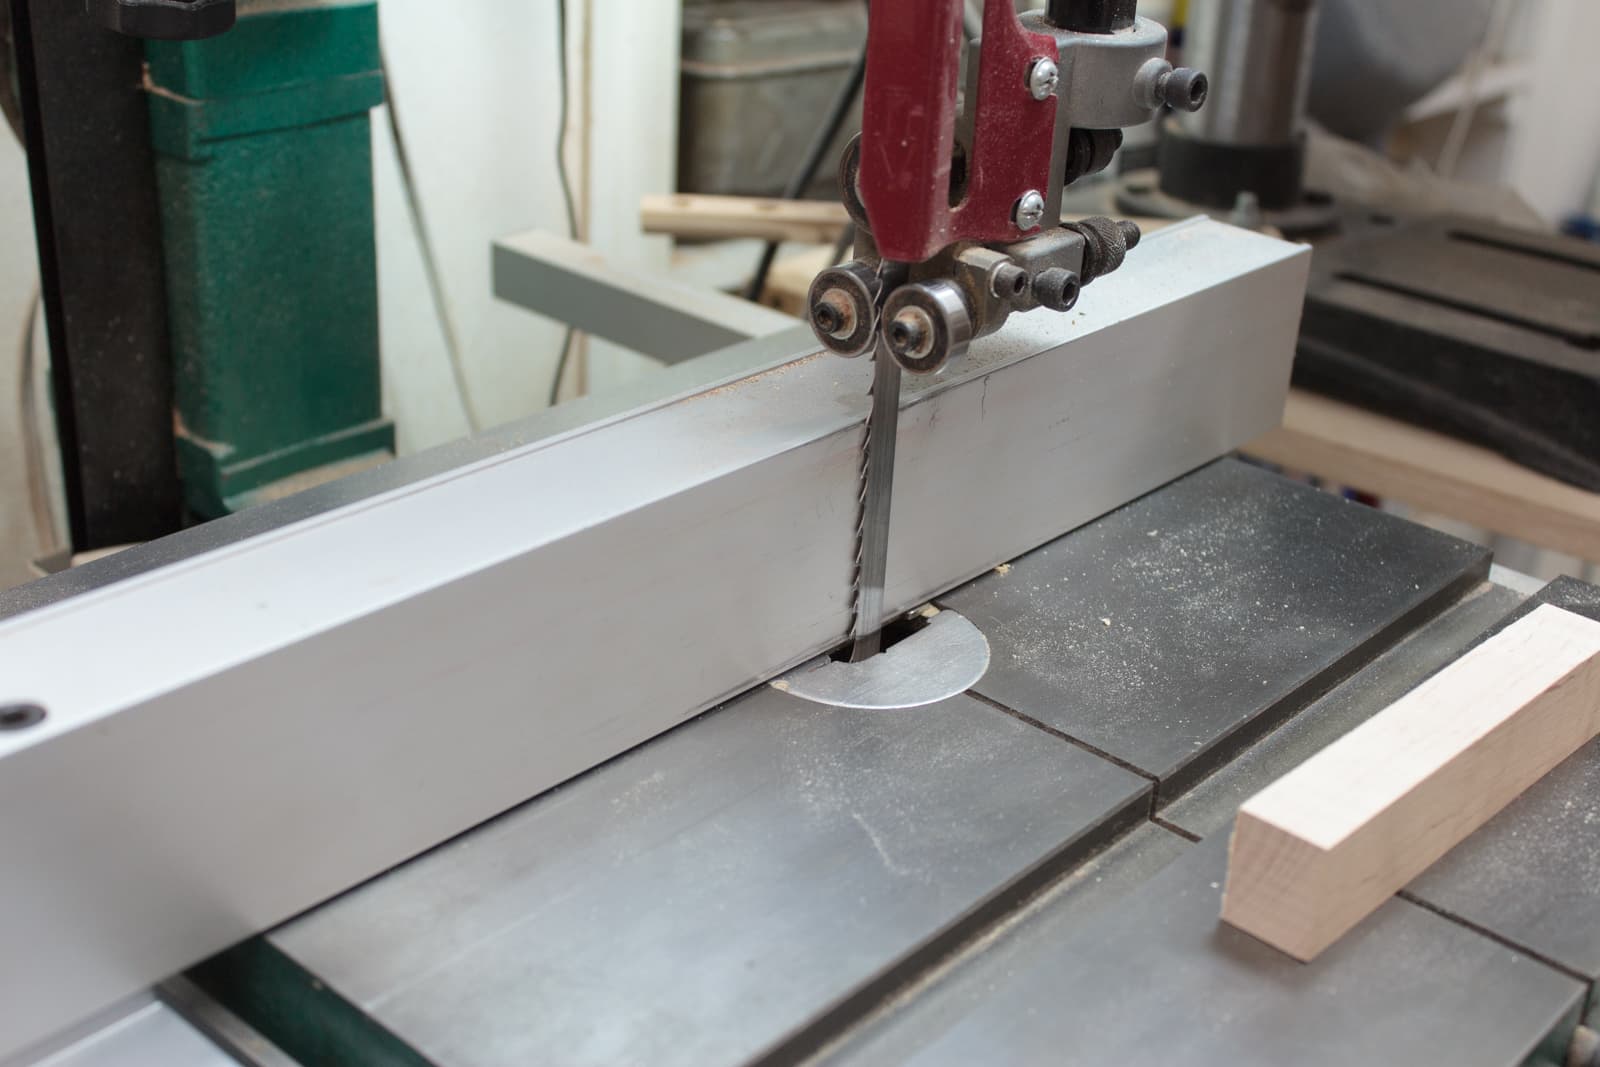
I want the ring to have a strip of light maple in between the dark walnut. So I need to create a thin strip of maple
I setup my Bandsaw to take a very thin cut.
This took me 3 tries to get it right. I went by eye until I was satisfied with the strip.
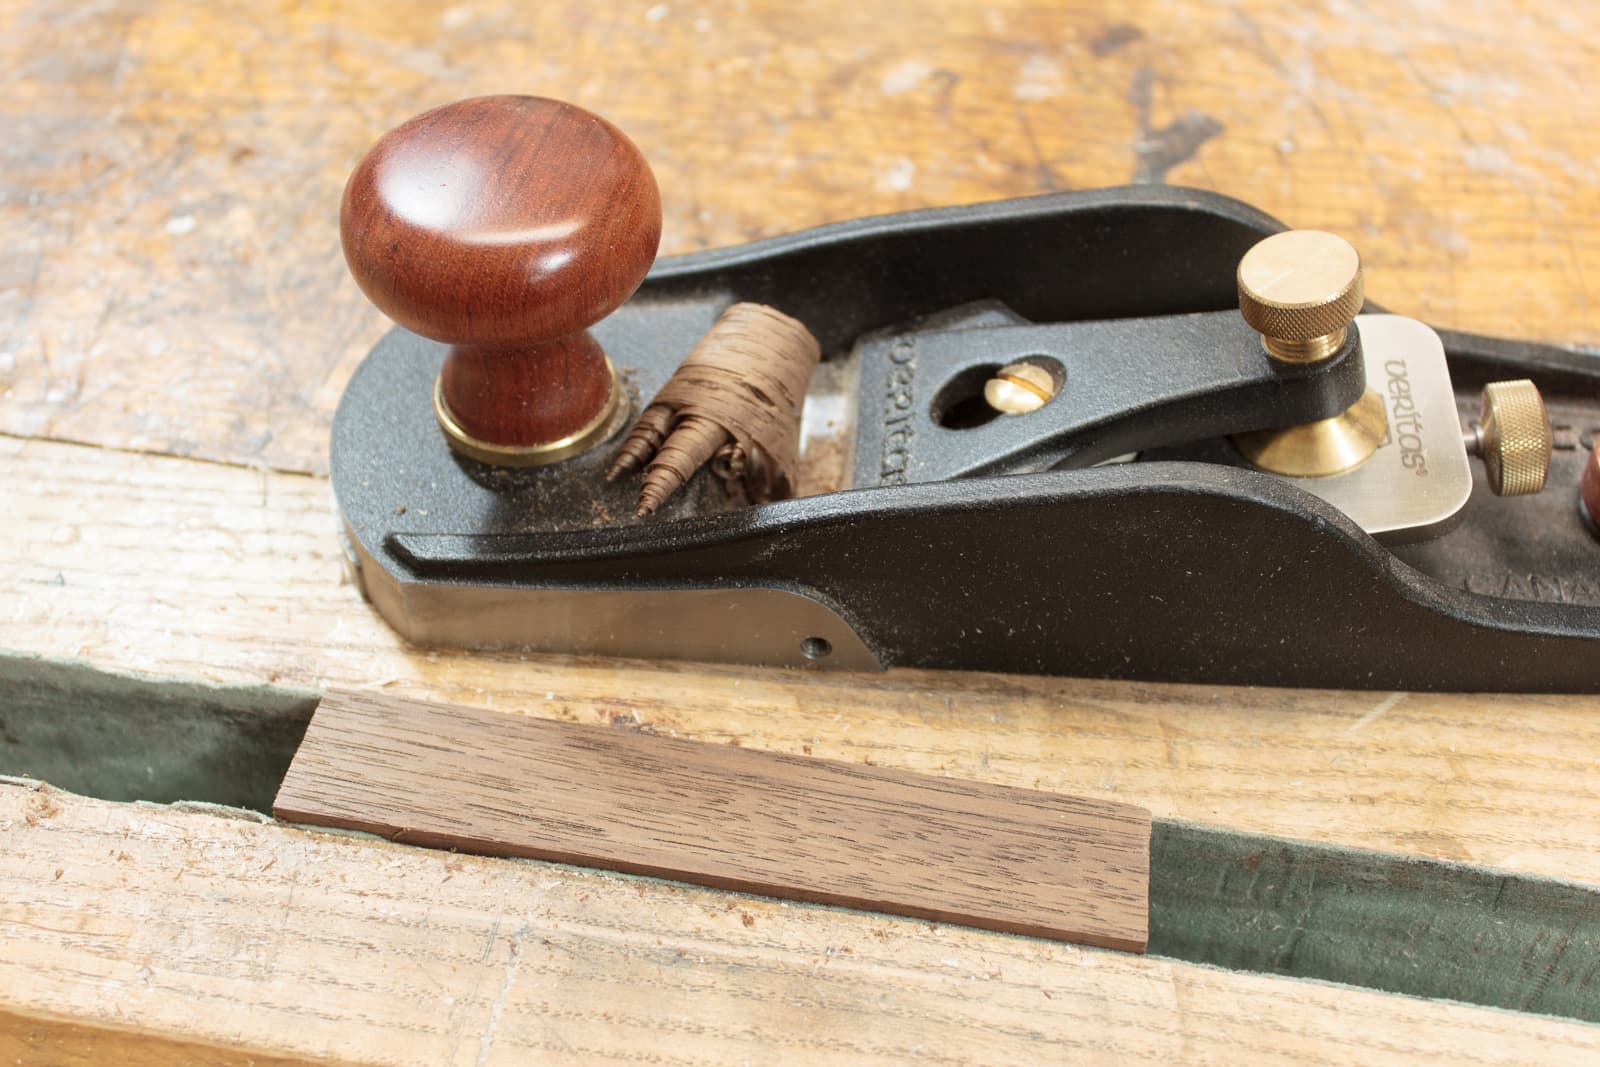
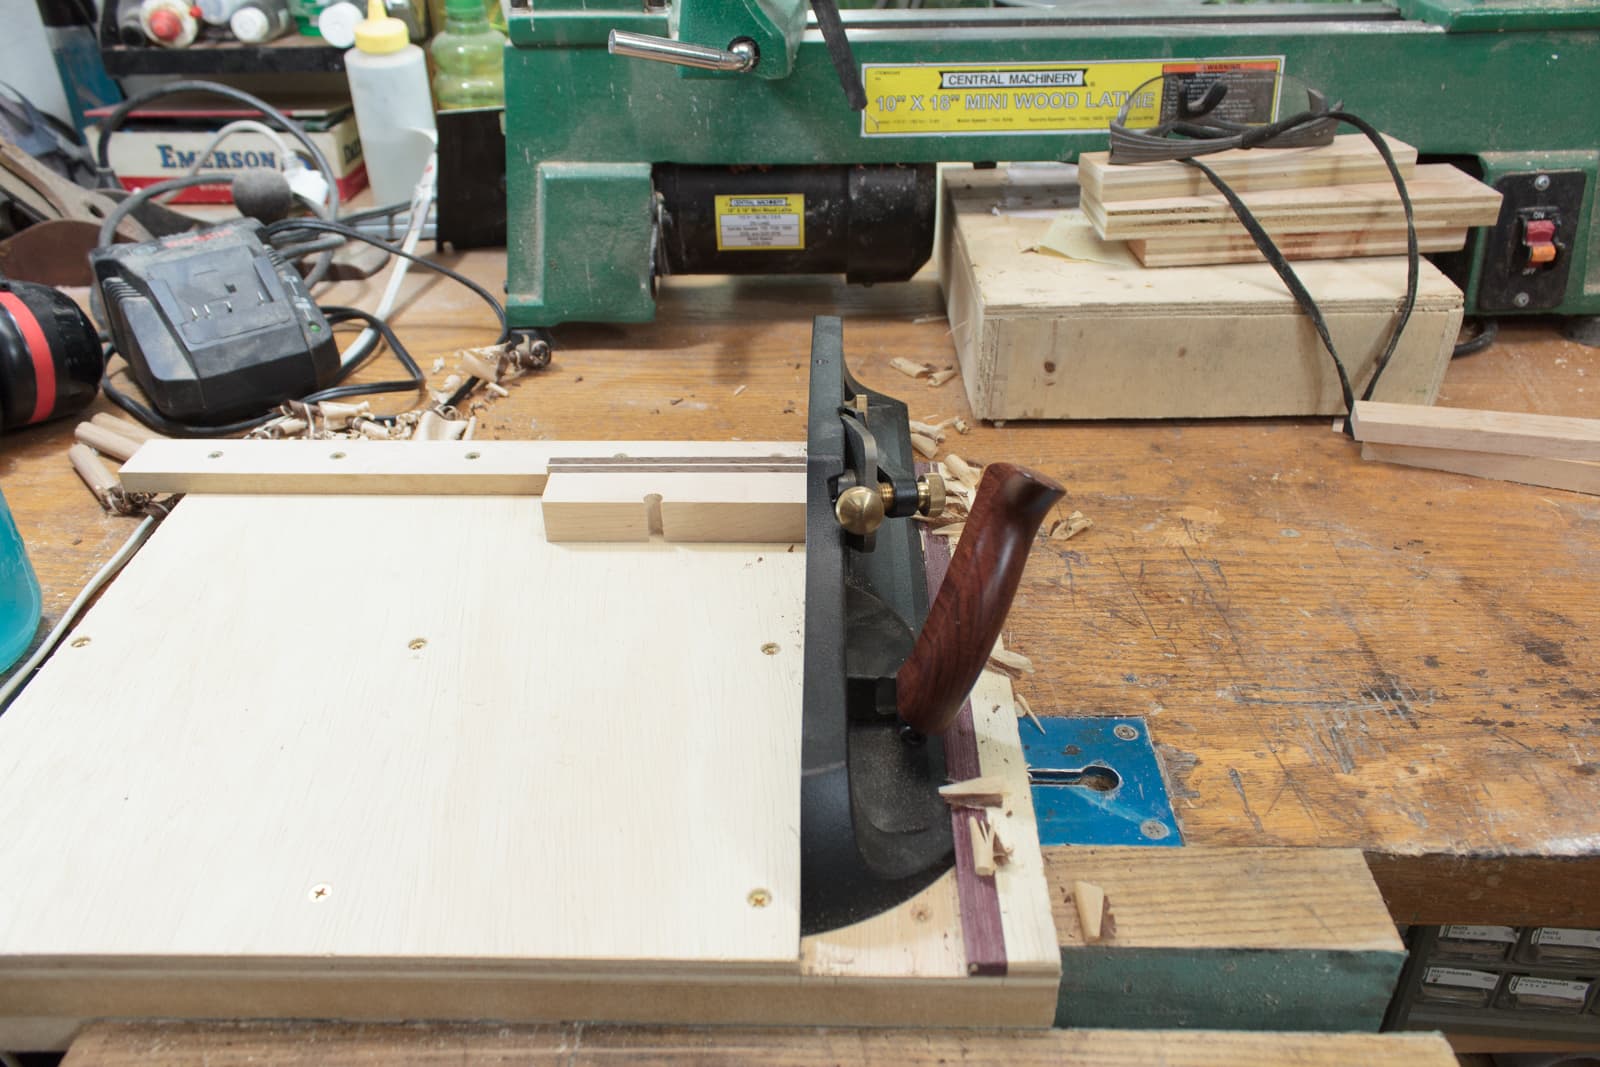
Smooth
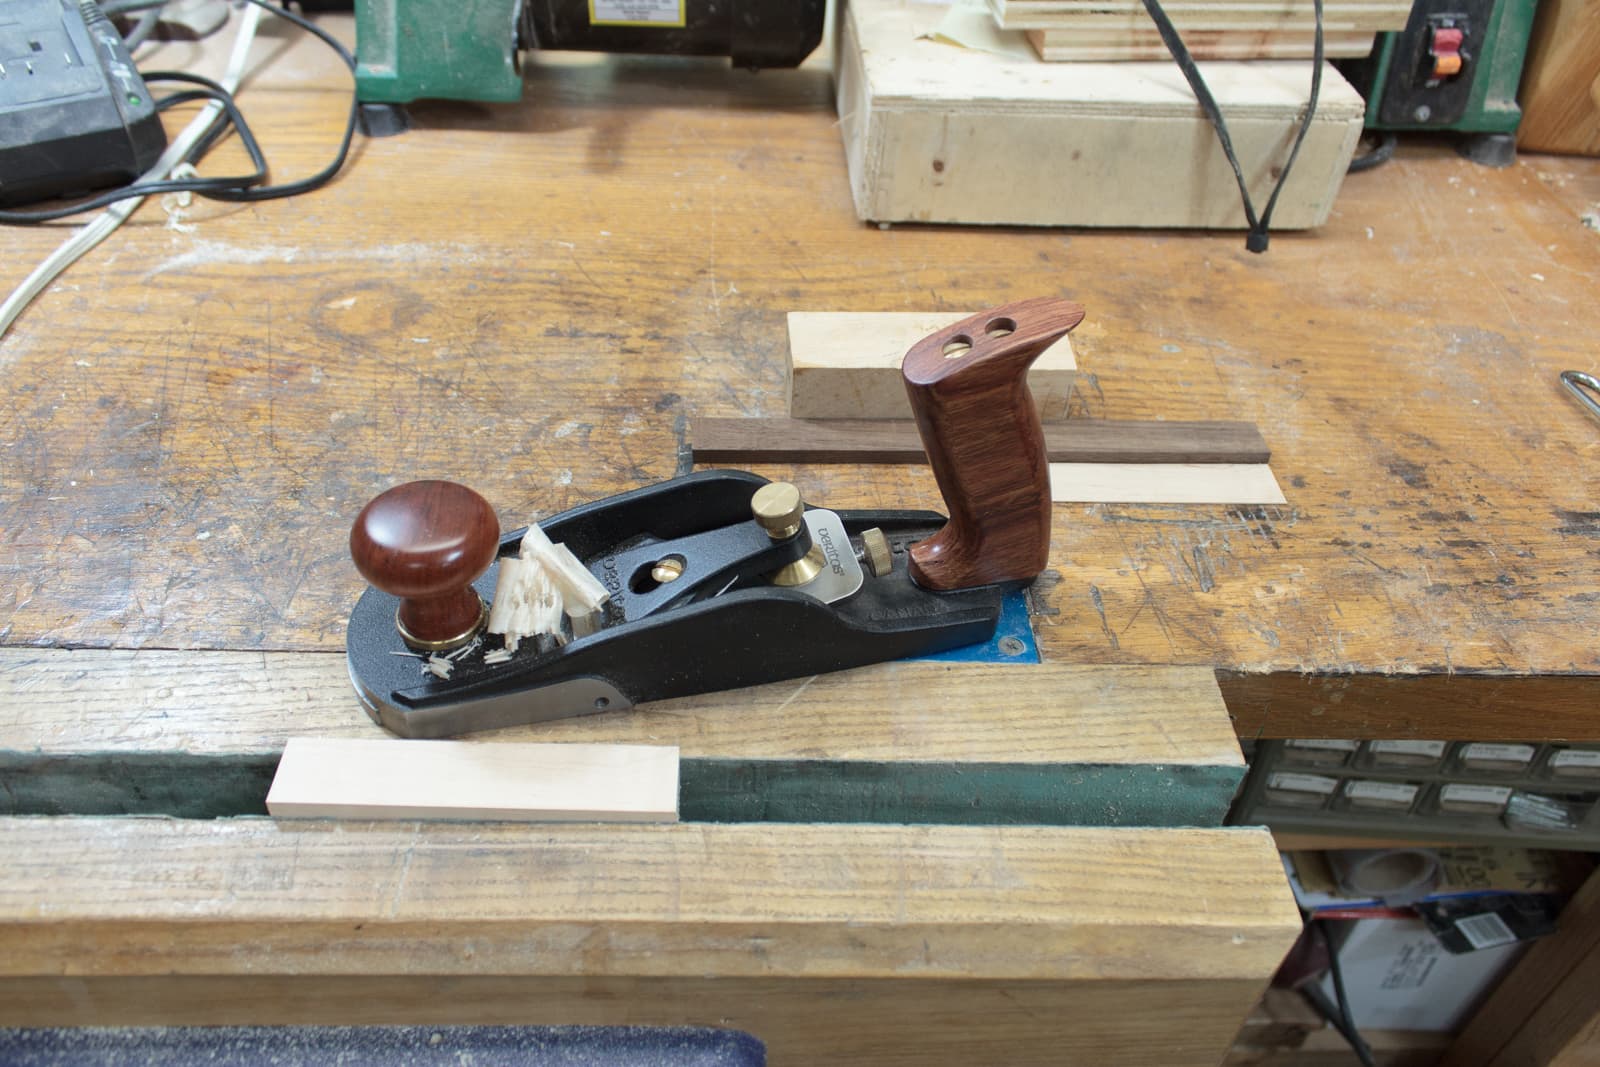
In between cuts I always smoothed one side with my Veritas Bevel-Up Smoother Plane.
This guarantees that one side of the strip will not need any sanding, and it gives me a good reference face to press against the fence when cutting.
Strips
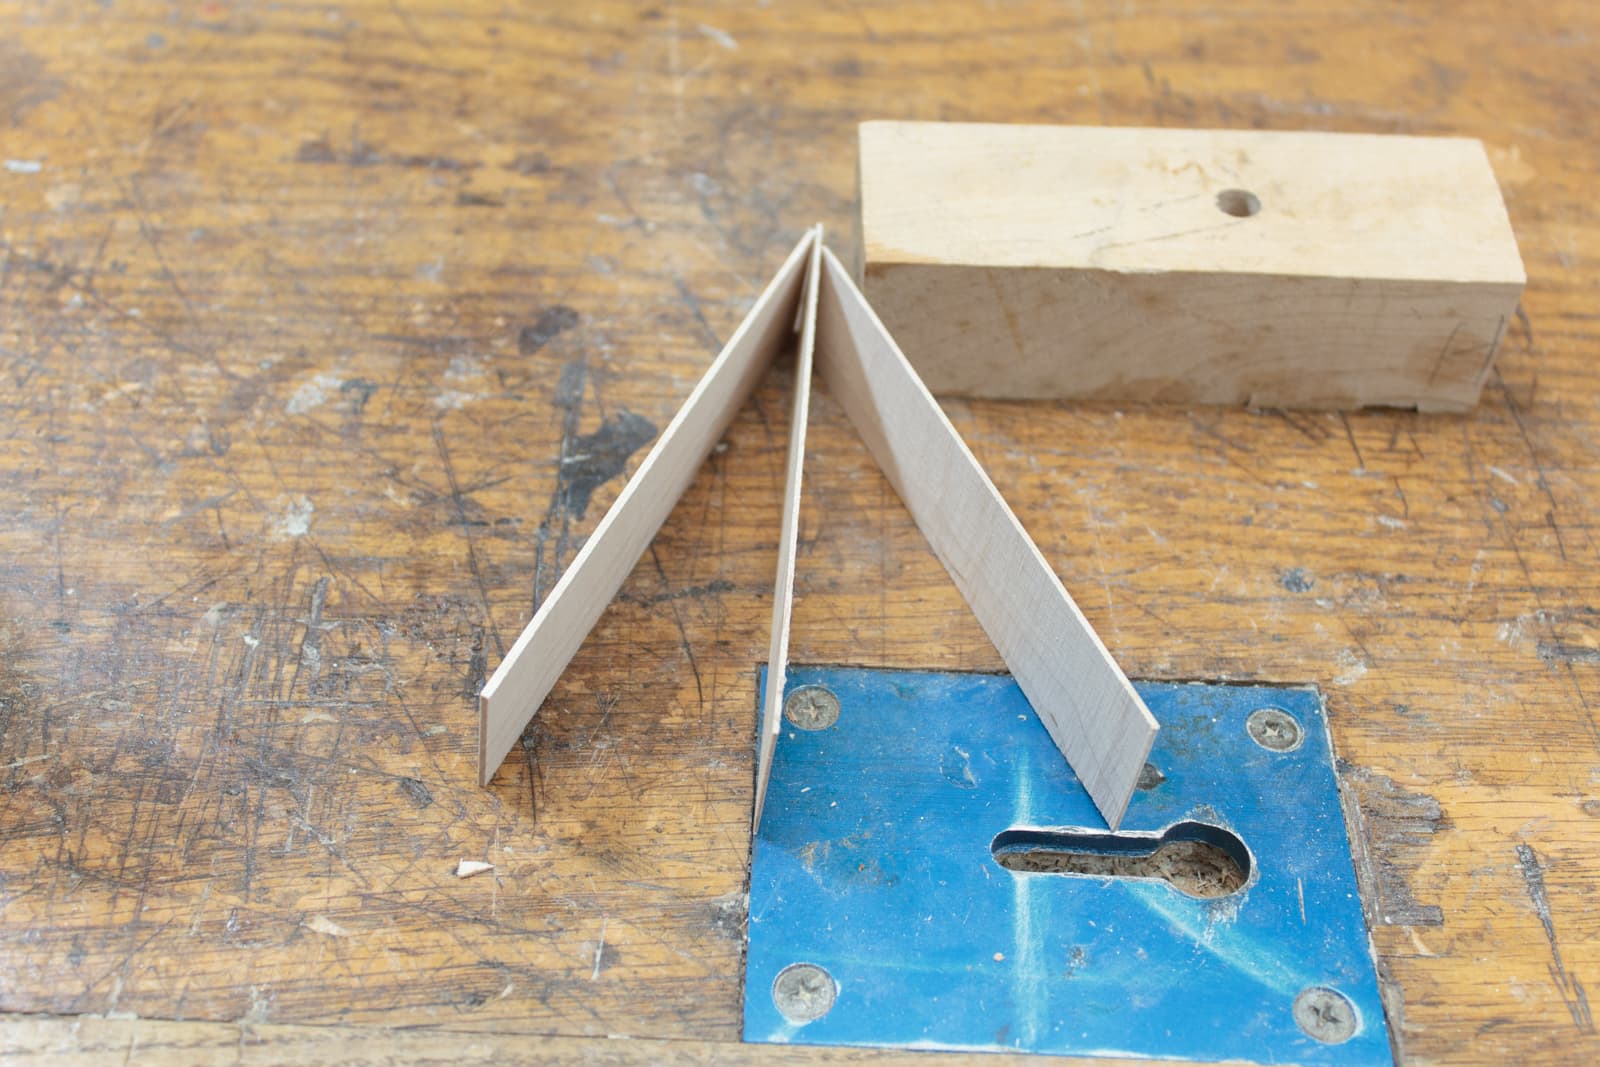
These are the 3 strips I cut.
Inches
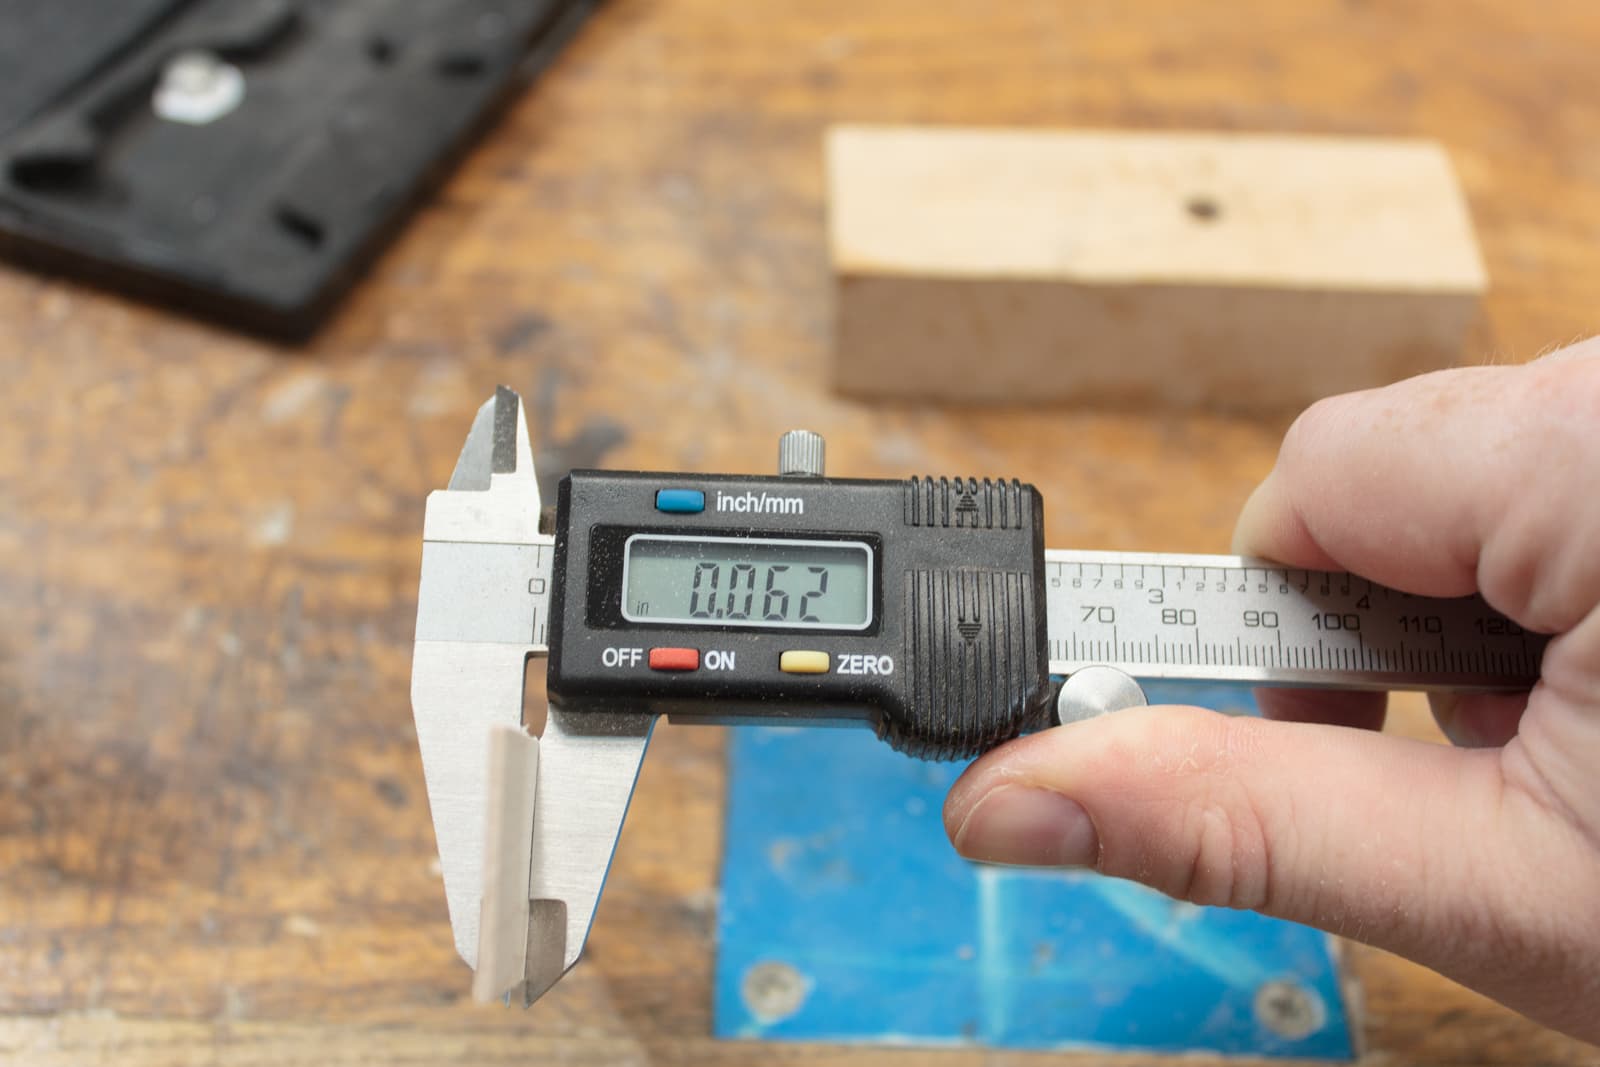
Thickness in Imperial. 0.062”.
Metric
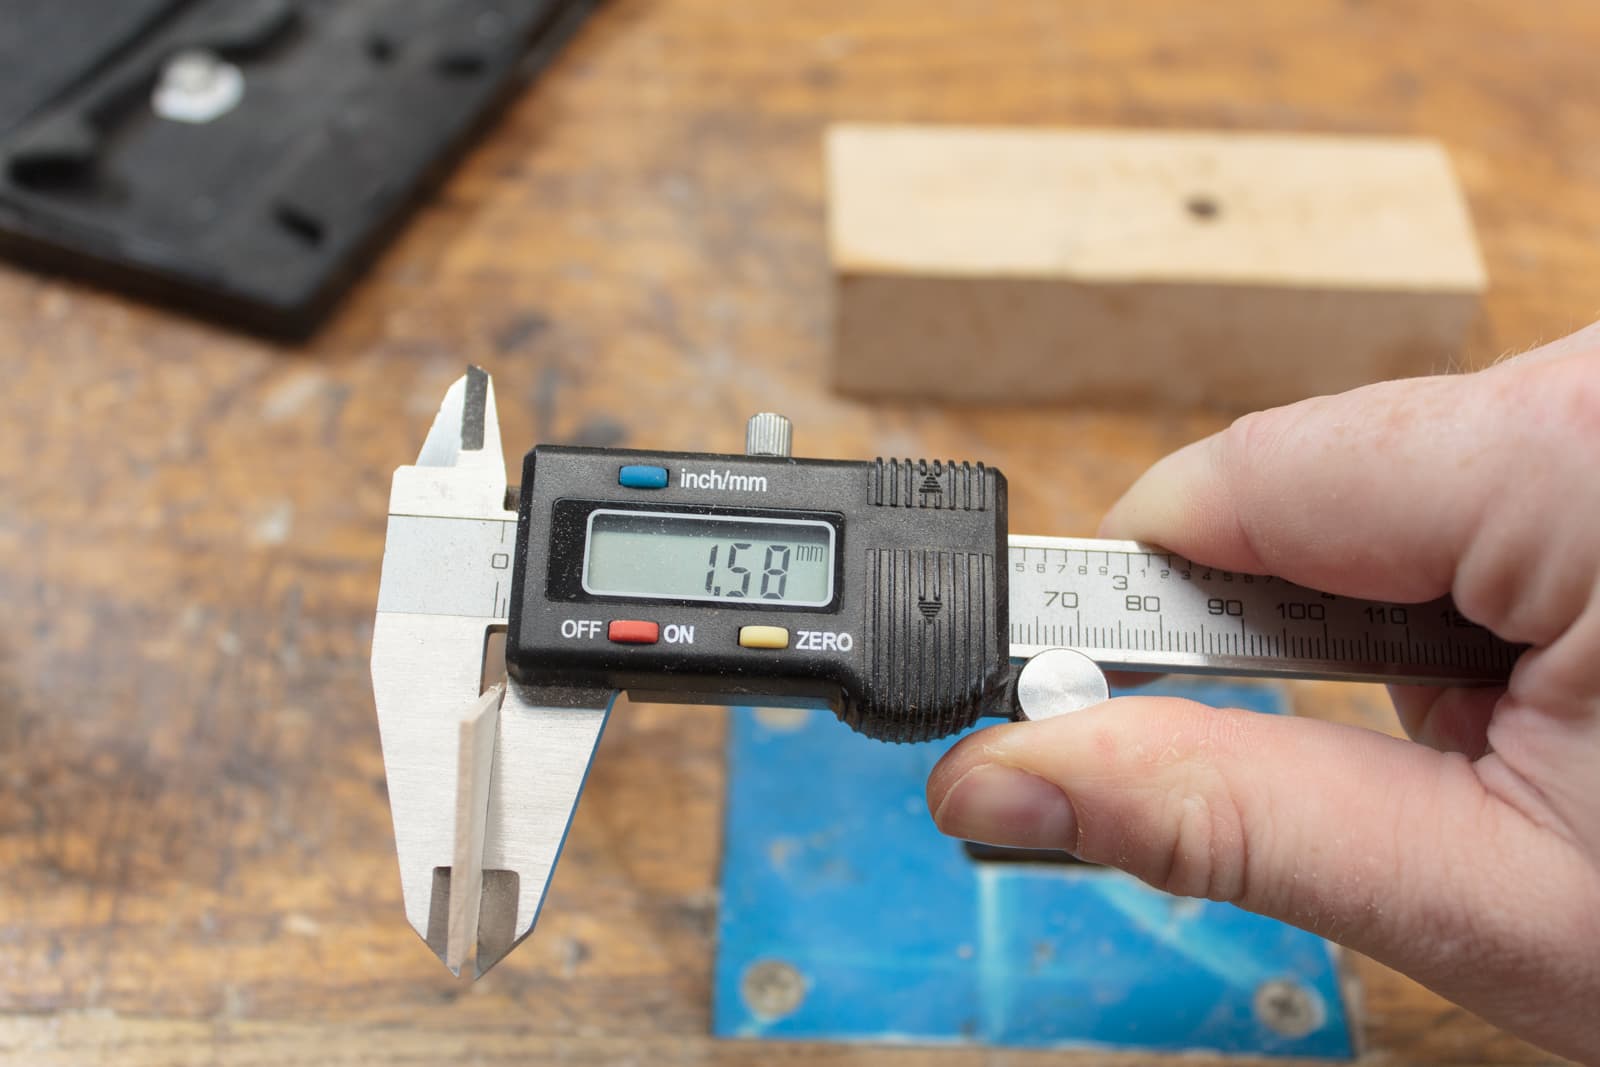
And here’s the thickness in the correct system of units. 1.58mm.
Smoothing the Walnut
To create the master laminate, I need to have all of the glue surfaces smooth. I once again use my smoothing plane to work on the walnut.
Smoothing the Maple
The maple strips are difficult to hold to be planed, so instead I sand them against a flat surface. I use one of the walnut pieces here to make sure that the maple is being pressed flatly against the sandpaper.
Stack
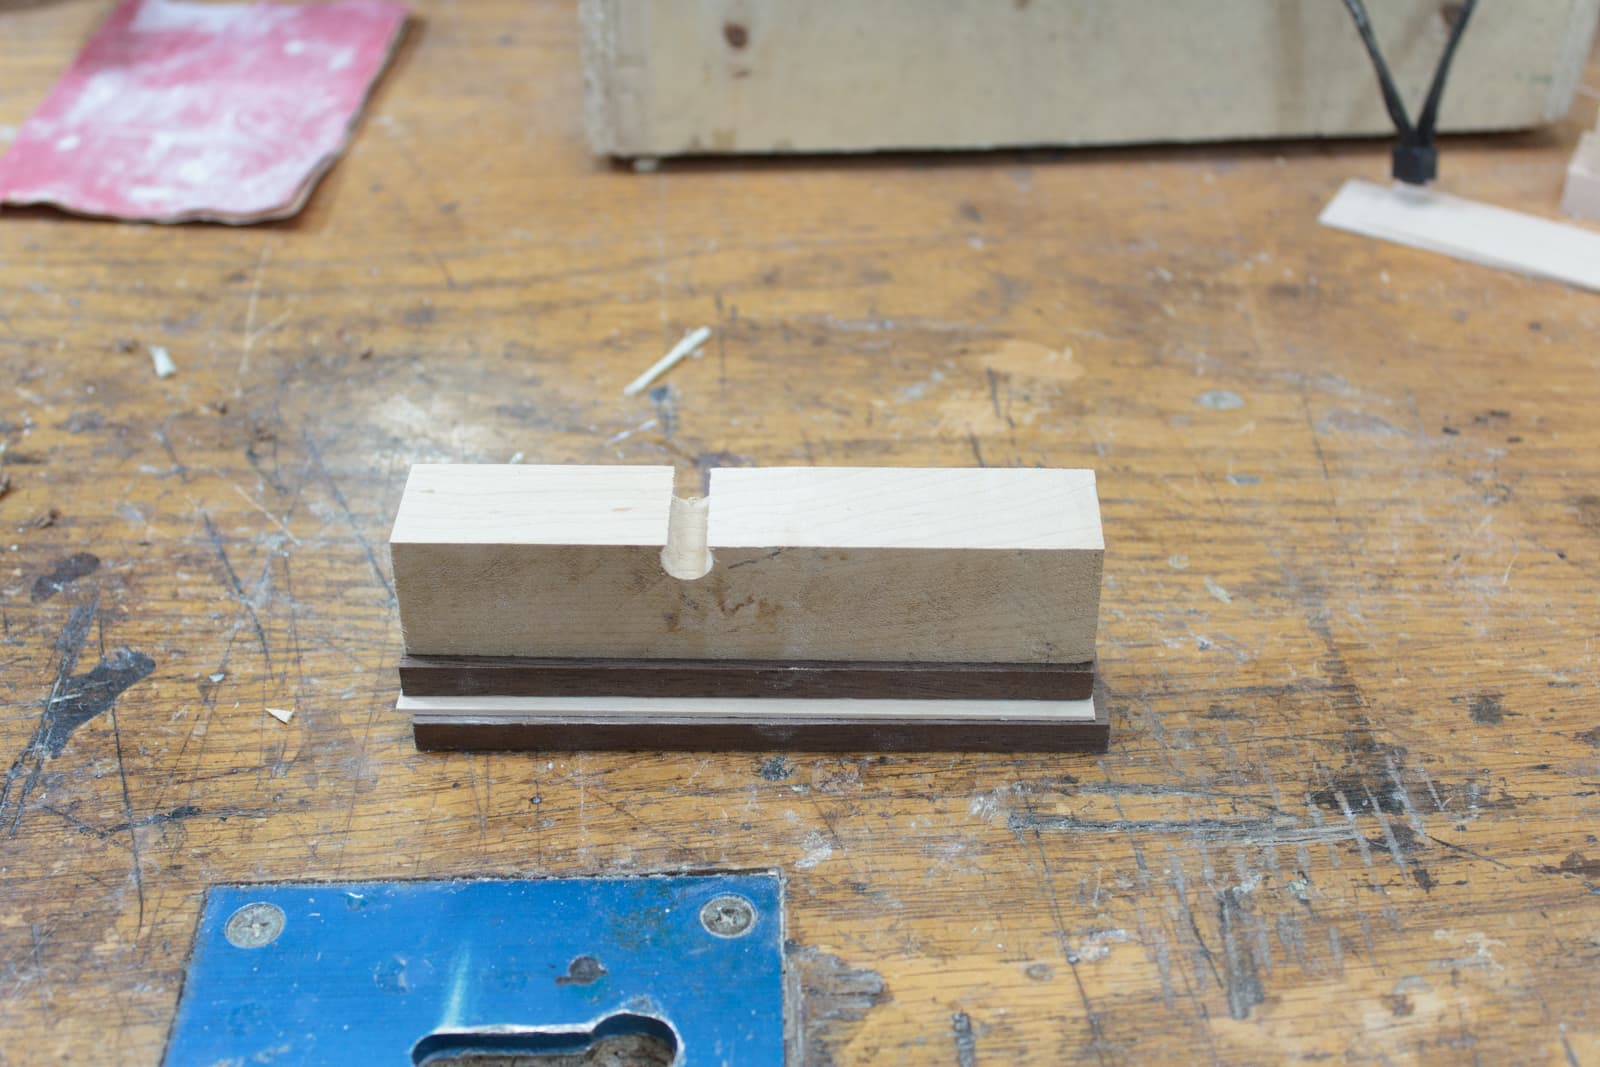
Here’s the stack that I will laminate. That piece on top is going to be what holds the ring bits in the lathe. It will make more sense later.
Glue
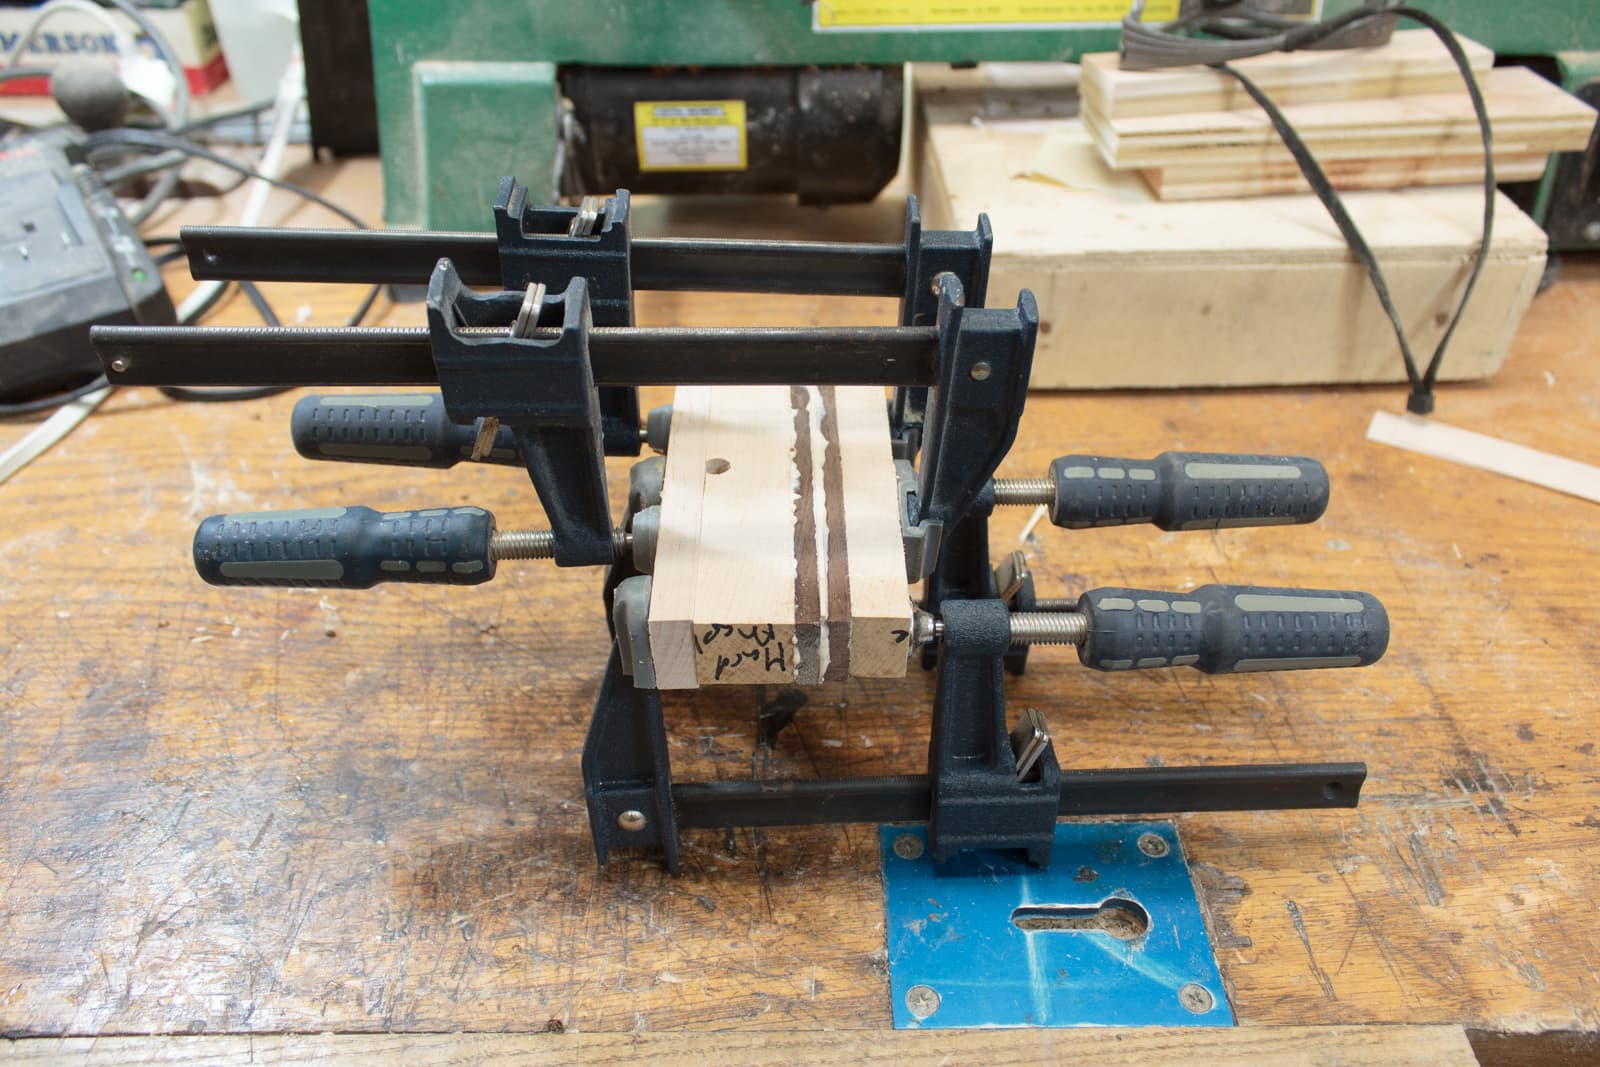
Glued.
The astute reader may notice that we have 6 layers here instead of 4. The 2 outer layers are used to spread out the clamp pressure. These are usually called Cauls
Glued
I left the glue overnight to dry, because I don’t want anything to explode on the lathe (spoiler: this happens anyway!).
The squeeze out means that I had a nice even application of glue across the laminations. That’s exactly what I want.
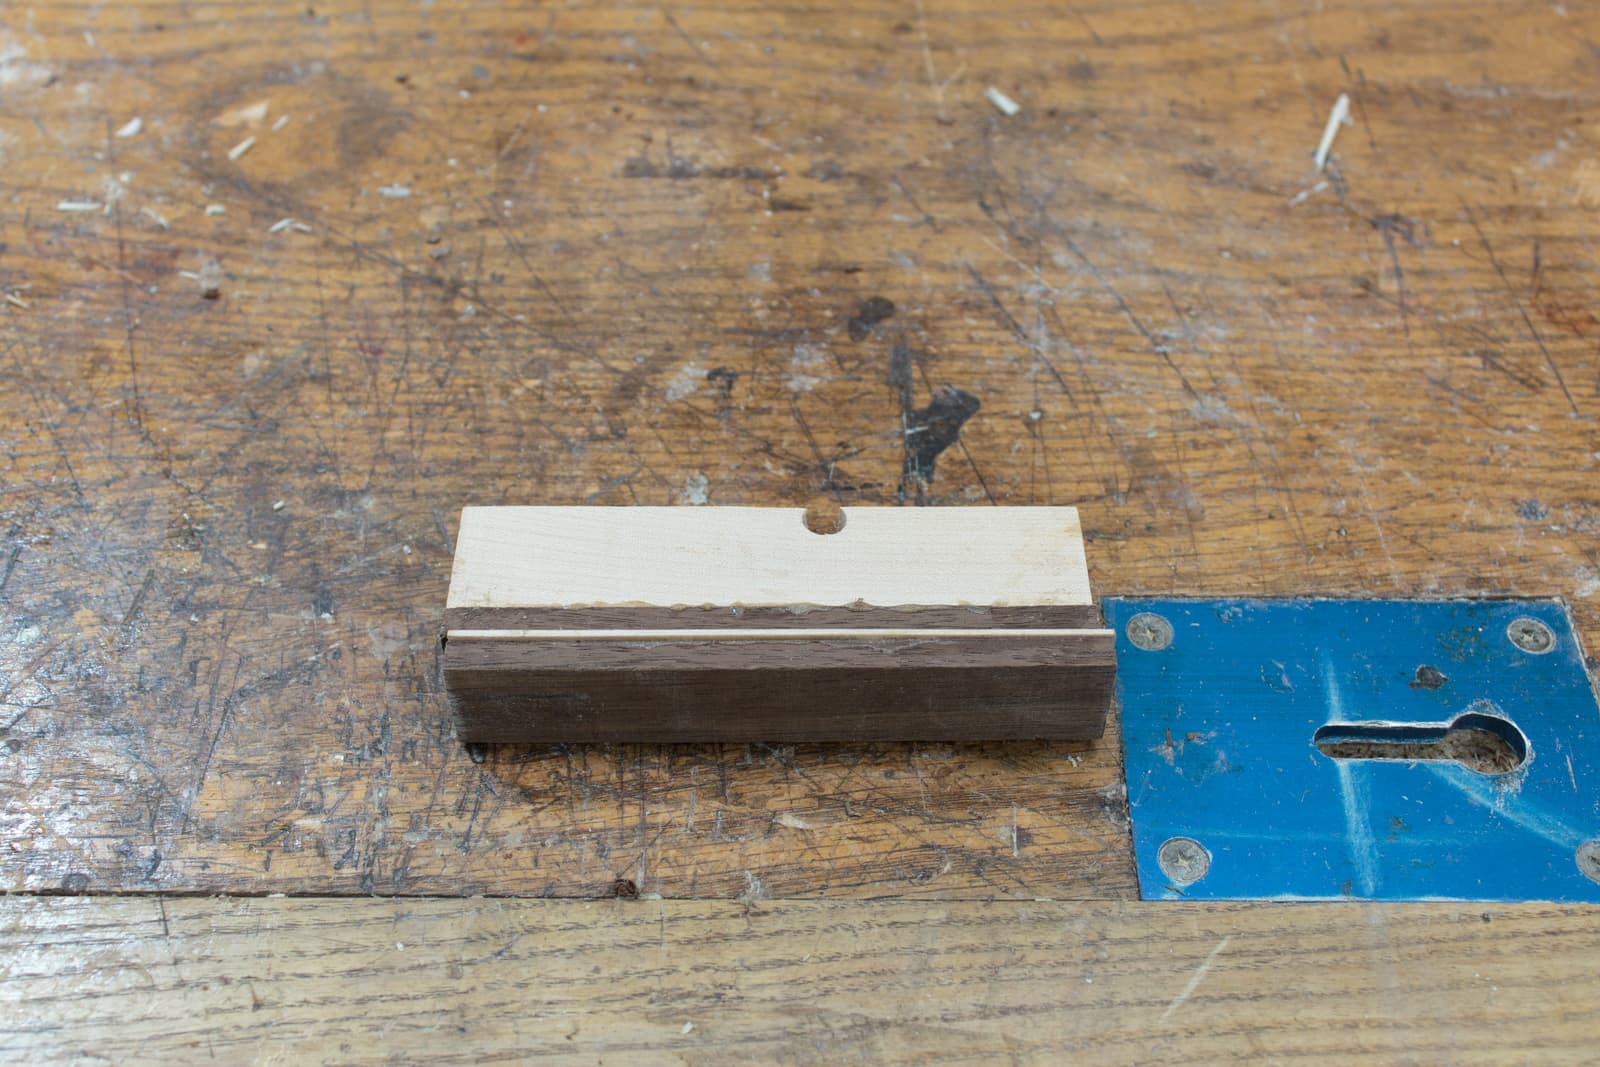
Trim
I want a piece with 3 parallel edges, and as many right angles as it can have in the reality we live in.
Once again the smoother plane comes out to do the job. I eyeball the faces to see if they are at right angles. I could use a square to do this, but I find that my eyes are accurate enough most of the time. I only bring out the square if I’m using the faces for some sort of joinery.
The endgrain
I love my Veritas Shooting Plane. End grain is notoriously difficult to plane since you’re going at the fibers perpendicularly.
The plane is set on a device called a shooting board, which holds the plane at the correct angles, and then the plane is moved towards the shooting board’s fence while the workpiece is pushed in to the plane.
The result is better than what you can get from any other tool.
Does it matter for this? Nope. It’s fun though!
Create the workblock
I only need a small square piece to work with. I set the bandsaw to the smallest dimension of our laminations, then cut off a square.
Shavings
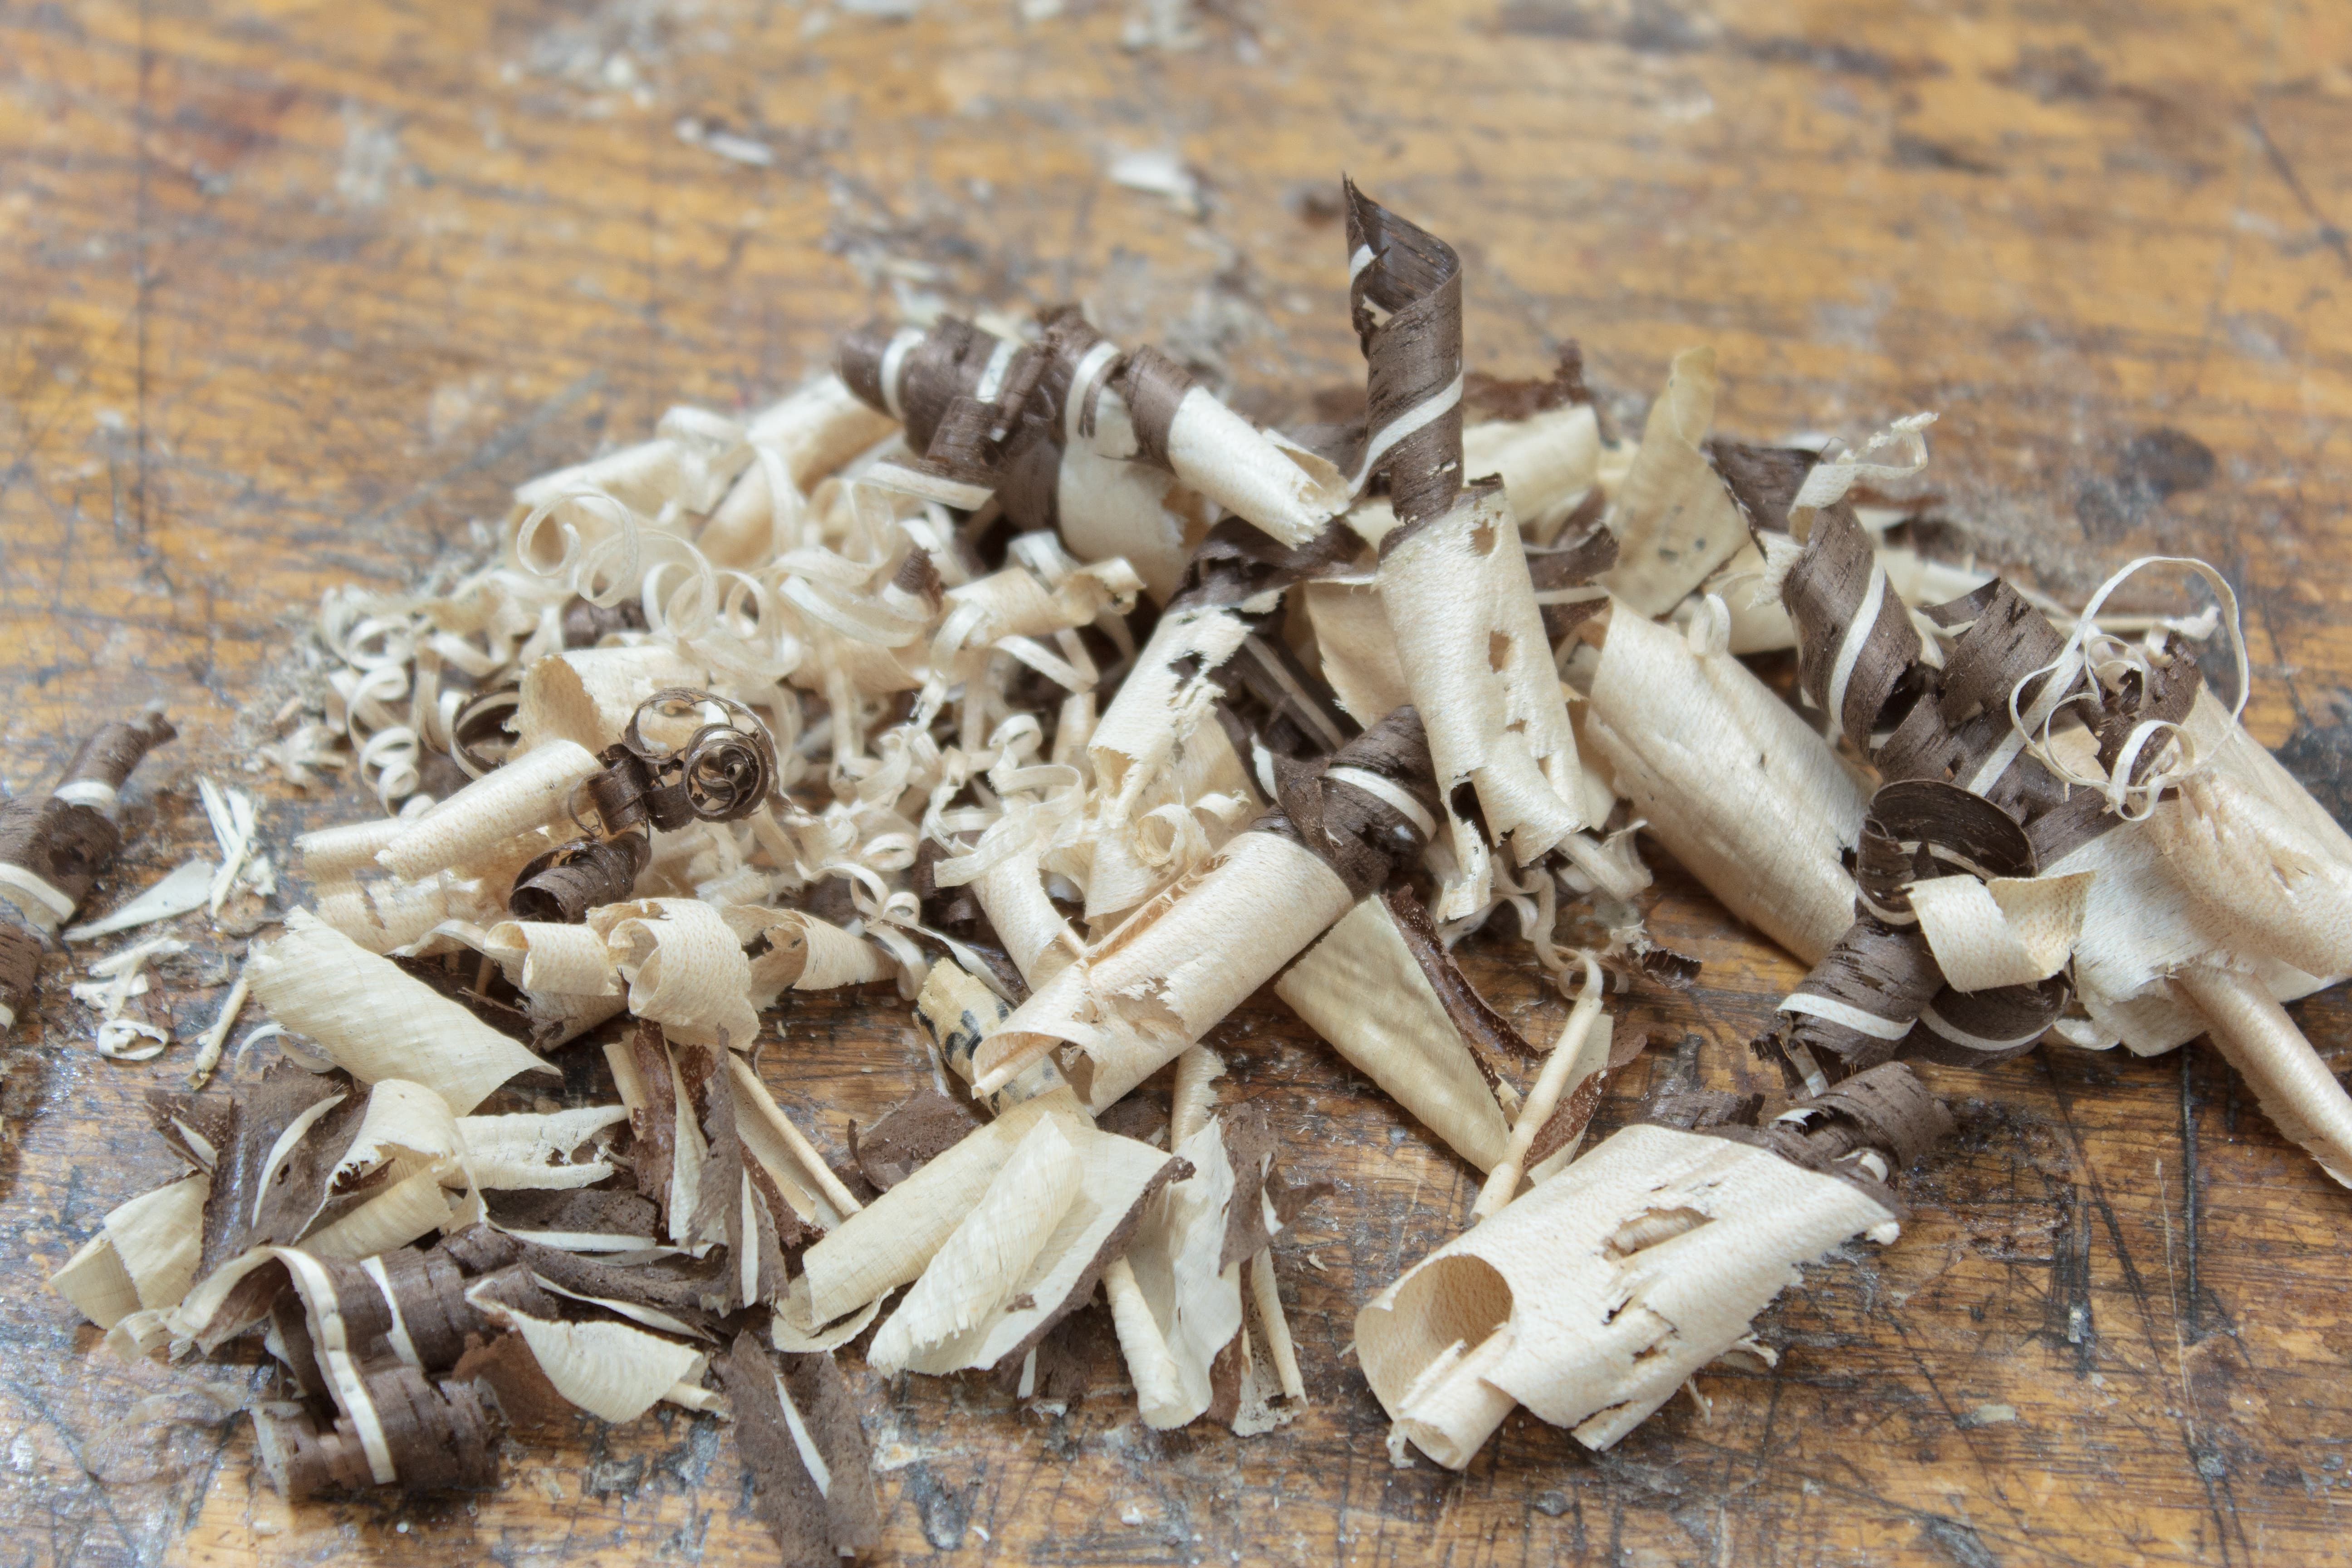
Cool shavings!
The image links to a full resolution image if you want to use it for a desktop wallpaper or something.
Shaving
Here you can see how effective the glue is in the shaving. That thin strip of maple and the walnut look like a single piece of wood.
That shaving is 0.002”/0.05mm thick, and it holds together great.
The image links to a full resolution image if you want to use it for a desktop wallpaper or something.
Chucked
Throw our work in the Lathe.
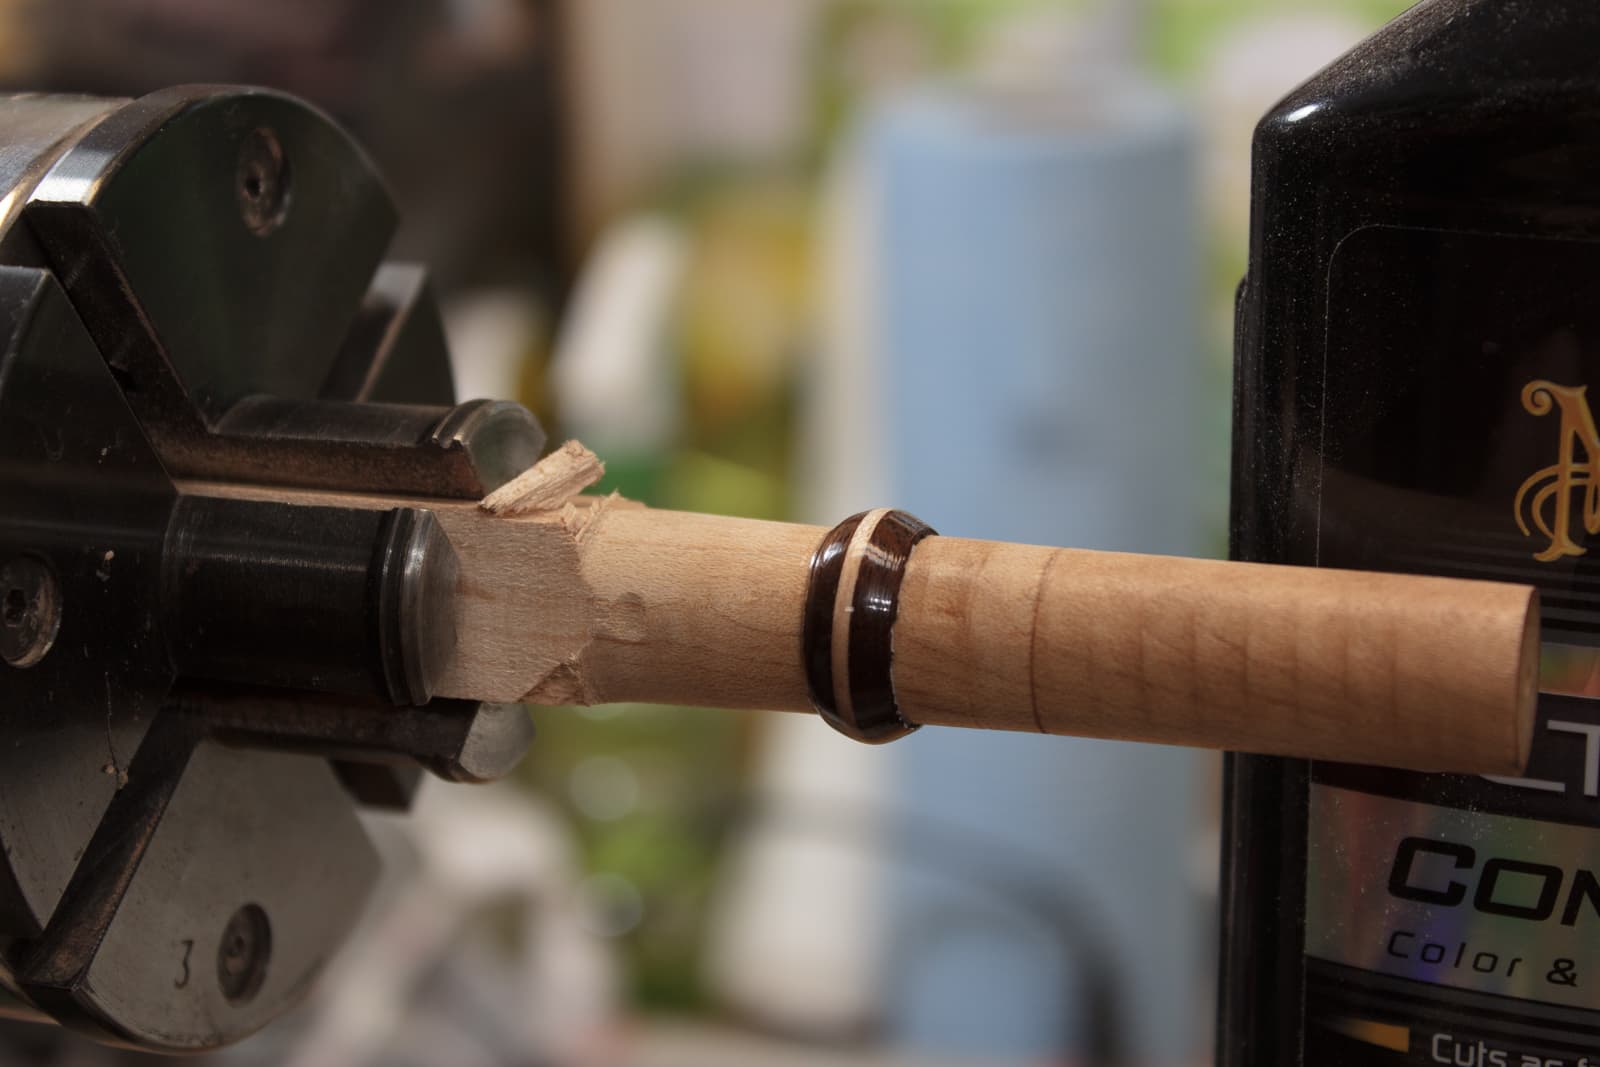
Oops.
Obviously I need to round the square, but not so obviously I also apparently needed to have the work come flying off the lathe and smack me in the face.
You can see where the wood was ripped out of the chuck when a catch occurred.
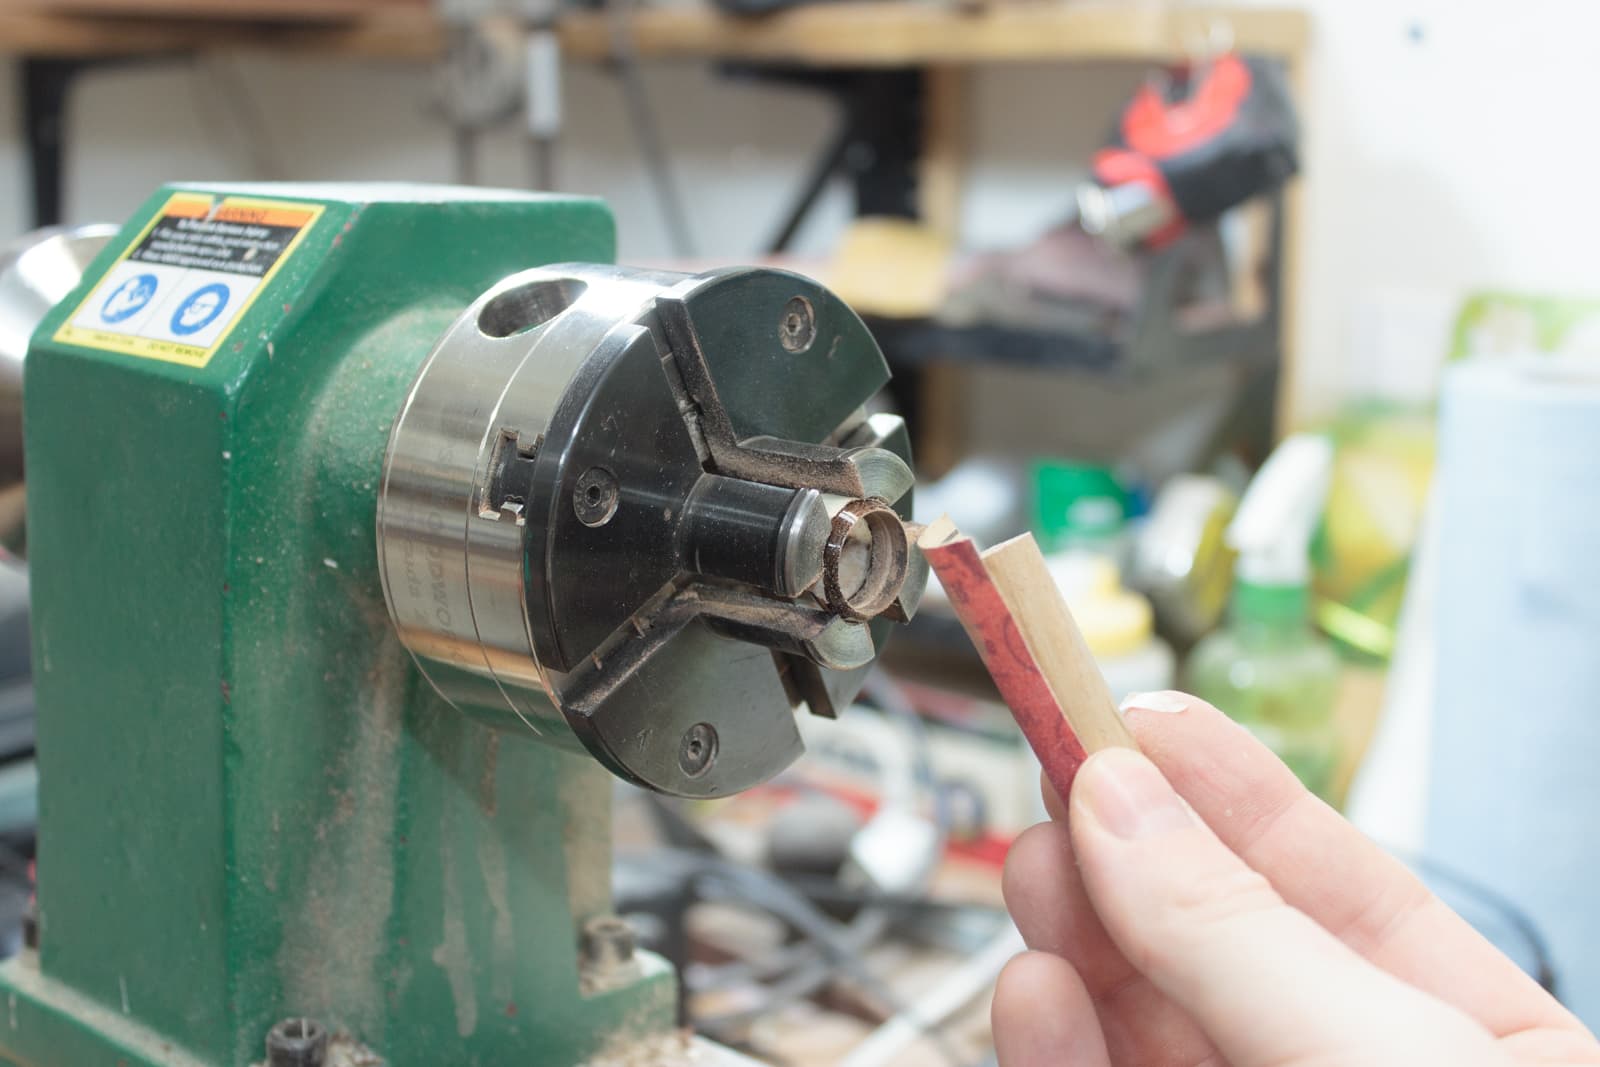
Size
My wife’s ring size is just under 5/8”/1.6mm. I don’t have any fancy bits that are here exact size, so I put a 5/8” forstner bit in my tailstock and lightly press it in.
Note that the bit doesn’t move. I am pressing the bit in to the spinning workpiece. It works exactly the same as if the bit was spinning. Referential movement and all that jazz.
Hollowed
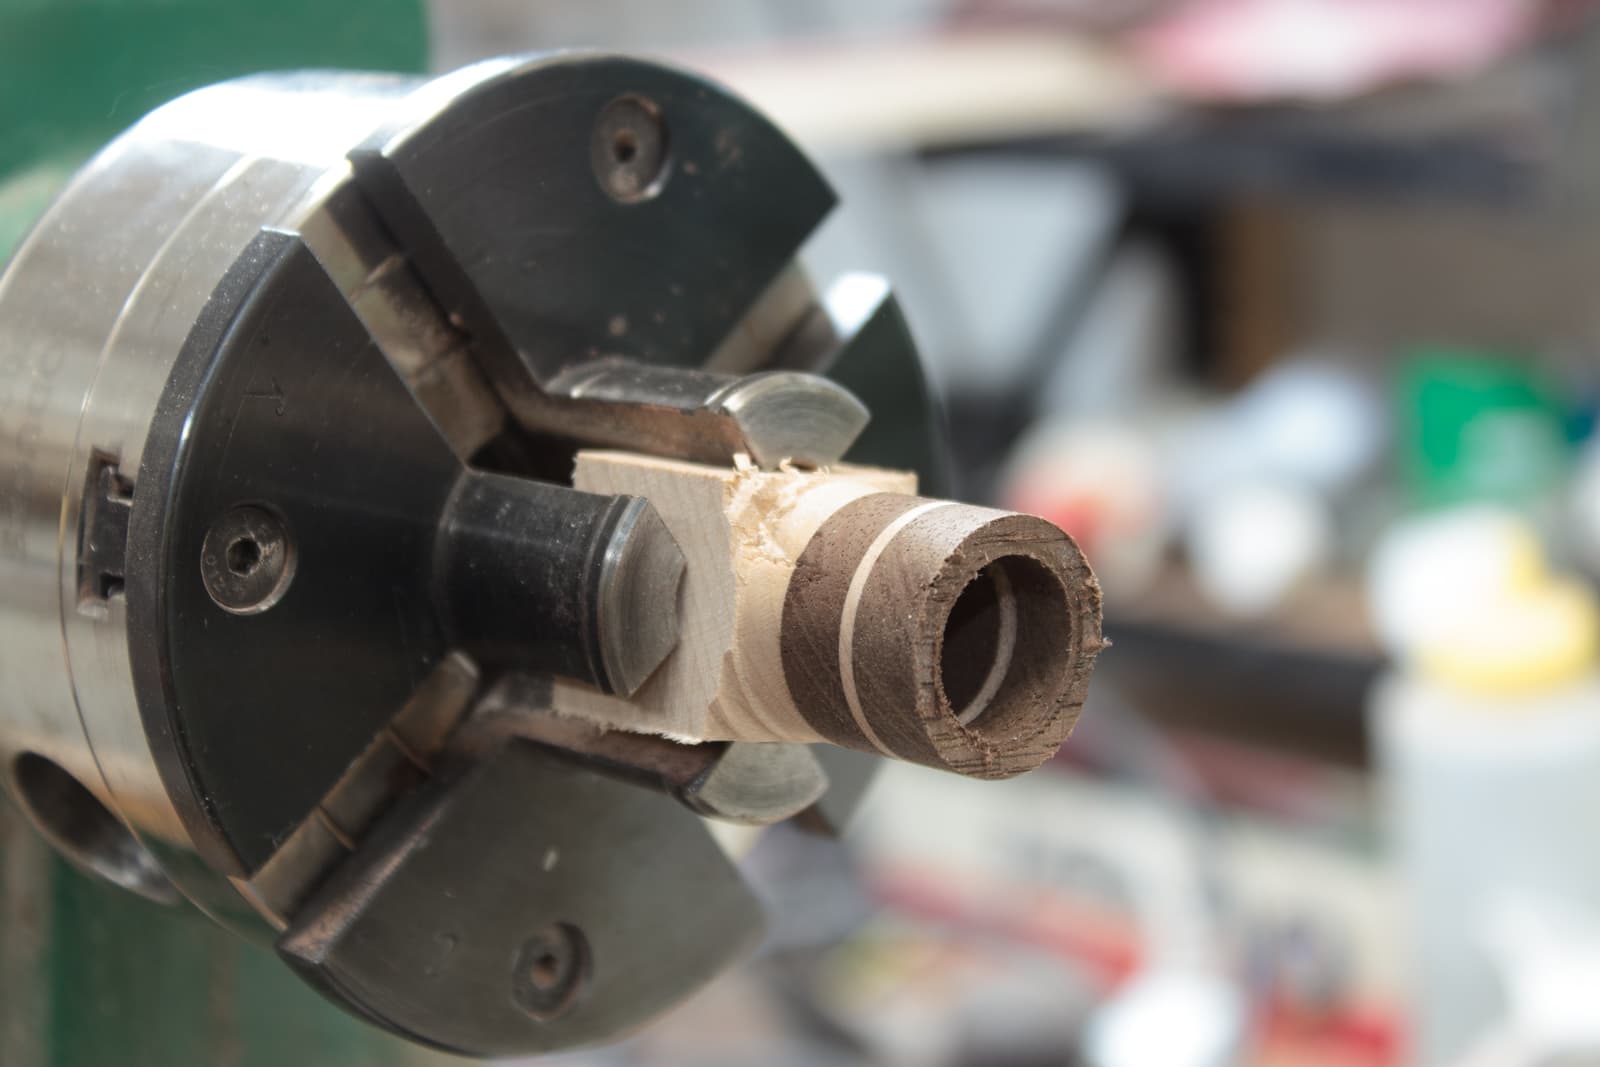
I hollow out the piece just under the size I need by using the mark. This is slow work, and I used a 6mm bench chisel for the job. That isn’t the correct tool to use, but it’s what I have on hand.
The job was done without any accidents.
Cut
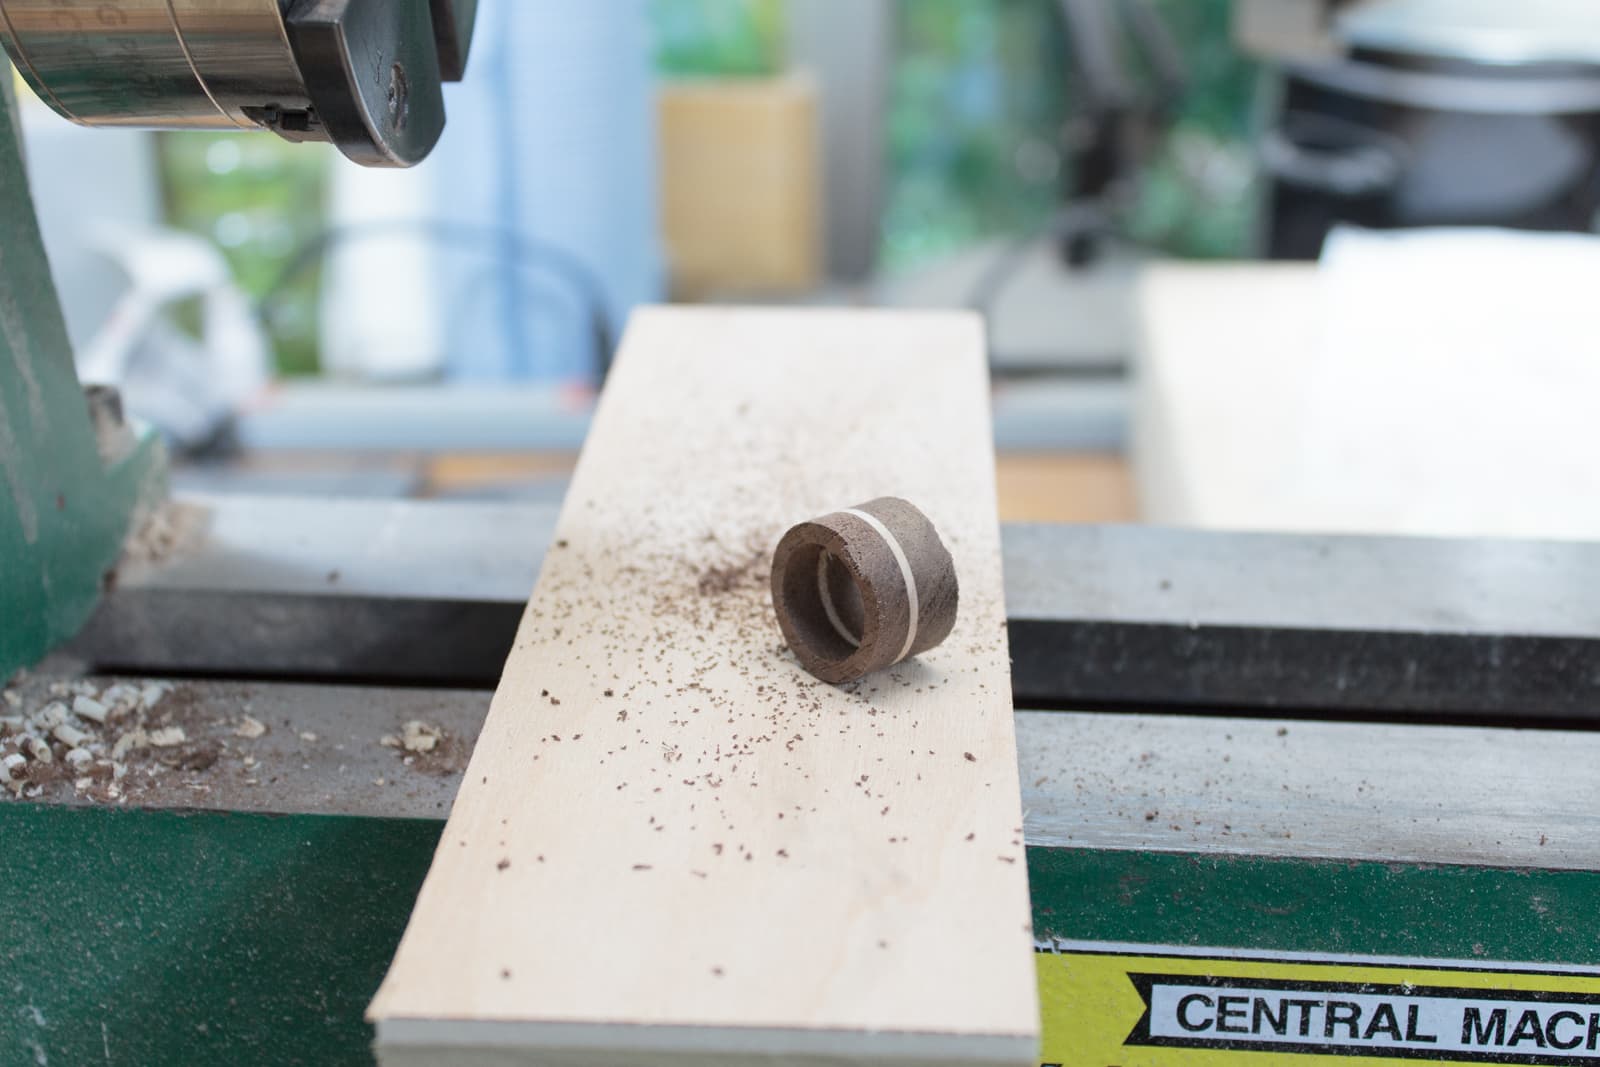
The ring is looking like a ring! I cut it off with a saw.
Mandril
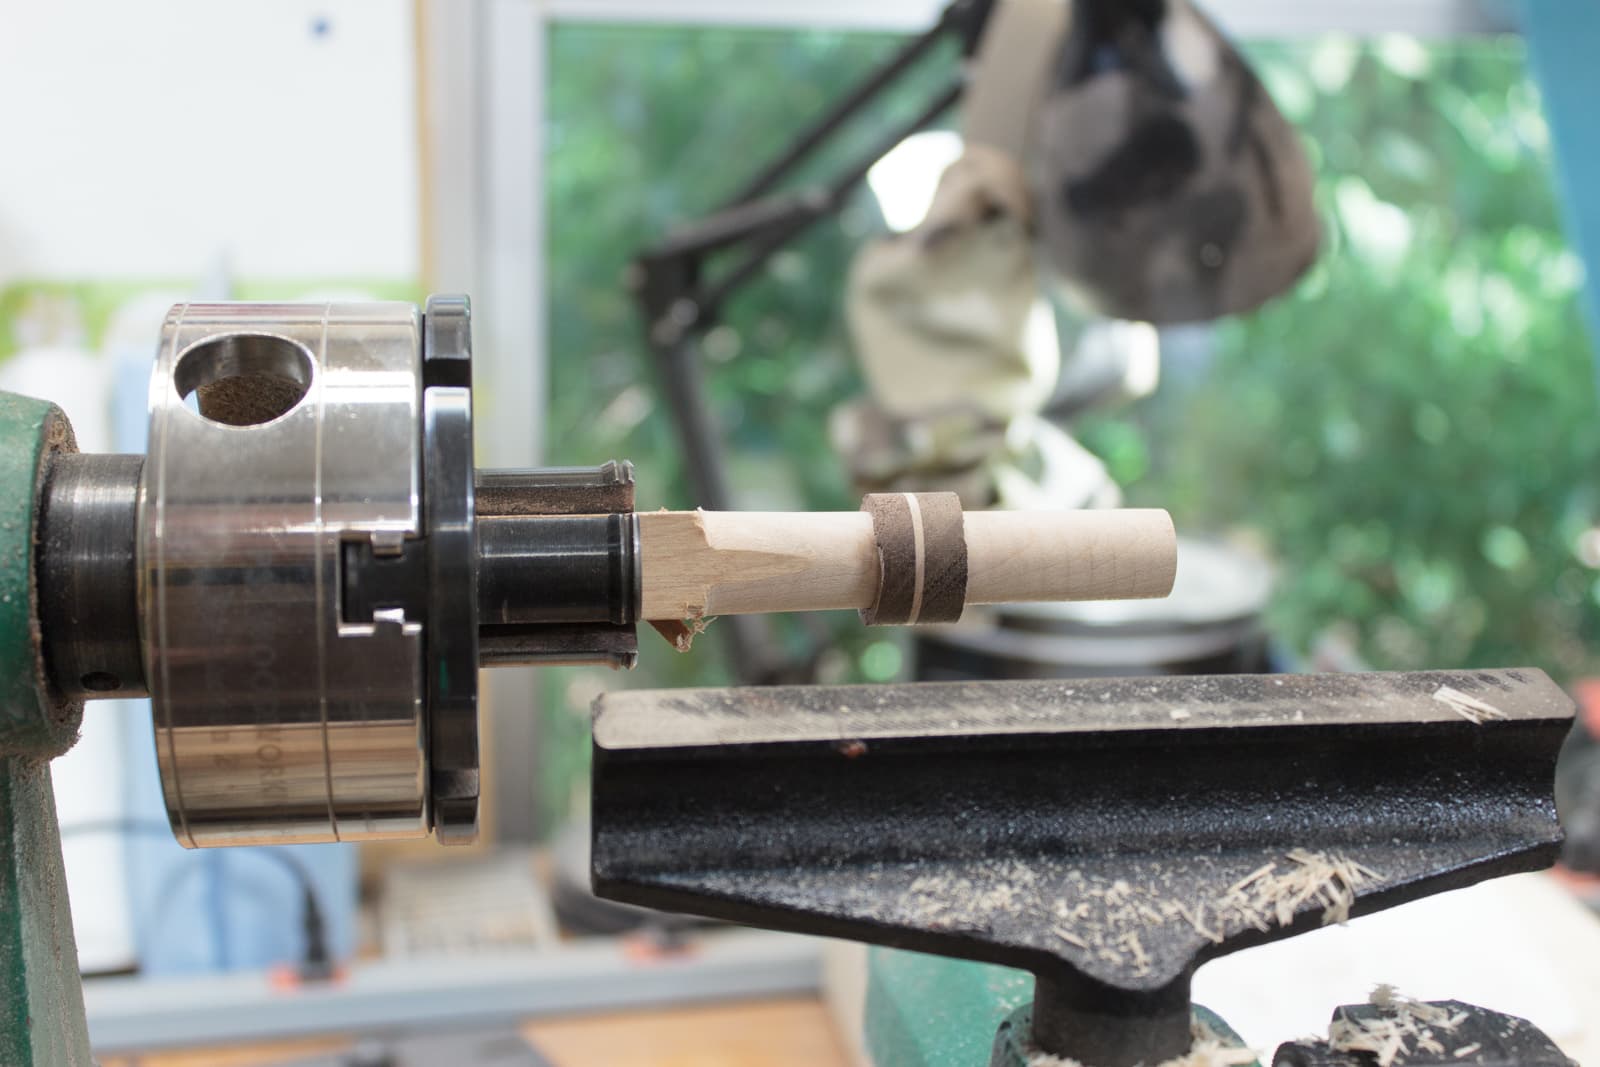
To work on the ring I need a way to hold it. I take a piece of hard maple and turn it to just over the diameter of the inside of the ring blank. Then I taper it very slightly.
The result is a mandril. I can press the ring on to it and it holds firmly. This is nothing more than a round wedge.
Shaped
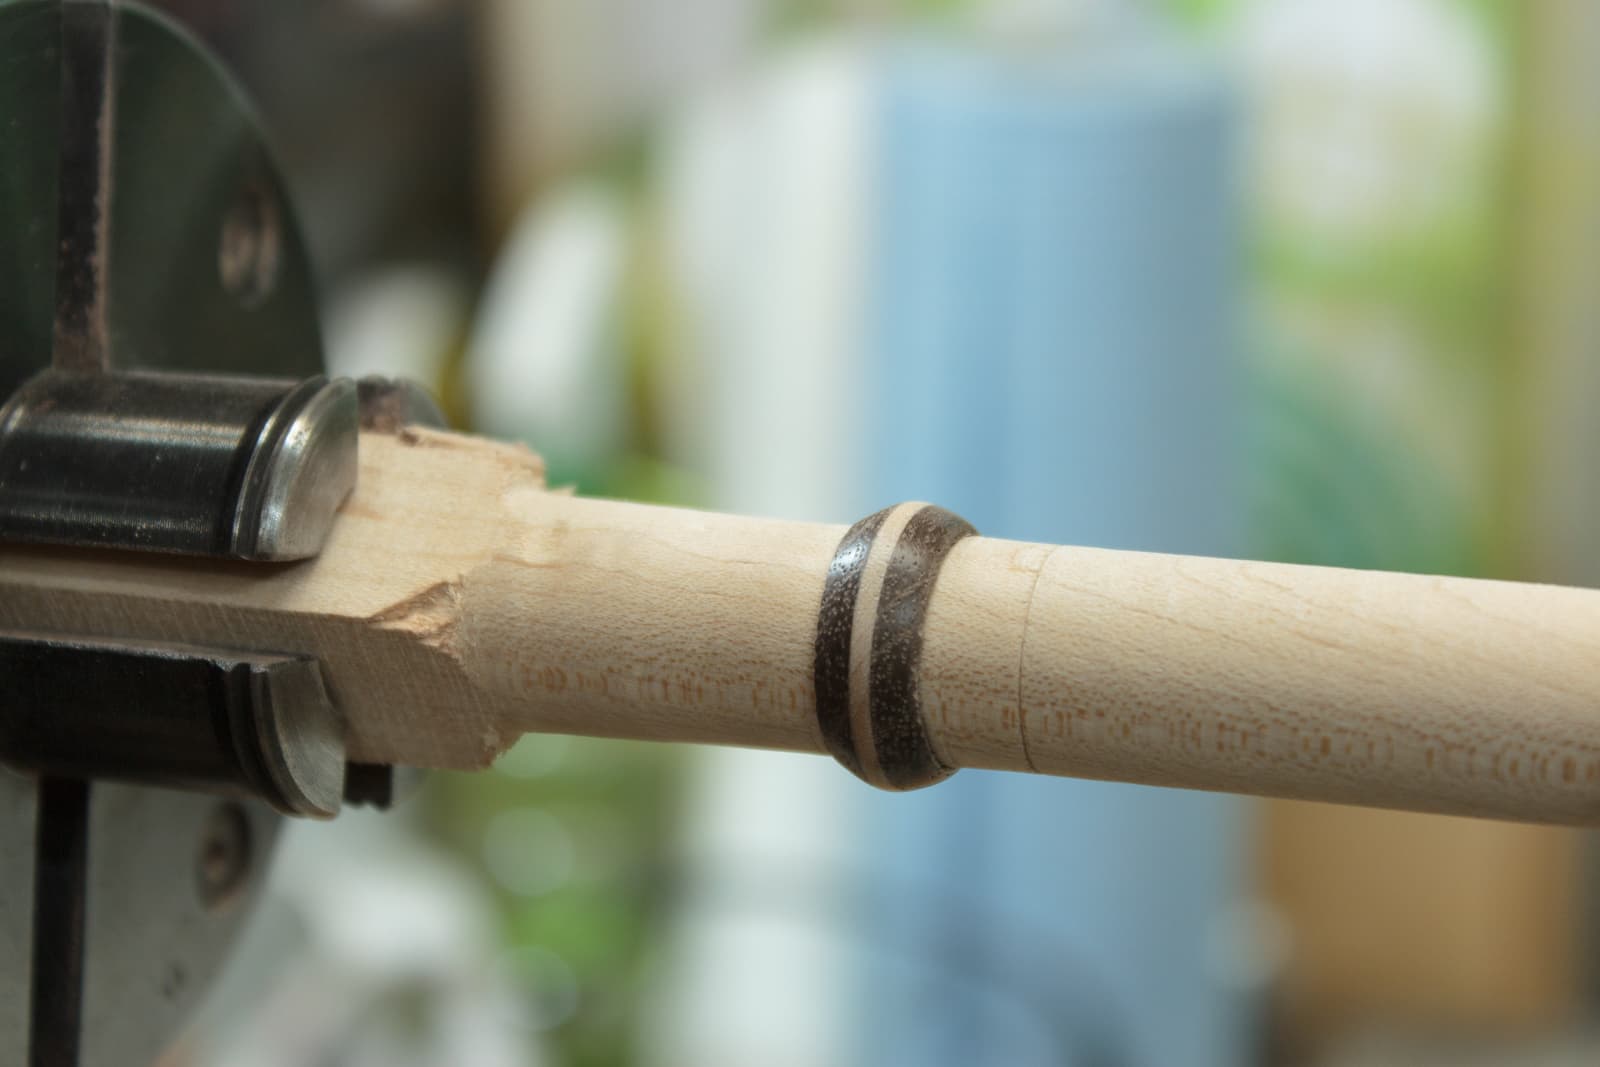
The ring is shaped then sanded.
There’s nothing complex about this. I hack at it with steel until it looks how I want, then I use increasing grits of sandpaper to fine tune it. It’s not about skill, it’s about patience and constant evaluation.
Wax

Now I need to wax my mandril. This may seem counter-intuitive since we want the ring to ‘stick’ to the mandril.
The ring will still hold fine, but if we ever want to get it off again, then we need to make it so glue doesn’t stick to the mandril.
Why glue?!…
Finish
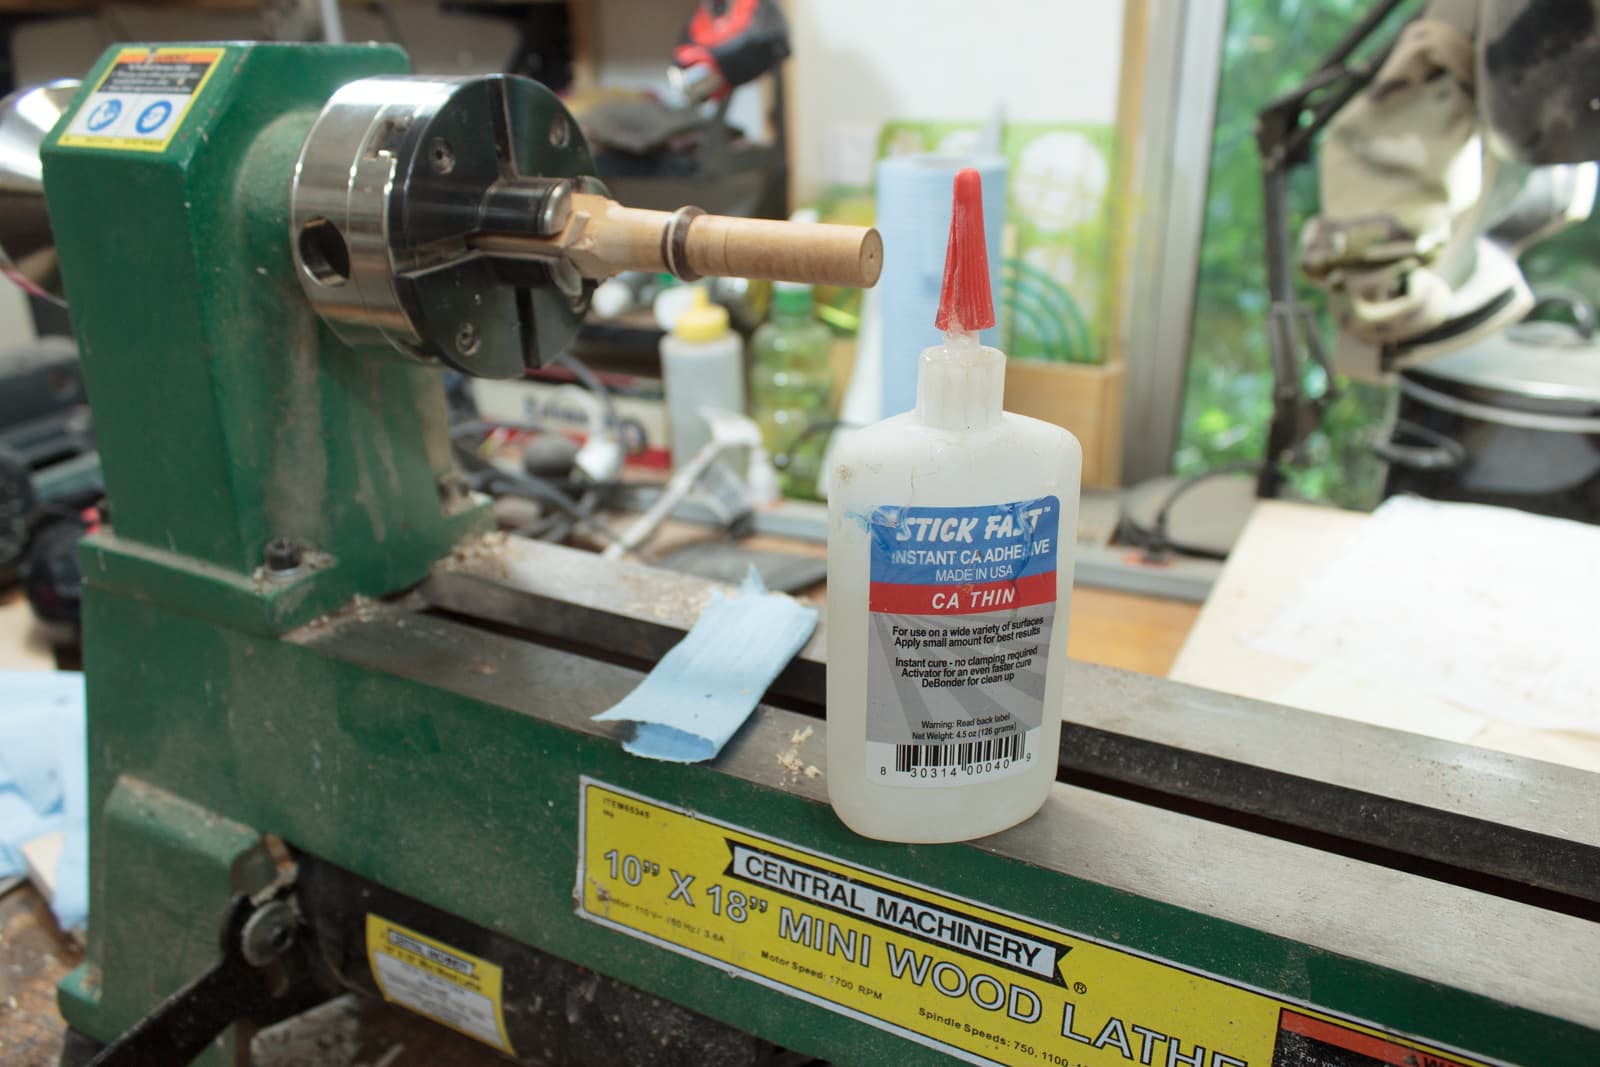
I apply cyanoacrylate (super glue) to the ring. This is a special type of glue that is very thin and watery.
The lathe is set to its slowest speed (or hand turned). I then put a small amount of CA on a paper towel and press it to the ring. This is repeated about 15 times. I use a CA Aerosol Activator between coats. That instantly dries the CA so I don’t have to wait 15+ minutes for each coat.
You can also see why we needed to wax the mandril. The CA won’t stick to the wax, so we avoid accidentally gluing the ring to the mandril and ruining everything.
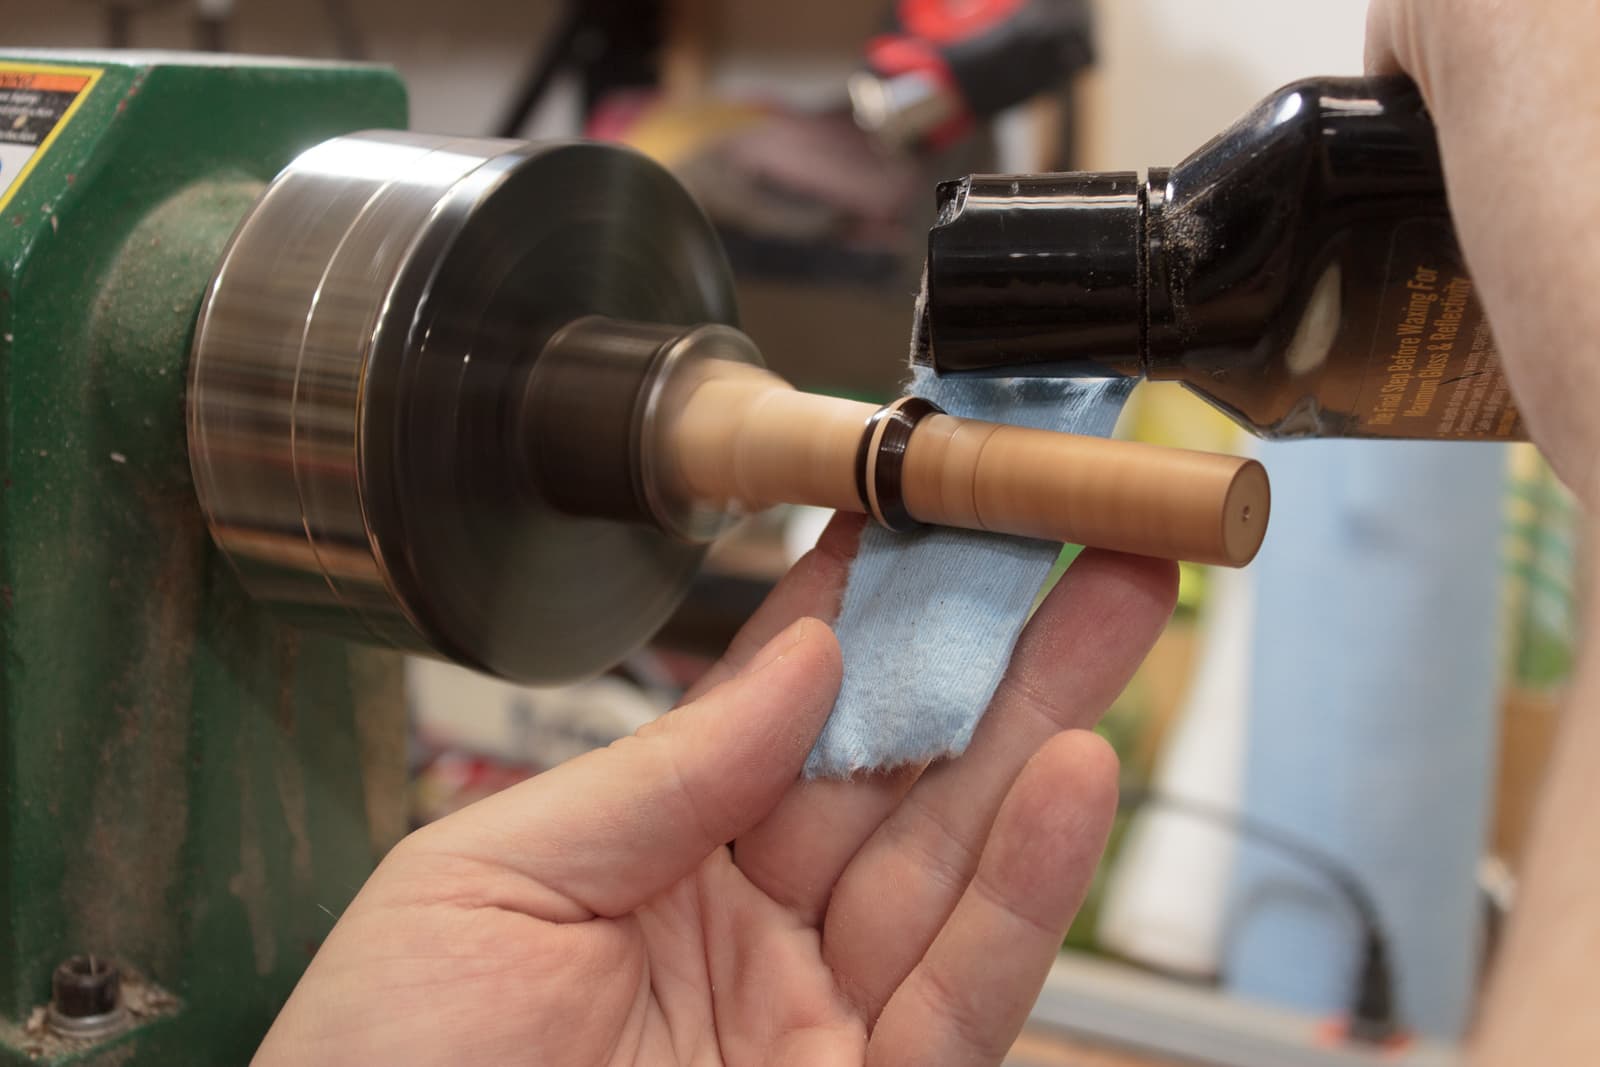
Polish

The next step is to polish the finish. I like Meguiar’s Ultimate Compound and Meguiar’s Ultimate Polish for the task.
Polished
The result of the polish. Glassy shiny.
How I polish pt. 1
I polish the same way that I apply the CA finish. I apply some of the liquid to a paper towel…
How I polish pt. 2
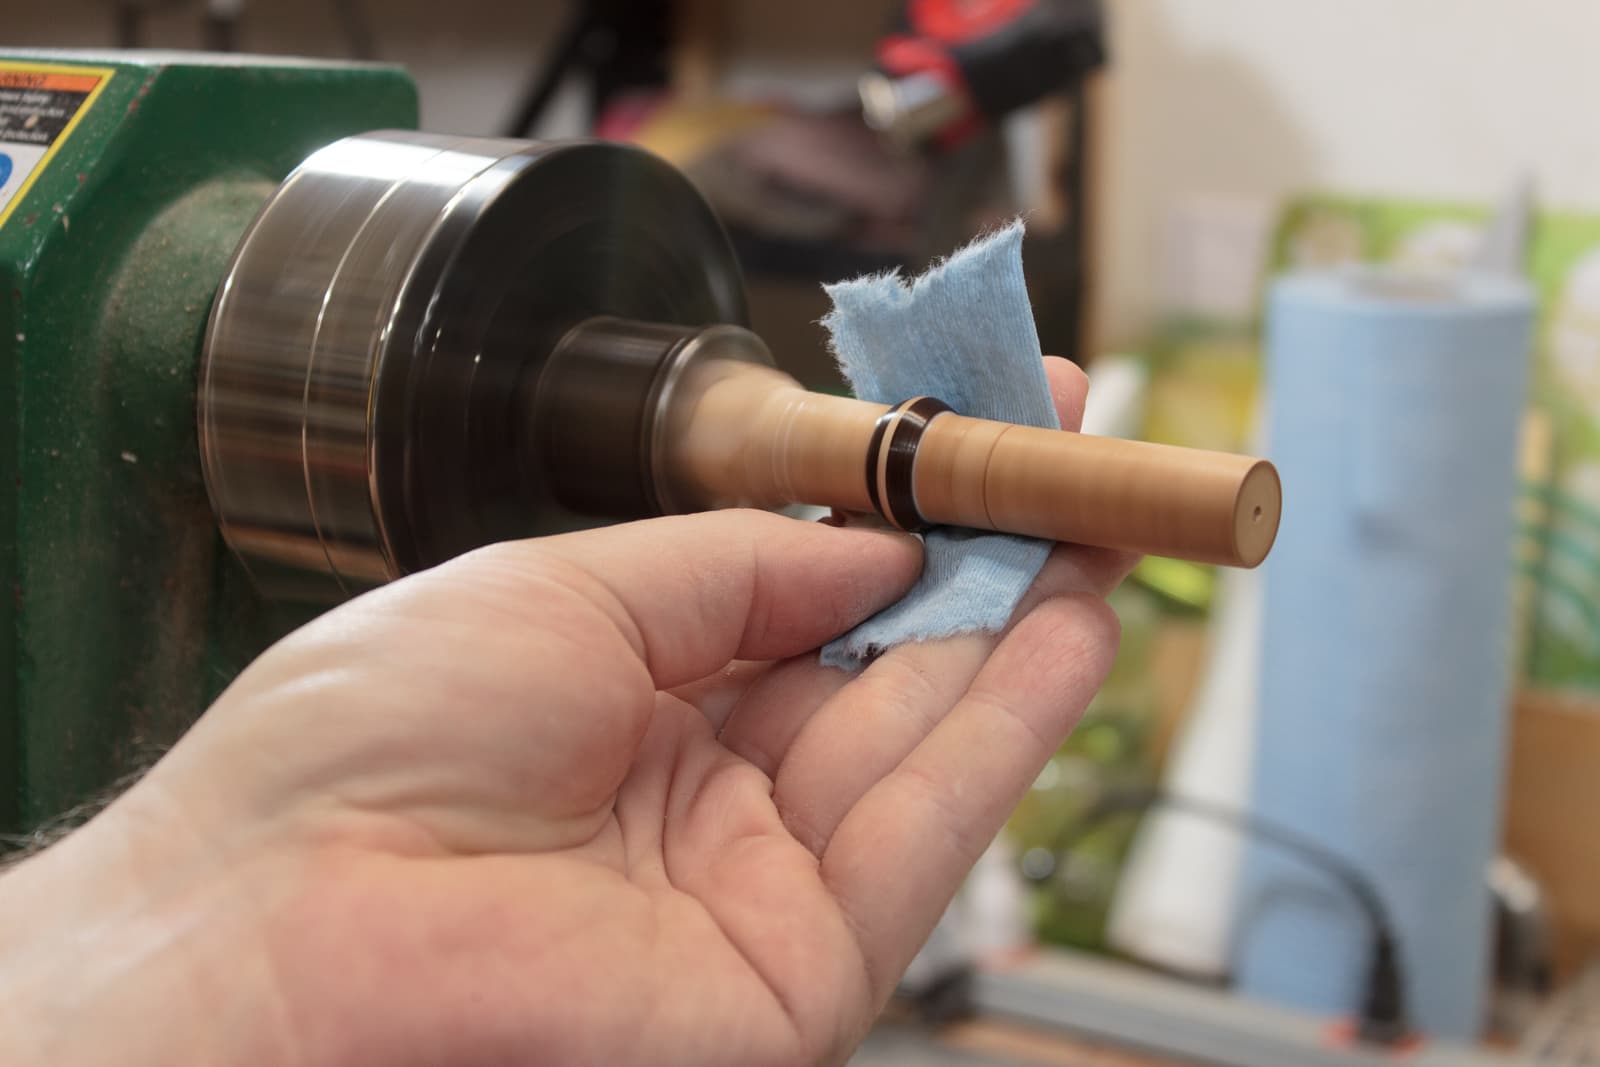
Then I rub the polish against the work. It takes about 1 minute to bring it to a very bright shine.
If you applied the CA in many thin coats, then you can go straight to the compounding and polishing stages. If you have any big globs then you need to sand down and repeat. Many thin coats is the key here!
Inside
The outside of the ring is done, but it needs to be comfortable to wear too. I apply some masking tape to the outside so that the chuck jaws don’t damage the finish.
I repeat the sanding, finishing and polishing.
Note I actually totally screwed up in this step. I dripped some CA and it got on the outer finish. I had to put it back on the mandril and sand everything down, then refinish and repolish. I didn’t capture these steps because I already did.
Accidents like this happen. There’s no reason to get frustrated. That’s effort that can be used to work forward on the project and find solutions. Evaluate your situation and take a break if you start to feel negative emotions build. This time I wasn’t bothered by it and just threw the mandril on and was done in ~10 minutes.
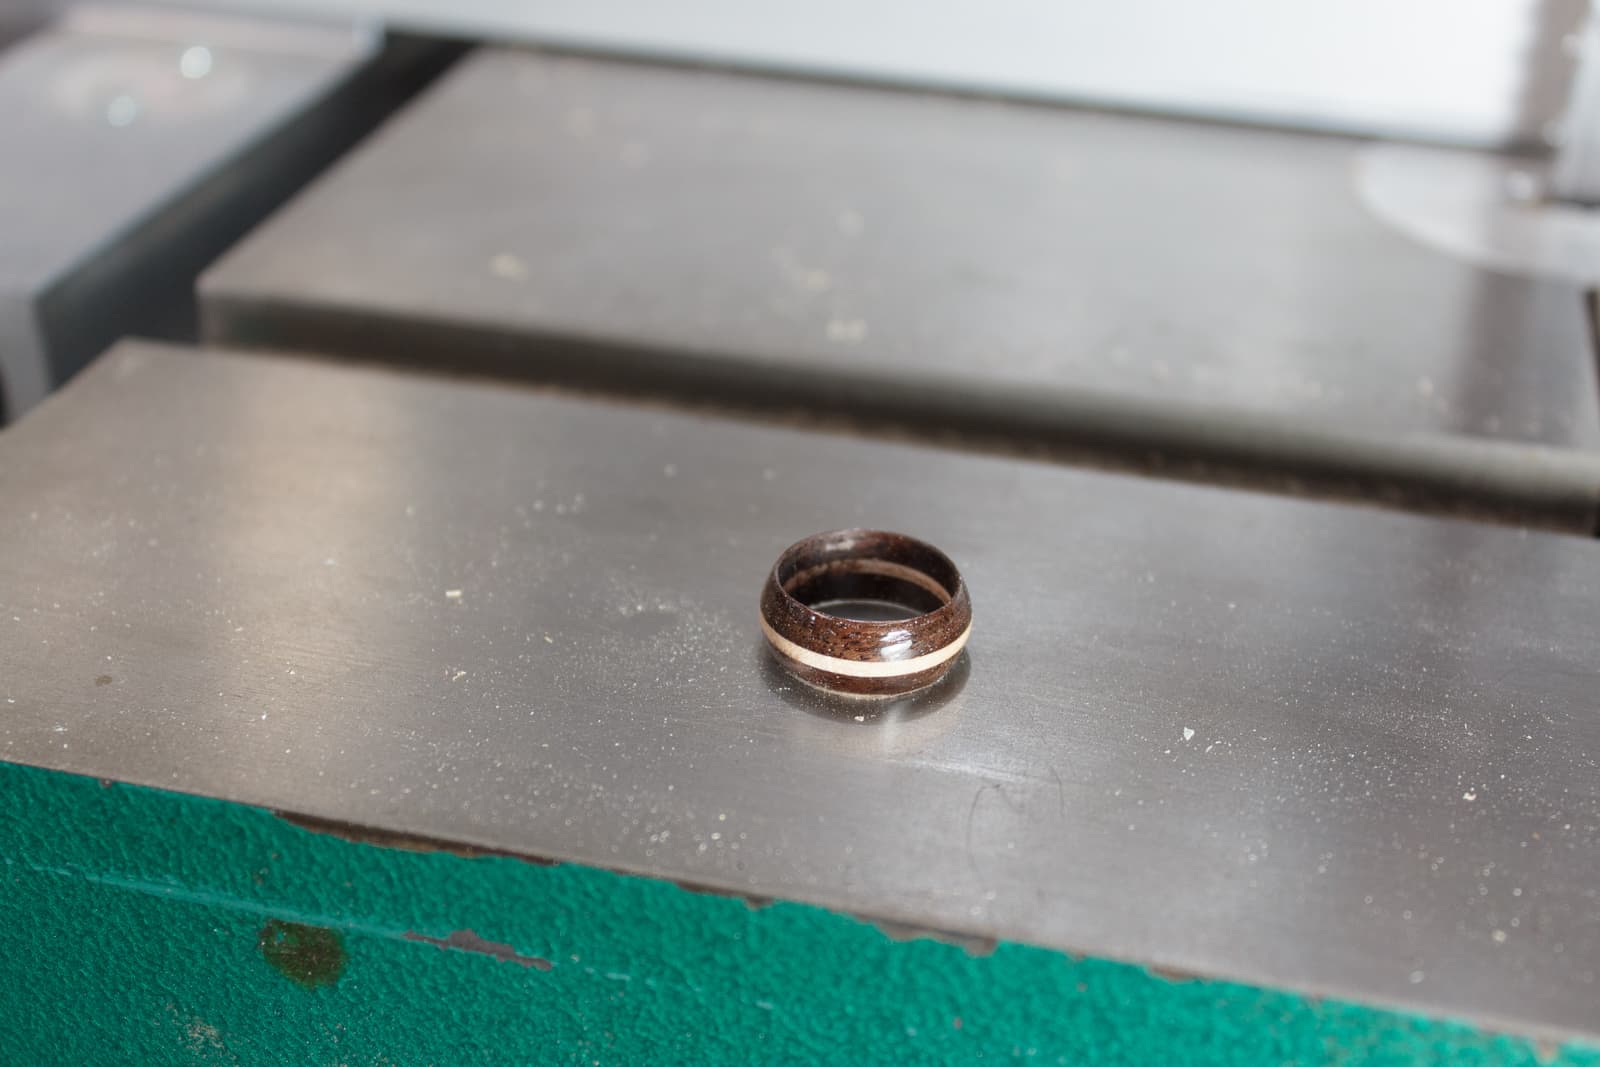
Ring
That’s the ring.
My wife is at work as I write this, so I don’t know how she’ll like it yet. I may update this post with a picture of it on her finger or a confused look.
Support Me!
This post took 4 hours to make, photograph, write and edit. If you appreciate the information presented then please consider joining patreon or donating!