My wife broke the ice cream scoop. It’s not a fancy one, but it’s the one we have.
So what’s my job? My job is to fix it of course… after being reminded about a dozen times. It’s basically ‘Husband Energy’. Each reminder slowly builds up sufficient energy so that I can complete the task, but the task can not be completed until that energy is sufficiently in store.
It’s go time!
Contents
- Broken
- Rough
- Trim
- Push
- Mark the Center
- Center
- Split
- Marriage
- Flatten
- Square
- Center the scoop tang
- Mark the tang mortise
- Mark the mortise depth
- Prep the mortise
- Glue
- Clamp
- Glued
- TrimEdges
- Turn
- Copper
- Ferrule
- Ferruled
- Ferrule Glue
- Ferrule Shine
- Char
- Sanded
- Pores
- Tung Oil
- Drying Oil
- Handle
- Epoxy
- Finished
- Support Me!
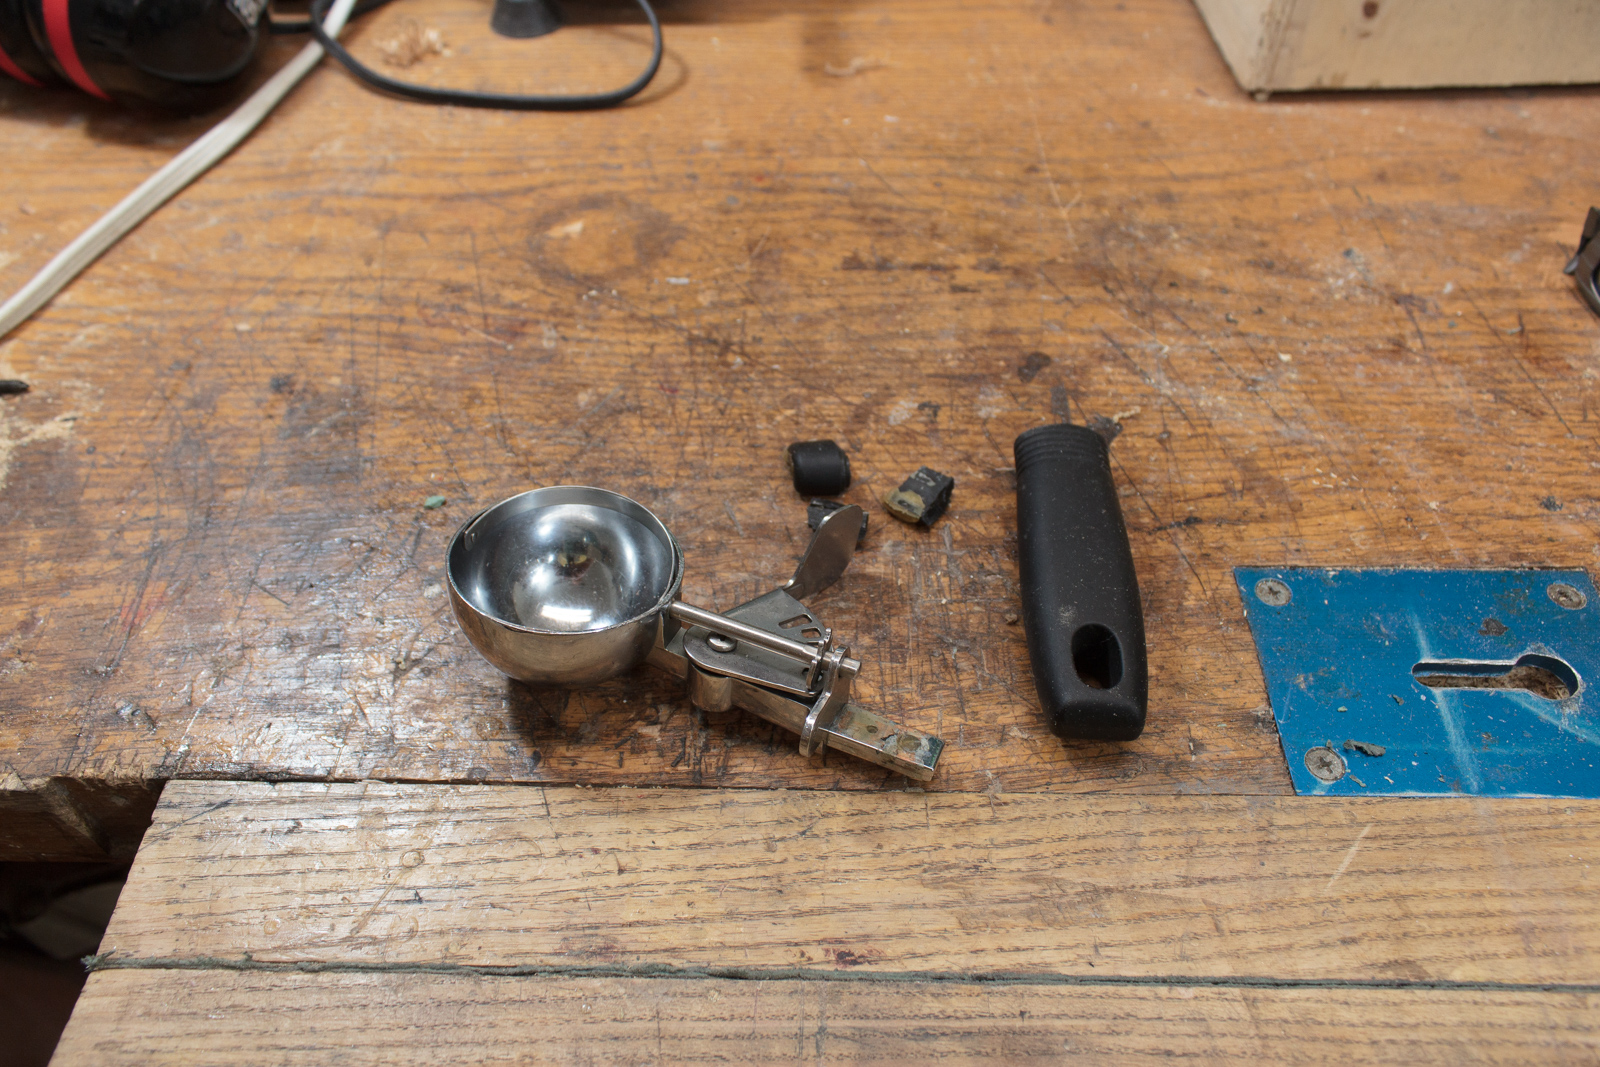
Broken
Here it is. A cheap ice cream scoop. The edges around the tang fell apart when being used to leverage out the Ice Cream.
Rough
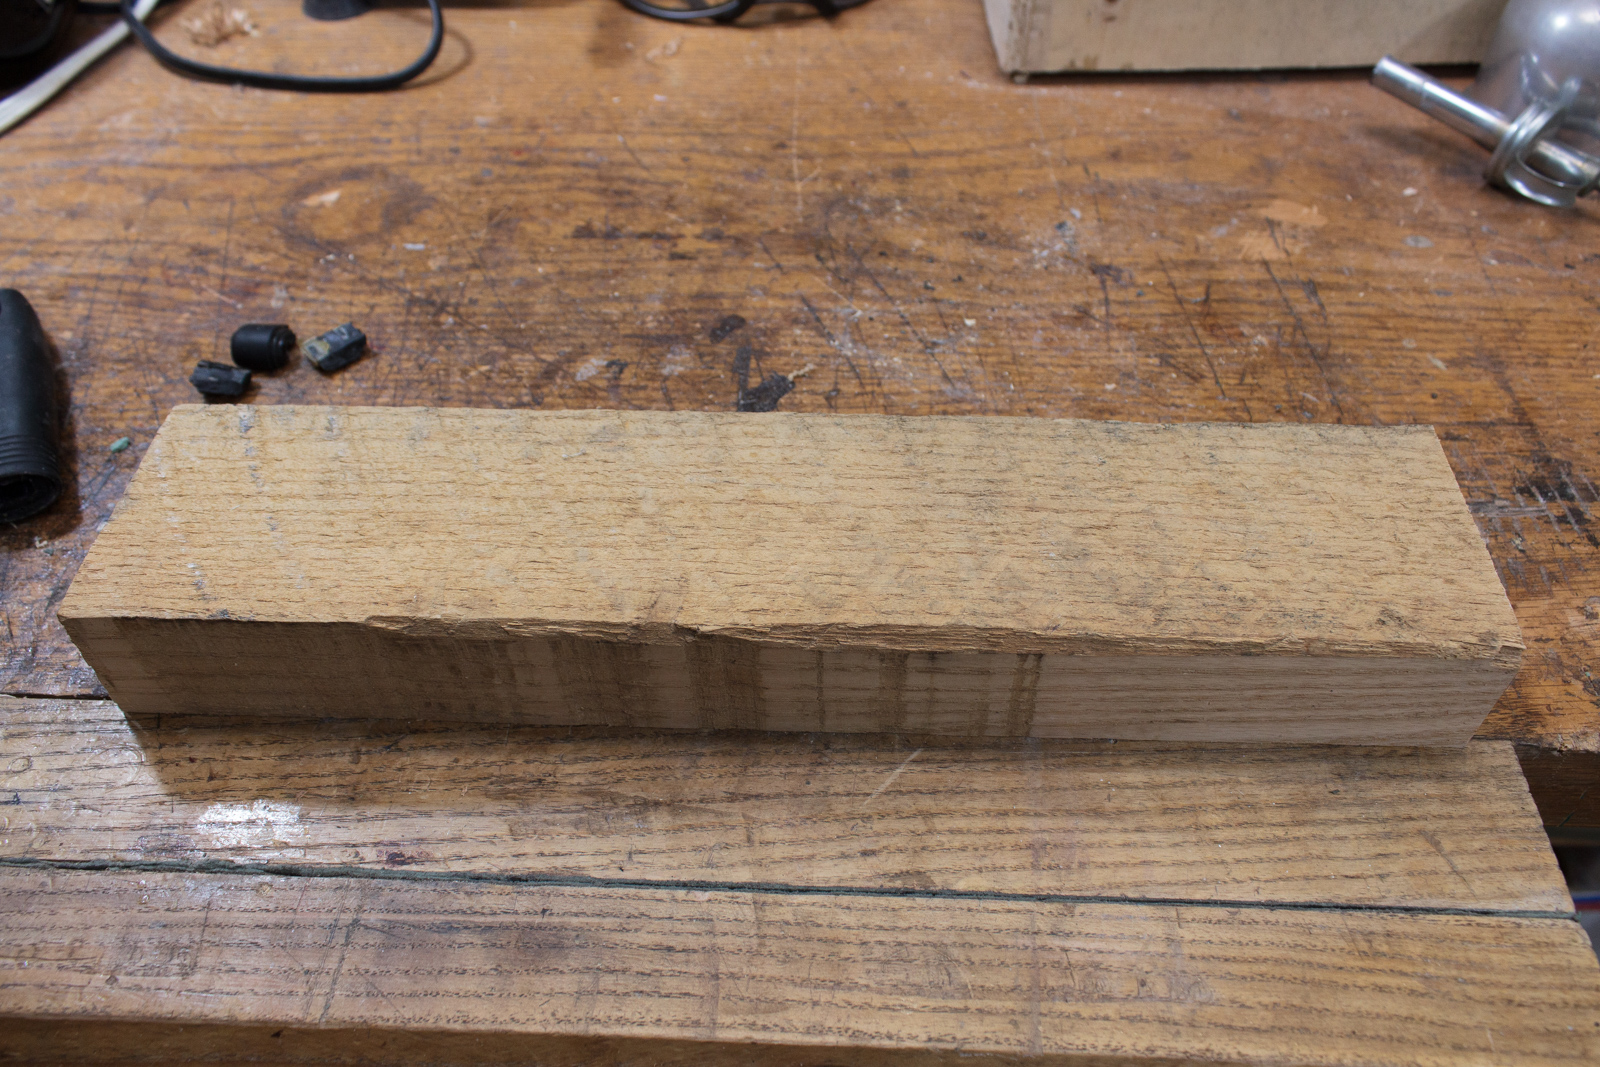
I started with a piece of swamp ash. It’s boring, but I’m going to make it less boring.
Trim
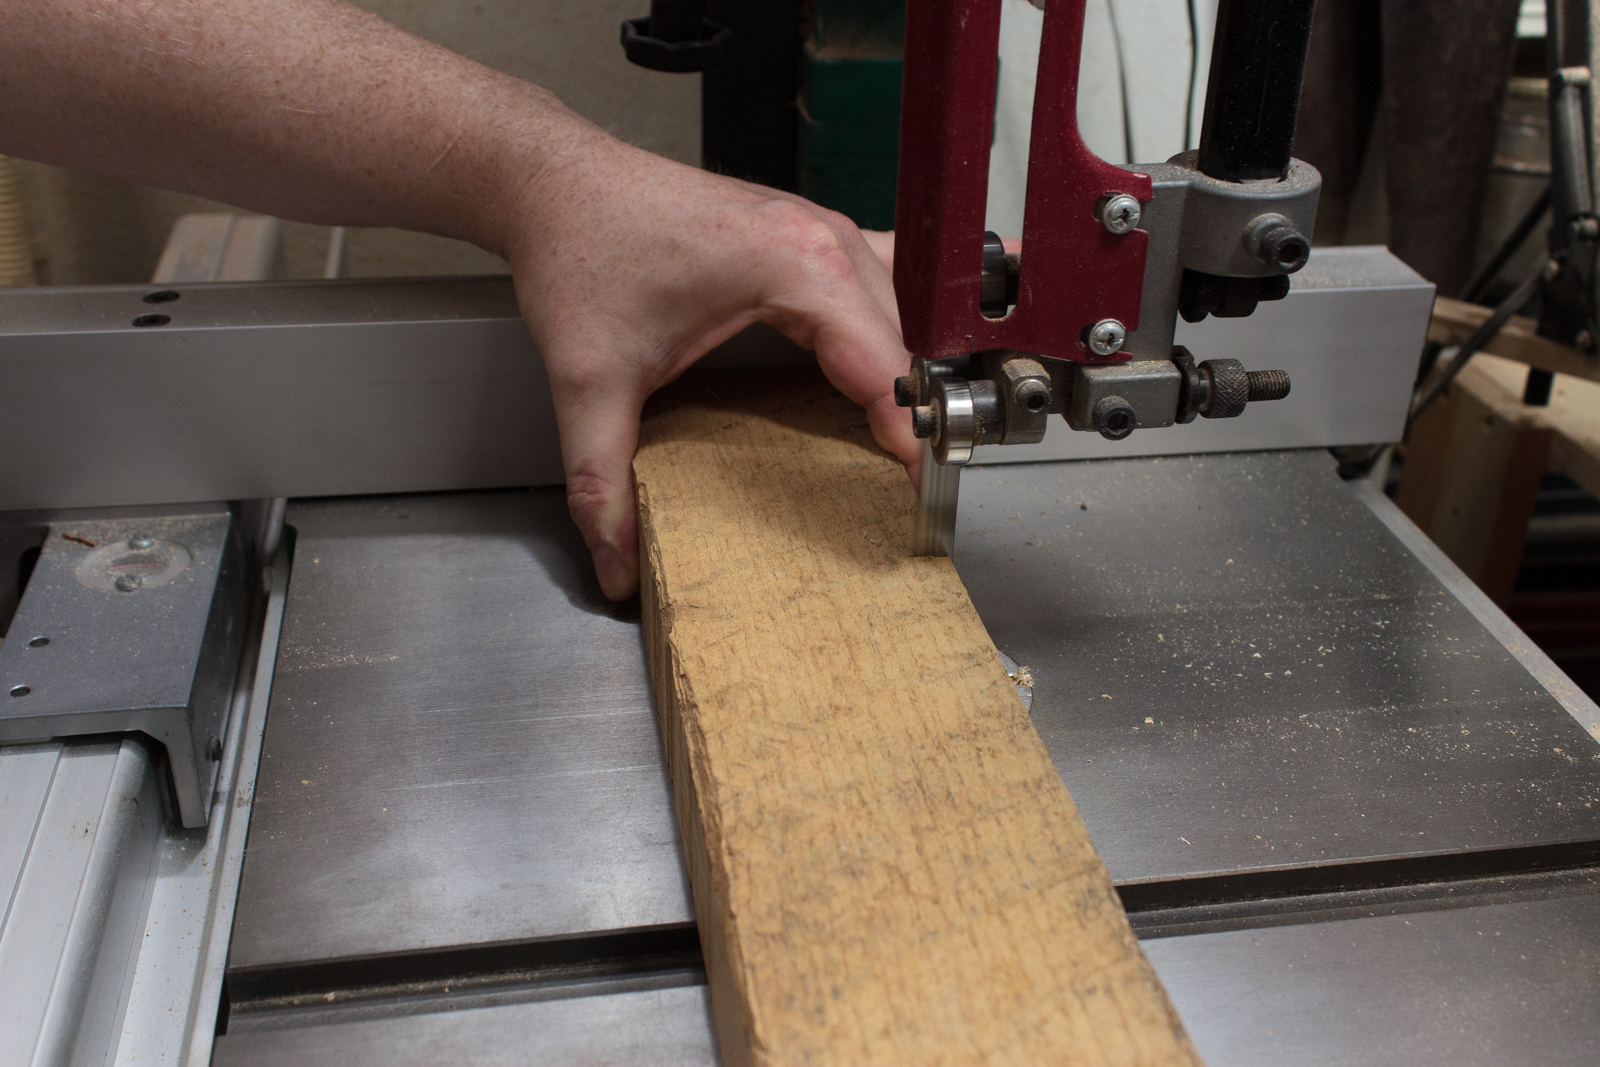
First I trim it down to size. About 5” x 2.5” or 12.7cm x 6.35cm.
My hand really isn’t that close to the blade, and there’s no forces involved here that would put me in danger given even a catastrophic failure.
If this was a tablesaw I would never do anything similar. I’d use a miter gauge and no fence. Bandsaws and Tablesaws are totally different things in action and both have their own set of safety precautions.
Push
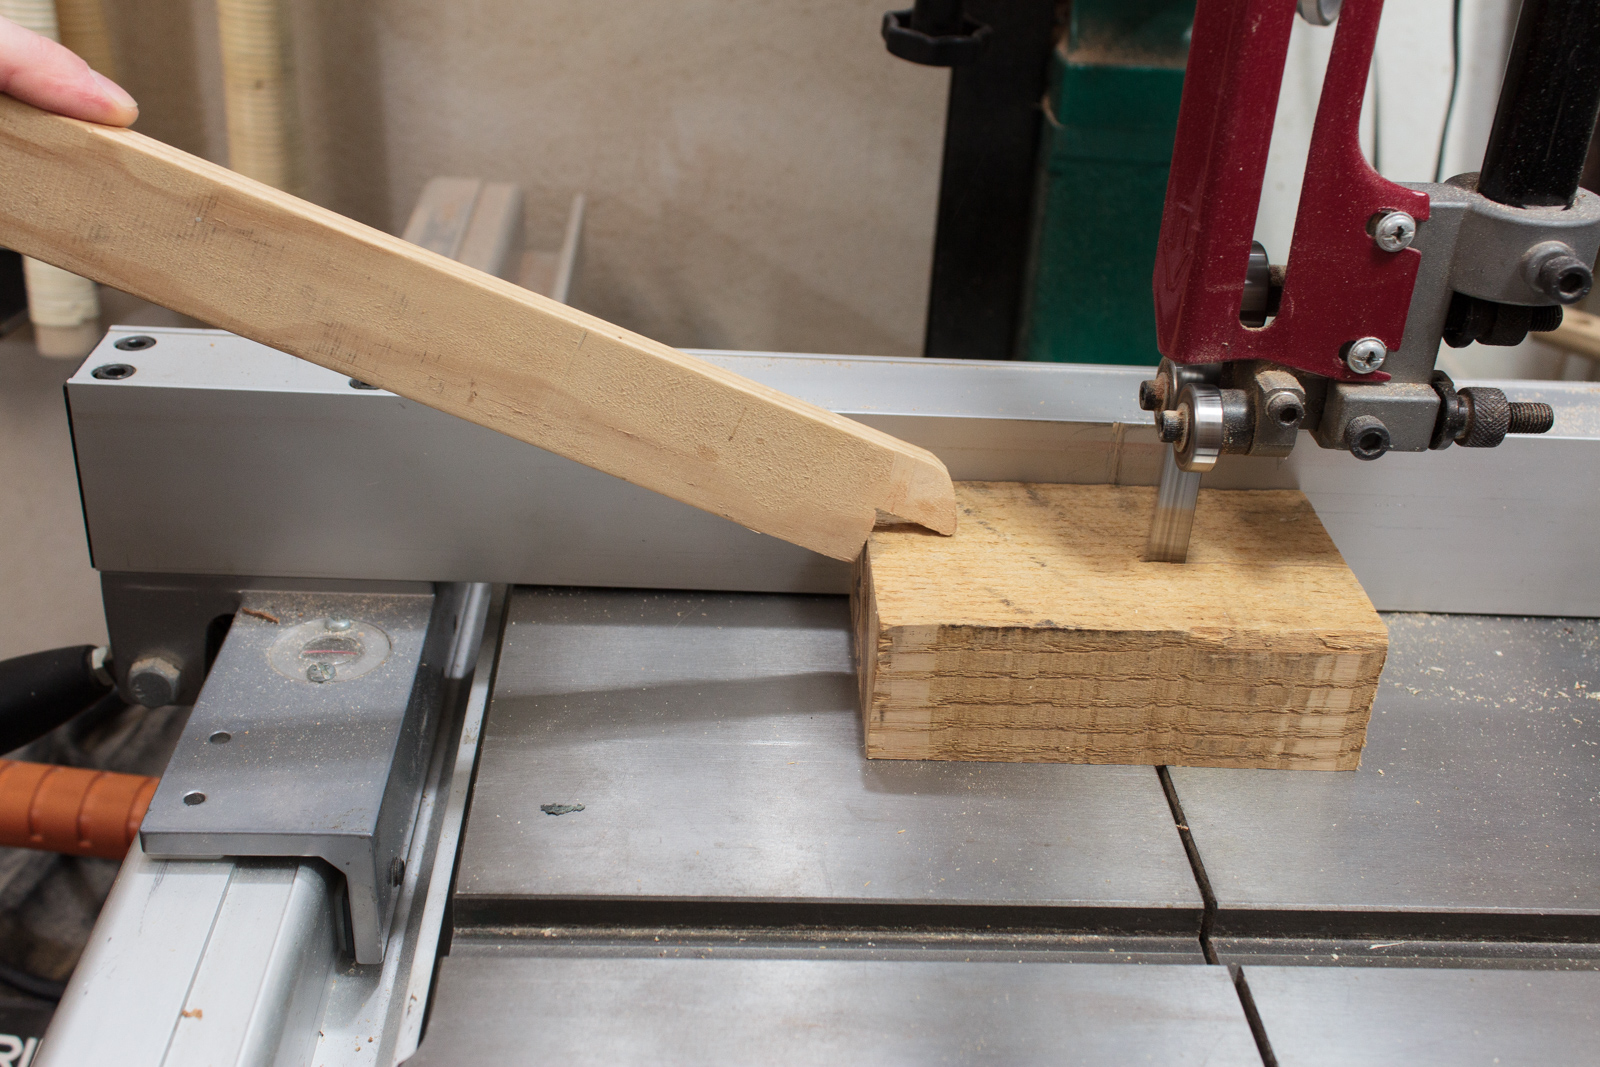
I use a push-stick when I need to work close.
Mark the Center

Now I need to find the center so I can split this…
I use a center finder, which isn’t at all necessary. You can mark from corner to corner, but this is far easier since the corner is caught by the tool.
Center
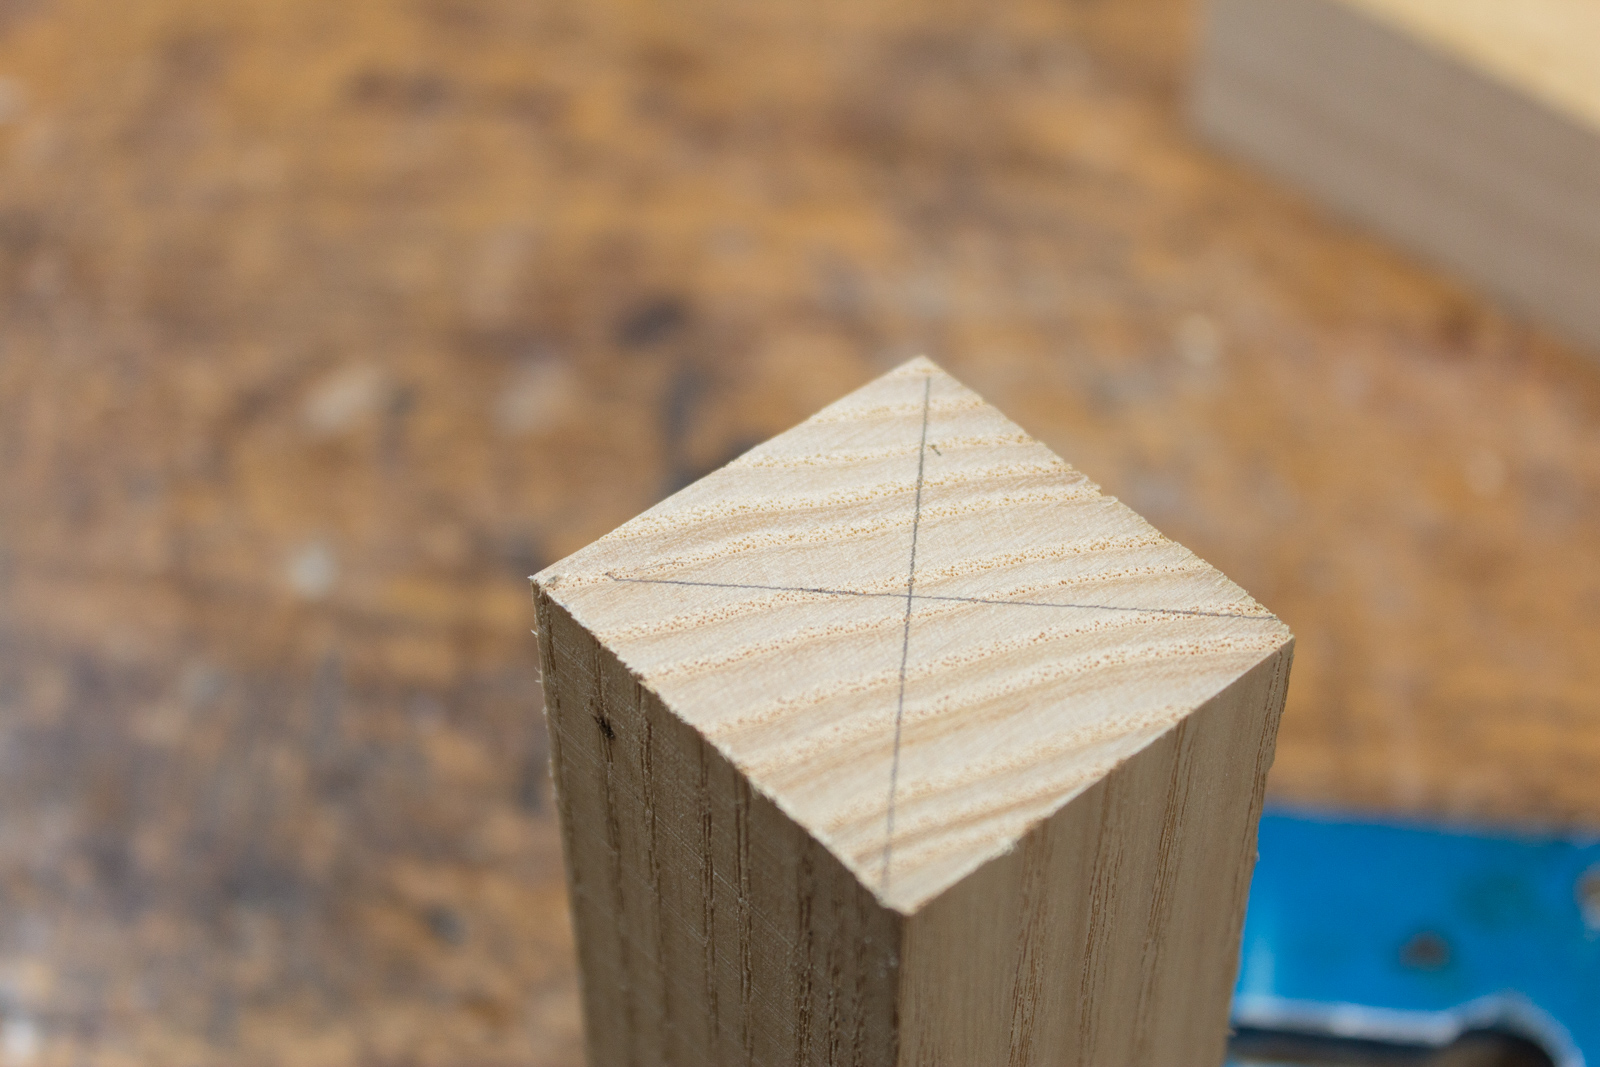
That’s the center.
I hope you enjoyed that image as much as I did.
Split
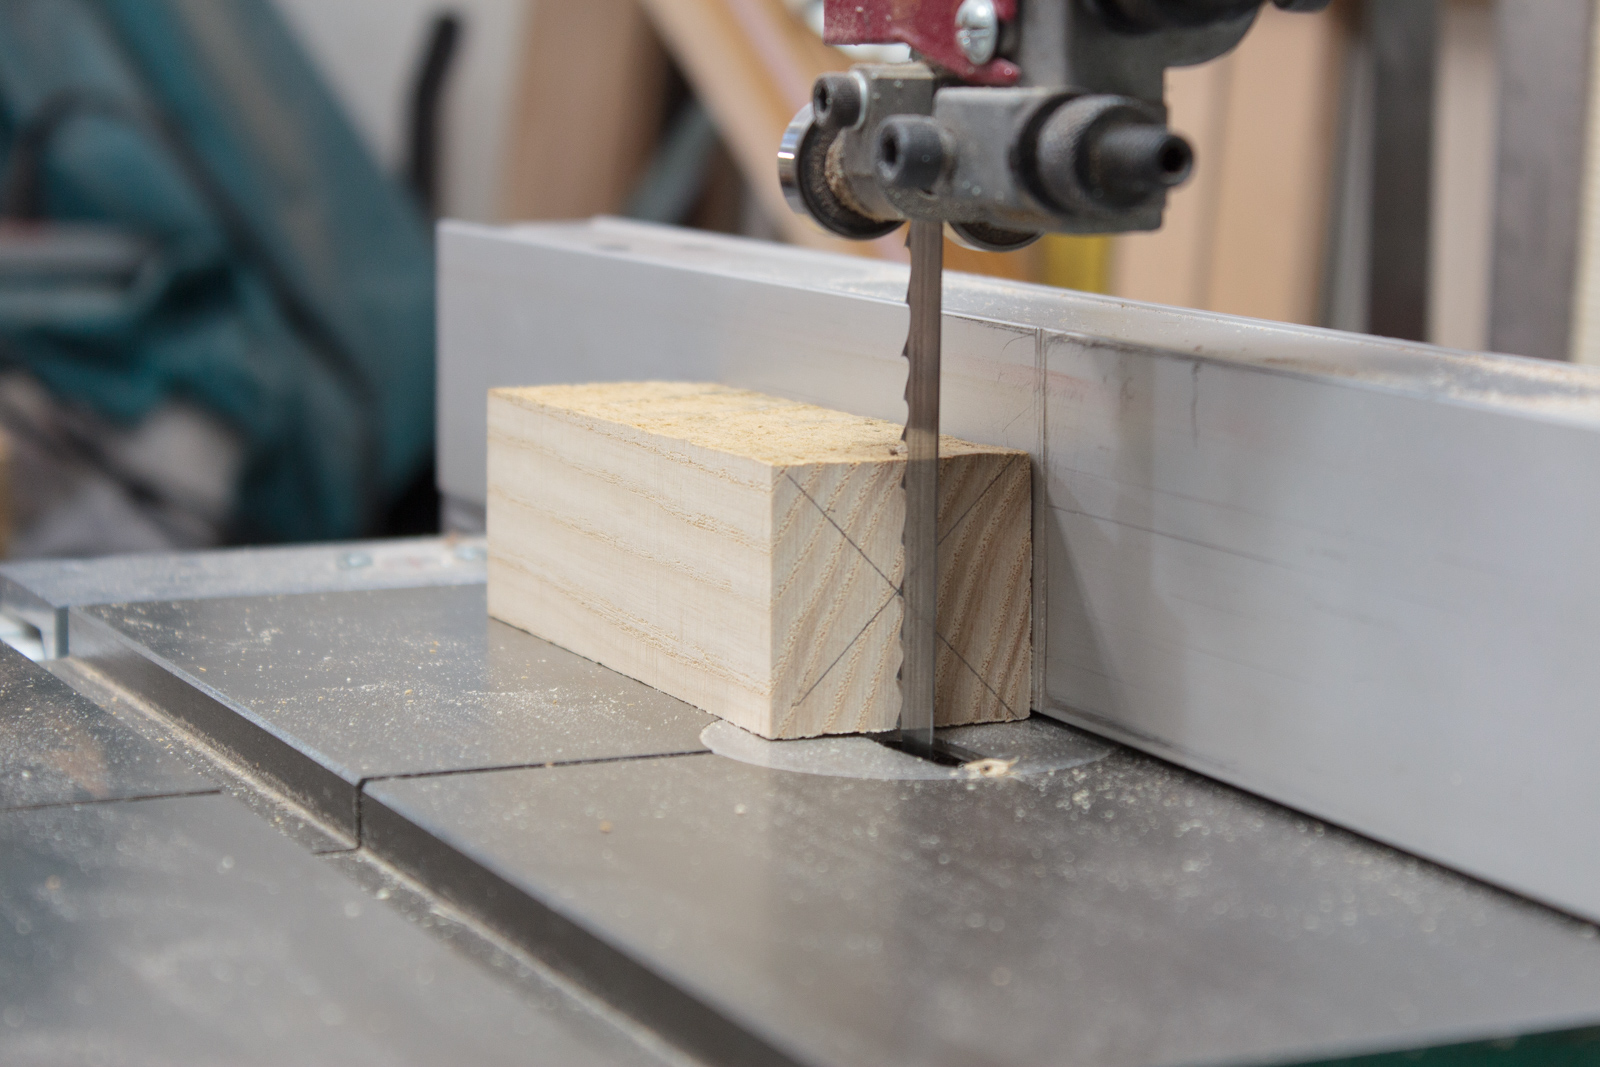
The blank is split down the center.
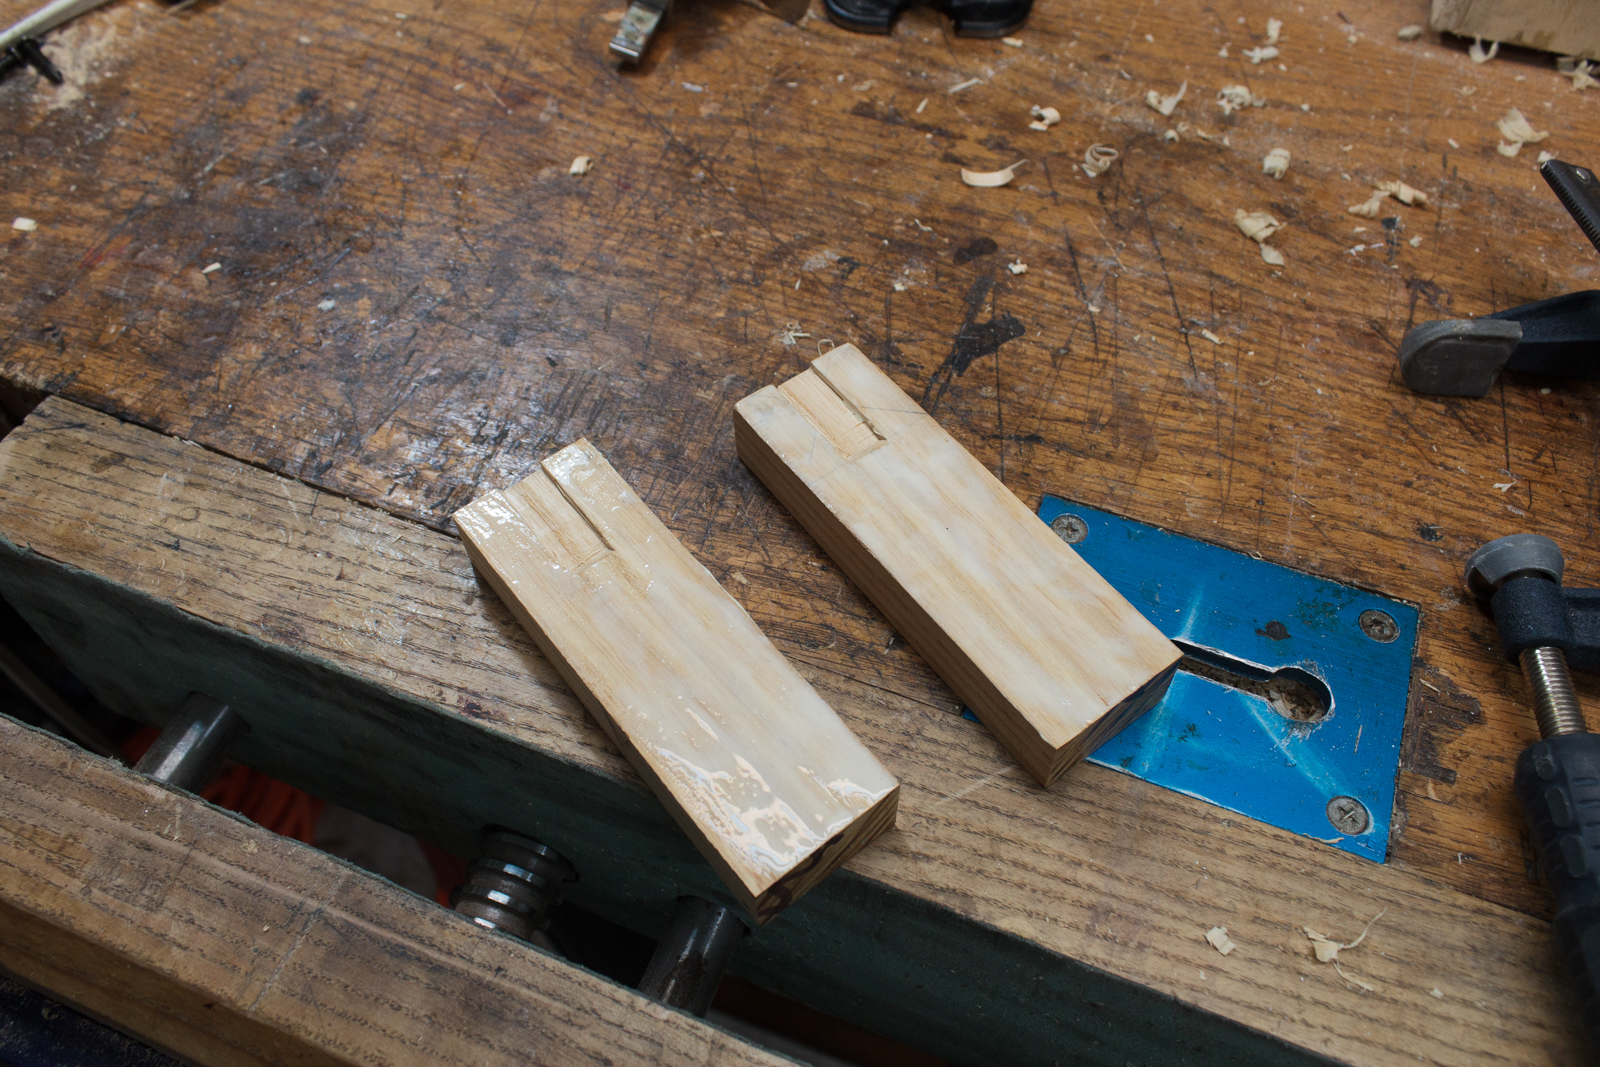
Marriage
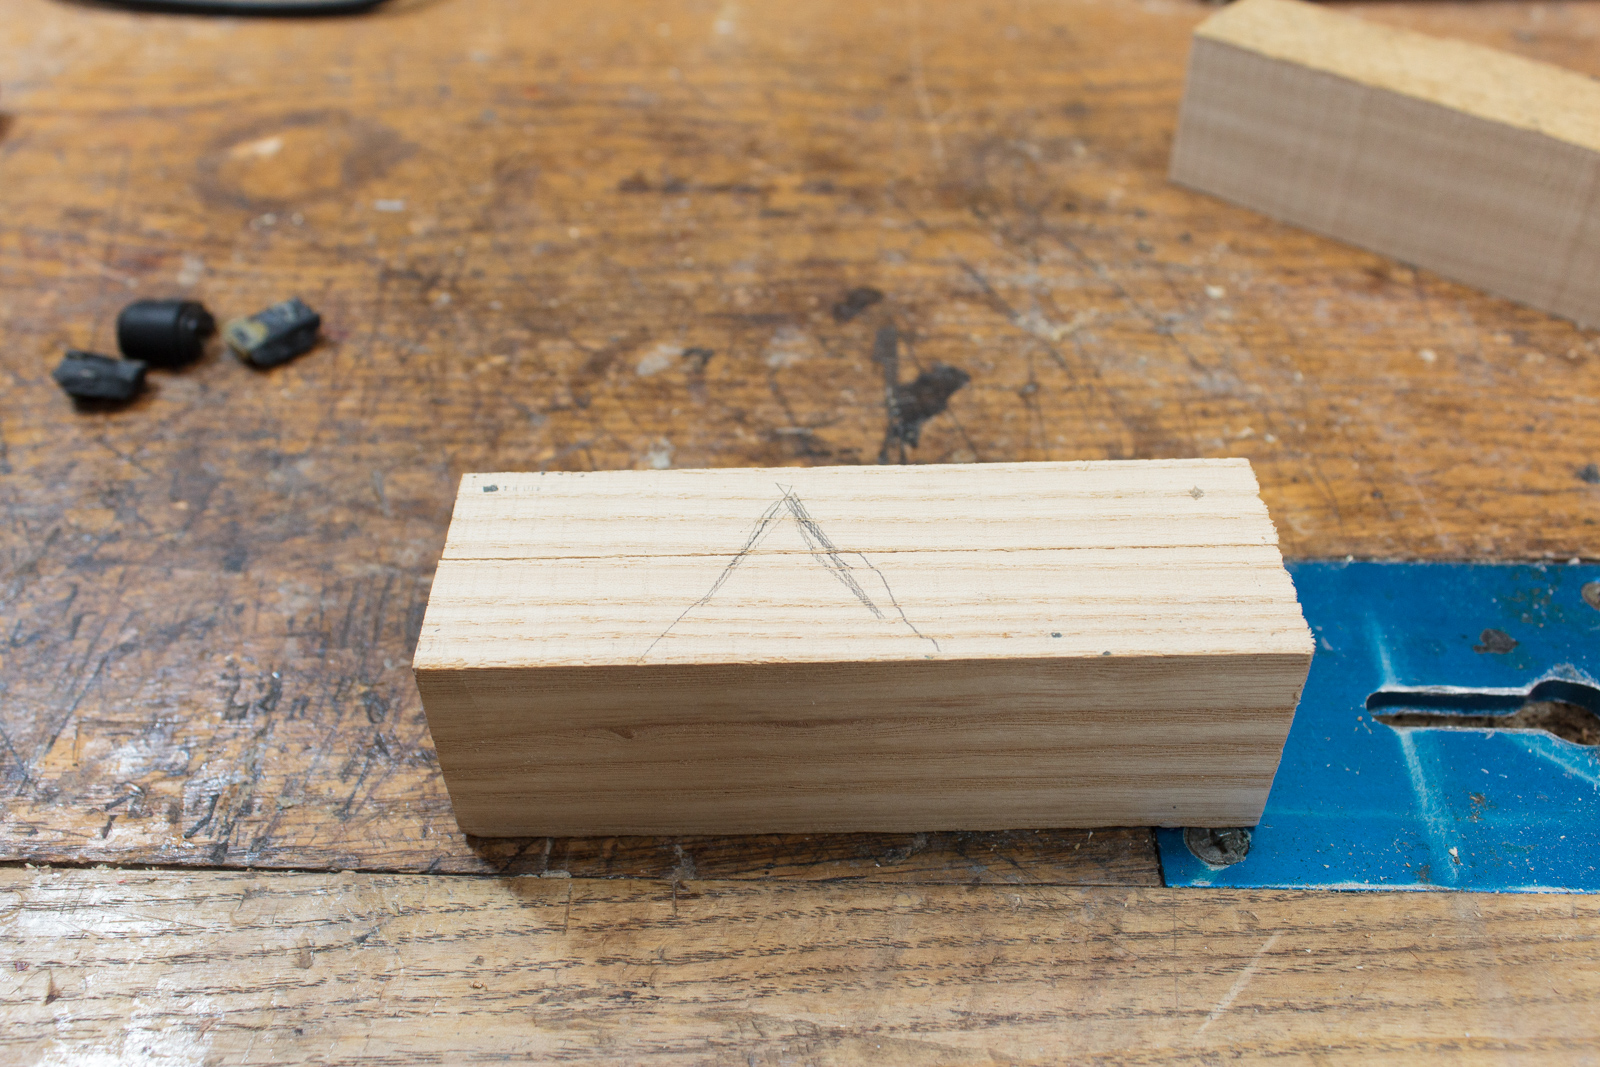
I place a triangular mark so that I can glue these pieces back together in the same orientation.
If you think that looks nice, you should see my handwriting!
Flatten

Now I flatten all 4 sides. I should have done this before splitting it, but uh… oops. I just lined them up by hand and planed them down.
Square
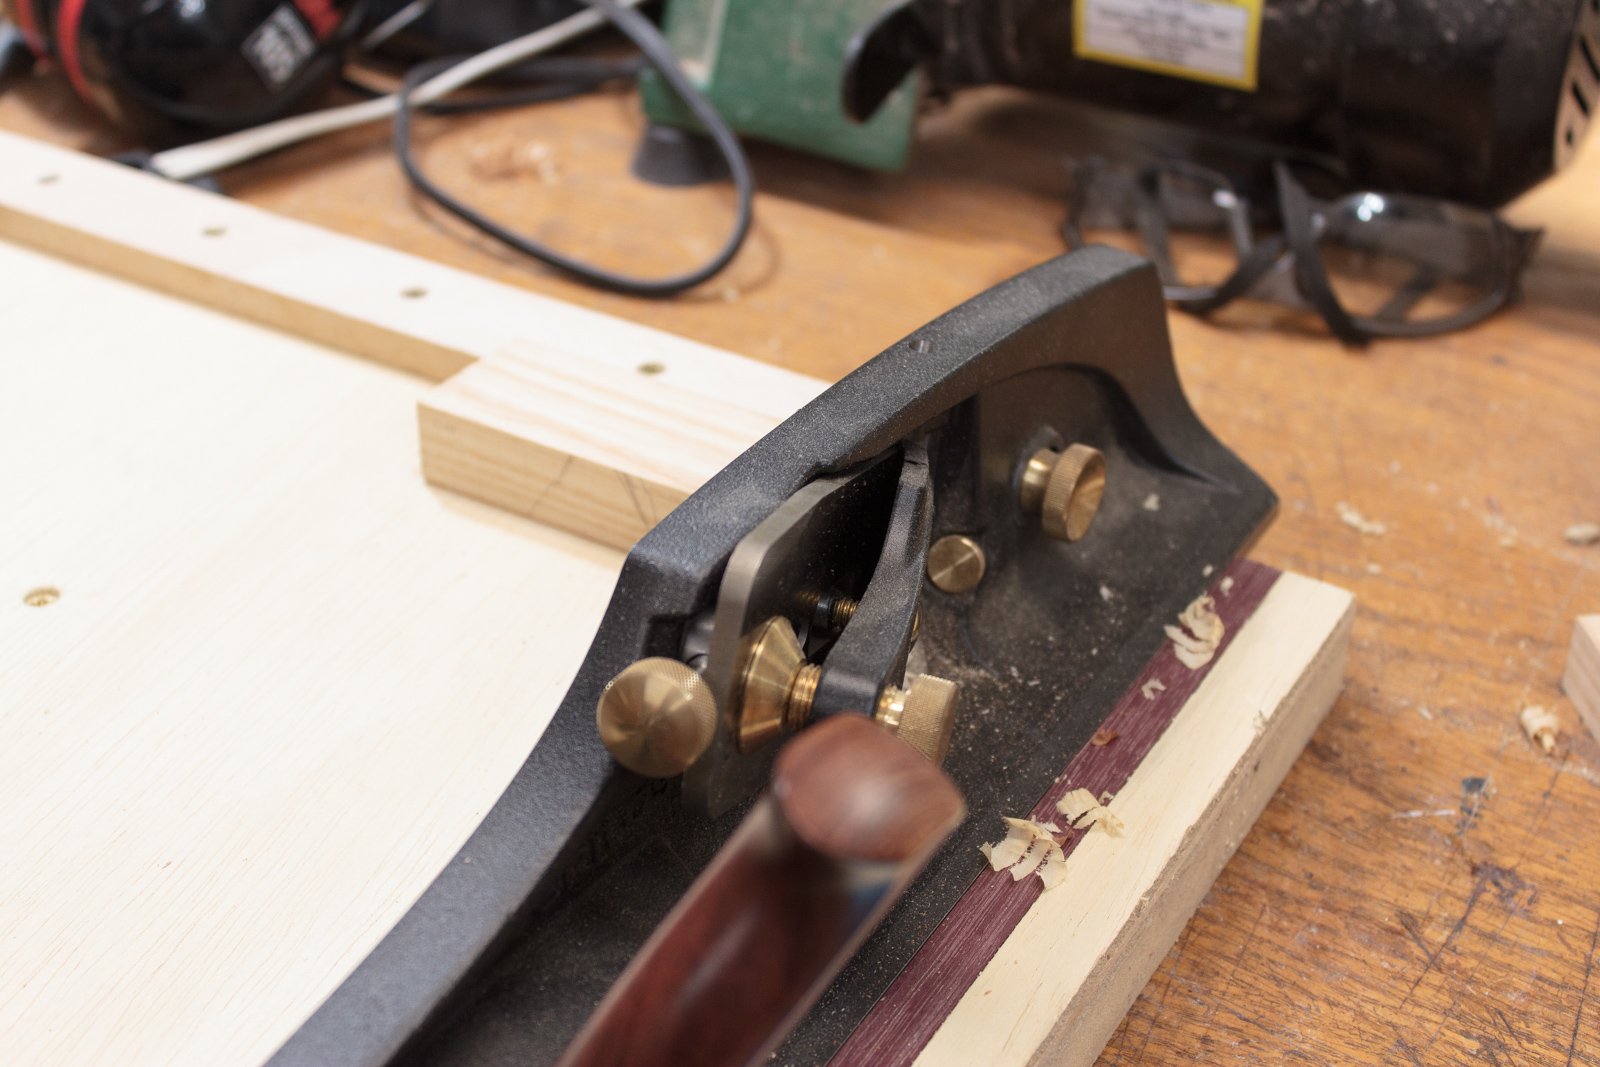
Now I square the ends with my Veritas shooting plane
Center the scoop tang
I need to mark out the portion for the scoop tang mortise. I use a Veritas marking gauge and some trial and error.
I place the tang on the wood and adjust the gauge until it fits both sides. Now it’s centered.
Mark the tang mortise
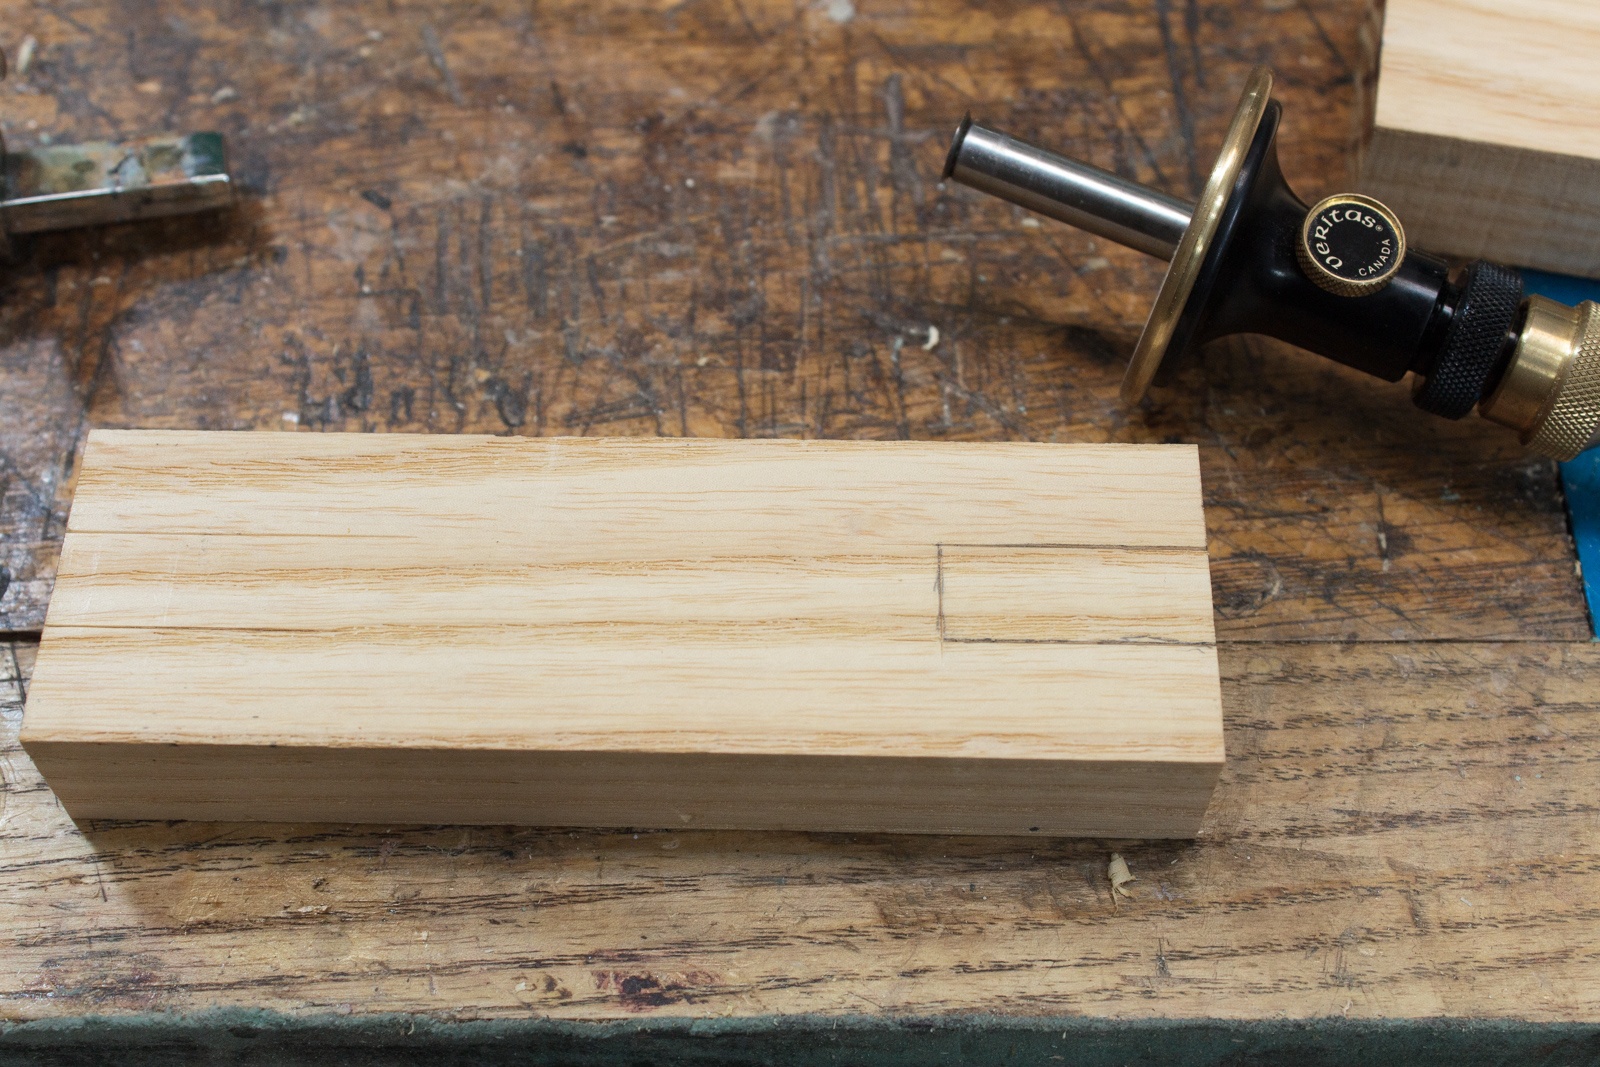
I cut the tang mortise marks with the marking gauge. The end is marked to be longer than the tang in case there’s extra glue later. I don’t want to be unable to push it all the way in because some glue is turning my mortise in to a hydraulic piston.
Mark the mortise depth
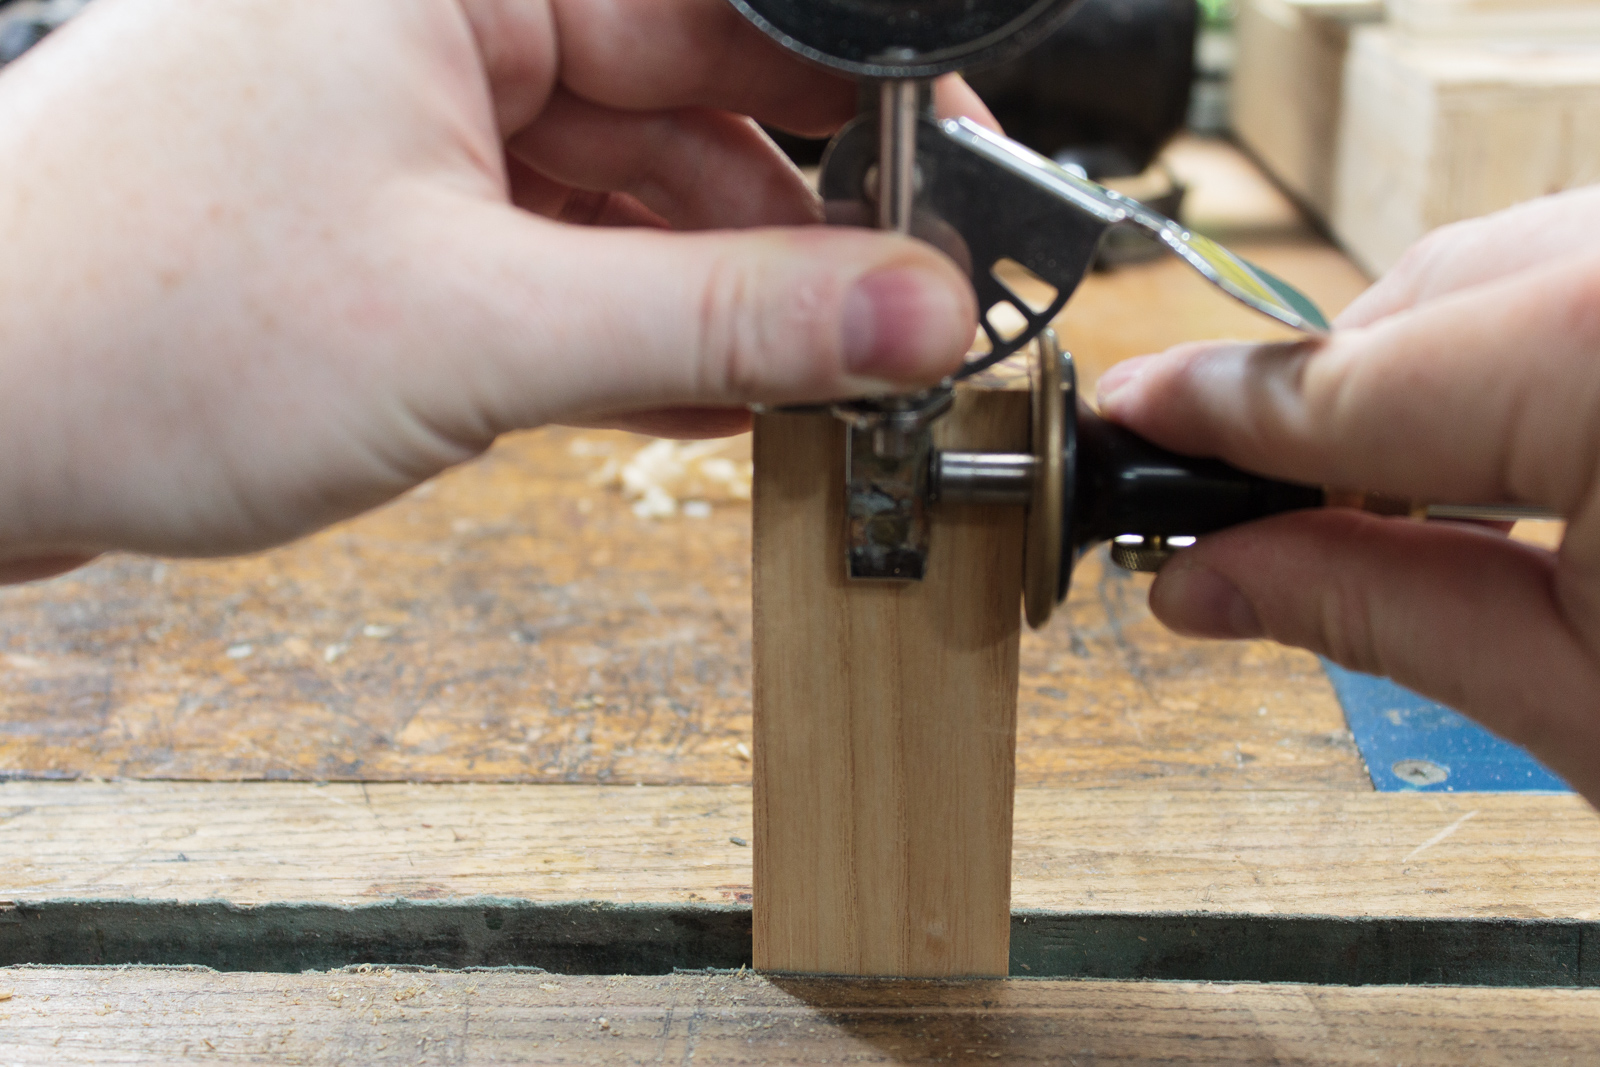
I use a Veritas small router plane to set the depth of the mortise. This is also what I cut it with.
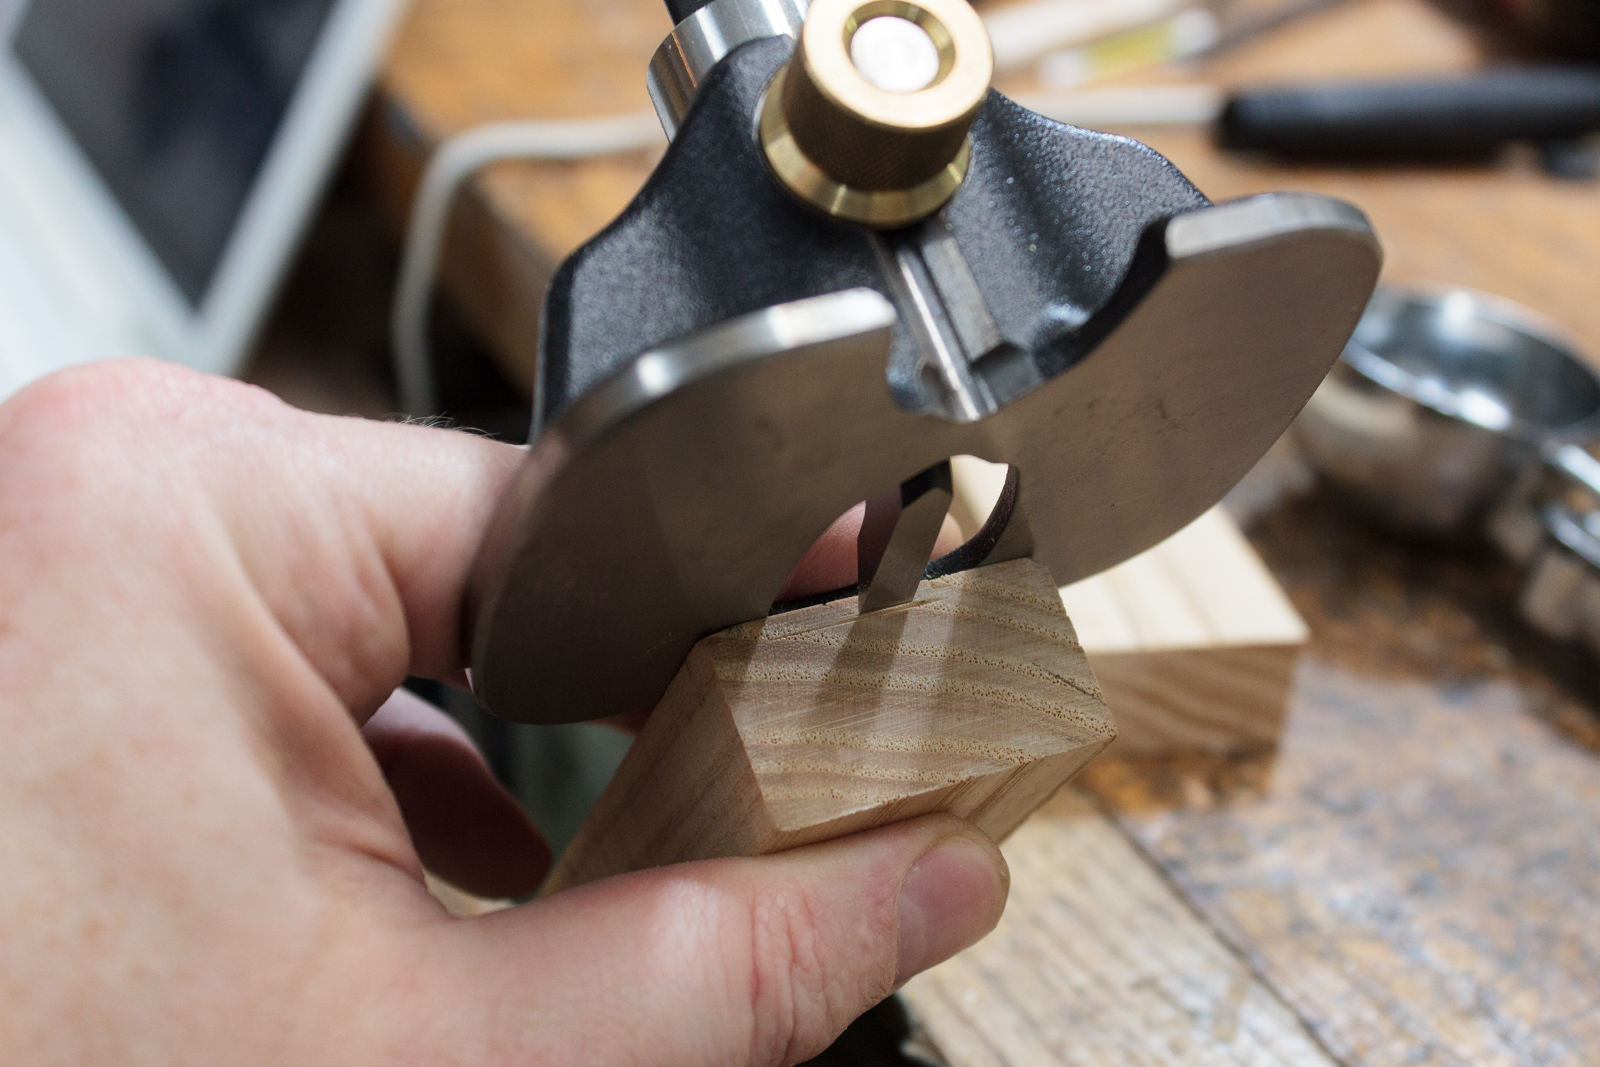
Prep the mortise
I use a chisel to prepare the edges as shown. Then I use the router plane to route out the center.
Glue
The two sides are glued up with some Titebond Original
You may notice that the end of the mortise is slightly sloped. I added that as extra insurance against hydraulic lock.
Clamp
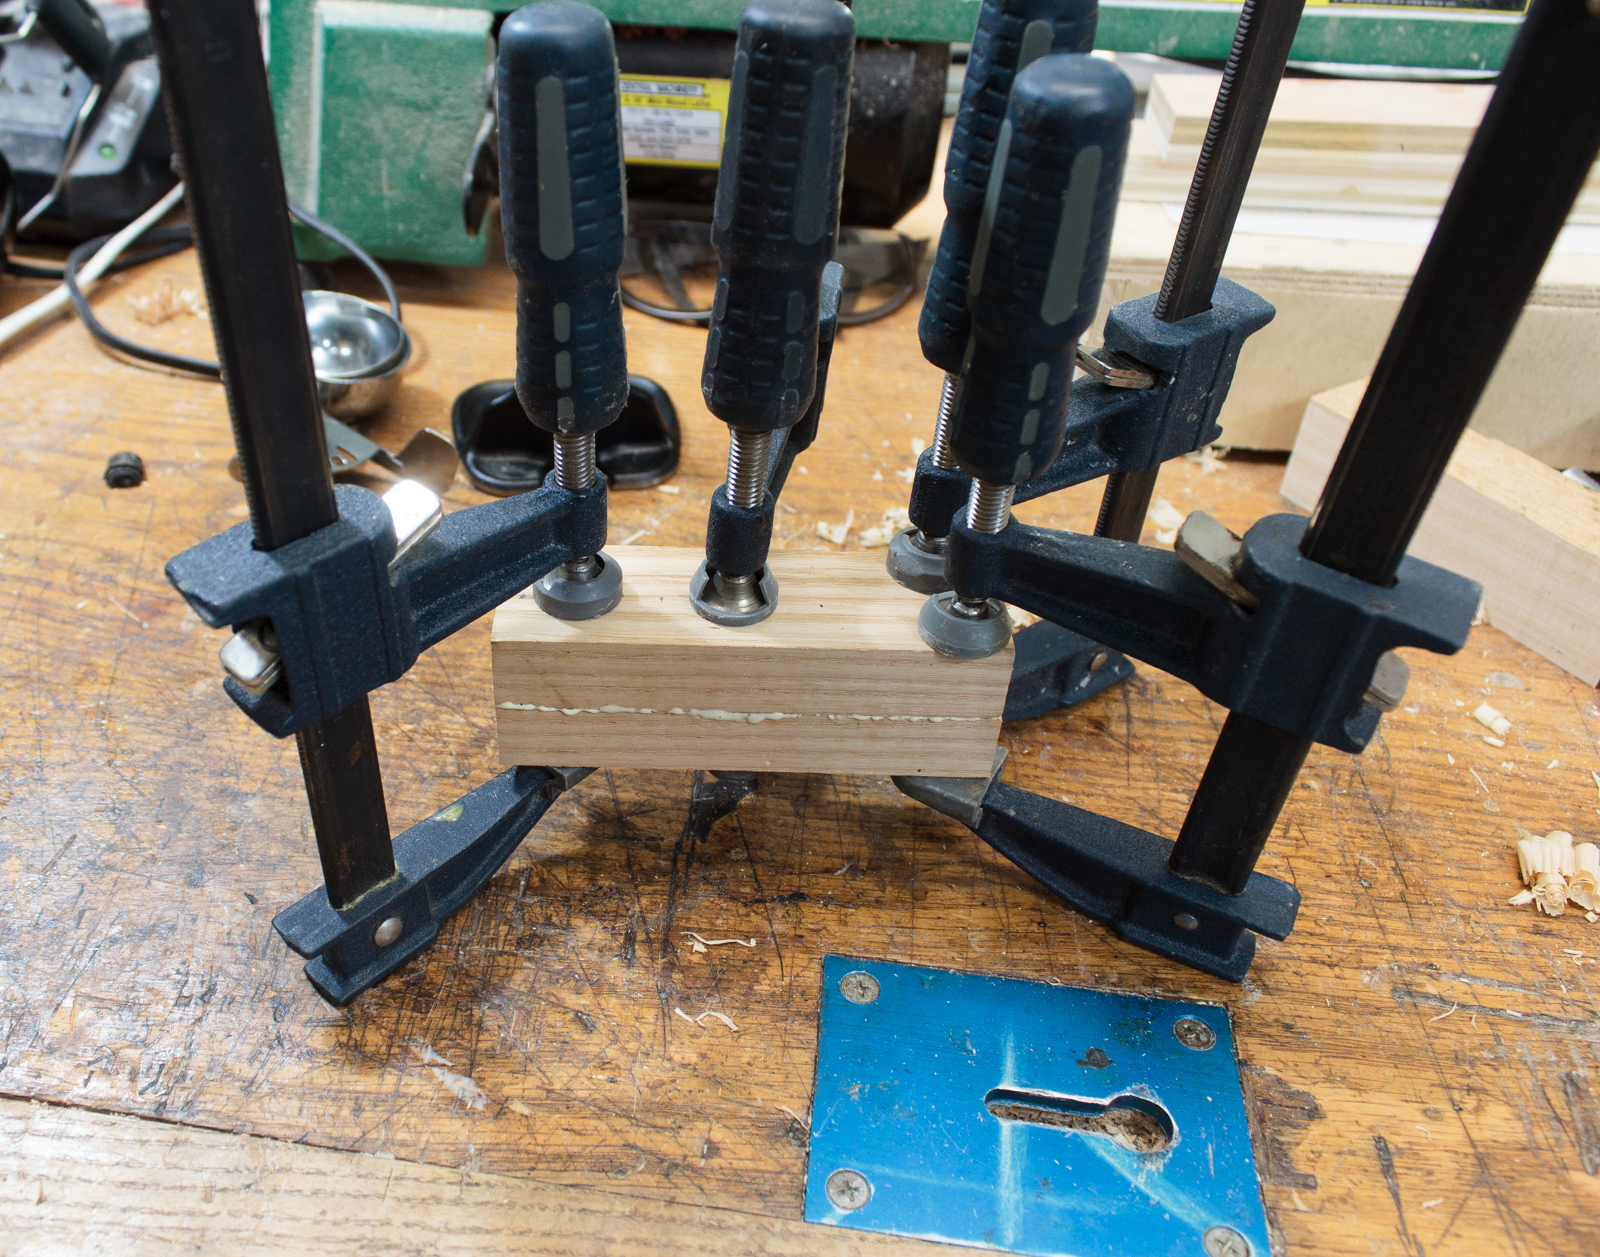
Clamped. On the side with the mortise I added 2 extra clamps on each side. I really want that to be tight.
Clamped up.
Glued

Glued.
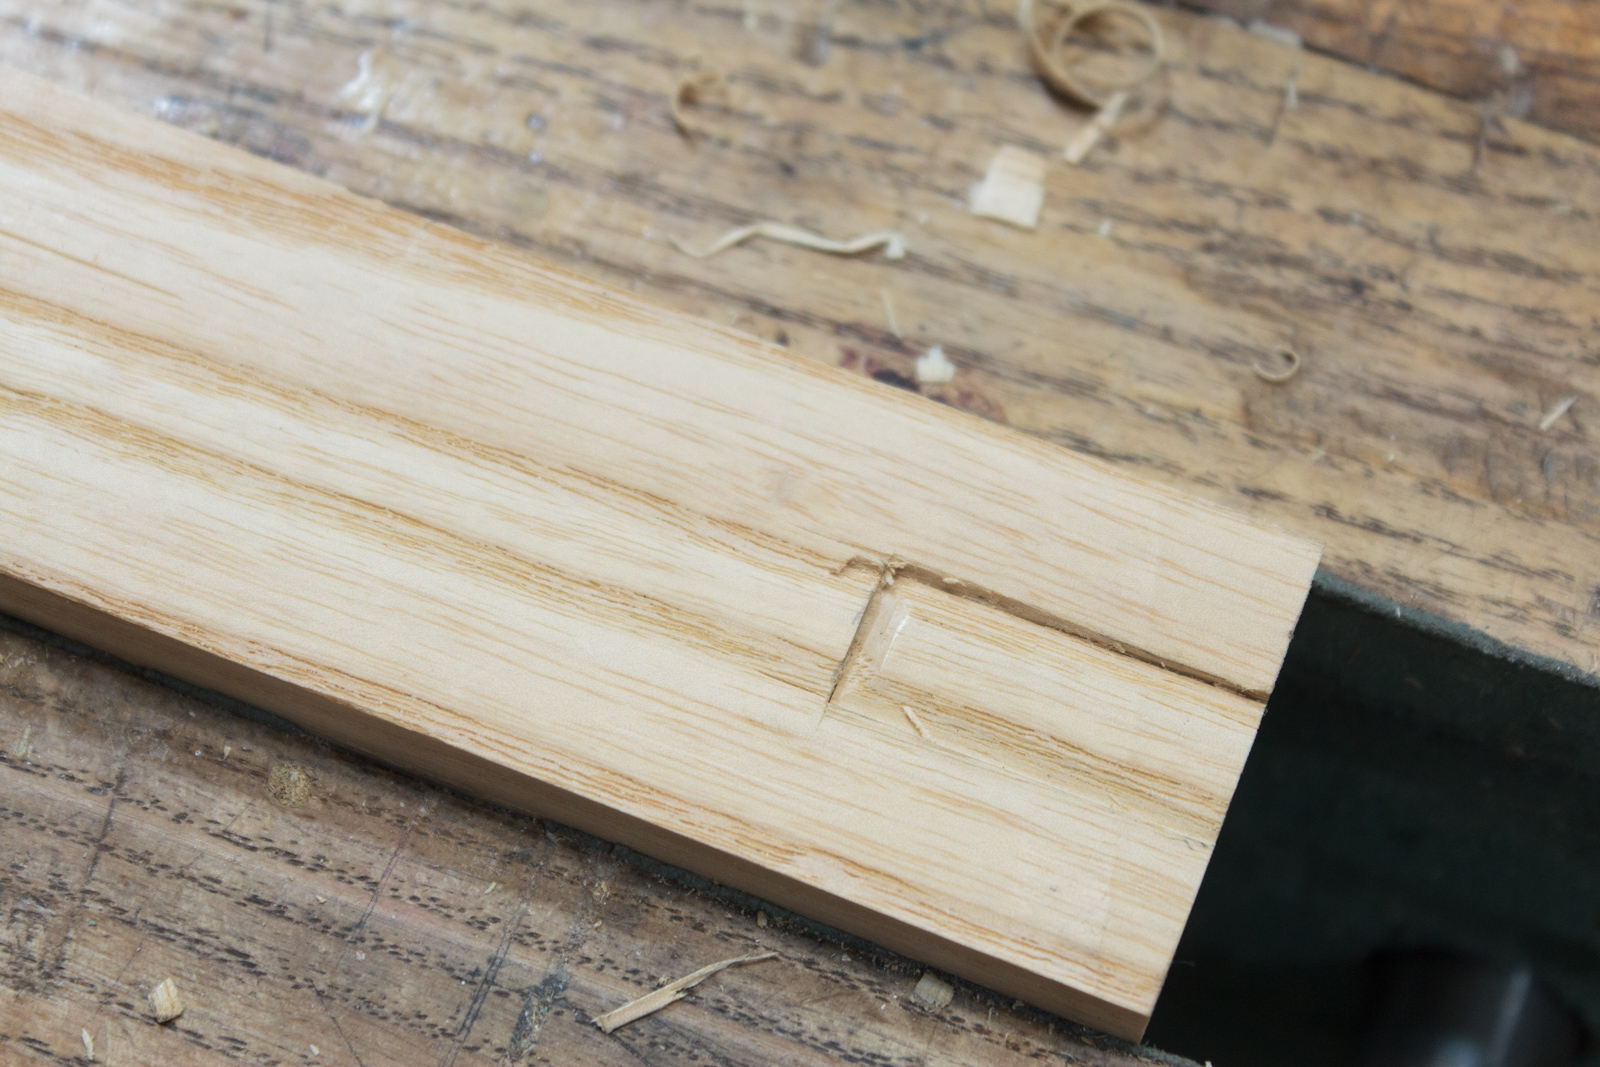
TrimEdges
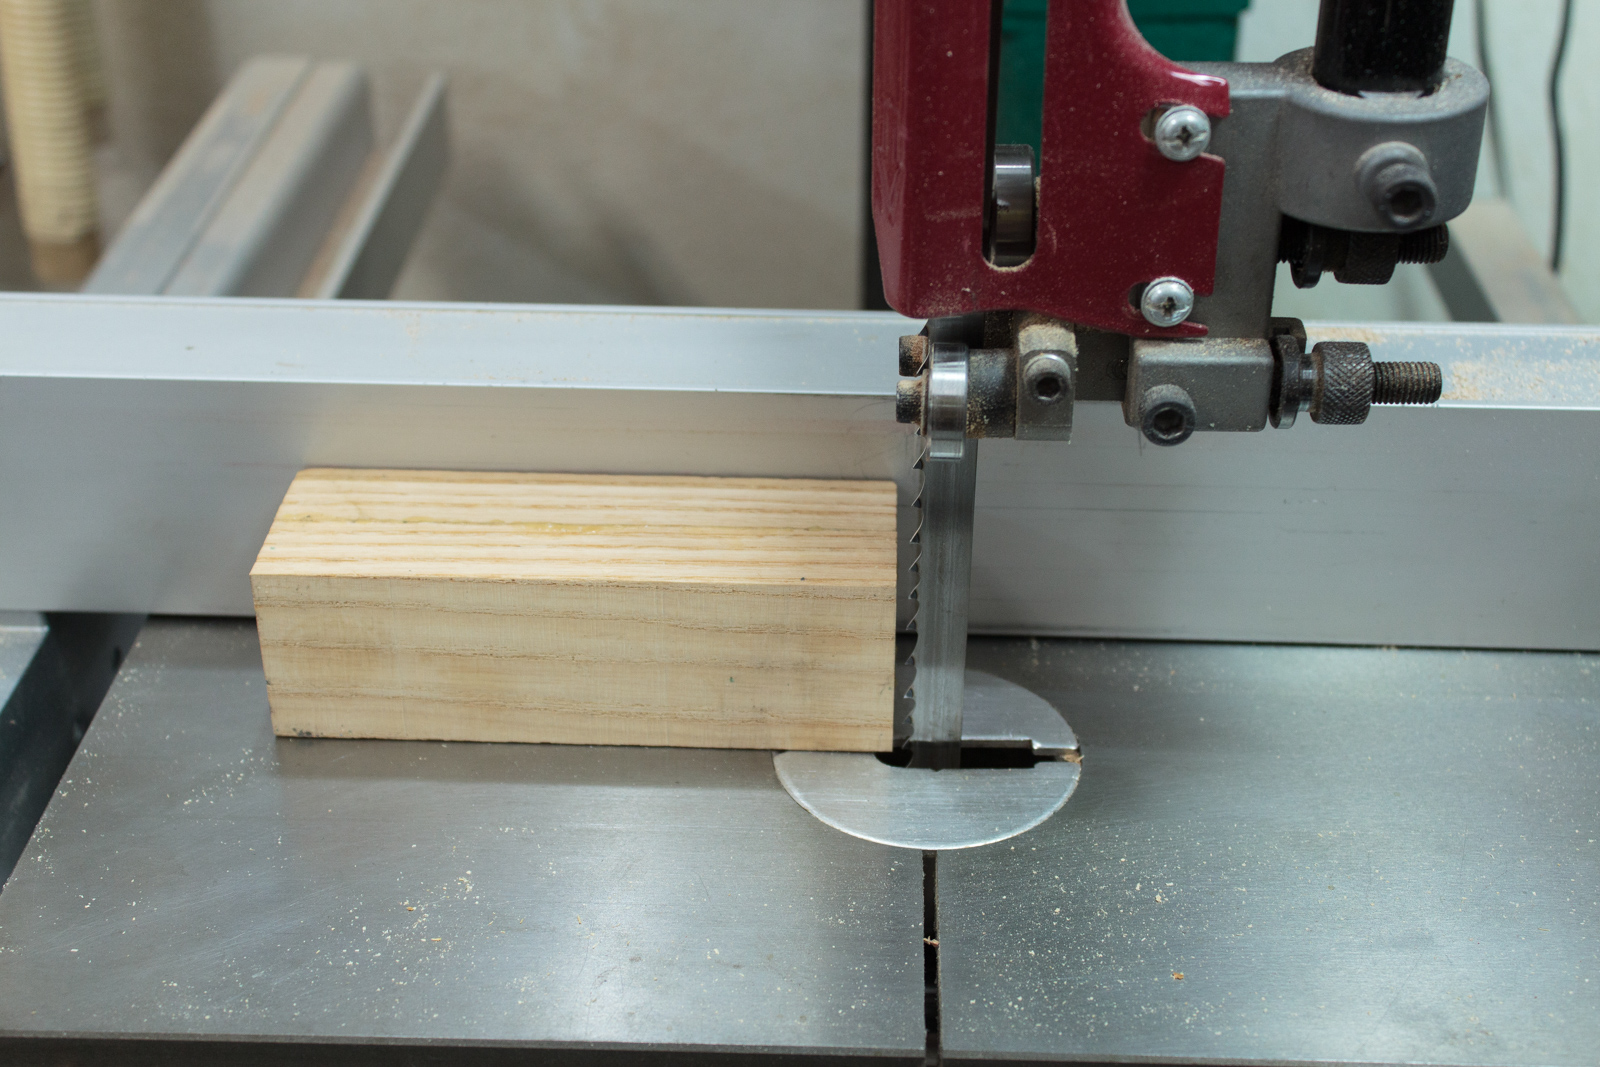
It’s slightly too large, so I just trim it. Each side is trimmed equally so that the mortise stays centered.
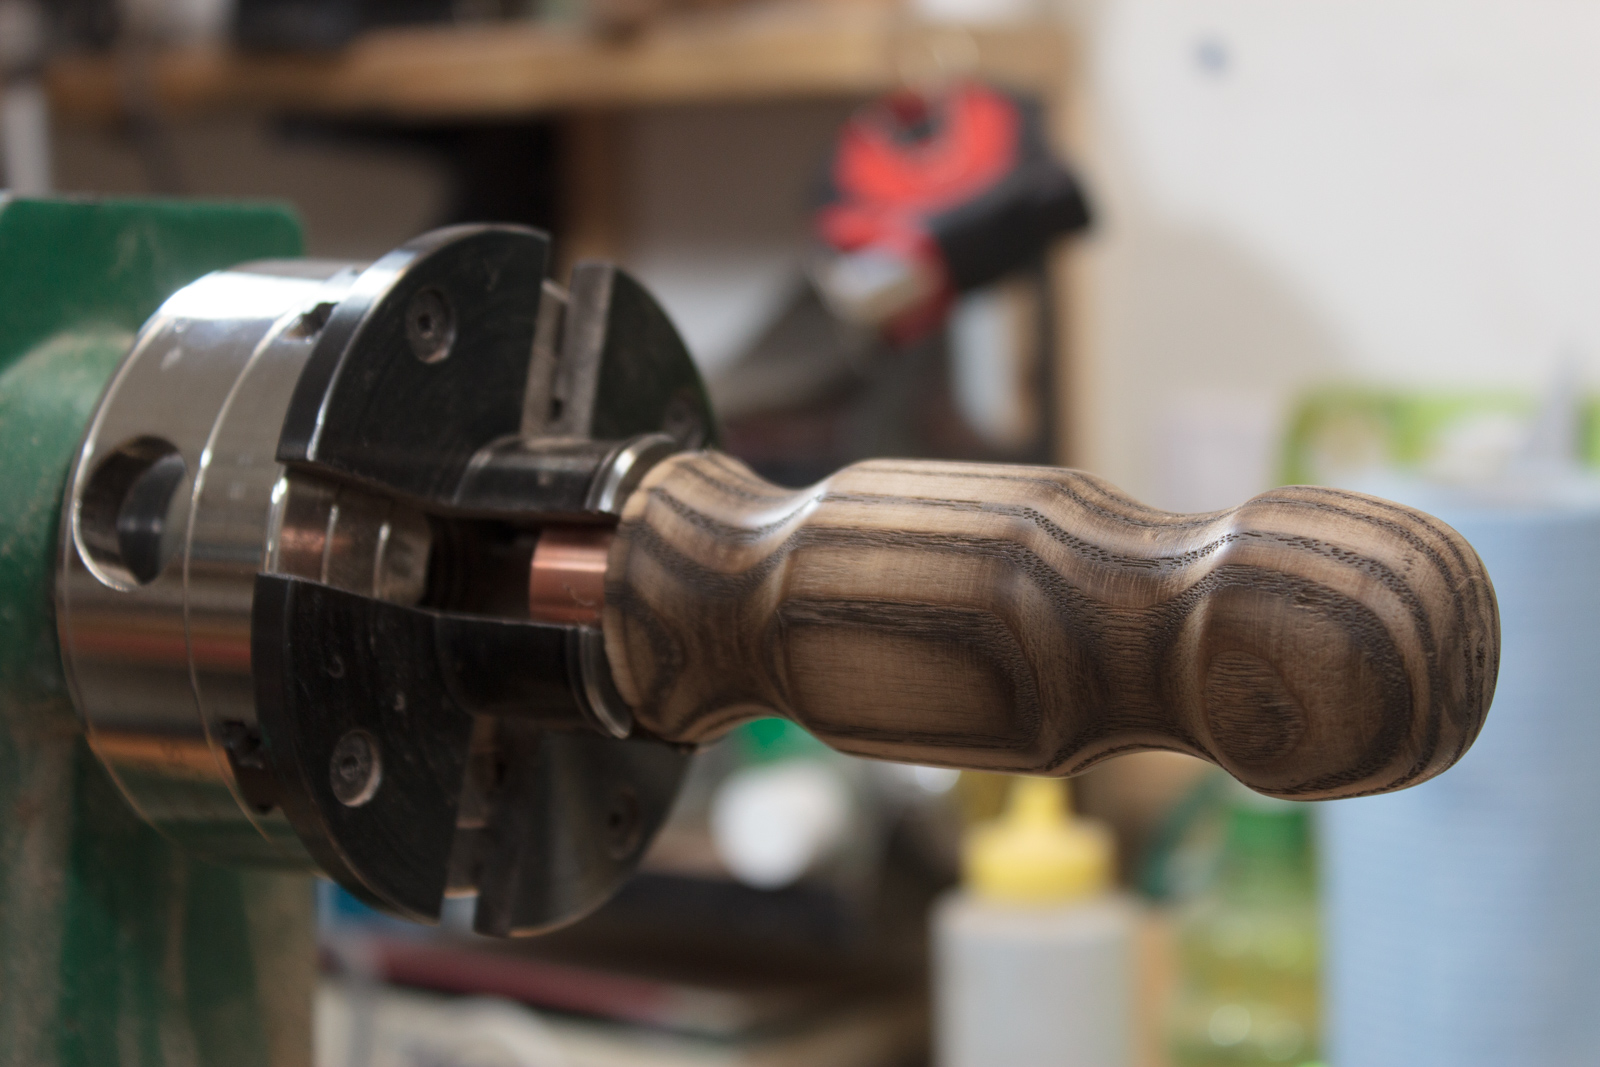
Turn
Above is a time lapse video of turning the basic handle shape.
Let’s play a fun game called, “Spot when Robert injures himself.”
No matter who wins, I lose.
Copper
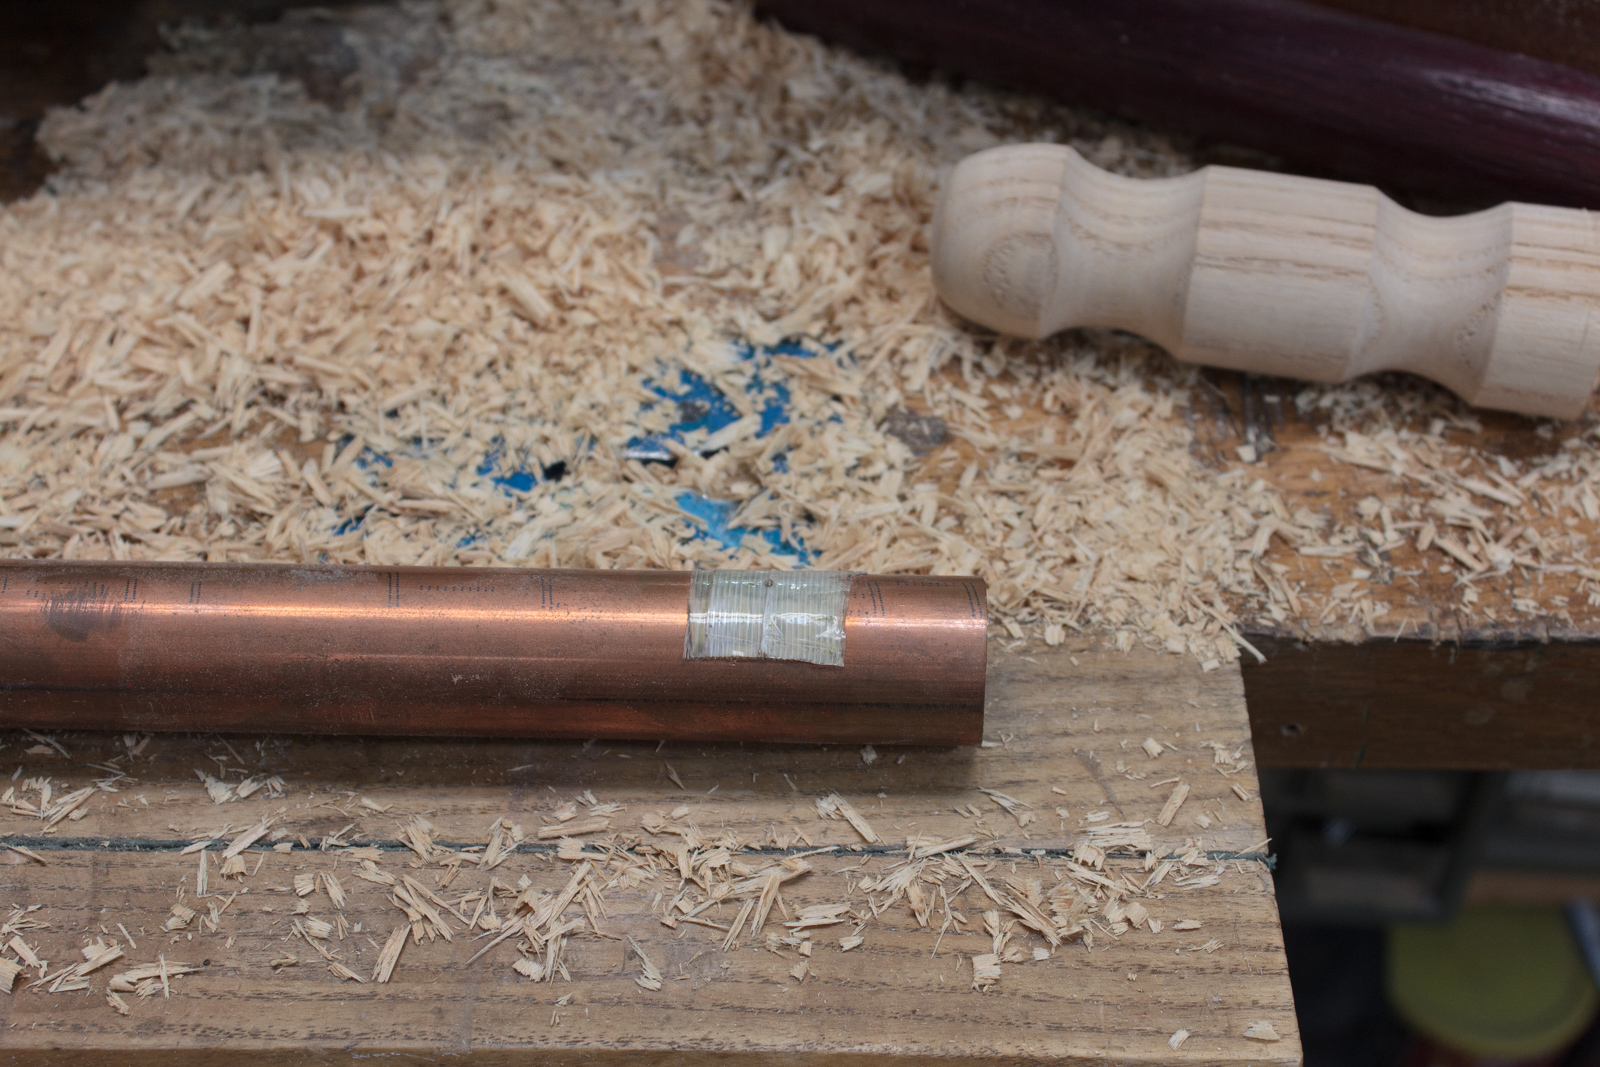
For the ferrule I use a 3/4” or 2cm piece of copper pipe.
Ferrule
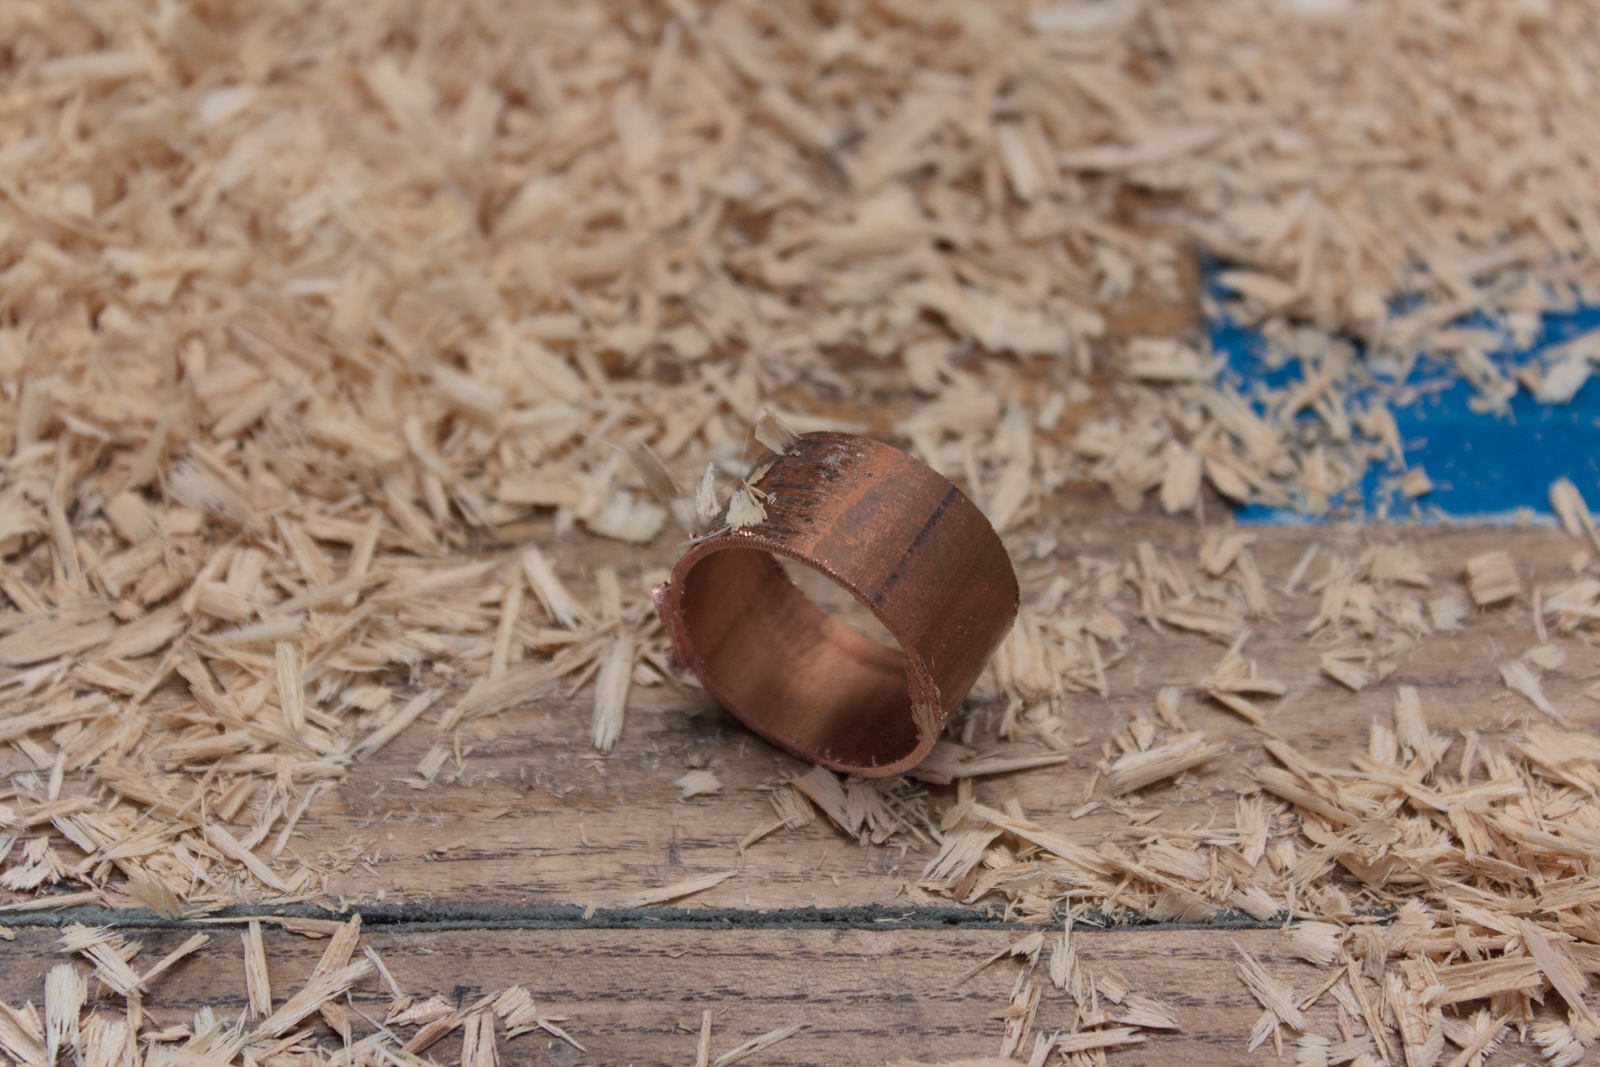
It’s cut down to about 5/8” or 1.5cm.
Ferruled
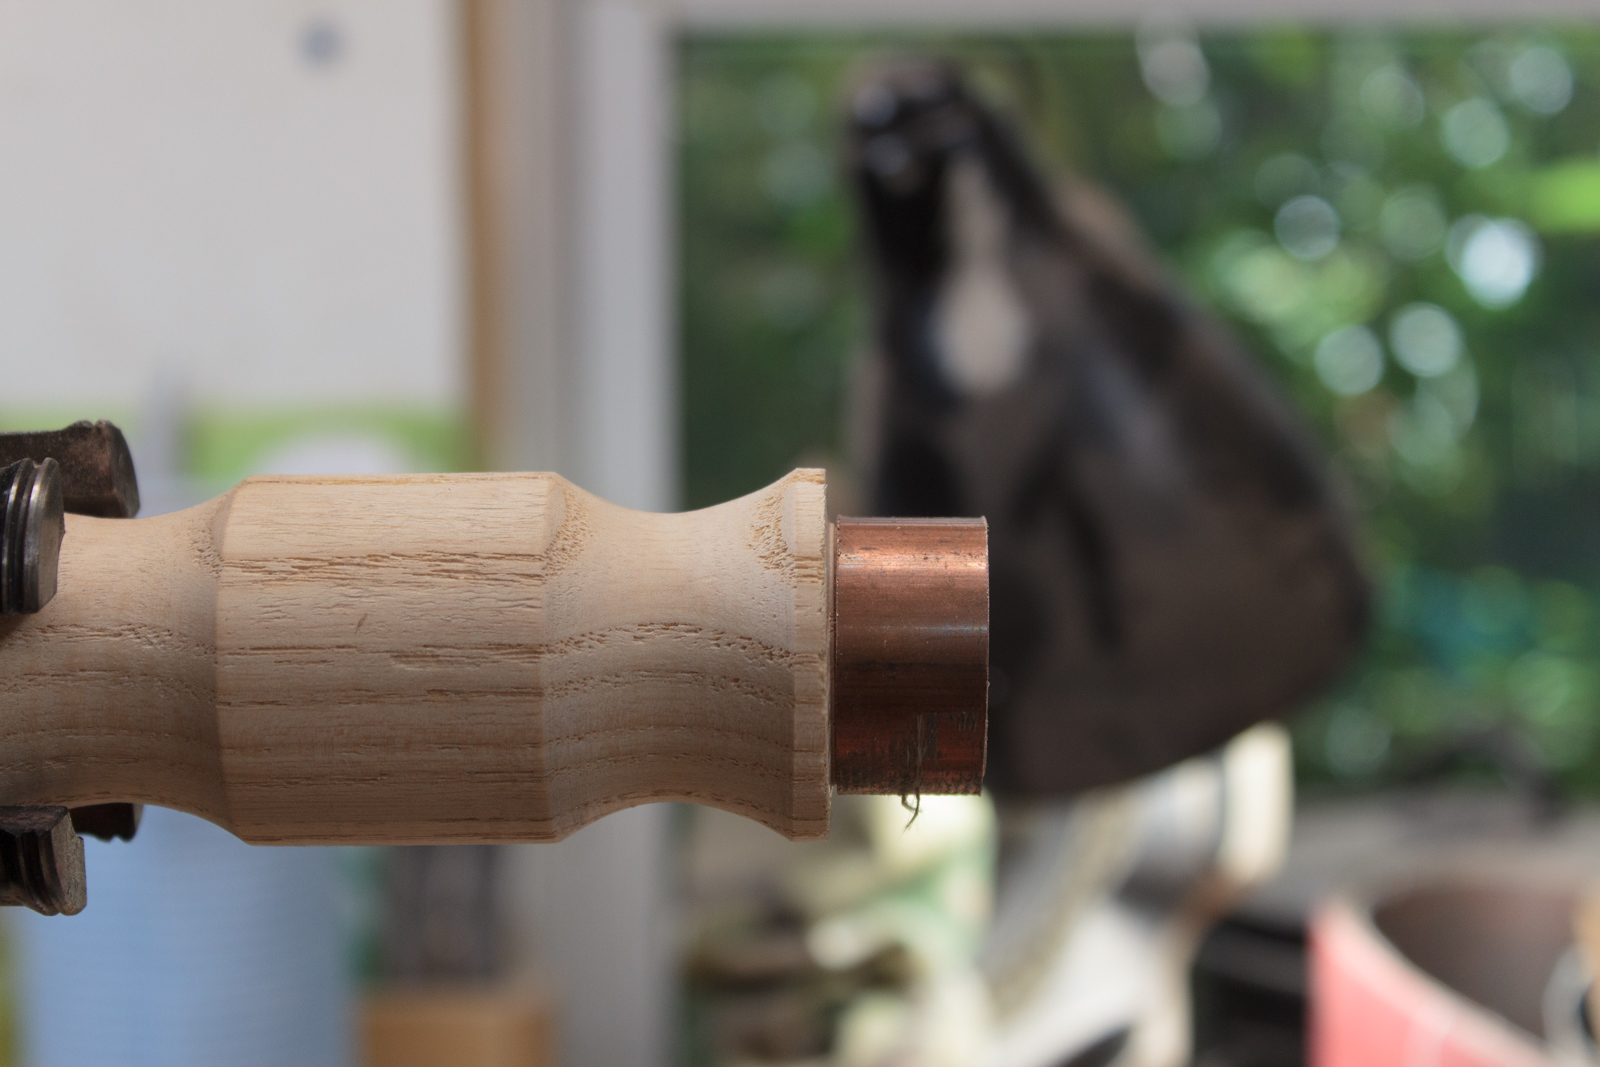
The ferrule is temporarily in place here. This stops the wood from expanding when I put the tang in.
Without the ferrule, the tang could push the wood apart and then there’s nothing left to hold it in.
Ferrule Glue
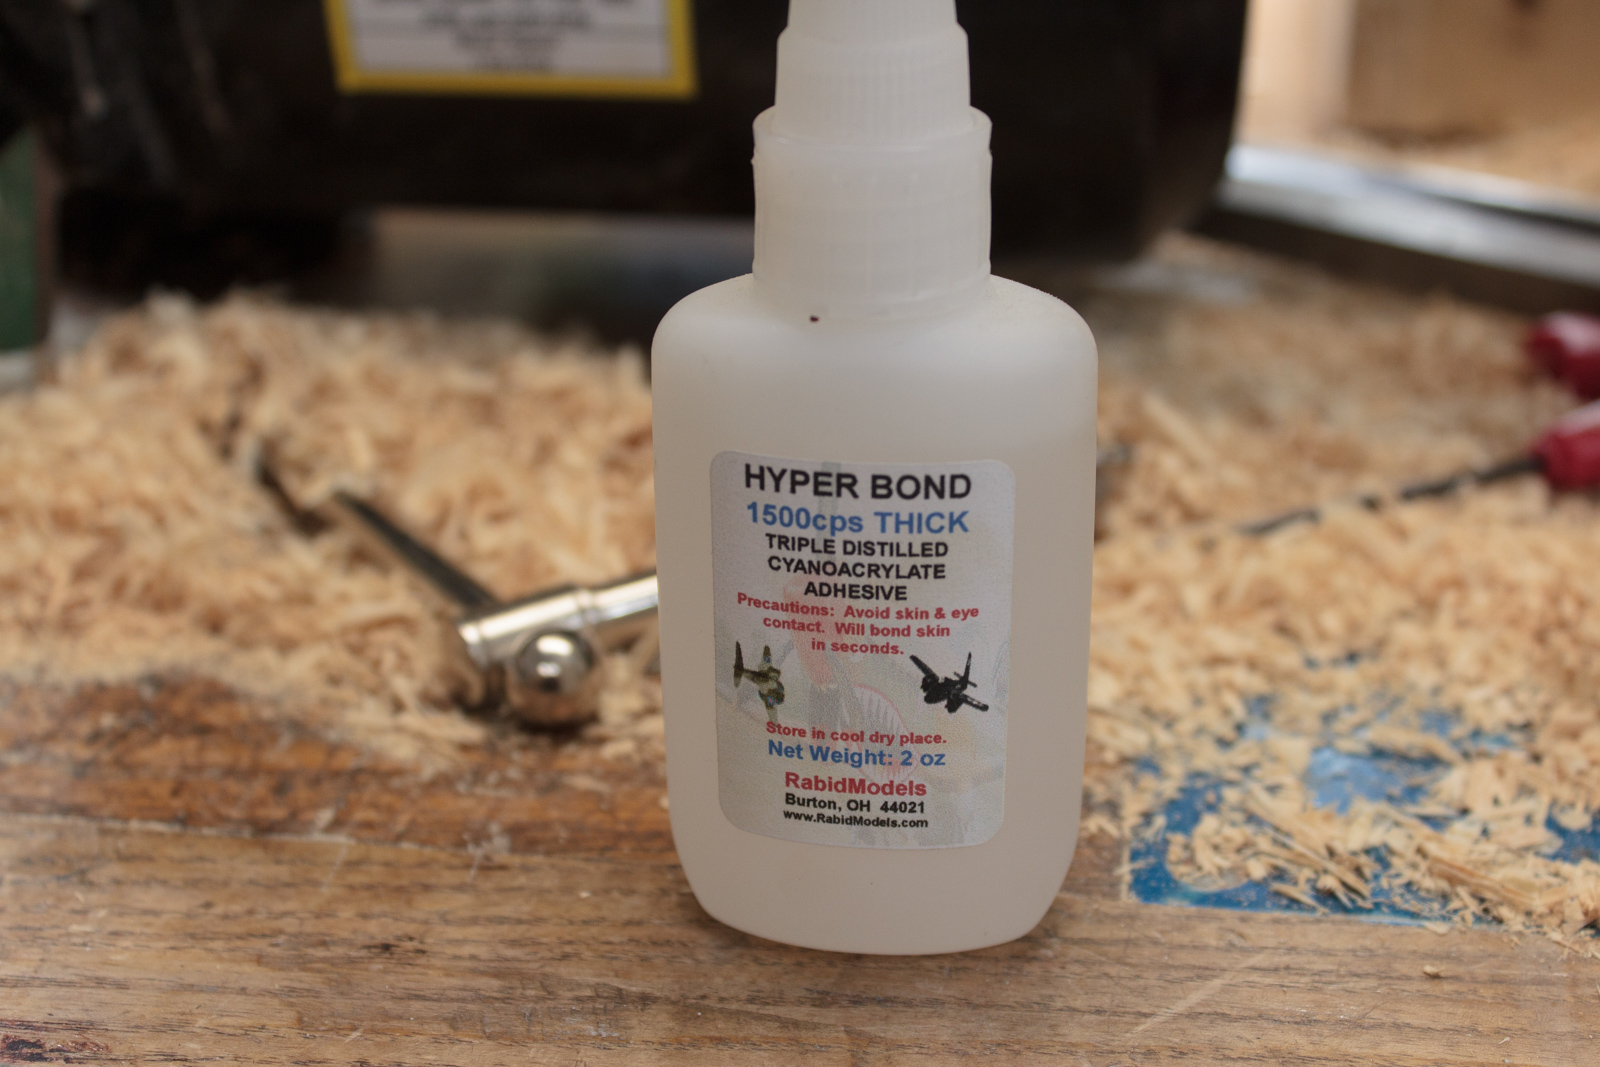
I use thick Cyanoacrylate from Rabid Models.
Ferrule Shine
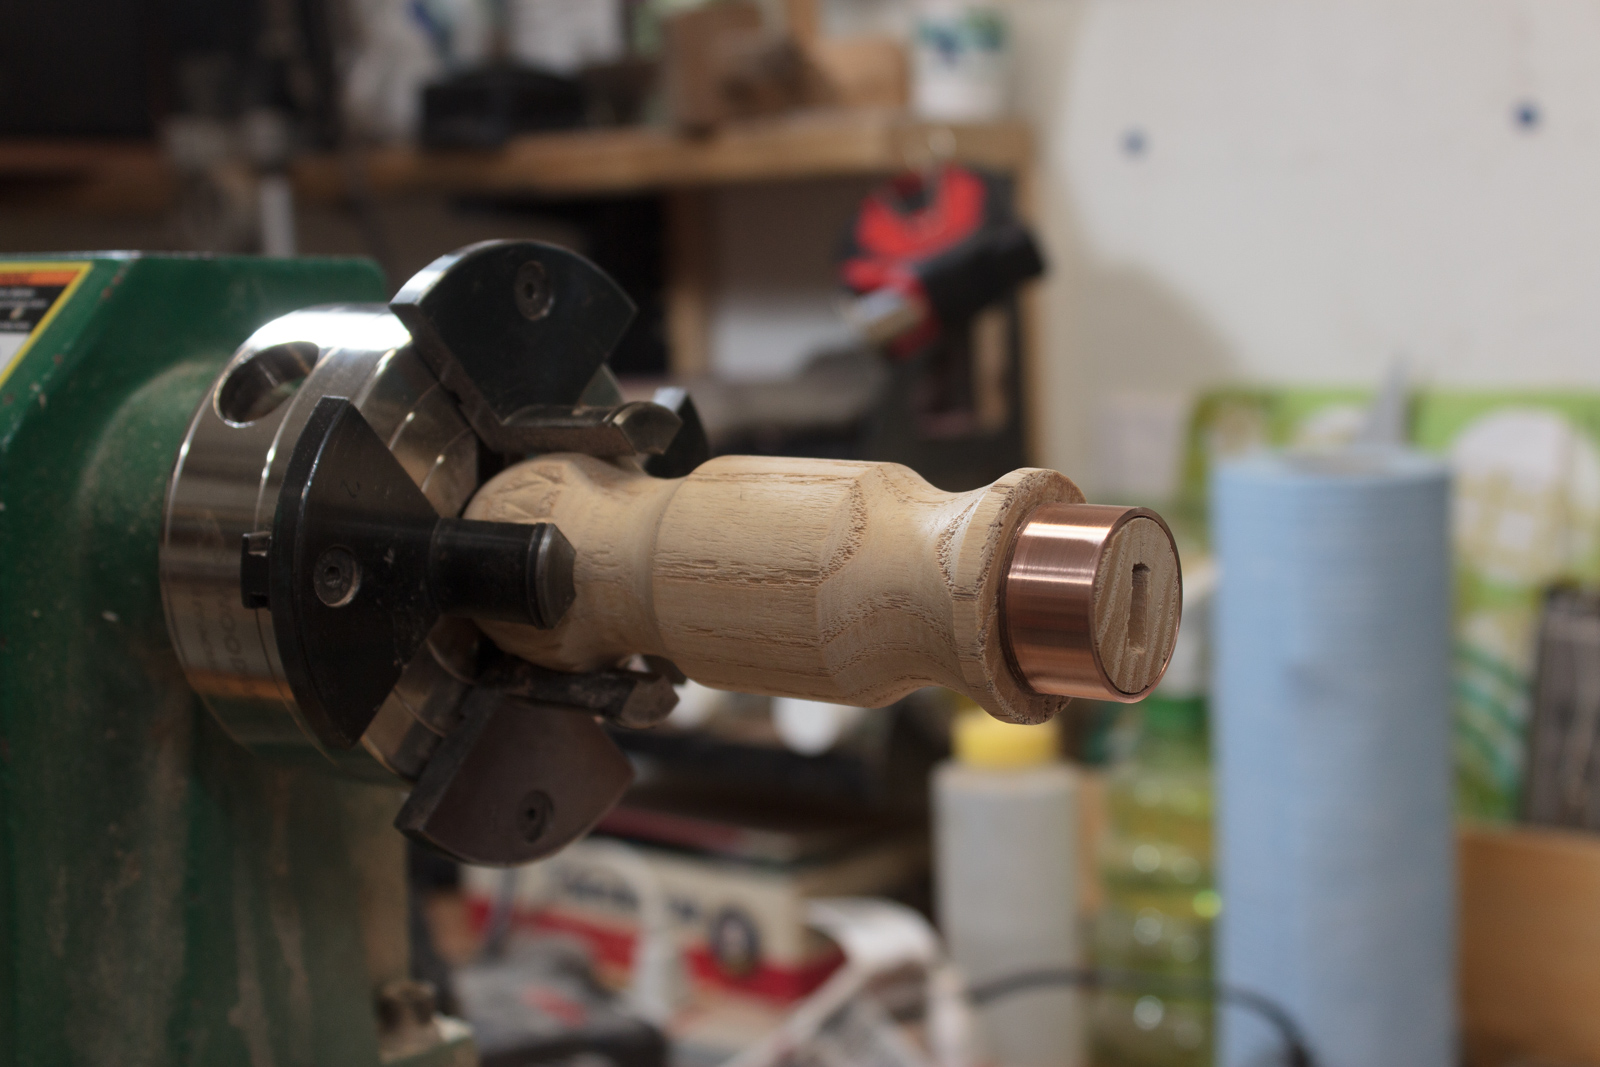
Just a quick sanding of the ferrule.
Char
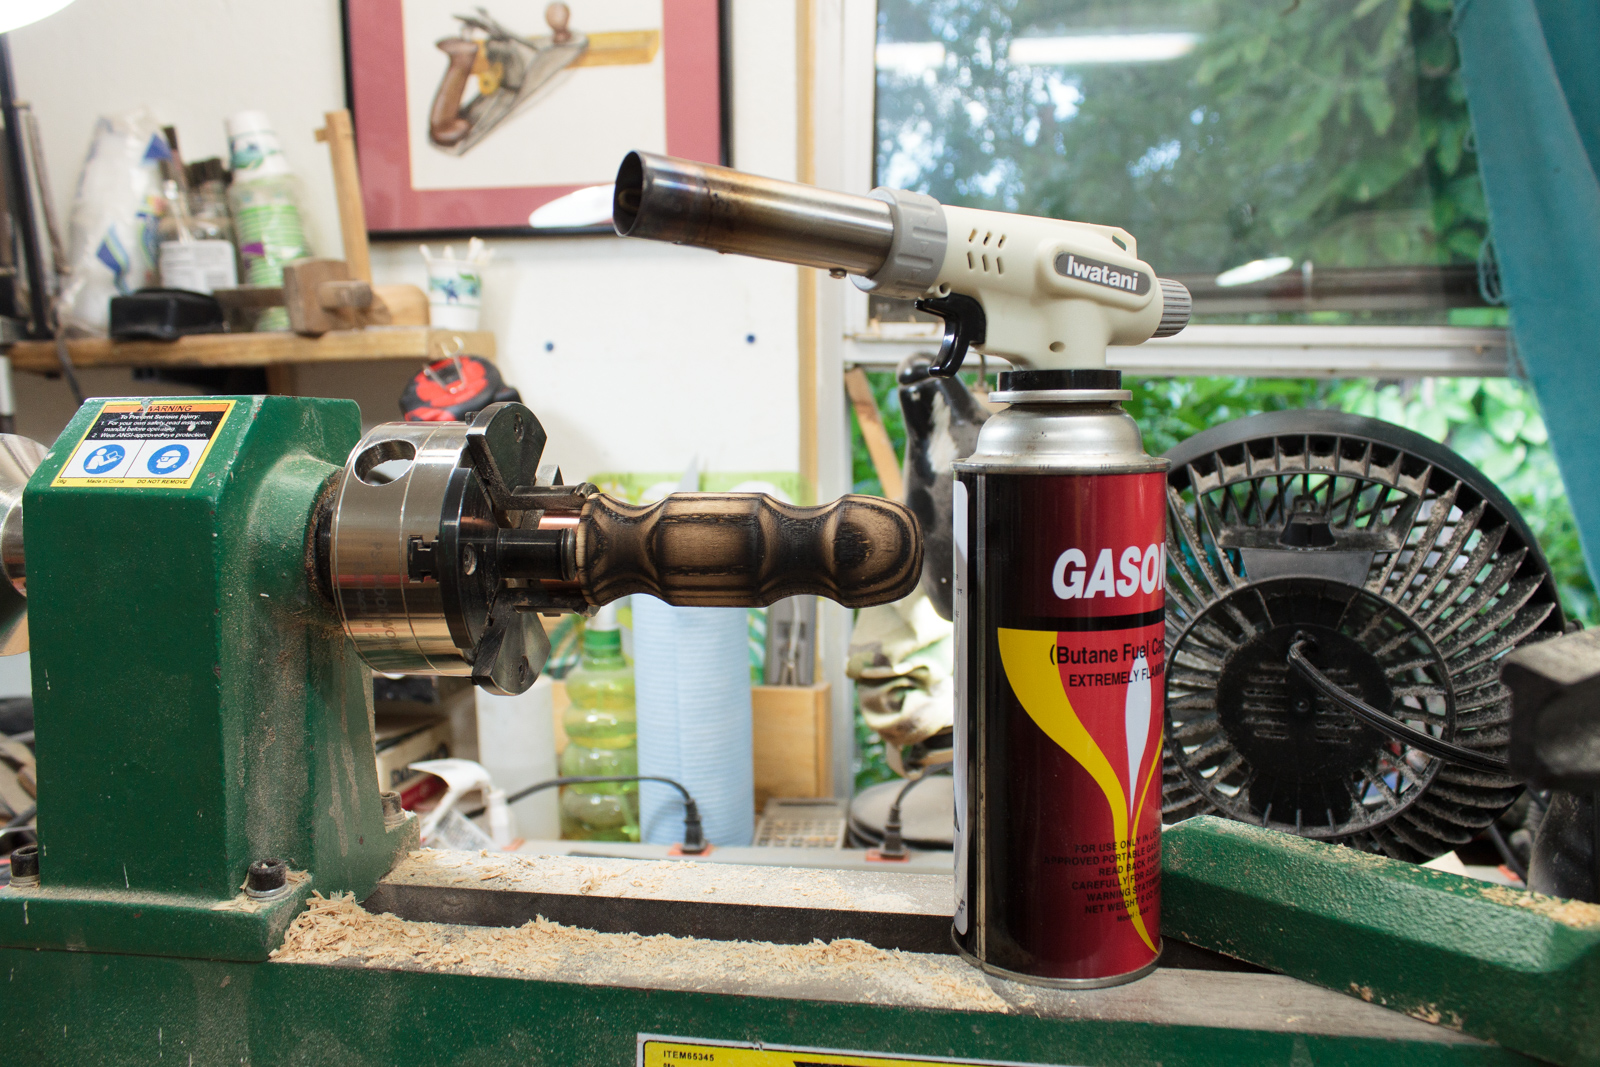
Here’s the fun part! I turn on the lathe and inside a veritable bomb (sawdust + fire = death)… I char the ash.
Then I sand it.
Then I char it.
Then I sand it.
Then… I keep doing that until I like it.
The idea is that I want the low spots in the wood to retain the char, and the high spots to have a lighter look to them. That will showcase the gain even more.
Sanded
Sanded until I’m happy with it.
Pores

A neat look at the pores in the wood and how the charring works.
Tung Oil
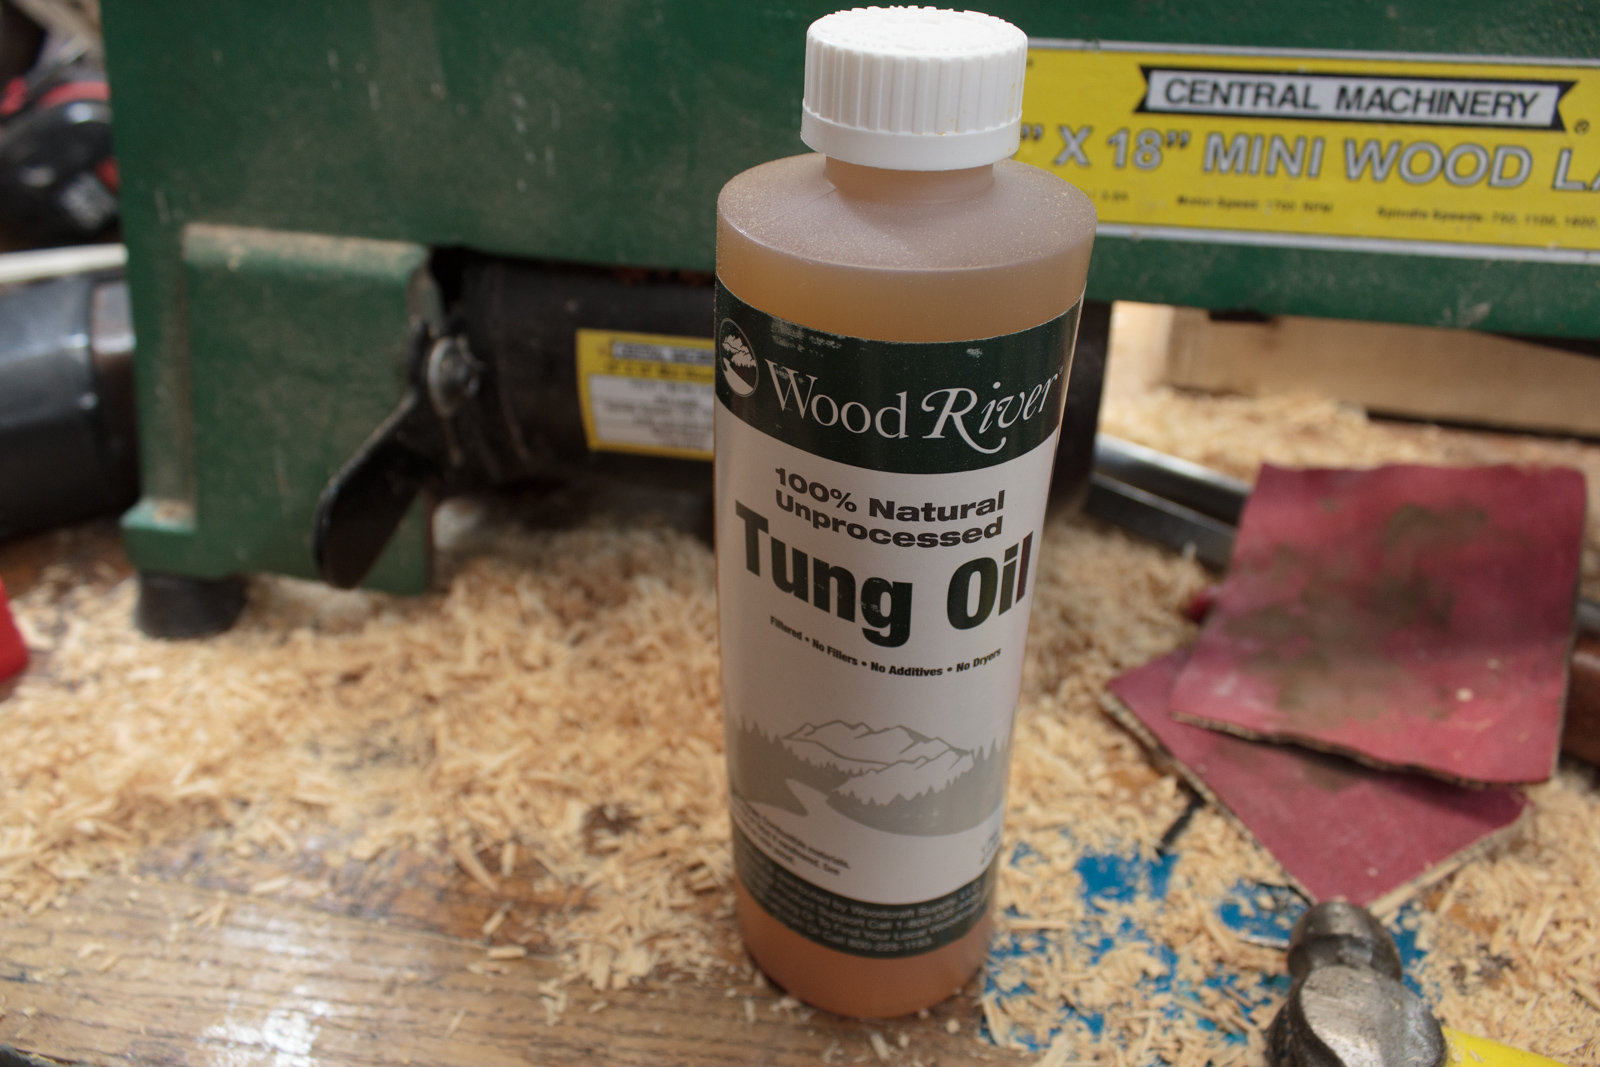
I apply Pure Tung Oil to the wood. NOT Tung oil finish. They are totally different things. ‘Tung Oil Finish’ usually doesn’t even have tung oil in it!
Drying Oil
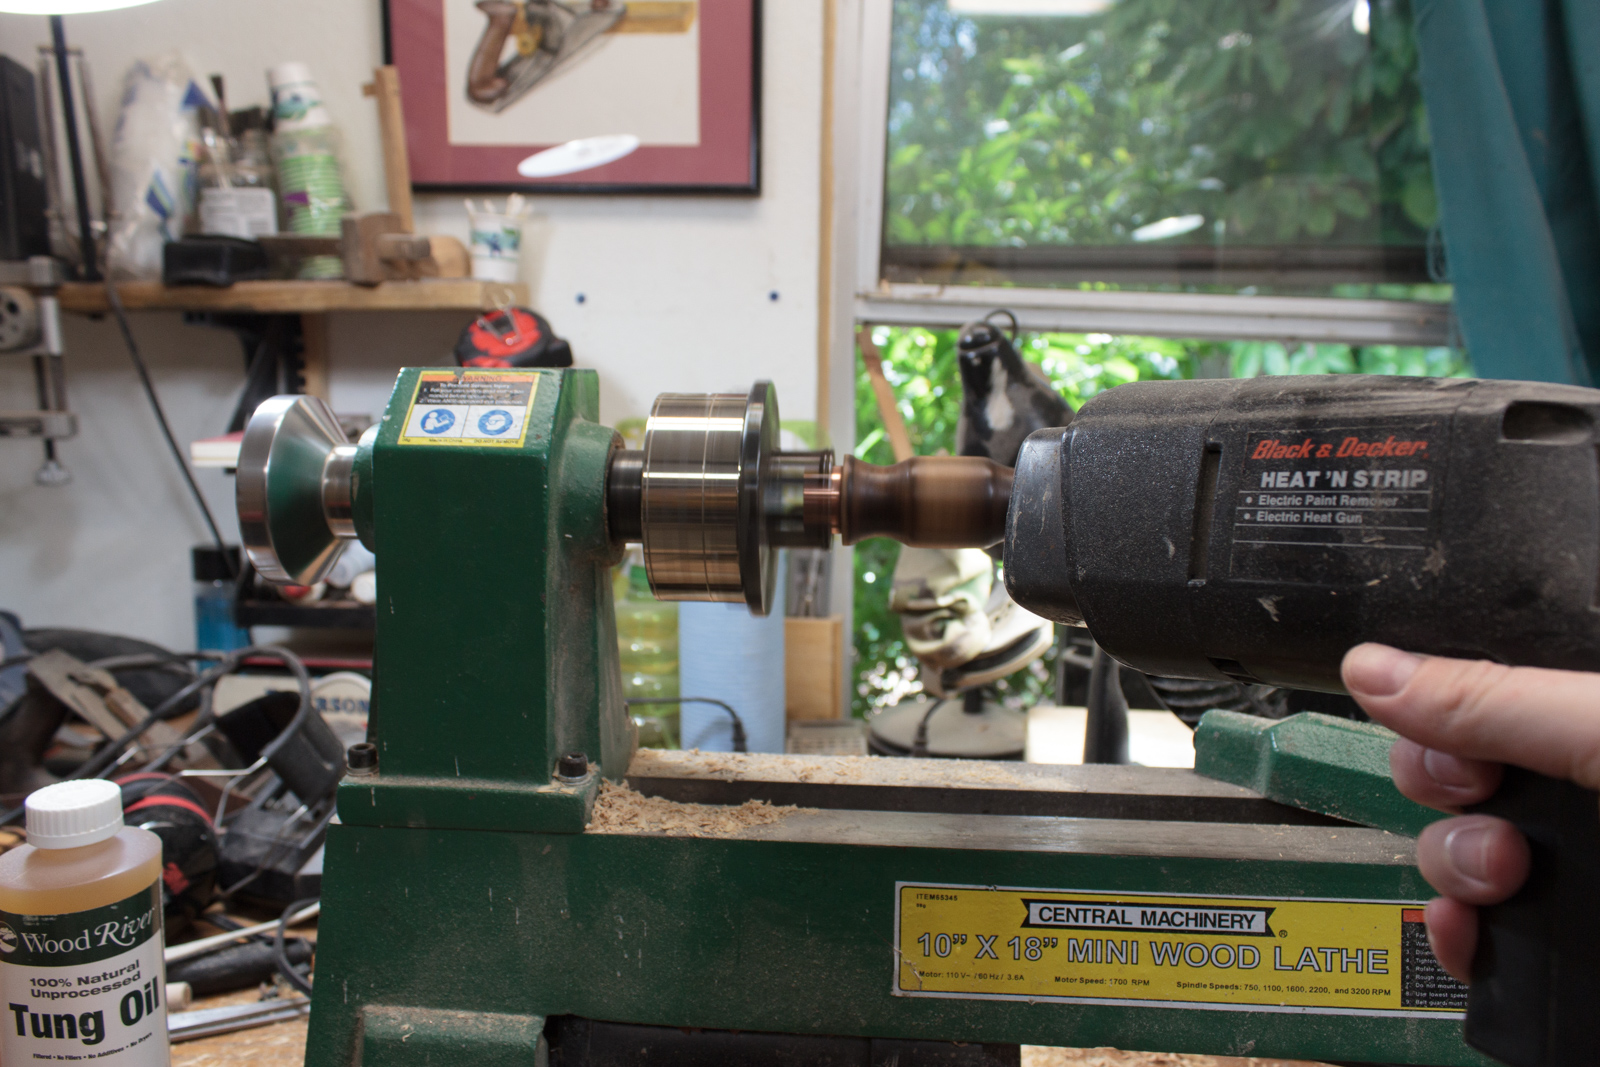
Pure tung oil dries very slowly. It can be accelerated with heat, so I do that.
Handle
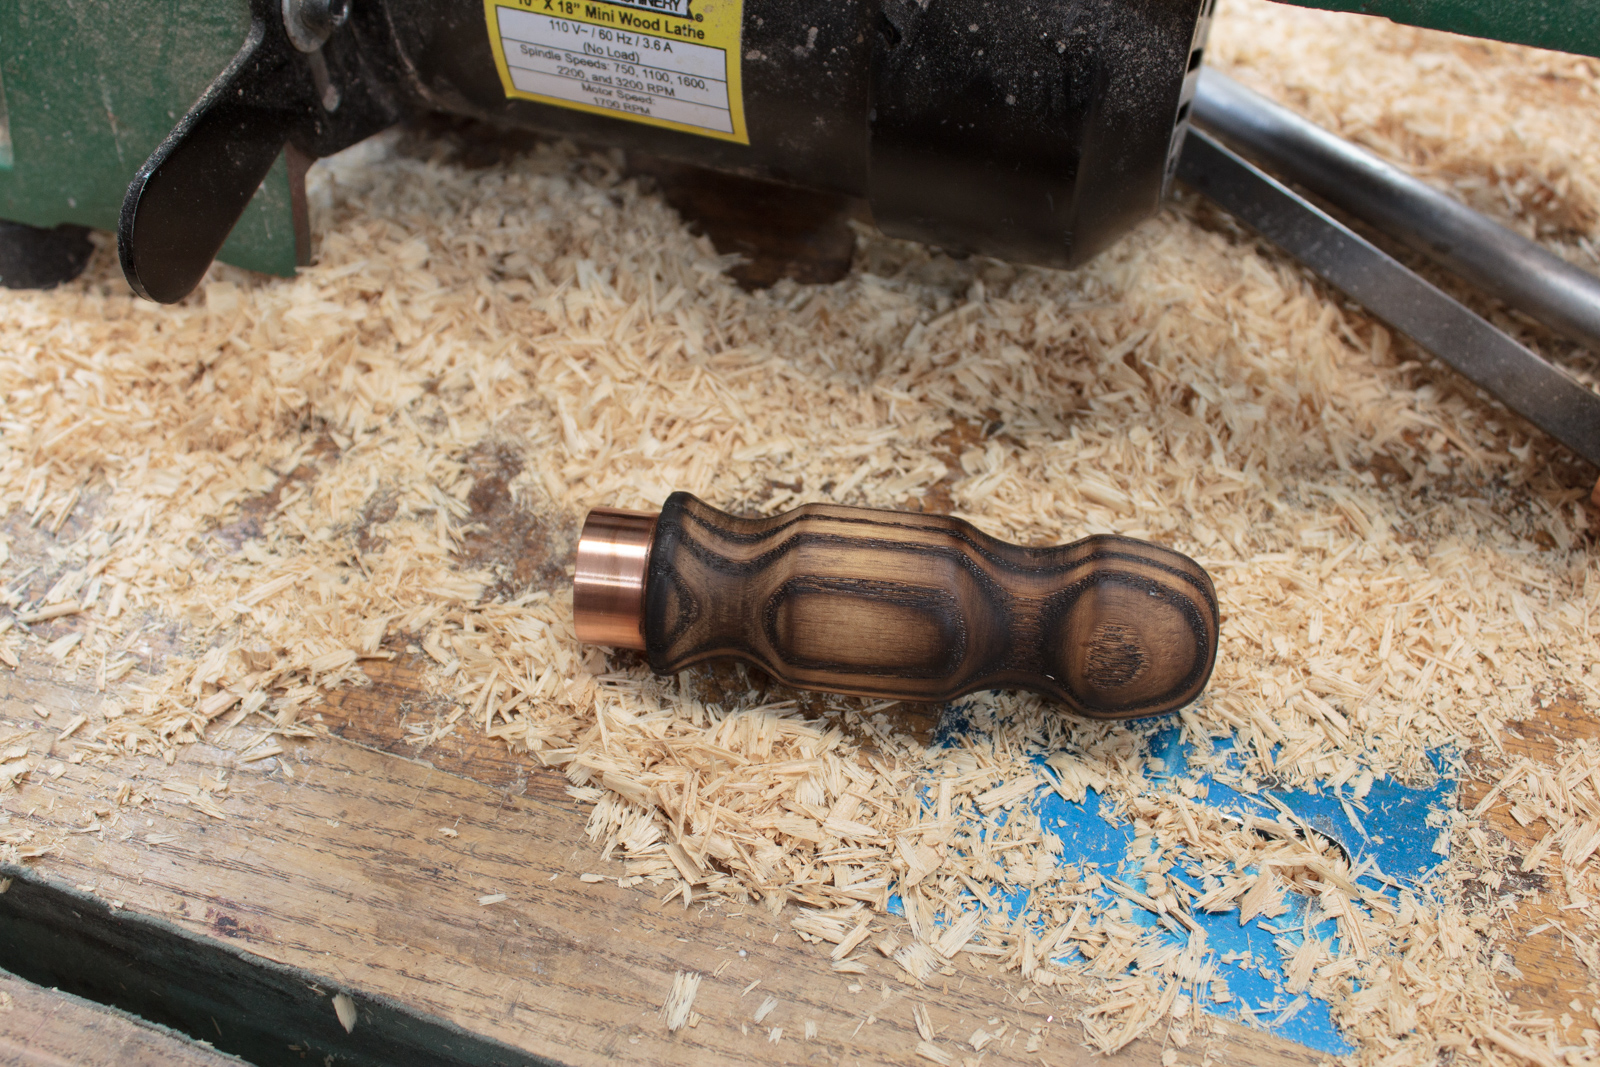
That’s the handle. I shined the ferrule a bit extra with some 7448 Scotchbrite. It leaves a very nice finish.
I also applied a light oil to it to help prevent corrosion. Over time the copper will patina and become brown with some green to it.
I would appreciate no comments about other potential uses for this device. It’s an ice cream scoop handle. Thanks.
Epoxy

I use some epoxy to secure the tang in the handle.
This was quite the harrowing experience. I nearly didn’t get it in. I had to make little wood blocks so I could carefully hammer the scoop in without bending the metal or marring anything.
I barely made it.
Finished
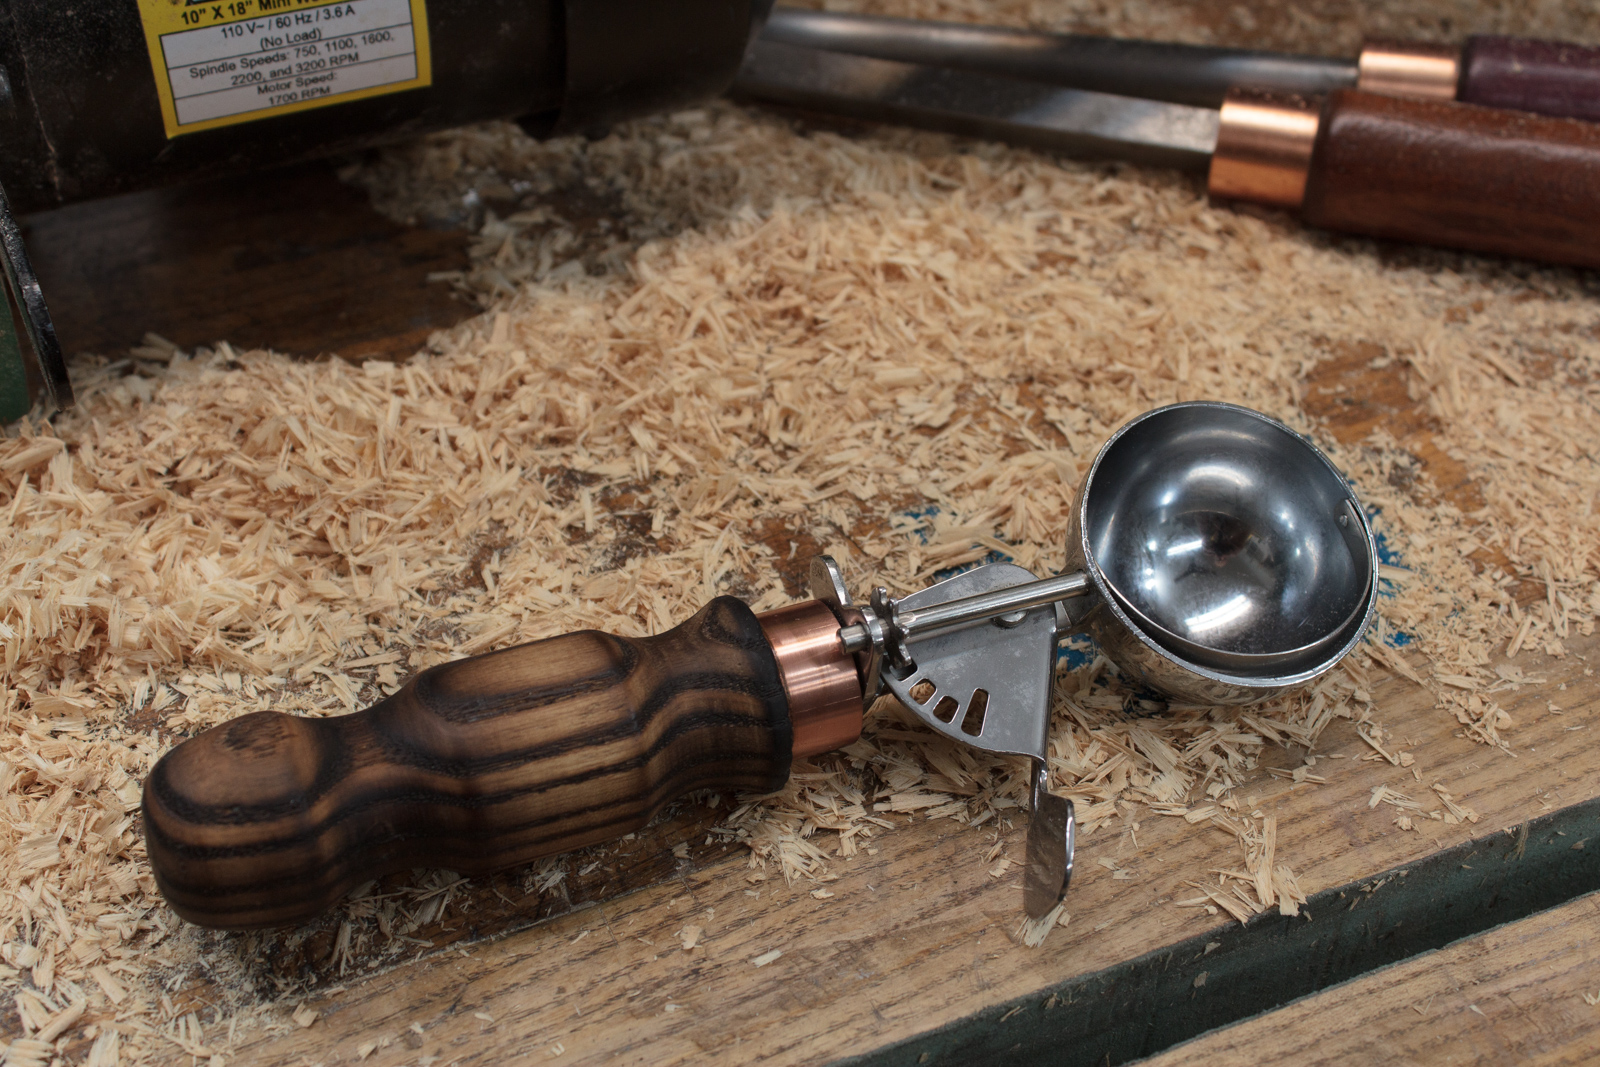
Look at that! It’s done…
I hate how it looks. It’s less dark in person, but I’m not a fan of that hipstery ‘vintage barnyard’ look.
It’s done and it works though.
However, I am tempted to try and sharpen it and add a heating element…
Support Me!
This post took 4 hours to photograph, write and edit. If you appreciate the information presented then please consider joining patreon or donating!