
Here we go with the fun part where I talk shi…. review the native effects included with Live.
Before I start here I ask one thing of you: be impressed with my screenshots. I had to write some software to take, crop and fix the corners. Bonus points to anyone that can spot the artifact of the corner fixing algorithm in some of the screenshots. (It’s really subtle)
This time I won’t be going into technical detail, but instead talking about how I “feel” about the products. Somewhat like a normal review I suppose.
Without further ado…
Other parts in this series:
- 45 Days with Ableton Live Suite
- Writing music in Ableton Live: An Overview
- Editing music in Ableton Live: An Overview
- Mixing music in Ableton Live: An Overview
- Live music with Ableton Live: An Overview
- Live's Plugins: A series of miniature reviews
- Max for Live
- Everything I like about Ableton Live
VALID FOR LIVE 10.1. Future updates may render some of this information invalid.
Contents
- Effects
- Amp
- Auto Filter
- Auto Pan
- Beat Repeat
- Cabinet
- Channel EQ
- Chorus
- Compressor
- Corpus
- Delay
- Drum Buss
- Dynamic Tube
- Echo
- EQ Eight
- EQ Three
- Erosion
- External Audio Effect
- Filter Delay
- Flanger
- Frequency Shifter
- Gate
- Glue Compressor
- Grain Delay
- Limiter
- Looper
- Multiband Dynamics
- Overdrive
- Pedal
- Phaser
- Redux
- Resonators
- Reverb
- Saturator
- Spectrum
- Tuner
- Utility
- Vinyl Distortion
- Vocoder
- Instruments
- Midi FX
- Racks
- Problems
- Conclusion
- Support Me!
Effects
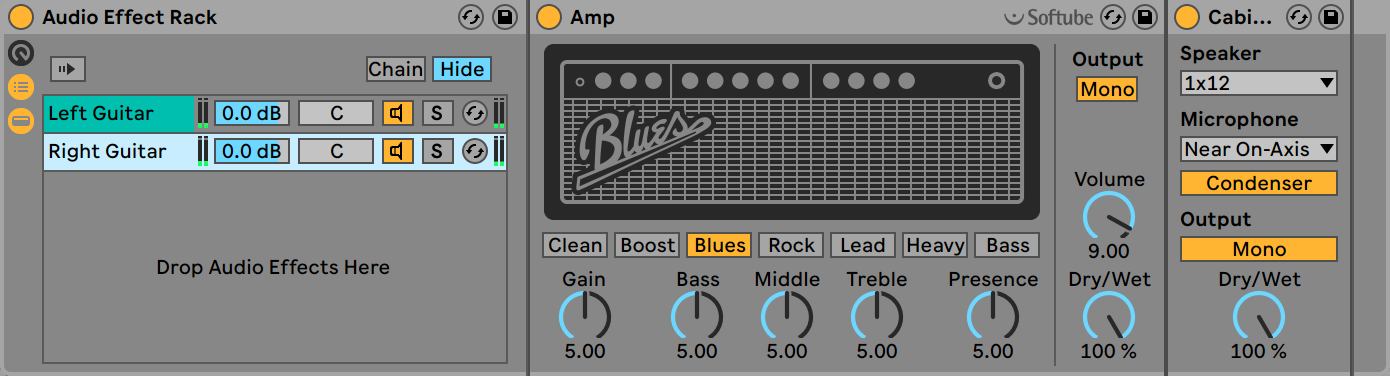
Amp
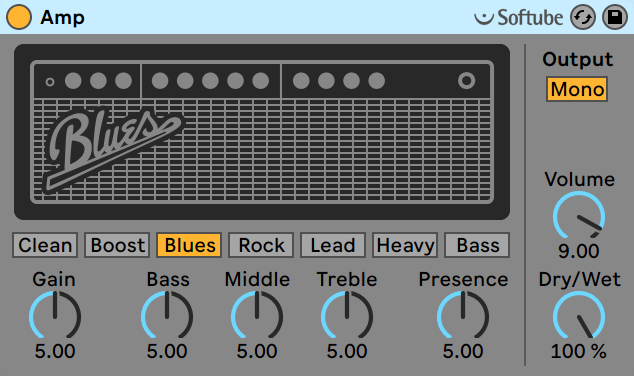
Amp is a guitar amp simulator based on technology from Softube, and unfortunately I am not at all a fan of their amp sims.
Amp offers 7 models with a variety of styles clearly based on Vox, Fender, Marshall, Mesa and a generic bass amp sim. Amp is always best combined with a cabinet simulator of some sort, like Cabinet.
Overall Amp is the bottom of the barrel in amp sims, but I’m sure it’s decent in a pinch.
Auto Filter
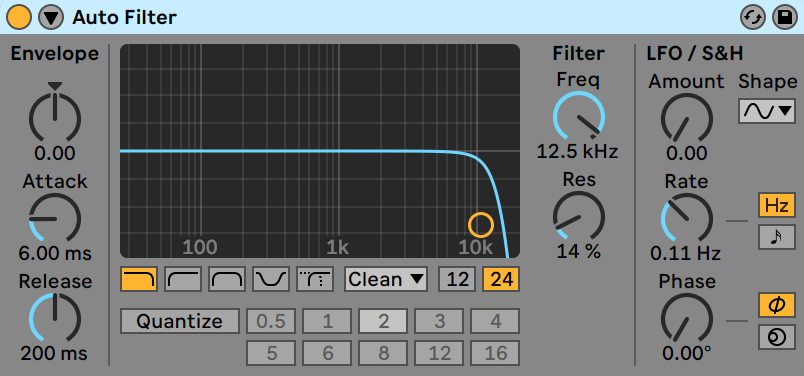
Autofilter gives you an envelope and LFO based filter with the OSR, MS2, SMP and PRD filter models from Cytomic’s Drop.
The filter’s cutoff can be controlled by an envelope follower with adjustable attack and release or an LFO that can be optionally synced to tempo. A phase control is available to offset the filter’s cutoff so it is different in the left and right channels for a wide stereo-compatible stereo image.
Auto Filter is simply brilliant sounding, easy to use and an indispensable “stereoizer”.
My only qualm is the lack of visualization for the filter movement.
Auto Pan
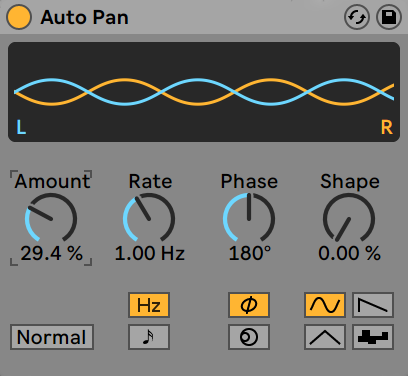
It pans the audio based on an LFO. Nothing fancy except for the “spin” mode that varies the speed of the right channel relative to the left channel thereby creating somewhat of a unique panning effect.
It’s cool. I like it.
Beat Repeat
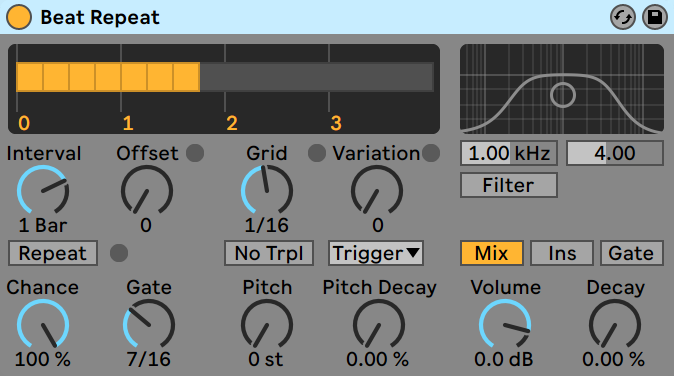
Beat Repeat is quite possibly the most overused effect in Ableton Live.
Beat Repeat samples a buffer of audio and then repeats parts of the buffer at a specific spacing, offset and with a chance for the effect to occur overall. The pitch can be changed, increasing in effect with repetitions by an amount.
Beat Repeat is incredibly fun to use. It can be used in a subtle fashion to add slight variation to drumbeats, or used on a wide variety of sources for that popular stuttering effect. I don’t think that Ableton Live would be what it is now without Beat Repeat. It’s made an incredibly popular effect, that used to take ages of hand editing, available to even the most novice of producers.
A lot of people may think that Beat the Repeat is a plague upon modern electronic music, but I think it’s really cool that you can use such a creative effect in a subtle manner or in a unique manner without needing to spend a ridiculous amount of time creating the effect by hand. Think of all the music that’s been made instead of fooling around splitting/moving items around.
Cabinet
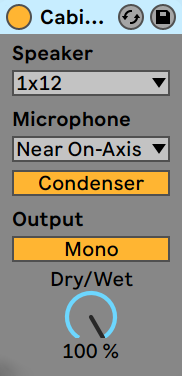
This is a really crappy speaker cabinet simulation. You can do better for free.
The inability to load your own impulses is a criminal offense in some countries, I think. (It should be)
Channel EQ
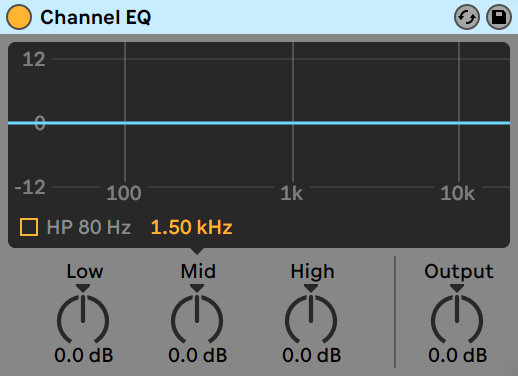
Channel EQ is an extremely simple three band equalizer that I would assume only exists for backwards compatibility, or for people on extremely limited systems.
EDIT: It was introduced in 10.1 as a simpler alternative EQ. I don’t understand this decision.
Chorus
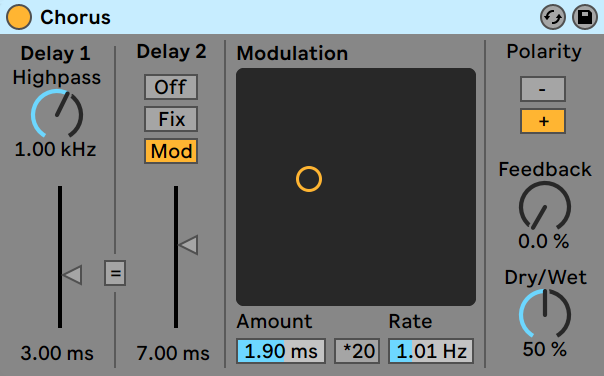
Chorus would be a fairly generic modulated delay if it weren’t for the X/Y pad that makes even mouse-based automation recording simple. I would like more options to get some drive or interesting filters available but it works mostly.
Compressor
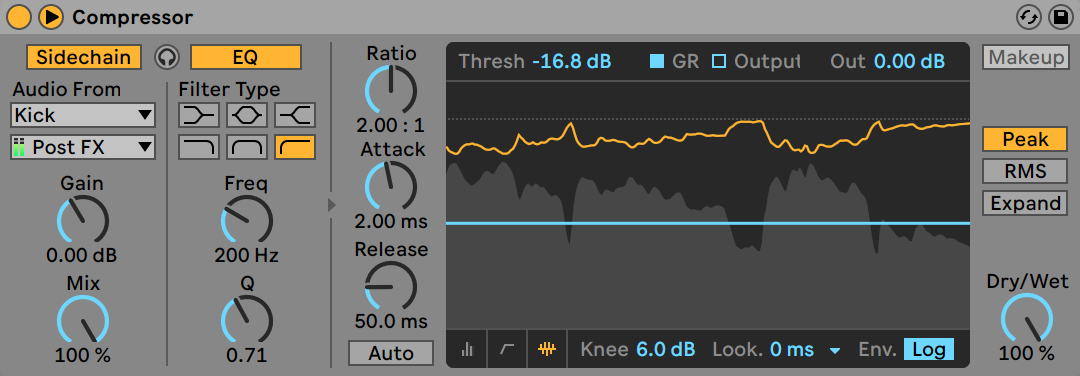
Compressor does not sound particularly fantastic in the peak or RMS modes, but it is a competent compression tool with a fantastic user interface.
The ratio being set to 2:1 at 50% of the knob is a bit annoying, and I assume some sort of ploy to reduce ‘over-compression’ in music. It might be successful but for people that know what they’re doing it is more than annoying to have only half of the knob ratios above 2.
The availability of linear or logarithmic releases is a very welcomed switch that allows you to create very smooth linear compression or extreme fast release logarithmic compression.
Compressor really shines when using it as a side chaining tool, where the optional knee, look ahead, envelopes and the design of the attack make it an impressive sidechaining compressor. There are four parametric filter types available that can be applied to an external sidechain. Setting up an external side chain is incredibly easy, though it is really annoying to select the track from a giant menu when you have a large project. The selectable patch point for the sidechains and is a wonderful addition. It’s just a brilliant experience.
My only real complaint is that the default display is the collapsed mode. The transfer curve and gain reduction views are significantly more useful. Putting these nicer views a click away just adds to the inefficiency of using Ableton Live.
Corpus
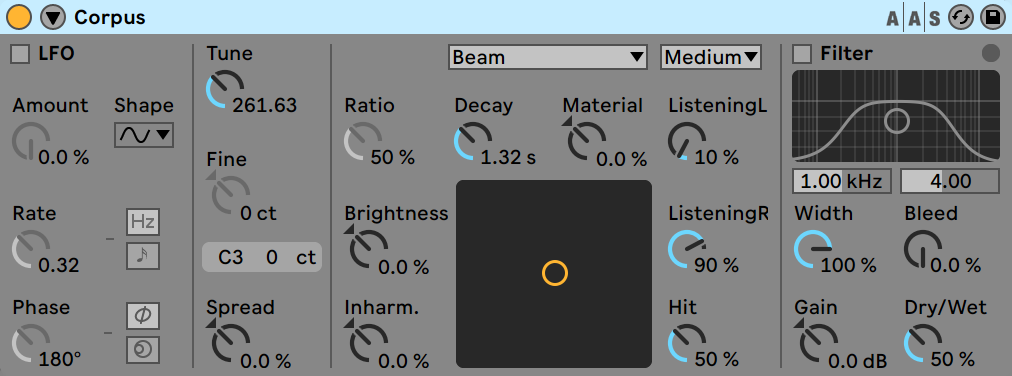
Corpus is a weird resonator plugin. It simulates the resonant properties of a variety of types of objects and quite frankly the result is almost always weird. I attempted to find uses for Corpus throughout my entire review of Ableton Live, but the best I could come up with was using it on effects since like delays or reverbs. It did fare well there.
I attempted to utilize Corpus on instruments generally resulted in something relatively Eastern sounding, which may be useful for some people, but it is not something that I feel qualified to have an opinion about.
It’s really neat that Corpus exists, but I don’t know how often I would really find use for it.
Delay
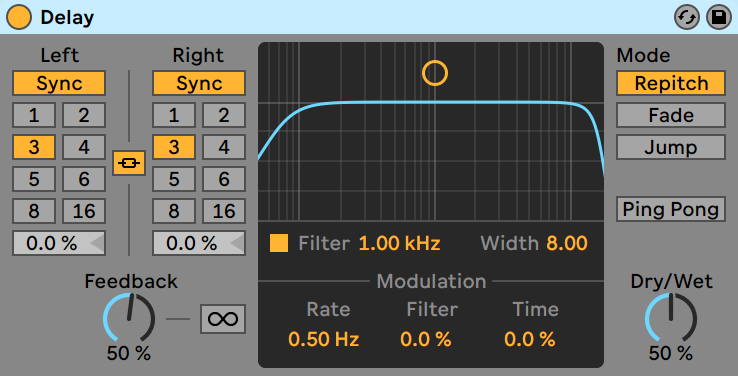
Delay is a fantastic delay, at least as far as stock DAW delays go.
It is easy to set up left and right sync to create rhythmic and delay effects, and integrated filter is easy to set up with the graphical display. The part where Delay really shows that is part of a program called Ableton Live is that it lets you change how the delay is resampled when you change the delay time. Repitch/Fade/Jump are available which change how the delay buffers are adjusted when the delay time itself changes.
It’s a unique and fantastic addition to an otherwise simple delay. Cool beans.
Drum Buss
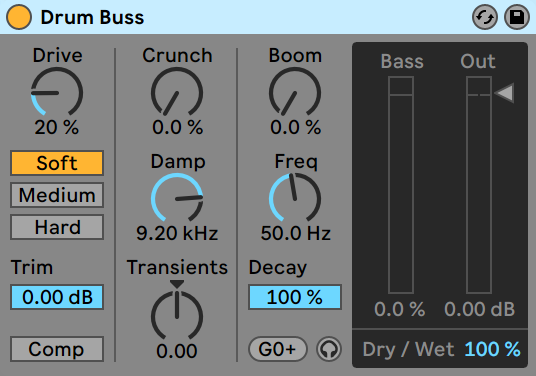
Drum Buss is apparently intended to be compressor that brings up the softer elements in a drum sound and allows you to control the transients (using the intuitive “transients knob”) with minimal effort.
The controls are actually named things like “Crunch”, “Boom”, “Damp” and “Transients”, some of which do more than just naive single-band VCA compression.
Funny enough I found that using Drum Buss was an excellent option on nearly any signal. It does a brilliant job on drums as it is named.
The Boom control is tunable (and I assume it’s a split-band compressor with a fast release?), but the Transients knob sadly isn’t. If the transients knob was tunable than I think that this would be a good all-around compression choice nearly all of the time.
Dynamic Tube
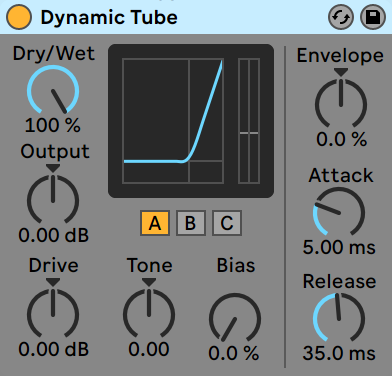
Dynamic Tube is quite frankly the best Tube distortion emulation in a DAW. It gets close to what high voltage real tubes sound like when driven hard, and it gives you an envelope control that allows you to create some nice dynamic response to the emulation as a whole.
There’s 3 modes available which is a nice addition as well.
It’s pretty darn good for a free tube emulation in a DAW. It’s in no way perfect, but it’s still the only thing that gets the sound of tubes right, rather than the sound people think tubes sound like.
Echo
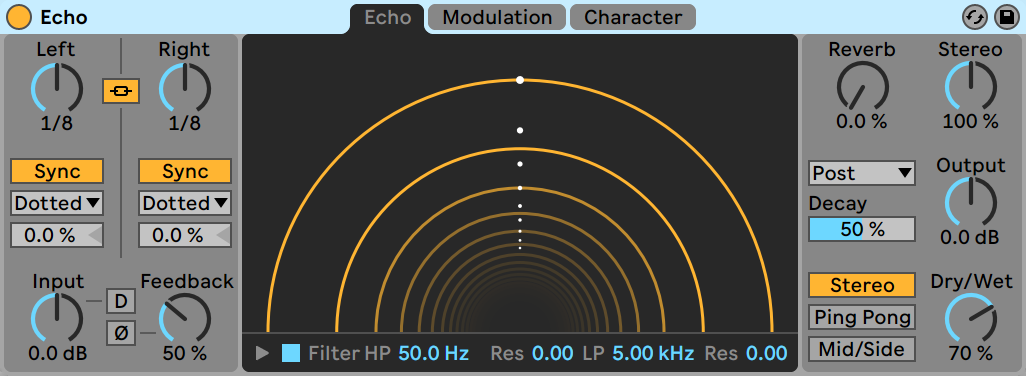
Echo is Ableton’s new delay plug-in that brings the wow-factor to delays. You get the same easy sync/time setup as Delay, but then you throw on input distortion, modulation, gating, ducking, noise and some “wobble” (pitch modulation). Oh, also a reverb.
The modulation is presented with a similar interface as Auto Pan but offers you 6 LFO shapes to modulate the delay time and/or the filter cutoff. A scalable percentage of LFO or Envelope modulation is possible, but there’s a lack of envelope parameters.
The presence of gate and ducking makes creating more extreme sounding, or more subtle delay effects easily accessible. A variation between two types of noise is a super cool capability too.
The included reverb is not exactly brilliant, but a little bit of delay on top of a reverb is always a nice touch.
To cap it all off there is a stereo control that allows you to increase the stereo width of the resulting signal or “monoize” the signal with just a twist of a knob.
Great.
EQ Eight
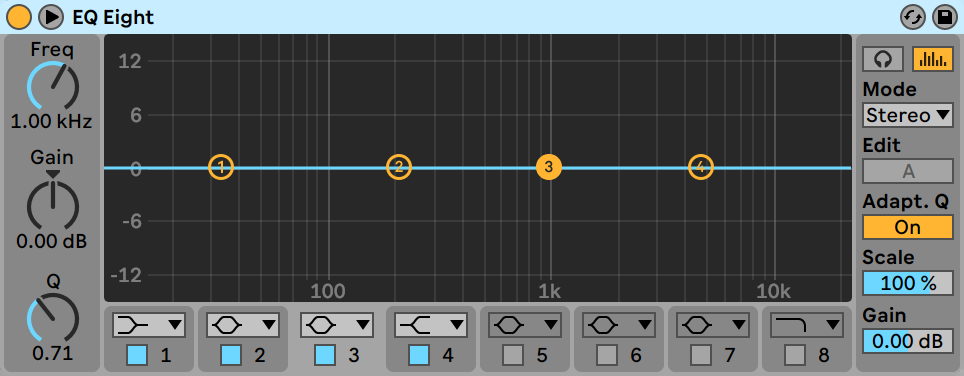
Based on Andrew Simper’s SVF filters, EQ Eight is a marvel of modern filter digital design. It is also easy to use with eight different filter shapes and eight available filters.
The ability to EQ only the left or right, or only the mid or side is available and easy to do. Adaptive Q (Q changing with gain is excellent and it’s switchable. Oversampling to improve cramping behaviour is an excellent addition, even though I think that utilizing linear-phase shelves is a better solution for the problem.
As a general equalizer I have no major complaints with EQ Eight. There are better third-party equalizers out there, but for something you’ll grab for quick EQ adjustments I think that EQ Eight is more than enough.
I would prefer if switching between L/R or M/S was easier than having to click a button not on the EQ graph, and the filter addition would be better if it was more easily switchable. Minor complaints though.
EQ Three
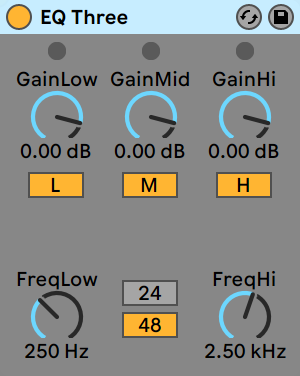
Oh look, it’s Channel EQ with slightly different curves it seems. Obsolete.
Erosion
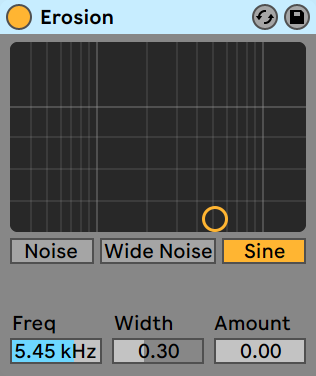
Erosion is a very short delay that’s having its delay time modulated quickly. It sounds like garbage. It’s supposed to I think.
I really never found much of a use for it other than the occasional desire to sound like it’s the 90s again.
External Audio Effect
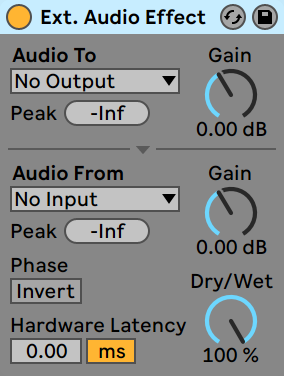
External Audio Effect is a way to insert external hardware directly into your digital signal chain. It has the same problem as other devices with massive menus if you are input selection is large, but it makes up for with gain on both input and output and a peak indicator available for both.
There is no automatic delay compensation though, which makes nearly every other DAW’s external audio insert a better option. Having an automatic ping and latency set is core to any hardware insert effect, and External Audio Effect is missing it.
Failure in use, failure in functionality.
Filter Delay
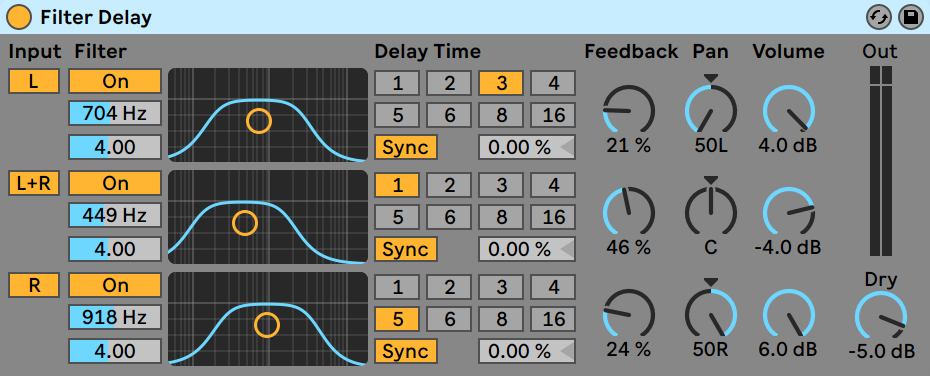
3 delay lines in parallel with a simple filter. You’re better off setting up your own Effects Rack with Echo and using that.
Legacy effect with minimal use compared to other available options.
Flanger
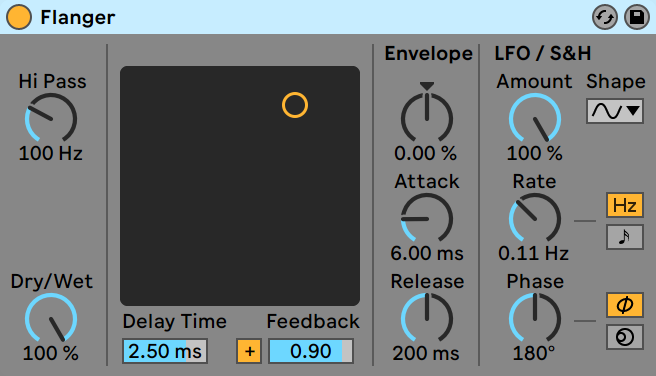
Flangers aren’t commonly used anymore and Flanger in Live isn’t going to bring them back. It does sound ok, but there’s clearly some IMD and what sounds like aliasing (this might just be IMD that I’m mis-hearing) even when HQ mode is turned on.
The XY panel does make it more fun to use, and the envelope allows you to utilize the flanger in more subtle ways, so perhaps flanging could make a combeback.
Frequency Shifter
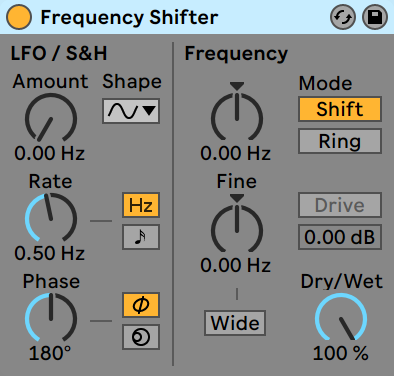
Frequency Shifters are unusual to use, and unusual to hear. I can’t think of a single time I’ve had a legitimate musical use for frequency shifting. Effects, sure.
Frequency Shifter is also a ring modulator, which is a more common effect. I do struggle to understand why the ring modulation isn’t a separate plugin with its own name. I’m sure there’s plenty of Live users that think there’s no ring modulator in Live.
Gate
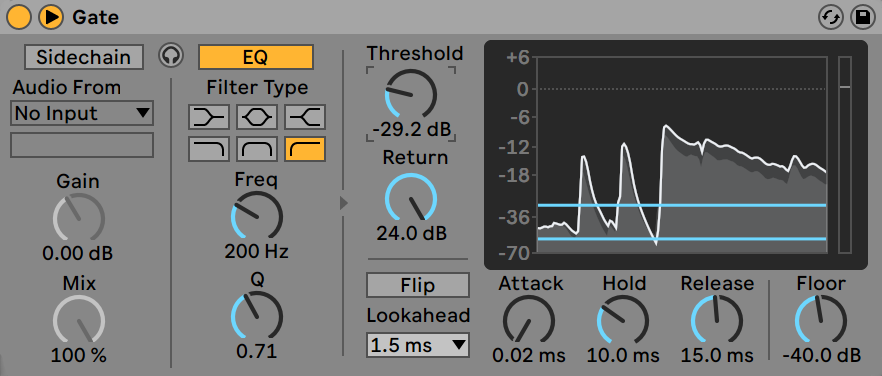
Gate works pretty ok for the purpose of essentially muting lower-volume parts of a signal. I like the naming of the ‘return’ control instead of hysteresis or range.
It has the same excellent sidechain as Compressor, which again makes it even more useful.
The control ranges are brilliantly setup so that the most common values are in the middle of the knob’s range. The exception is the Attack control where values from 0.02 to 2ms (very common ranges for drums) are difficult to use without fine-tuning.
Glue Compressor
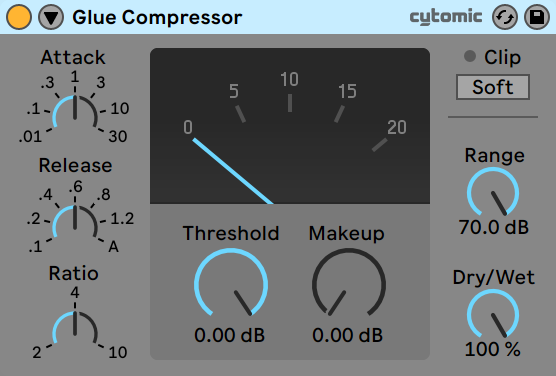
Cytomic’s Glue minus the cool oversampling options in the paid version. Based on the G-series buss compressor in the SSL 4k series consoles. Fantastic emulation.
Excellent on almost anything, but famous for its use on groups/busses and full mixes, it doesn’t fail to deliver.
Unpictured are the same sidechain controls available in Compressor.
Grain Delay
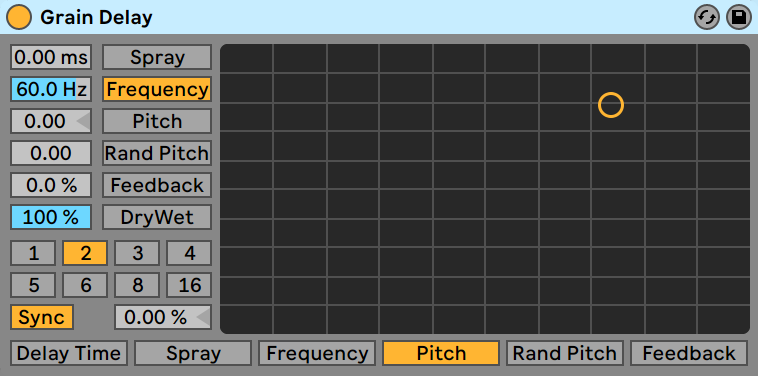
Grain Delay is a weird and hilariously fun beast of a delay. It buffers the signal into a bunch of small pieces to be delayed/pitched
You get X/Y control of two parameters that are fairly self-explanatory (except spray, which is randomness of delay time). Delay time is annoyingly only available on the X axis, and only as a stepped parameter. Dry/Wet is only available on Y.
Grain Delay creates some fun and useful sounds, particularly when paired with a diffuse reverb, but the presence of only a single XY panel makes it somewhat less useful than it could be.
Limiter
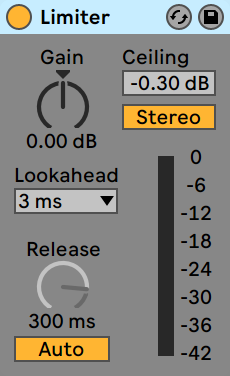
A very simple lookahead limiter. Doesn’t sound too bad, but it does not have intersample peak limiting and/or oversampling. That’s not a major issue (and often is not desirable), so I think I can be moderately accepting of this.
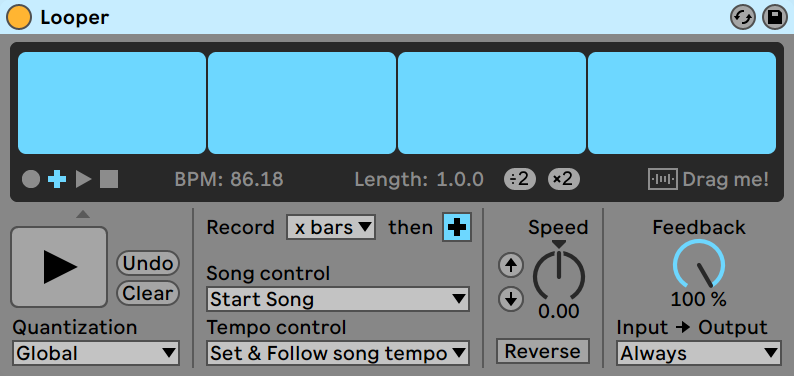
Looper
Multiband Dynamics
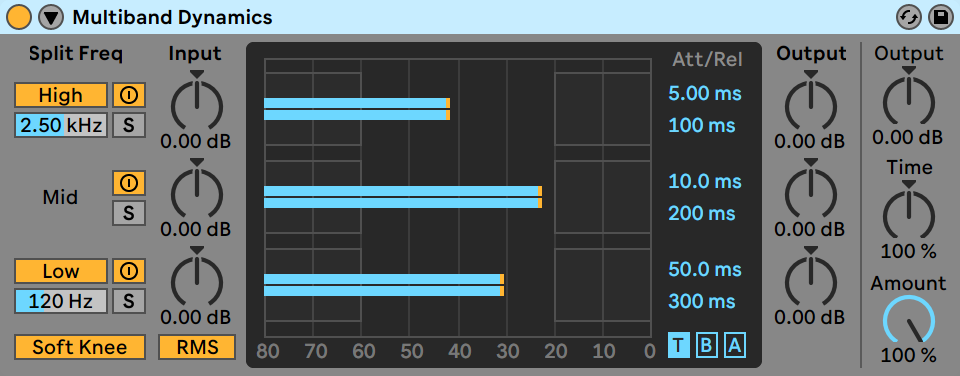
3 compressors on 3 signals in parallel that have been split into frequency bins. It’s a meme by now, but it’s still a competent multiband compressor.
It has both expansion and compression for each band (complex transfer curves), but lacks knee controls or L/R or M/S capability. It also defaults to RMS detection overall, which I think is a bit of a mistake. Multiband compressors have a tendency to output either harsh high end with peak detection or slow woofy low-end with rms detection. Per band selection fixes the harsh/woofy problem.
I think you’re better off with an Effects Rack, a few filters and a few Compressors. Save the effects rack preset and ignore that Multiband Dynamics existed.
Overdrive
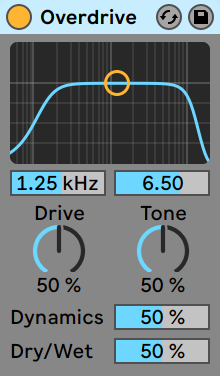
Ugh. Disgusting.
Pedal
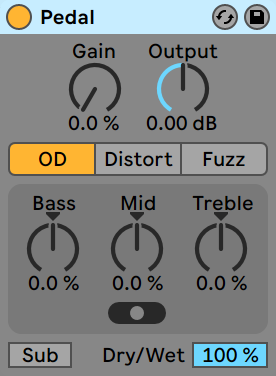
A complement to Amp. Overdrive, Distortion and Fuzz pedal models. They don’t sound that bad and with Amp and Cabinet you can end up with some alright distorted guitar sounds.
Phaser
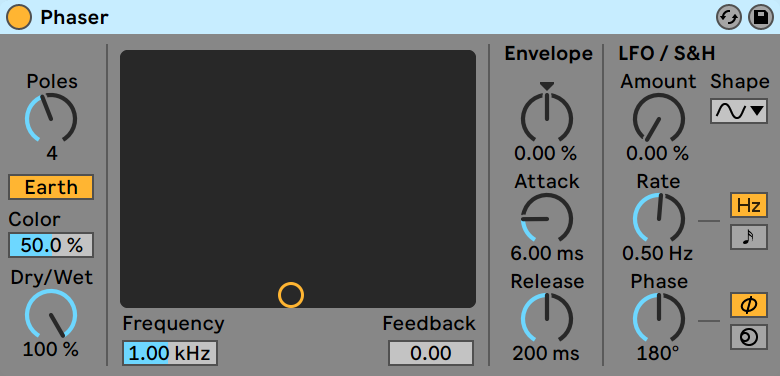
Moving allpass filters. Another useful X/Y pad, another envelope and another LFO with stereo phase.
The “earth” and “space” modes are aptly named and give you a nice selection of sonic colours.
Nice. If you need a phaser it’ll probably work.
Redux
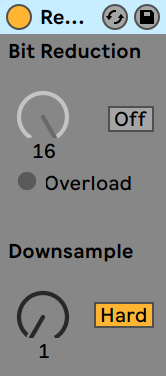
Bitcrusher. It works as it should.
Resonators
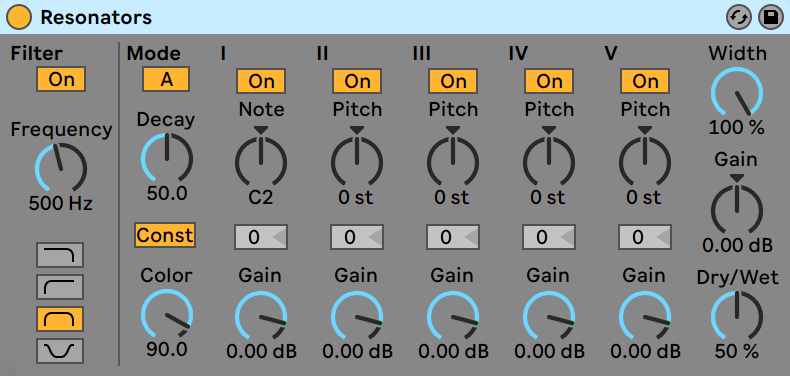
This is a bank of resident filters that allows you to create some cool robotic effects. Cool addition, fun to play with and surprisingly useful on lead synth sounds.
Reverb
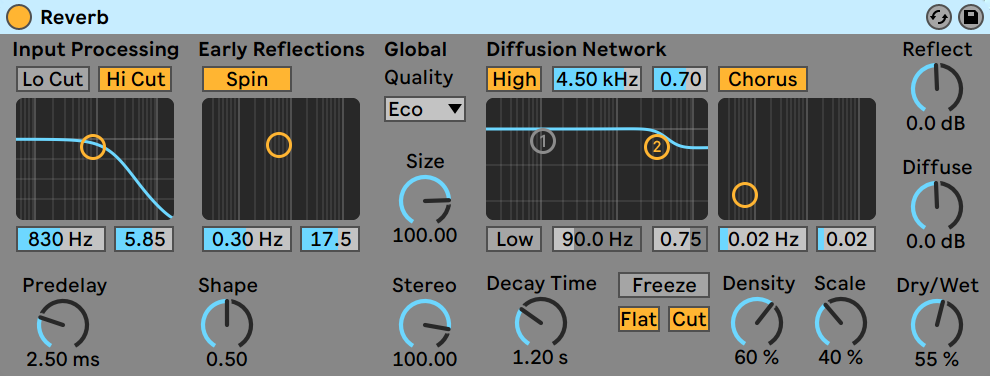
Blergh. Eck.
I’m certain that someone is very proud of their work on this. It’s not a bad product and it has an excellent selection of parameters (like ER spin) to make reverbs that work well on percussive sounds or chorus/freeze for already-dense sounds.
My problem is that Reverb is difficult to tune to get the sound you want. I love parameters, I’m a big fan of MTurboReverb even, but the control sizes and parameter scaling of Reverb makes the relatively small selection of controls frustrating to use.
Larger filter boxes, more informative ER setup, visualize the diffusion network, scale density/scale differently so it doesn’t sound like it gets big so fast.
Saturator

It’s a Waveshaper with a variety of types, pre-emphasis (increase a frequency before saturation). There’s 6 preset waveshapes and a mode where you can control the shape of a periodic waveshape plus damping at the center.
Difficult to tune, but it’s often just what you need when other distortions won’t work.
Spectrum
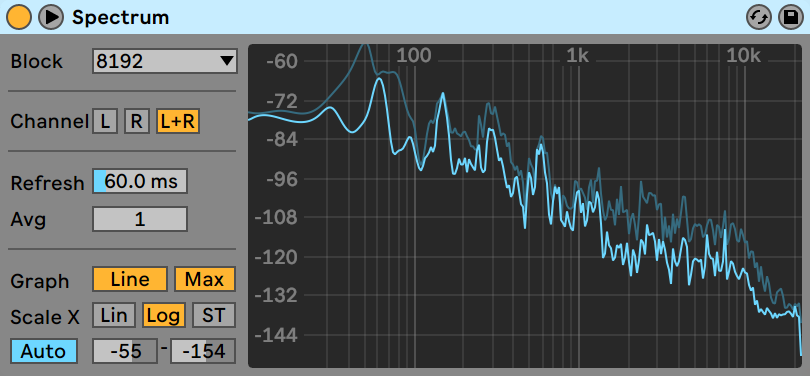
A spectrum analyzer with scaling and variable refresh/average. Not pictured is the ability to open it in a larger window that takes over your arrangement/session view. The scale can be zoomed vertically (amplitude) which is very nice, and you can select Left or Right channels easily. There is no M/S mode nor is there delay compensation for the block size.
It’s pretty darn good, except for the fact that it’s basically useless being so small. Expanding the size takes over your mixing space.
A competent device that’s ruined by the device workflow itself.
Tuner
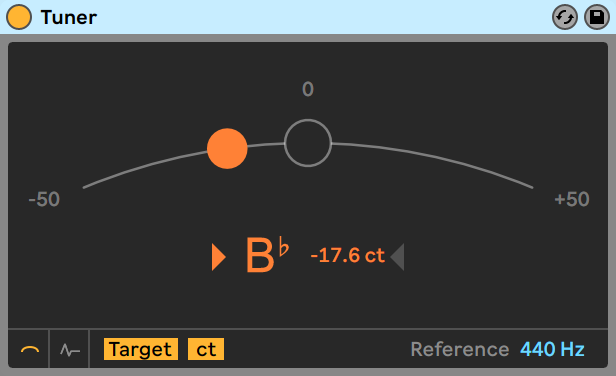
Instrument tuner. Works fantastic. I particularly like that it can show HZ distance or cents.
there is a histogram view which shows you the pitch over time. You get an easier look at the variation of pitch over time, and this helps since very few instruments maintain stable pitch.
There does not appear to be alternative tuning systems available for, which is a fairly large downside for some people, but for general instrument tuning it works brilliantly.
Utility
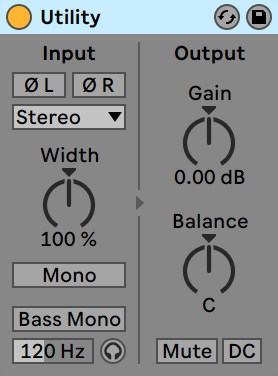
I hate utility plugins. They invariably substitute for functionality that should be available in the mixer or in the device container.
Utility in Ableton Live is no exception.
Vinyl Distortion
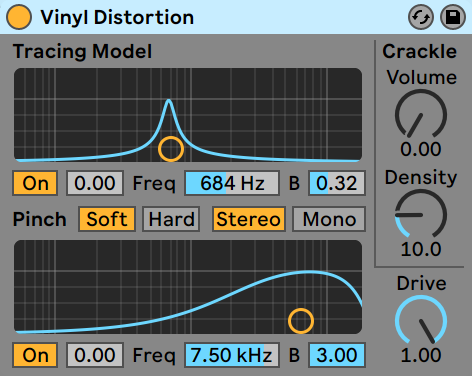
This is more than just a crackle simulator, Vinyl Distortion gives you a somewhat complex emulation of the vinyl sound production experience.
With no crackle it’s a great way to add stereo width (with pinch) and some beef (with tracing model tuned to fundamental or first harmonic area of the signal). With crackle and moderate settings it’s a quite good emulation of vinyl.
Surprising. No other DAW has something close.
Vocoder
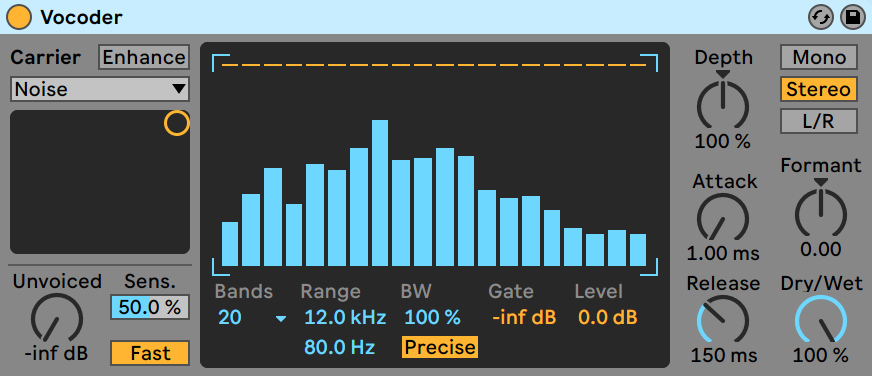
A bank of bandpass filters that a modulated signal pass through. It’s pretty cool that you’re given a selection of carriers (noise, modulator itself or a pitch tracked sine) along with an external audio source.
The unvoiced section lets you add some amplitude modulated (by a carrier controlled envelope) noise to your carrier. Band setup is easy and there’s a gate to get rid of a lot of the unpleasant noise that’s inherit to the process.
Having an ‘all filter shift’ in the formant knob is an excellent addition and a cool parameter to automate. The envelope (modulator response time) is easy to setup and the attack control is perfectly shaped.
Vocoder in Live is without a doubt the best and easiest to use vocoder of any DAW.
Instruments
Analog
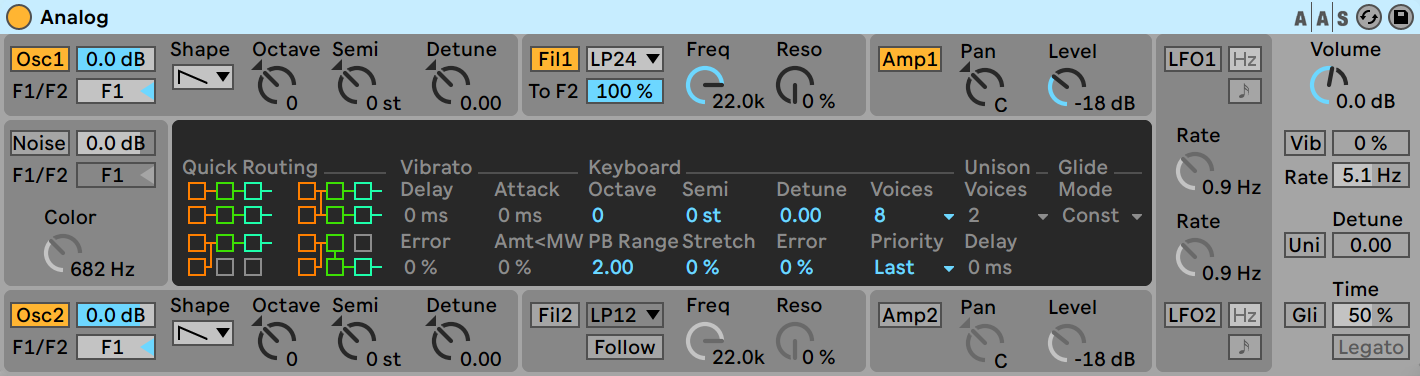
Analog is a fairly standard 2 oscillator subtractive synth.
The notable things are: visual envelope editors, parallel output routing scheme, sequential filters and unison delay control.
It sounds fairly good, but the paged editing is rather annoying. In order to access osccilator/mixer/envelope/LFO/output controls you need to click the corresponding panel first. It seems such a setup is necessary to deal with the minuscule space allotted for devices.
It’s a bit sad that the filters are relatively controlled with no feedback or self oscillation, but you’re not going to find that in many stock DAW synths.
The “sine” waveform is most certainly more triangle like, and all of the oscillators audibly alias without any high quality options.
Not really worth it. There’s better free synths.
Collision
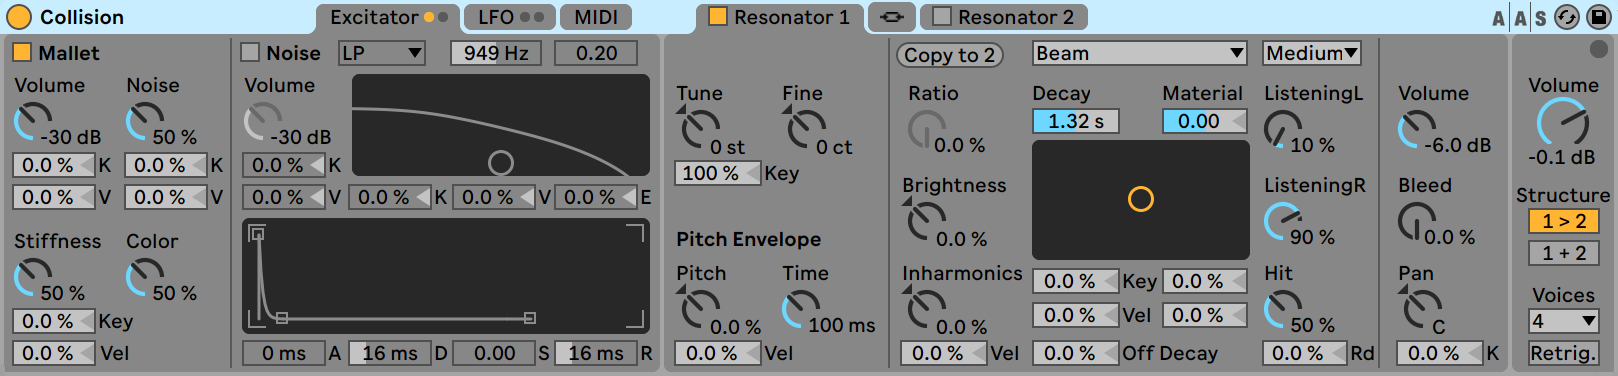
Mallet percussion! What every music producer needs. More paged screens and another wash of knobs and slider boxes. If Analog wasn’t a good example of how flawed Live’s device panel is as a concept, then Collision surely will convince you.
There’s two Corpuses that are fed by a exciter and noise. Excited yet? Me either.
I spent more time with Collision than any other synth in Live during this review and I got the fewest usable results. Everything sounds like a wine glass or a marimba with slight variation between the two. I couldn’t even get it to sound like a marimba myself or by tuning presets.
Higher frequency notes have a weird distorted characteristic to them. It doesn’t sound like aliasing, but it’s not pleasant. Aliasing is audible with more ‘pure’ sine-like sounds.
I can’t even express indifference or say something like “It’s not great, but it’s a unique addition”. It’s difficult to program. It sounds nasty when you’re done. It doesn’t produce much of a useful sound after all of your effort anyway.
Electric
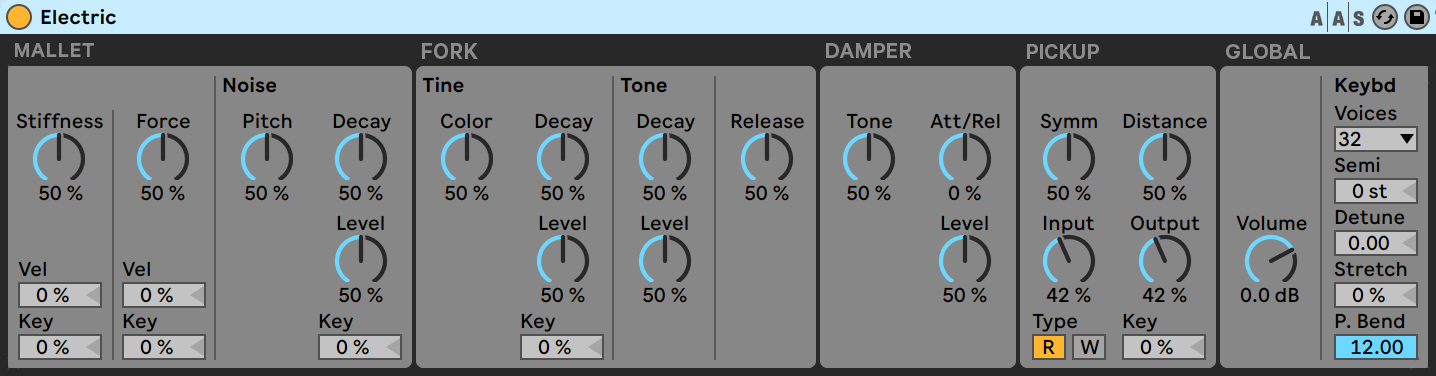
Electric is supposed to be a Rhodes, but Electric just ends up sounding an awful lot like Collision (or maybe even Tension, all 3 have a similar sound) with fewer options.
It’s possible to get some authentic sounds out of Electric, and the tunability of the pickup section goes a long way towards making it easy to mix.
I’m down with it.
External Instrument
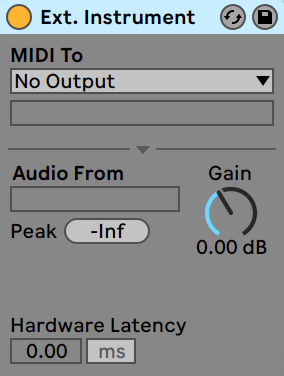
It’s like External Effect, with the same flaws, but sending MIDI out and taking audio IN.
Impulse
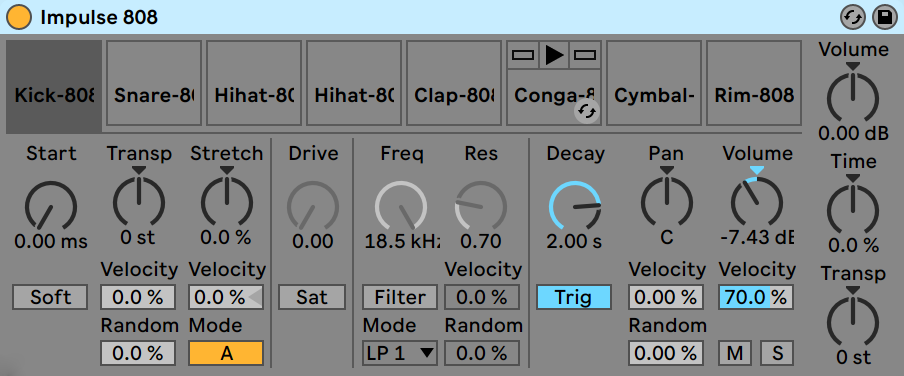
Impulse is cool not for what it can do, but for how it presents what it can do. You get 8 one-shot samplers with the capabilities presented rather plainly.
You get all the things you’d expect: pitch control, distortion, stretching, a filter, basic editing (via knob). Samples are automapped to your keyboard and MIDI clips automatically get named keys corresponding to Impulse’s samples (very cool).
Live’s hot-swapping capability is available for each slot, so you can use Live’s browser to try out new samples during playback with your current instrument. Very cool concept, but lacking in execution because Live’s browser is a raging dumpster fire.
It’s nice, I like it. It makes what should be a simple task, playing one-shot samples, an easy task.
Operator
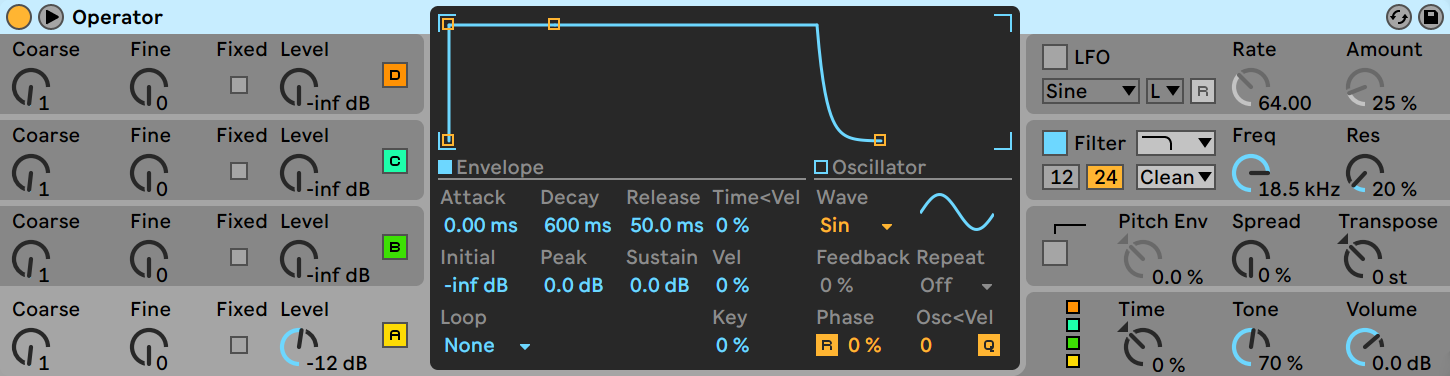
Operator is the most addictive thing that exists in any DAW. My competitive nature got the best of me and I spent more time with Collision (trying to prove that it wasn’t useless, I lost), but Operator is just an unbelievable amount of fun.
You get 4 oscillators (each with their own envelope) that can be configured in 11 FM setups with a simple MIDI modulation matrix. There’s a drop-based filter just like in Auto Filter, and it sounds great as always.
Things you should expect like voice-limiting, antialiasing (though it doesn’t work super well… it’s FM after all), LFO interpolation, pan key following and random panning are there. There’s a complex envelope that’s optionally routable to a variety of places. There isn’t an LFO editor, but there is an envelope editor for the LFO envelope. All of the envelopes are loopable though, so they can be used like a rough LFO if you need.
The process of working with FM synthesis is a lot of trial and error that very slowly culminates in sage wisdom of the greatest synthesized sounds available to modern man.
Operator shortcircuits that learning process. FM is made easy and accessible. There are still pages (stupid device panel!), but they don’t feel obnoxious to access and clicking one provides enough capability to make it feel like it was worth an extra click.
Operator isn’t the most brilliant FM synth, but it’s quite possibly the best complexity to ease of use that you’ll find in an FM synth.
Sampler

Sampler is terrible.
Editing audio in it is difficult unless your sample is short, otherwise it’s lots of zooming and scrolling and fiddling. There’s no ‘change pitch without changing speed’ (aka Warp) option. Zone editing is very limited.
It has a great deal of functionality like 3 LFOs, an auxiliary envelope, pitch and filter envelopes, drop-based filters with velocity and key-following, a proper filter envelope with excellent options and a reasonable MIDI expression matrix.
But it’s all let down by the fact that pitch is locked to speed. It’s basically Impulse on steroids, but more difficult to use and more pages to browse.
I would have loved to write more about Sampler, because it’s packed with cool functionality that’s uncommon in DAW samplers, but the two most basic features that people generally want in a modern sampler suck. The rest is irrelevant.
Simpler

Oh hey, it’s the “little brother” of Sampler, except it’s better. Easier to edit in, warping capability and a fun slice mode.
There’s a good manual and excellent tutorials on it so I won’t cover the small number of features, but Simpler is exactly what an included sampler should be. Easy to use, warping capability, clear distinction between loop and one-shot modes, a good filter with a simple UI, modulation, an easy to edit envelope and a clean interface.
Top notch device for the majority of sampler uses that don’t involve 100s of multisamples.
Tension
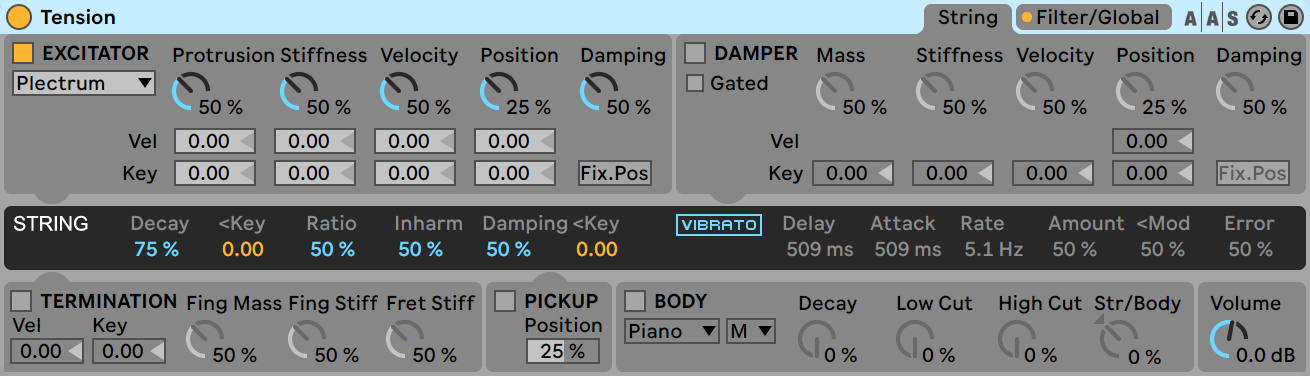
It’s a string synthesizer, that while more useful than Collision, it manages to make all of the same mistakes. It has a similarly busy and cluttered UI, but without pages.
Luckily plucked, bowed and hammered strings are en vogue right now and Tension manages to produce pretty decent string sounds. Working your way up to the sound you want from scratch is no easy task though. The variety of advanced tuning options can be overwhelming and Live and Tension’s lack of modulation often means complex automation setups for organic feeling sounds.
The advanced nature of the product is appreciated for experimentation and the addition of a subtractive-style filter with envelope makes de-harshing sounds much easier than programming them to sound smooth.
I find the best value in tension in the variety of presets available that give you fairly common EDM and Pop sounds without any effort at all. Most of them seem to be usable, and tuning them is easy enough when utilizing Live’s parameter undo (just like any other undo).
It’s pretty alright.
Wavetable

Wavetable is Live 10’s big mama.
Wavetable synthesis is basically taking a bunch of short samples and using them as oscillators, except that there can be many samples played in sequence. What those samples are is a result of the wavetable or of a morphing function. The resulting sounds tend to have impressive morphing characteristics and complex harmonic structures due to their inperiodicity.
This entire review can be summed up in one phrase: you can’t load your own wavetables. Well, you can hack them in, but it’s not officially supported. One of the most fun parts of wavetable synthesizers is loading your own samples. It’s not easily accessible here. You get 29 sets of waves that can be morphed between.
There’s 3 “effects modes” to give you more FM, PM or PWM style sounds. Pretty cool addition I think and straightforward to use.
The drop-based filters are there again with parallel and serial modes, another great feature.
There’s a full modulation matrix for the 3 envelopes and 2 LFOs, though it’s a bit weird to use. It only shows the OSC position and one other unused parameter at a time. You move a control to show a new matrix parameter, and if it’s unused then the next control movement will take its place. I think it’s a neat idea to reduce clutter in the matrix. The clutterlessness doesn’t last for long though, since modulation is a big part of wavetable sounds.
The 6 modes of unison are nice, especially the shimmer option that jiggles the pitch around on each unison voice. Super cool for pad sounds. A basic MIDI mod is available and the LFO/Env are basically the same as the rest of Live.
As pictured above there’s a popout which will grow even bigger than shown to give the whole GUI
Midi FX
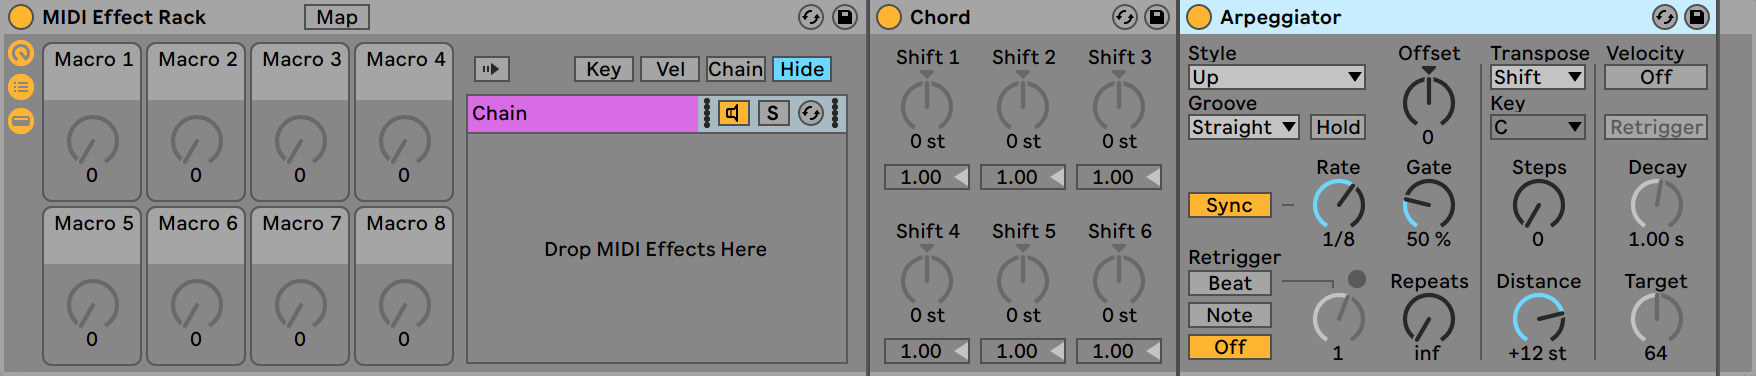
Arpeggiator
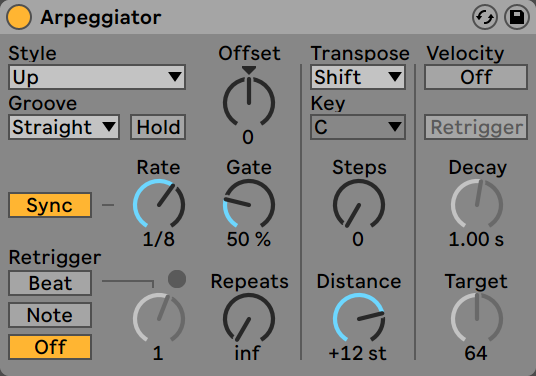
Hey! It’s a decent arpeggiator. 18 patterns, 4 types of grooves, offset, gate, 2 retrigger modes with repeat control and proper transposition (key transpose along with pitch offset). There’s a cool addition for controlling the velocity over the course of the arp as well.
Excellent.
It would be nice if you could program your own shapes like some other arps, especially since doing this manually in Live is difficult, but I found it easy to get interesting results quickly with the Arpeggiator in Live.
Chord
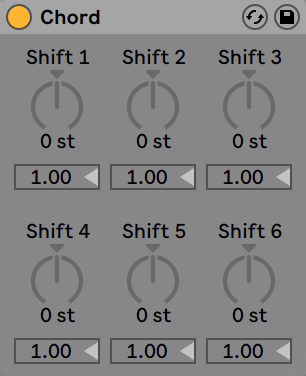
This is a polyphonic pitch offset. It takes each pitch and offsets it by a number of semitones. Each offset can have its velocity scaled against the incoming note(s).
I think it’s a bit of a misnomer to call this a “chord” plugin, it’s just a naive pitch offsetter. A proper chord plugin would offer you the ability to easily setup a variety of chord types, diatonic restriction, per-note qualities etc…
It’s useful with the arpeggiator at least.
Note Length
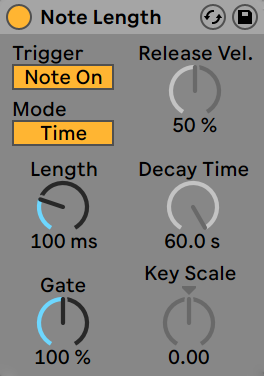
A neat little plugin that lets you set the notelength to fixed values, a percentage of the fixed value or you can have the note triggered on note-off (which is a really cool way to add grove to drum parts!).
Fun little guy.
Pitch
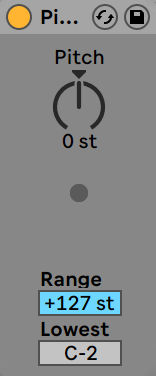
Pitch offset. Not a transposition tool.
Random
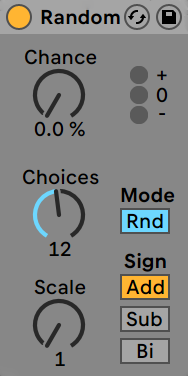
Random notes! Combined with other MFX it’s your key to generative-sequencing 101.
Scale
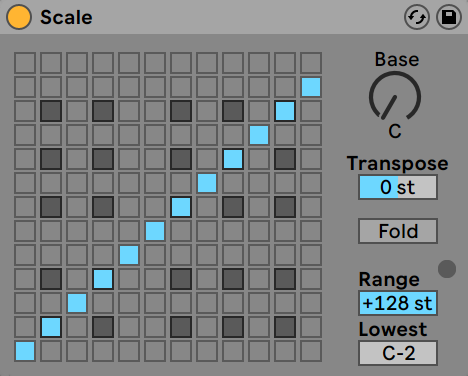
Scale is a proper transposition tool. It allows you to map incoming notes to other notes. You have a grid showing the incoming note on the X axis and the transposition on the Y axis. The inclusion of the ‘black keys’ is rather confusing, since if you do something like transpose C it never hits a black key, so what’s the point?
The graph also doesn’t offset when using the “transpose” (pitch offset) control either, so it becomes even more confusing what’s happening at a glance.
There is a distance constriction called “fold” which helps makes transpositions more sensible with longer jumps, and you can constrict the range of the effect easily.
This could be done a lot better with actual note names and a given key, possibly to another given key. A key signature itself would even be useful. The grid itself is not only confusing to use, but even more confusing to read.
Velocity
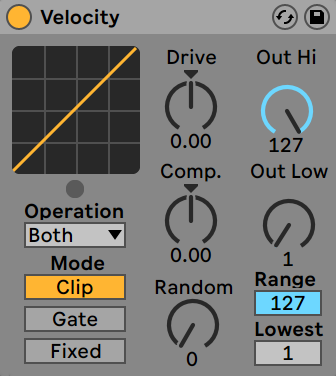
Velocity compression, offset, gating, limiting and randomization. Easy to use, easy to view.
Would be nice to have a velocity transfer function or waveshaper, but that’s going a bit too far for 99.99% of uses. This is totally fine.
Racks
Audio Effect Rack
This allows you to setup chains of effects for easy management and lets you run parallel effects chains and lets you control which chain audio goes to based on MIDI input.
It’s powerful and simple, until you want to control chain input via MIDI. That requires setting up MIDI mapped controls to the chain effect “timeline”, which is far from intuitive nor is it described in the manual that I saw. Once it’s setup, you can control which effects chain is active (and multiple can be active, with ‘fades’) just via MIDI. EXTREMELY FUN, and useful for live performance.
There’s also 8 macro controls available that you can assign a single control to any number of controls of the rack or in the rack. You can make immensely complex patches, then set them up for easy control.
Cool.
Drum Rack
Drum rack is like the other racks, except it provides sample slots and each slot has its own chain. Each chain has its own output and there’s the standard 8 macro knobs that are assignable to nearly everything in the rack. There’s also “master” chains that any sample can be routed to as needed for multi-output support. There’s thankfully choke support so only one sample in a choke group can sound at a time.
It’s a bit annoying that there’s no easy built-in support for round-robin or similar sample manipulation without fiddling with Sampler. All you’re really getting is pre-mapped slots for samplers.
Perhaps one of the most annoying things is finding samples in your rack and subsequently figuring out where they’re mapped.
But hey, it works. Outside of Drum Rack being a unified sampler system there’s not much more that I think could be expected.
Instrument Rack
Exactly like Audio Effect Rack but with some extras.
You can map chains to MIDI note, velocity and still to the chain selector. This allows multi-timbral splits to be created with ease, utilizing any instruments you want, and with fades between layers. The ability to route MIDI to a chain based on velocity is also super cool. If a synth doesn’t support velocity mapping in a way that you want, or if you want a specific effect in the chain to be more/less prominent as the velocity changes then you’re in luck.
It’s a pretty nice experience to use. Like with all of the racks some sort of modular routing and modulation would be desirable, but in the context of what’s here I think it’s a fair step above what other DAWs offer.
MIDI Effect Rack
Exactly like Instrument Rack but for MIDI Effects.
Very fun.
Problems
Here’s the part where I whine.
- Native device size is limited - Most devices are crammed into a package that’s too small for the functionality and is always far away from the mixing location. Finding effects in a larger chain is difficult. Managing effects is a click-happy experience. Trying to view two devices at once is sometimes not possible without many clicks to hide/unhide devices.
- Device use is nonobvious - In order to know what’s happening on a track while mixing, you need to click the track and switch to the device panel. It’s a workflow killer and sometimes it’s even difficult to figure out what’s going on anyway!
- No modulation - There is no native support for modulators.
- No routing - Live’s support for routing of audio and MIDI is limited to the racks and your typical left to right signal flow. If you want to be more creative then you’re in for combo-box browsing and scribbling down what’s happening on a napkin while you look through various send/output locations scattered around.
- High quality synthesis is limited. Lots of aliasing in products, some IMD and no native velocity scaling in anything. (You can use Velocity of course, but it’s a necessity for nearly every device if you’re after some semblance of consistent output).
- Missing native plugins
- No convolution reverb
- No rotary simulator
- No transient shaper
- No Oscilloscope
- No native crossover rack (DIY multiband effects like some other software offers)
- No sample replacement tools
- Limited Reverb options
- No sequenced gate
- No Tremolo
- No Vibrato
- Limited Guitar FX
- No pitch correction
- No Tape FX
- No Linear Phase EQ options
- No Dynamic EQ option
- Limited Instrument options compared to other DAWs
- No signal generation tools (you must
- Price - for what’s been reviewed here you’ll be paying around $750-800 new. Compared to Logic Pro X, which has a much better selection of tools, you’re really stretching the value proposition.
- That does not include Max 4 Live devices that are available, which is the next article. I’m only speaking of native devices in this article!
I think most of these things, except price and no native convolution reverb, are a fairly minor concern.
The #1 major issue with Live, as it presents itself for Electronic and modern music styles, is the complete lack of an integrated modulation systems. This is also an area where the competition has long since passed Live.
Conclusion
I think Live’s selection of effects is pretty solid. The workflow is subpar, but the available effects are decent.
The casual user may look at this list and feel like everything is a bit limited, but Live’s devices are largely made to be combined, hence the availability of the racks. When you start combining the simple devices and instruments you can begin to create a huge variety of sounds.
Support Me!
This post took 23 hours to research, screenshot, write and edit. If you appreciate the information presented then please consider joining patreon or paying me for my time spent bringing you quality content!