First you need to check out these articles below...
In the first article I described a NO TAPE way to setup the string/cable/line. This method works perfectly fine for the Recorderman technique and it can be useful for the Glyn Johns technique (even though Glyn himself doesn't mess with strings).
One of my readers asked me to further explain the method I use to measure drum mics without using tape on the drums. This is the response.
Two knots, optionally Three. Very easy, adjustable and non-destructive.
I use paracord for this, which you can get from most home stores. Please do some research and buy some decent quality if you can, it's much more pleasant to use.
Contents
- The First Loop
- The Second Loop
- End Knot
- First Larks
- Pull
- Loop 2
- Lark's 2
- Kick Attachment
- Kick Attachment Again
- All Set up
- Bonus content
- Conclusion
- Support Me!
The First Loop

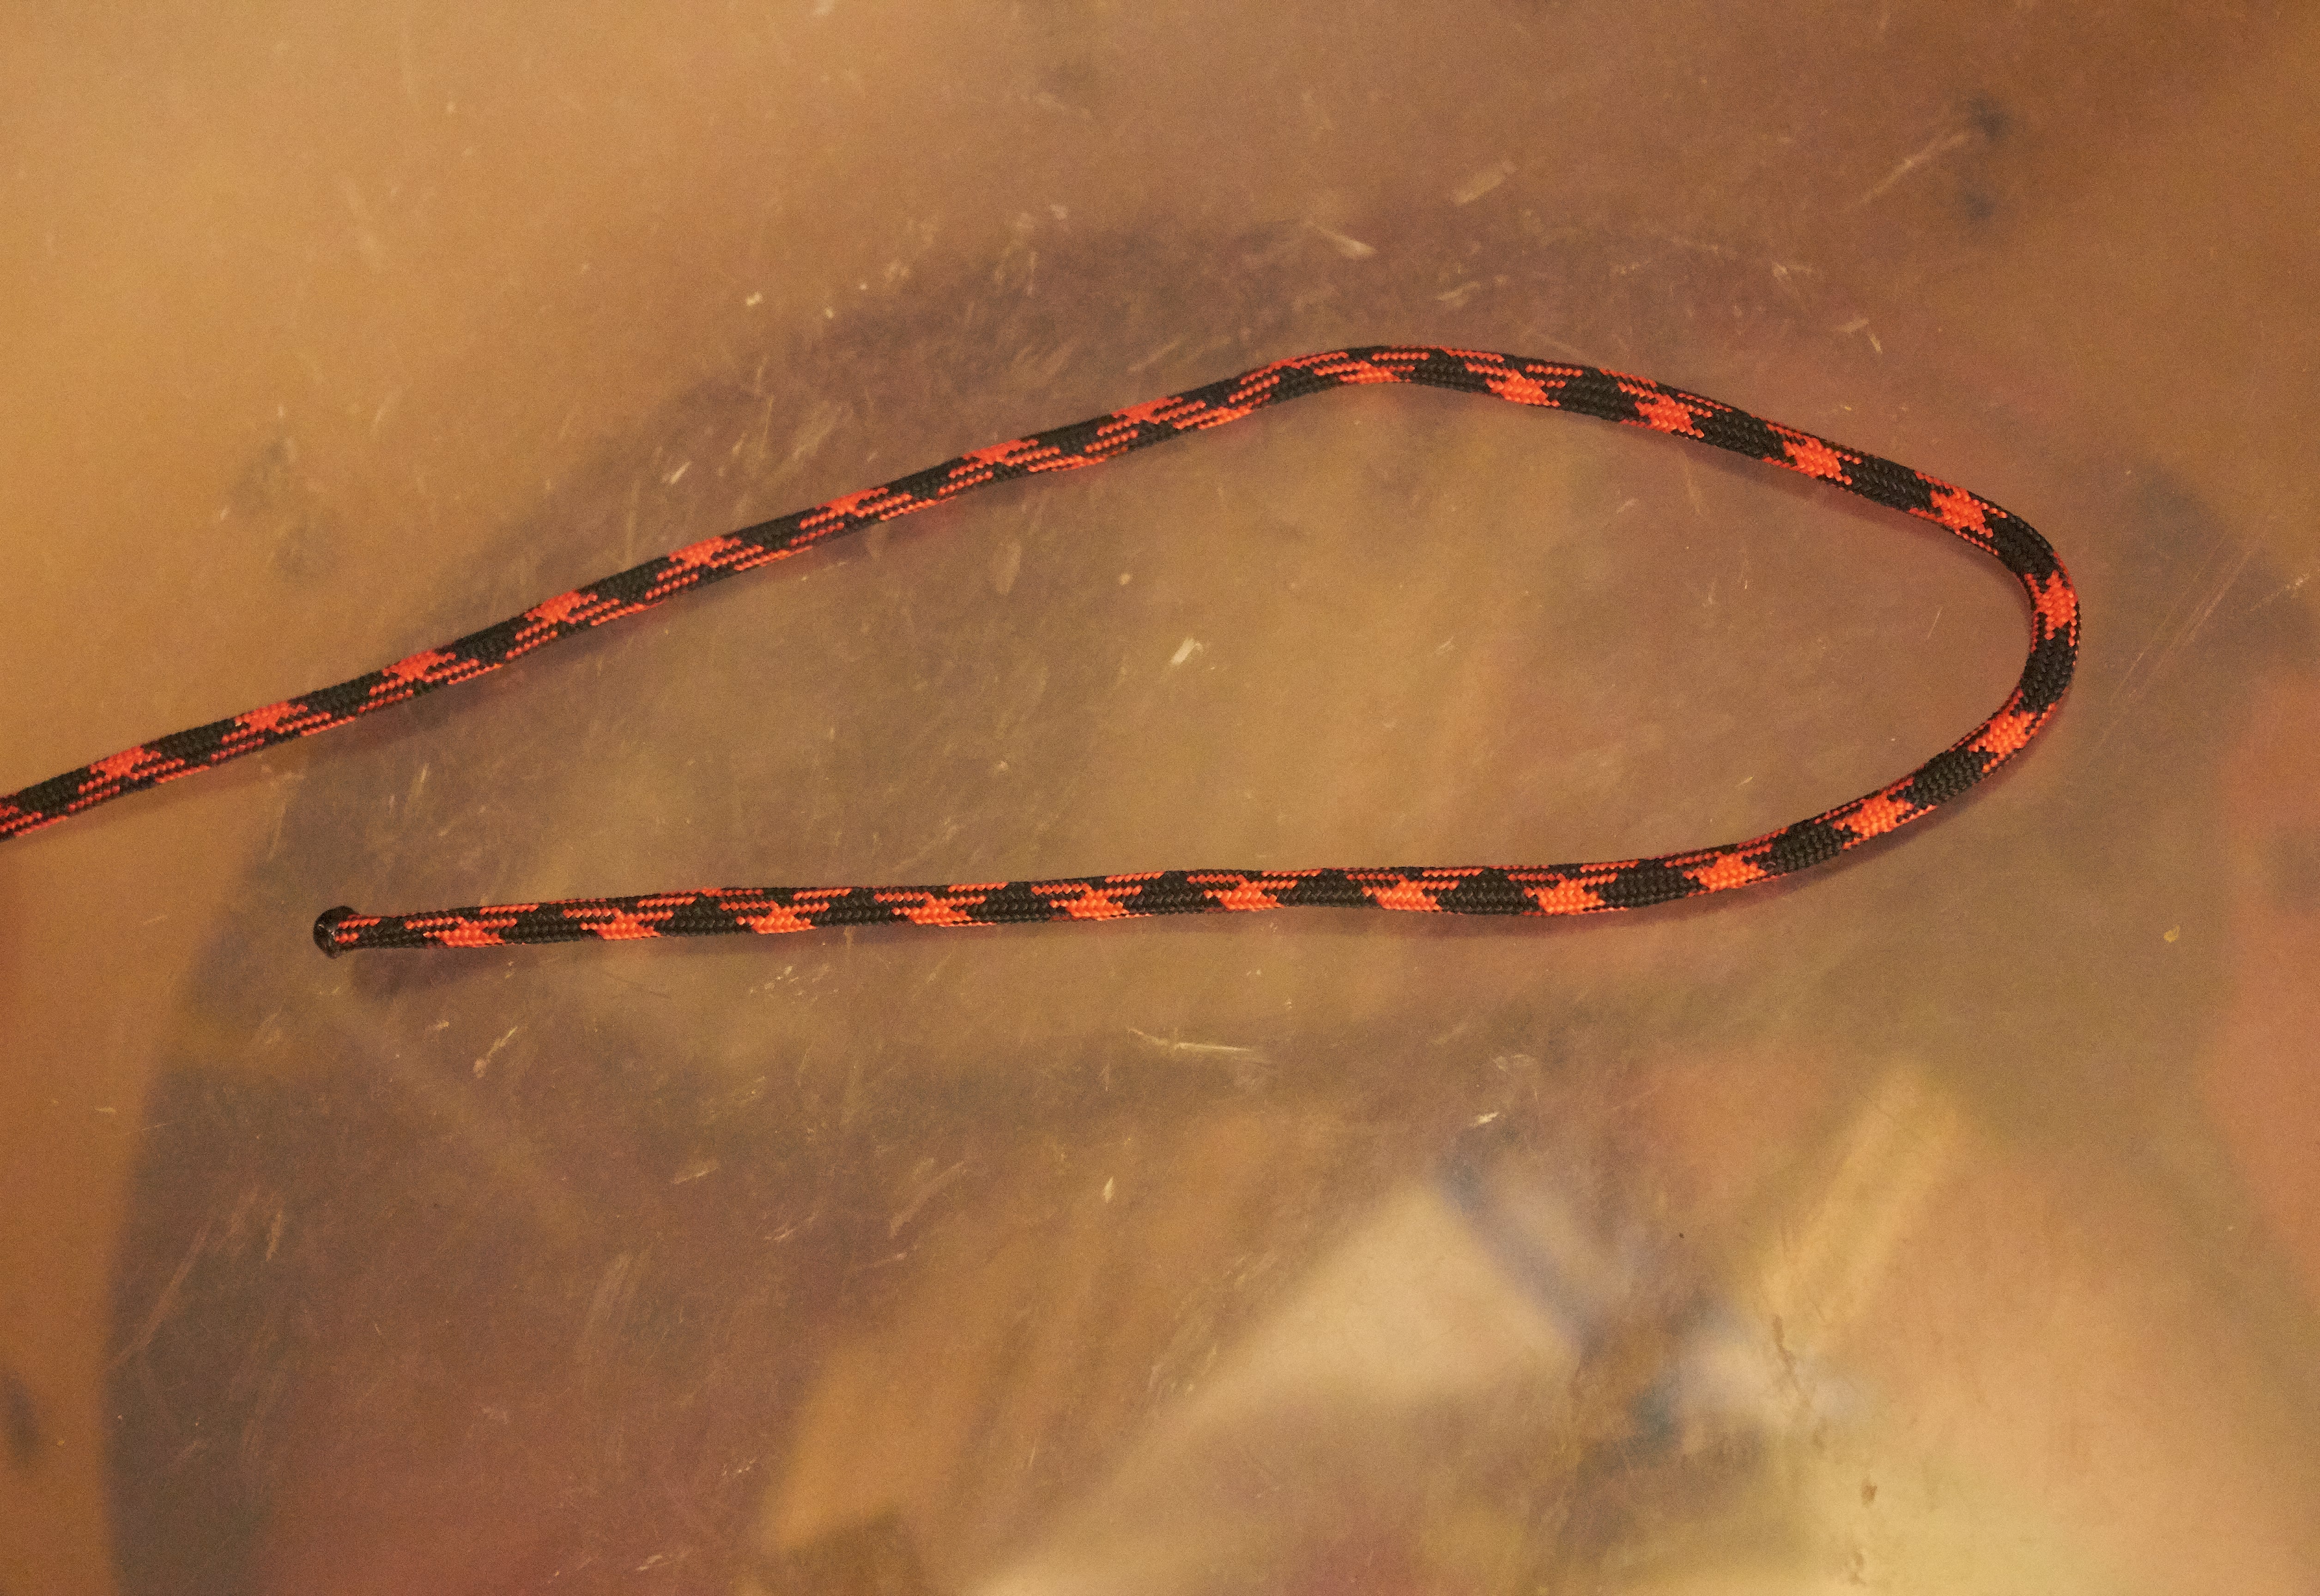
We start with one long piece of paracord. There is no need to cut it before you start working.
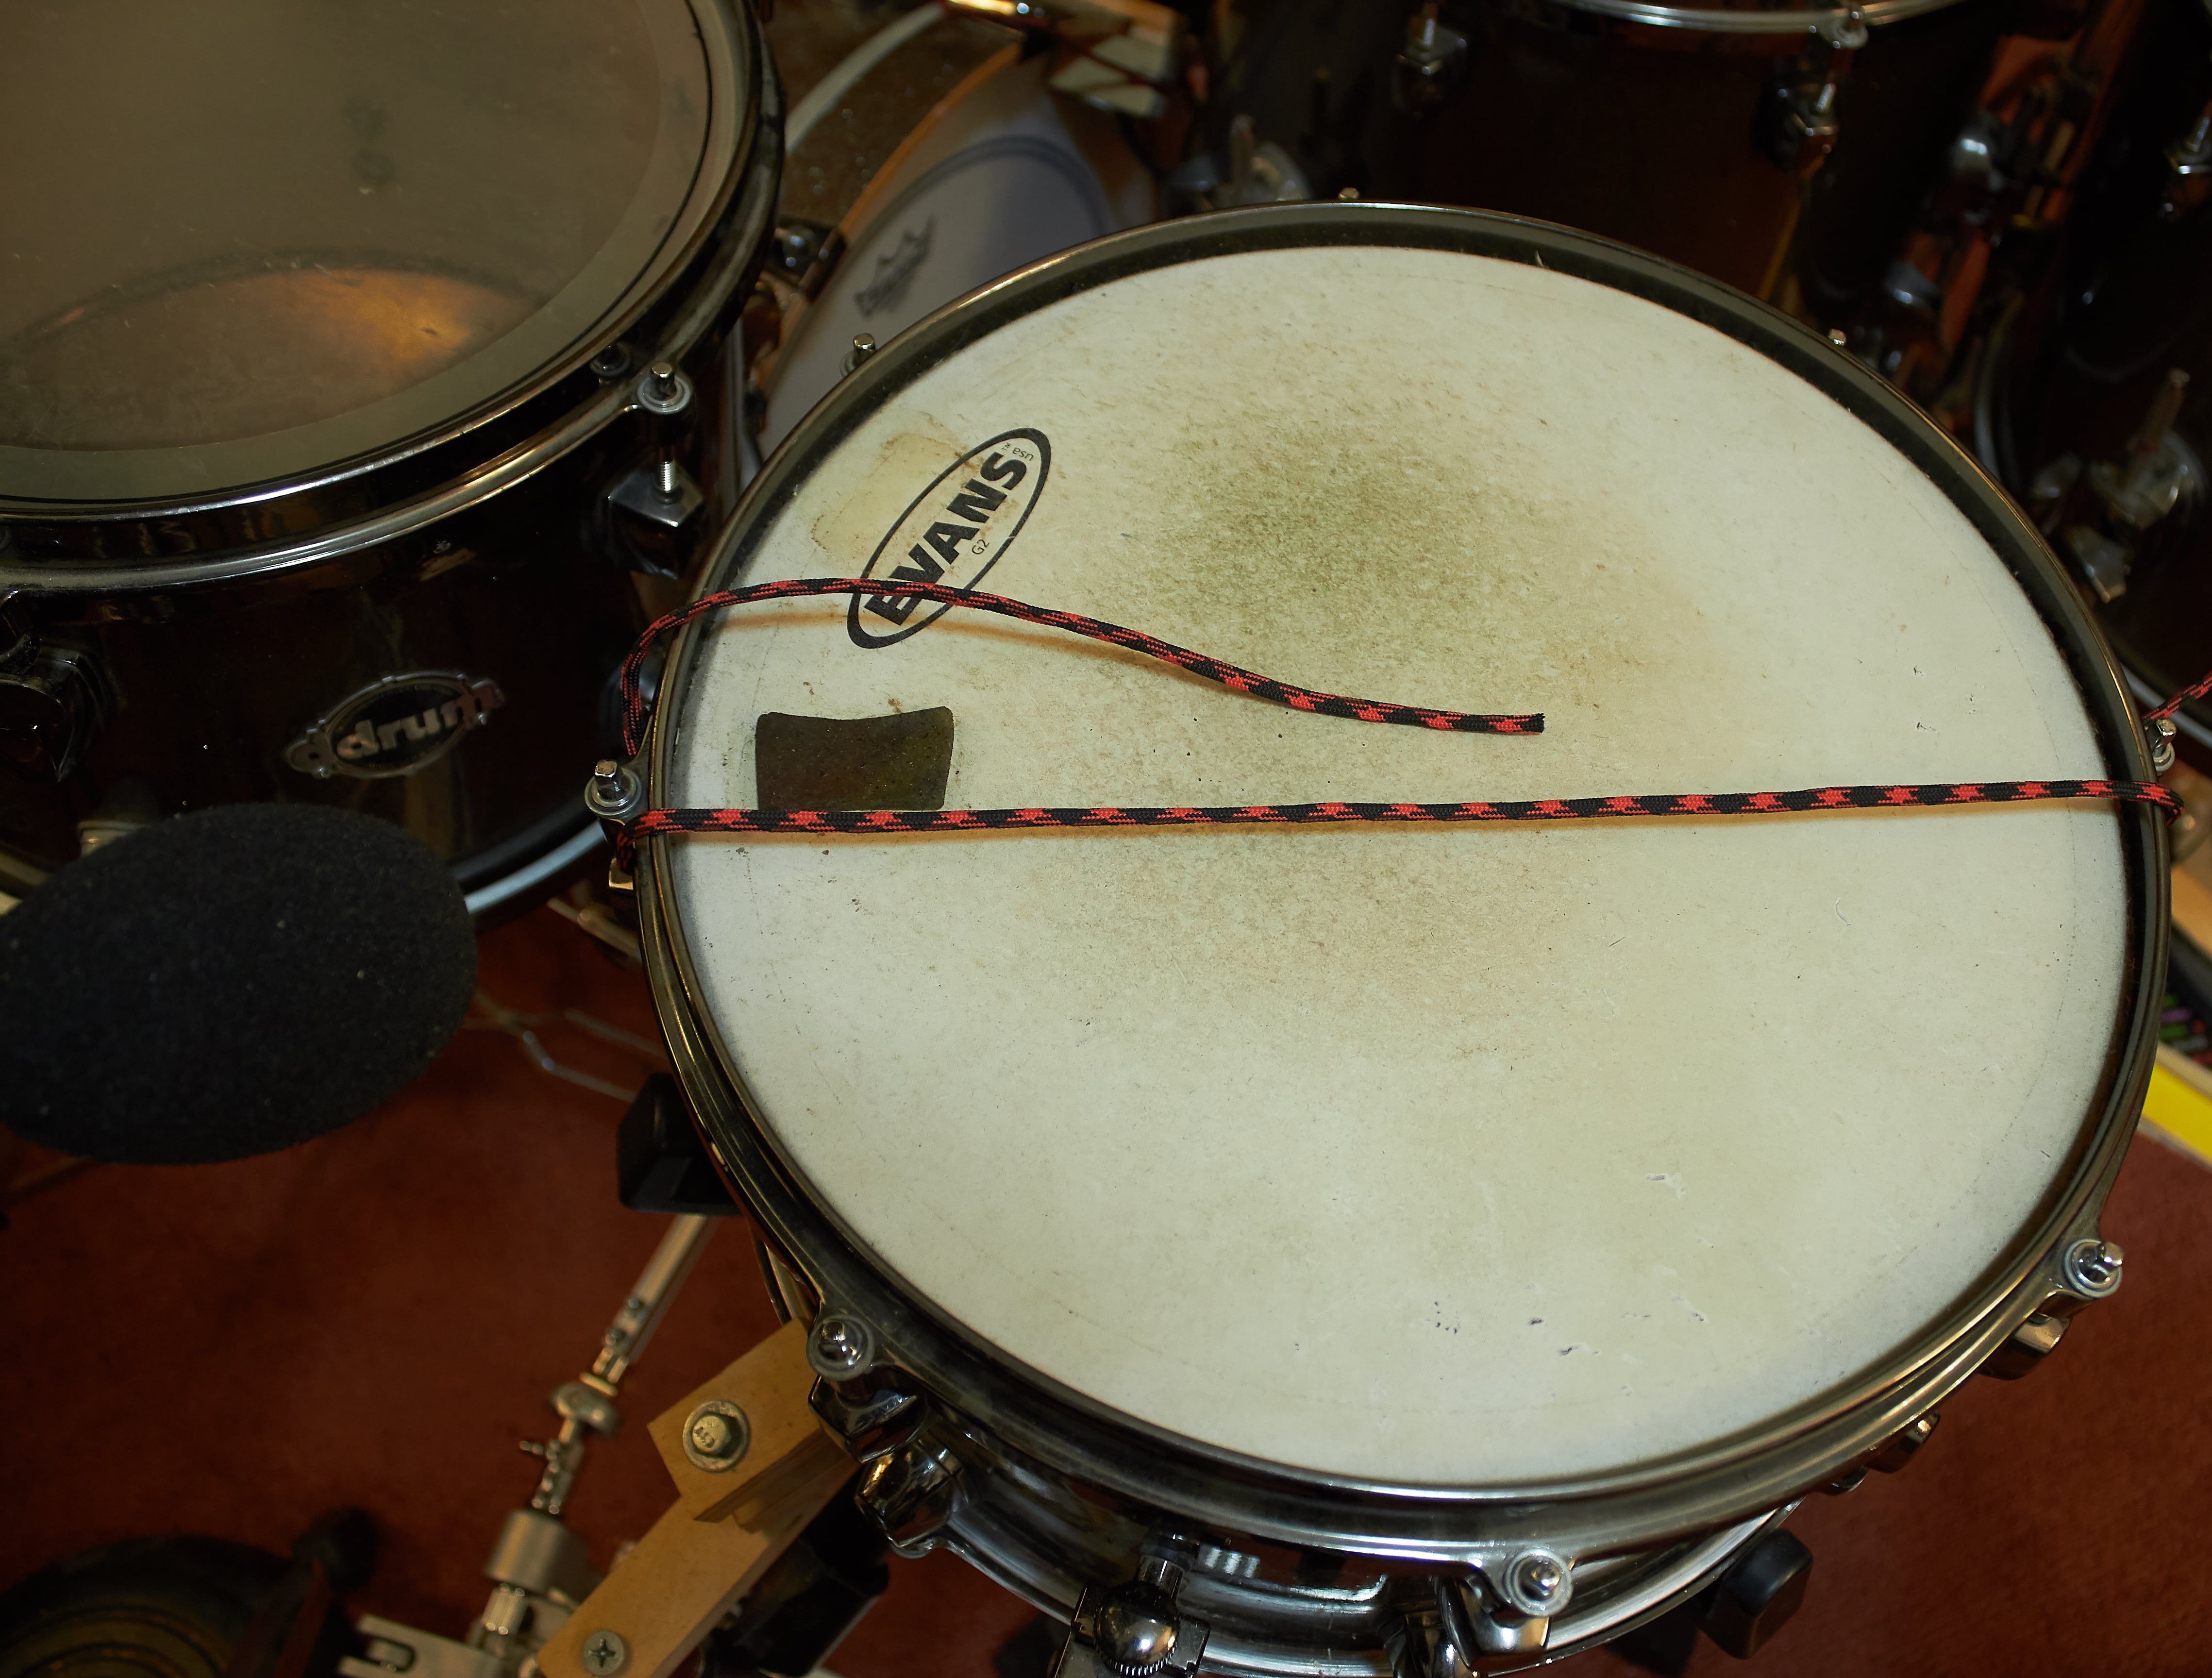
The first thing you need to do is wrap the cord around the lugs on the snare drum. The first step is shown in the picture above, it's pretty simple.
The Second Loop
No you need to loop through the other side of the snare drum just like we did on the side. You will have one piece of string going through the snare drum.
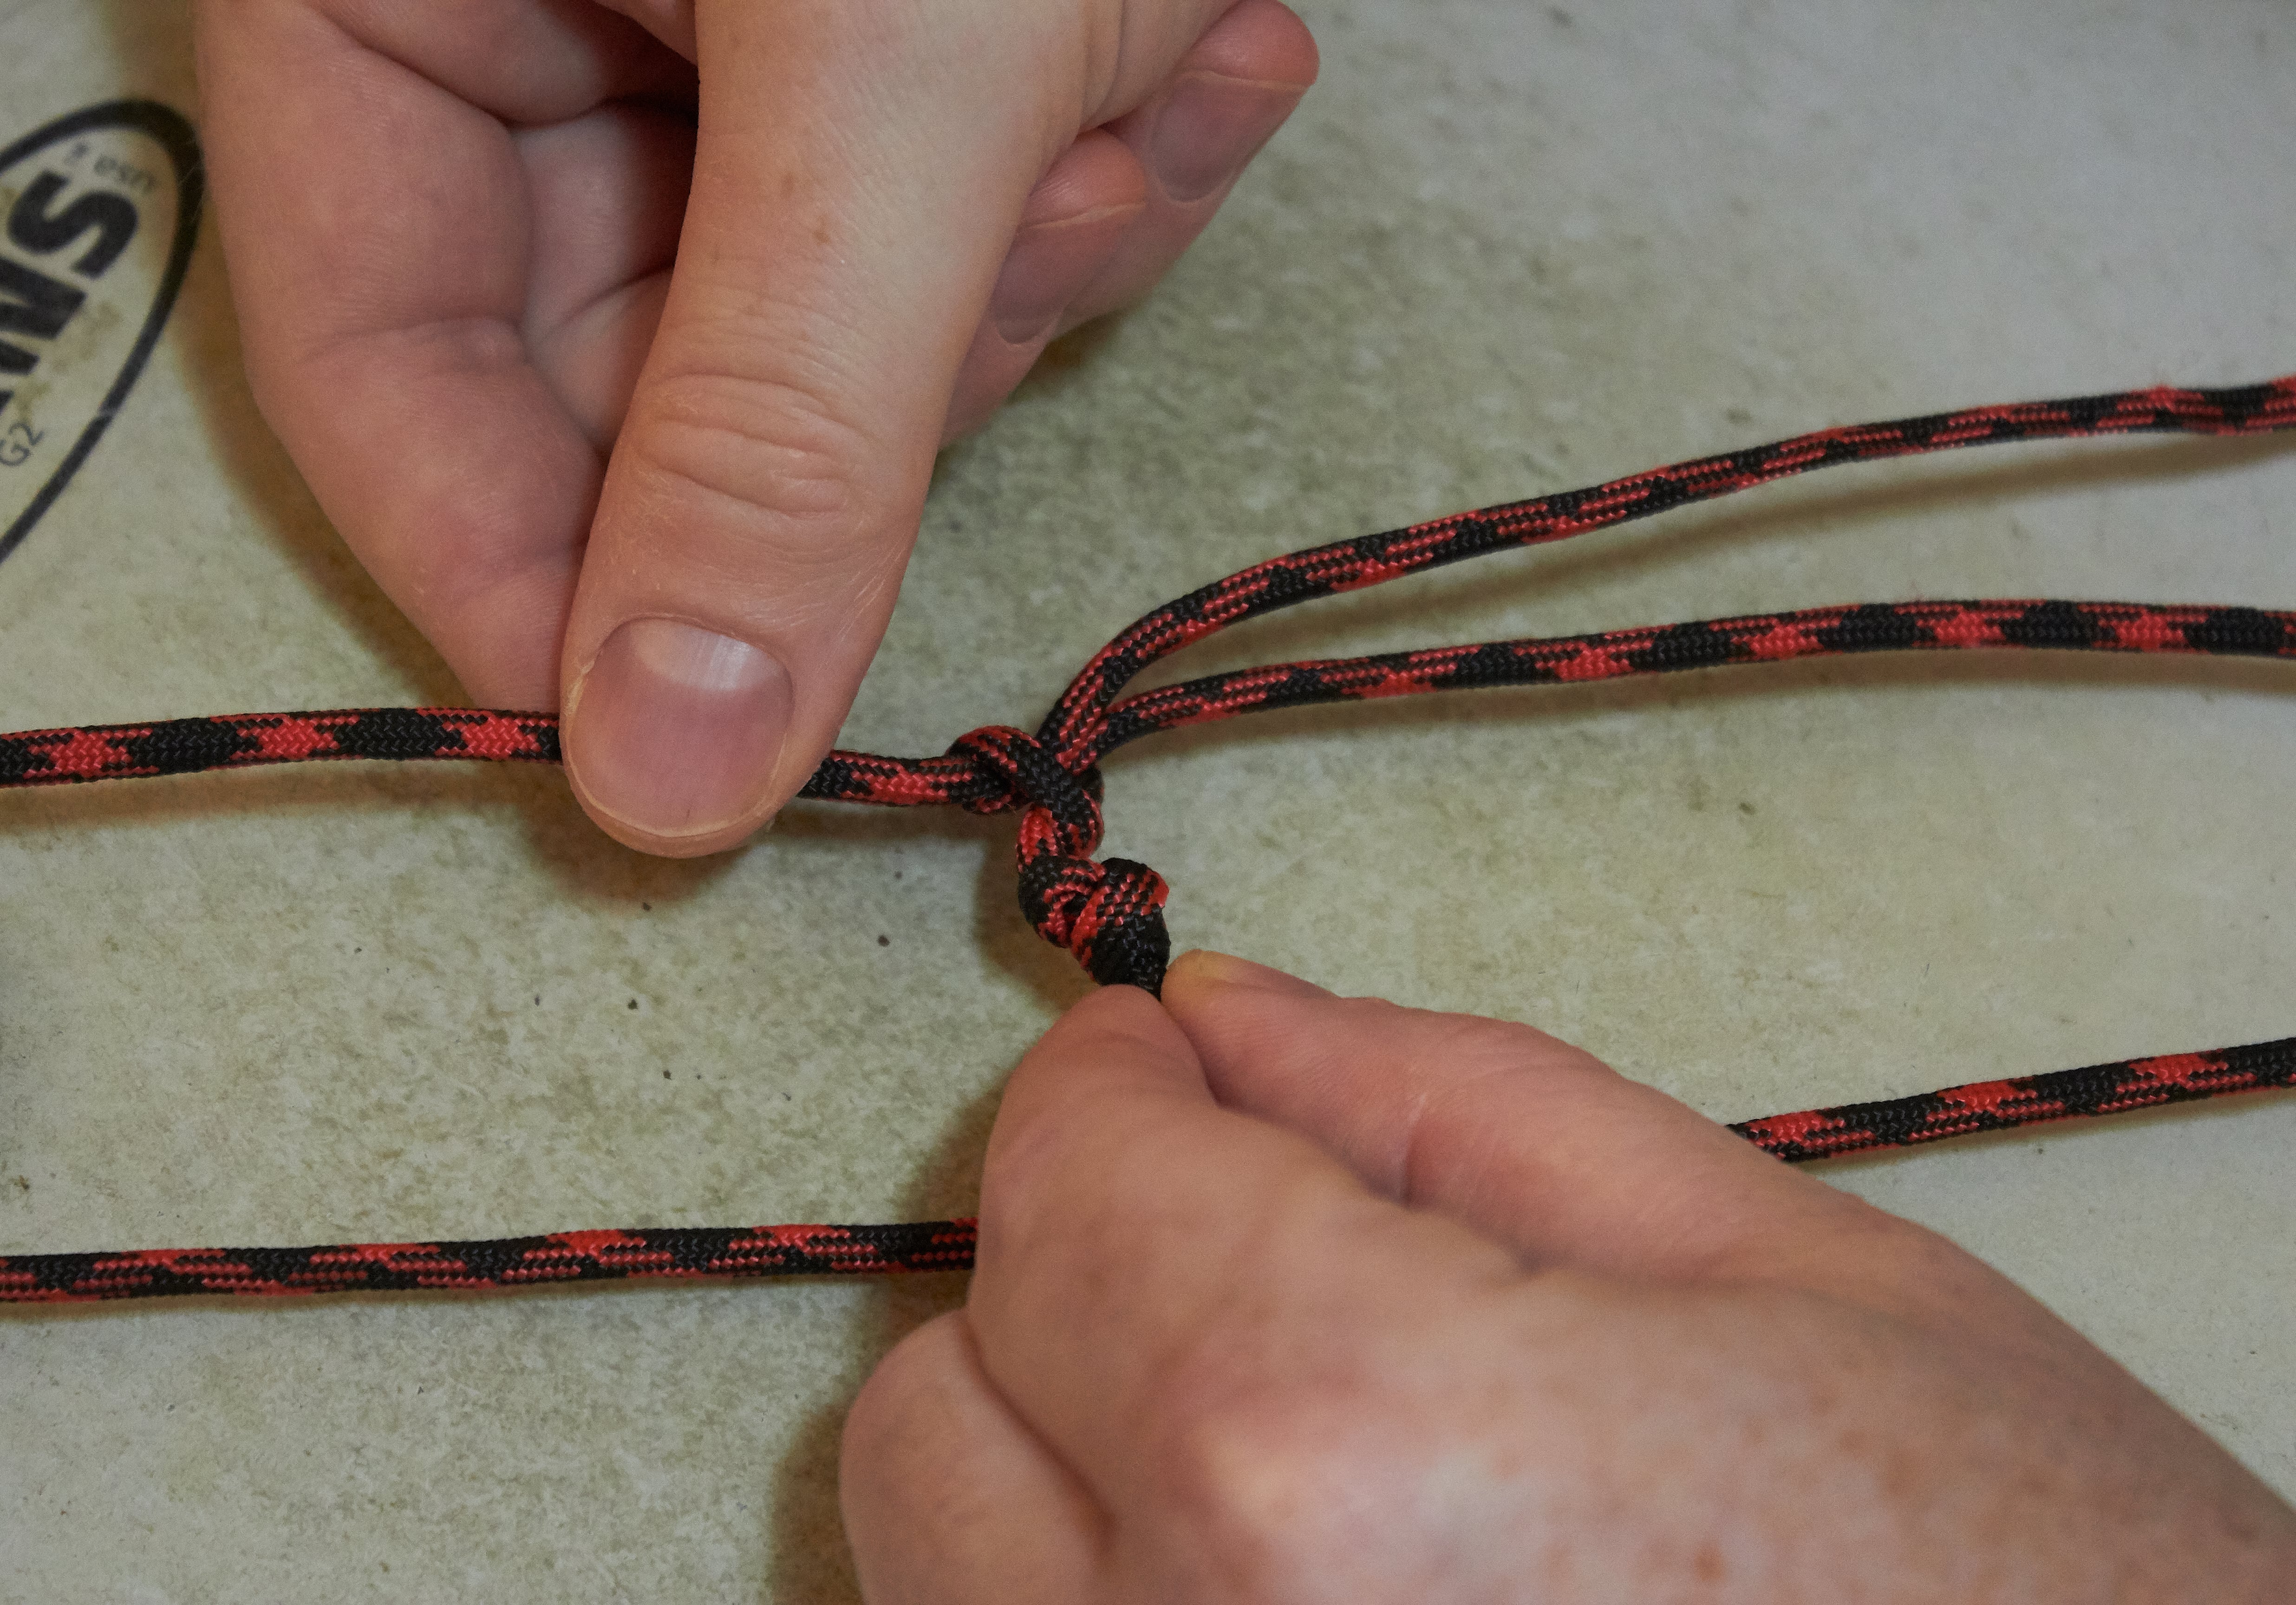
End Knot
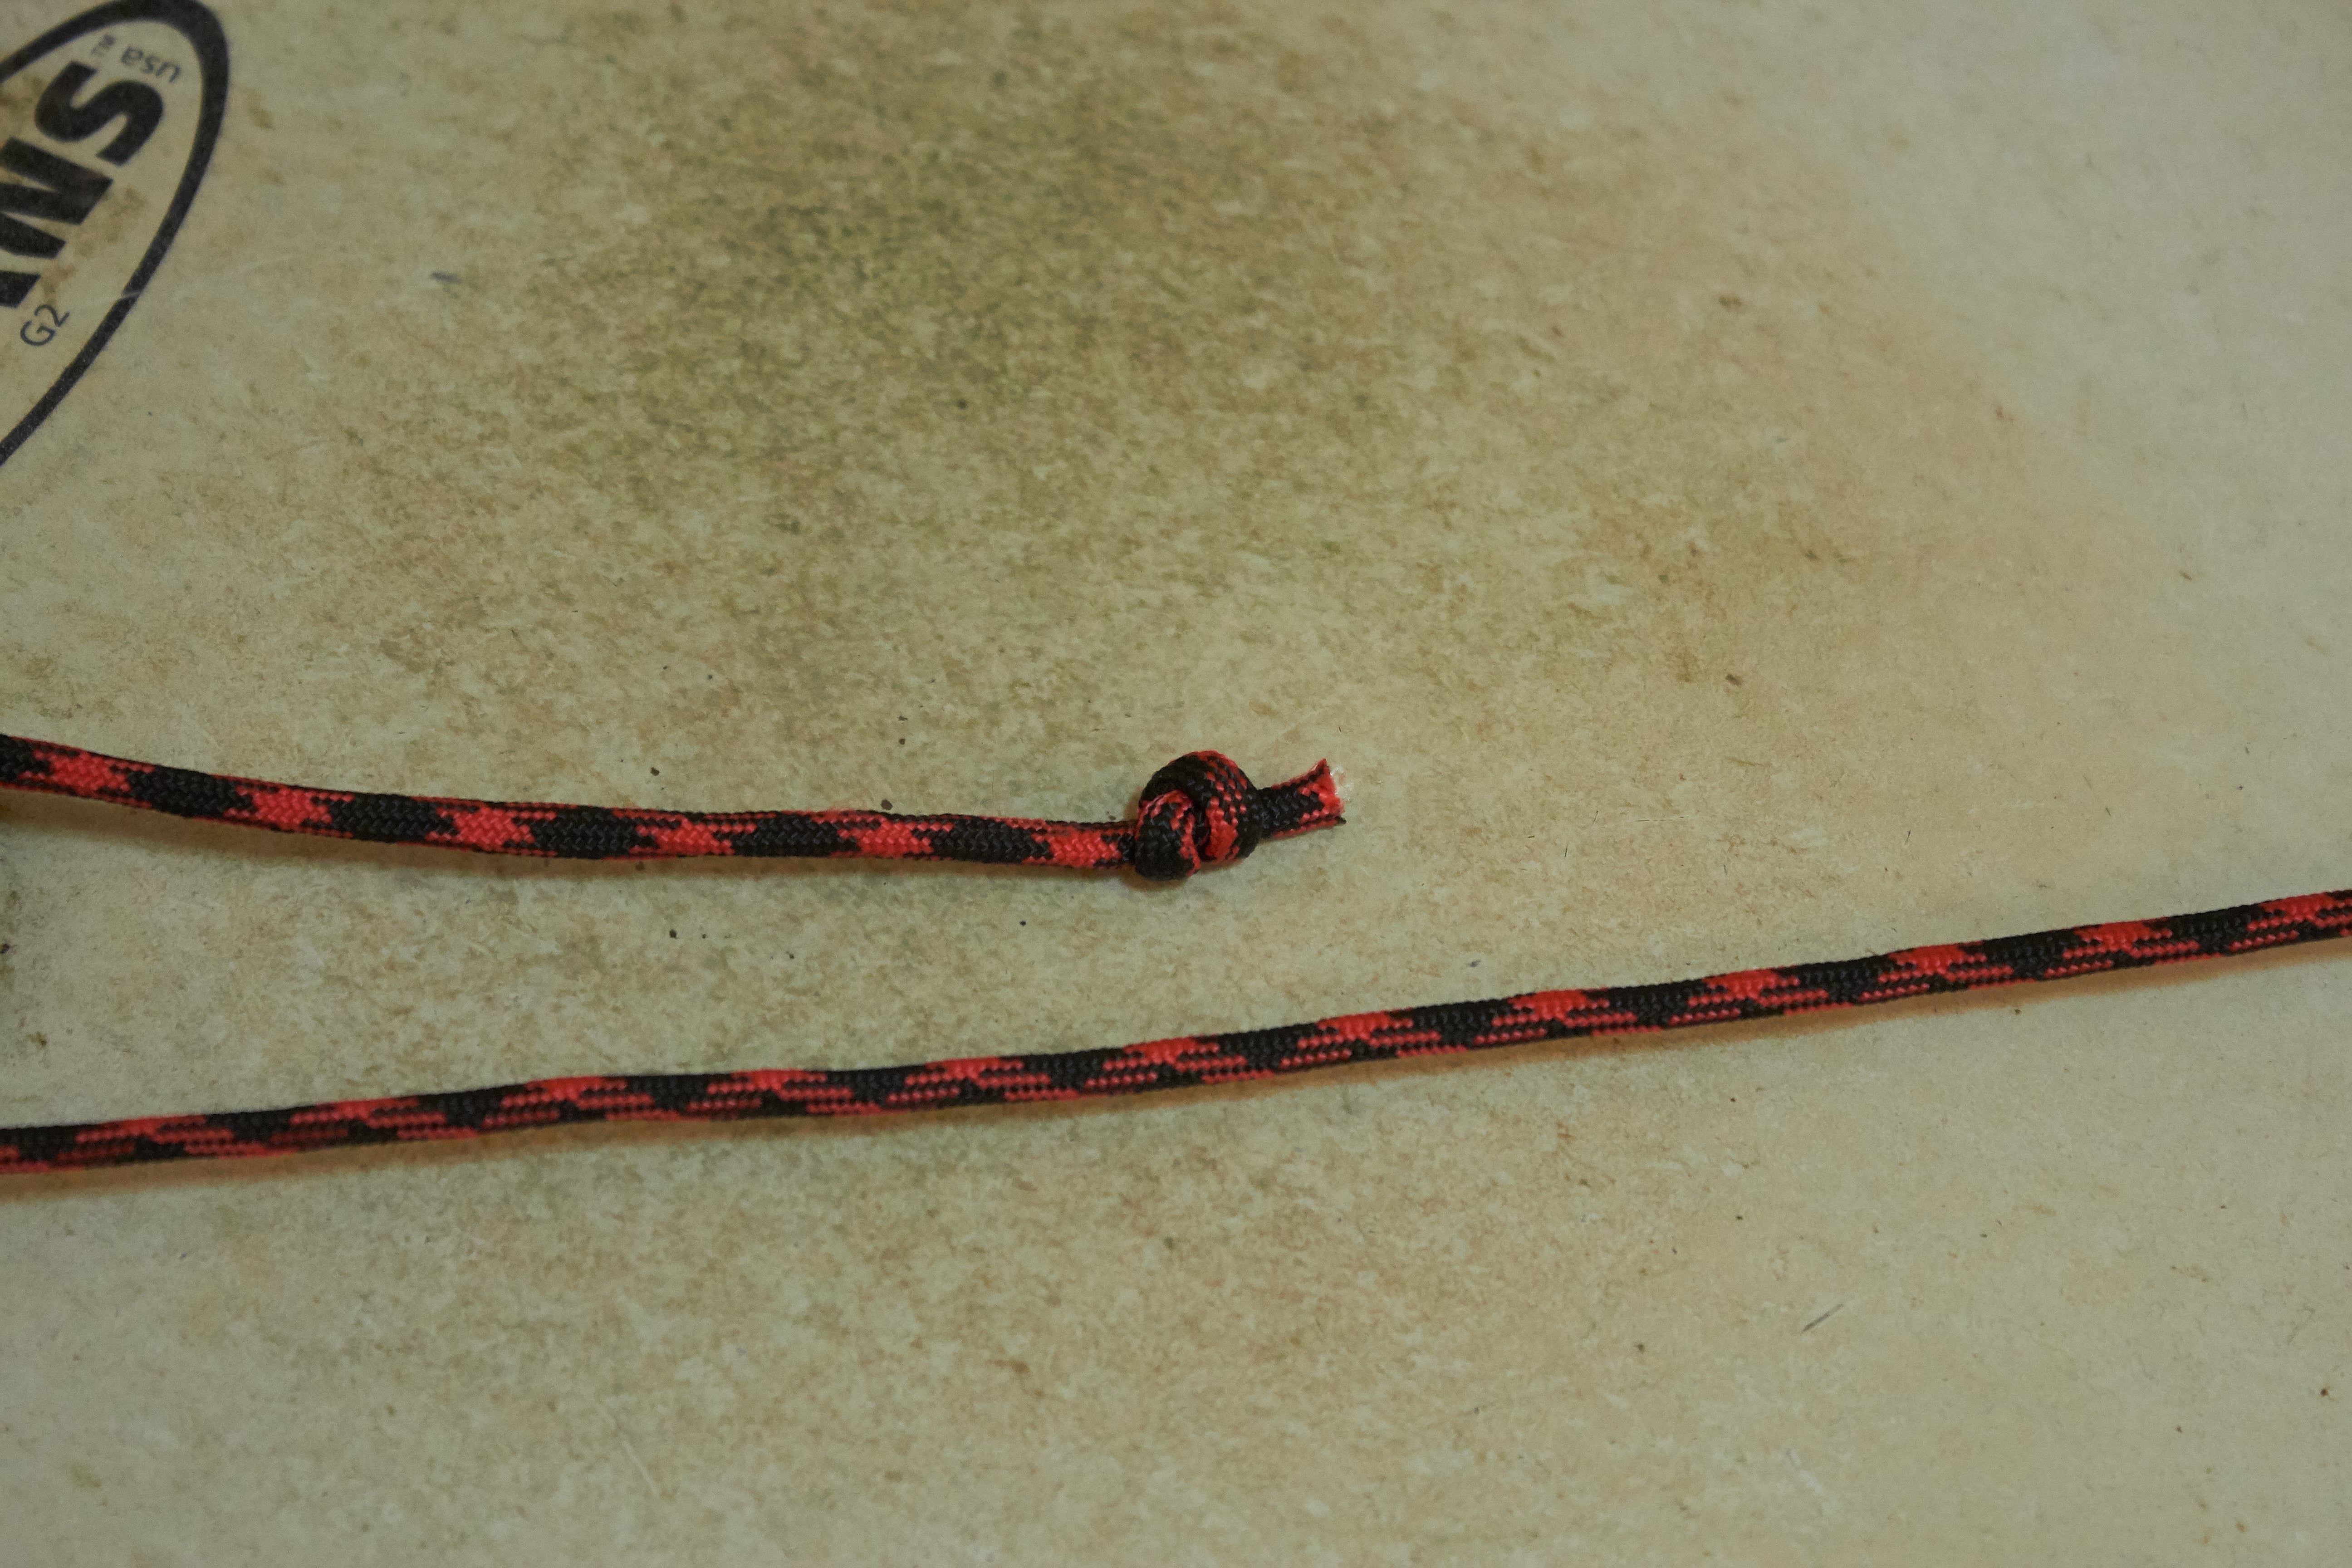
At the end of the cord that came through the snare drum create a knot. I use a double overhand knot because it's both secure and easy to undo if needed.
First Larks
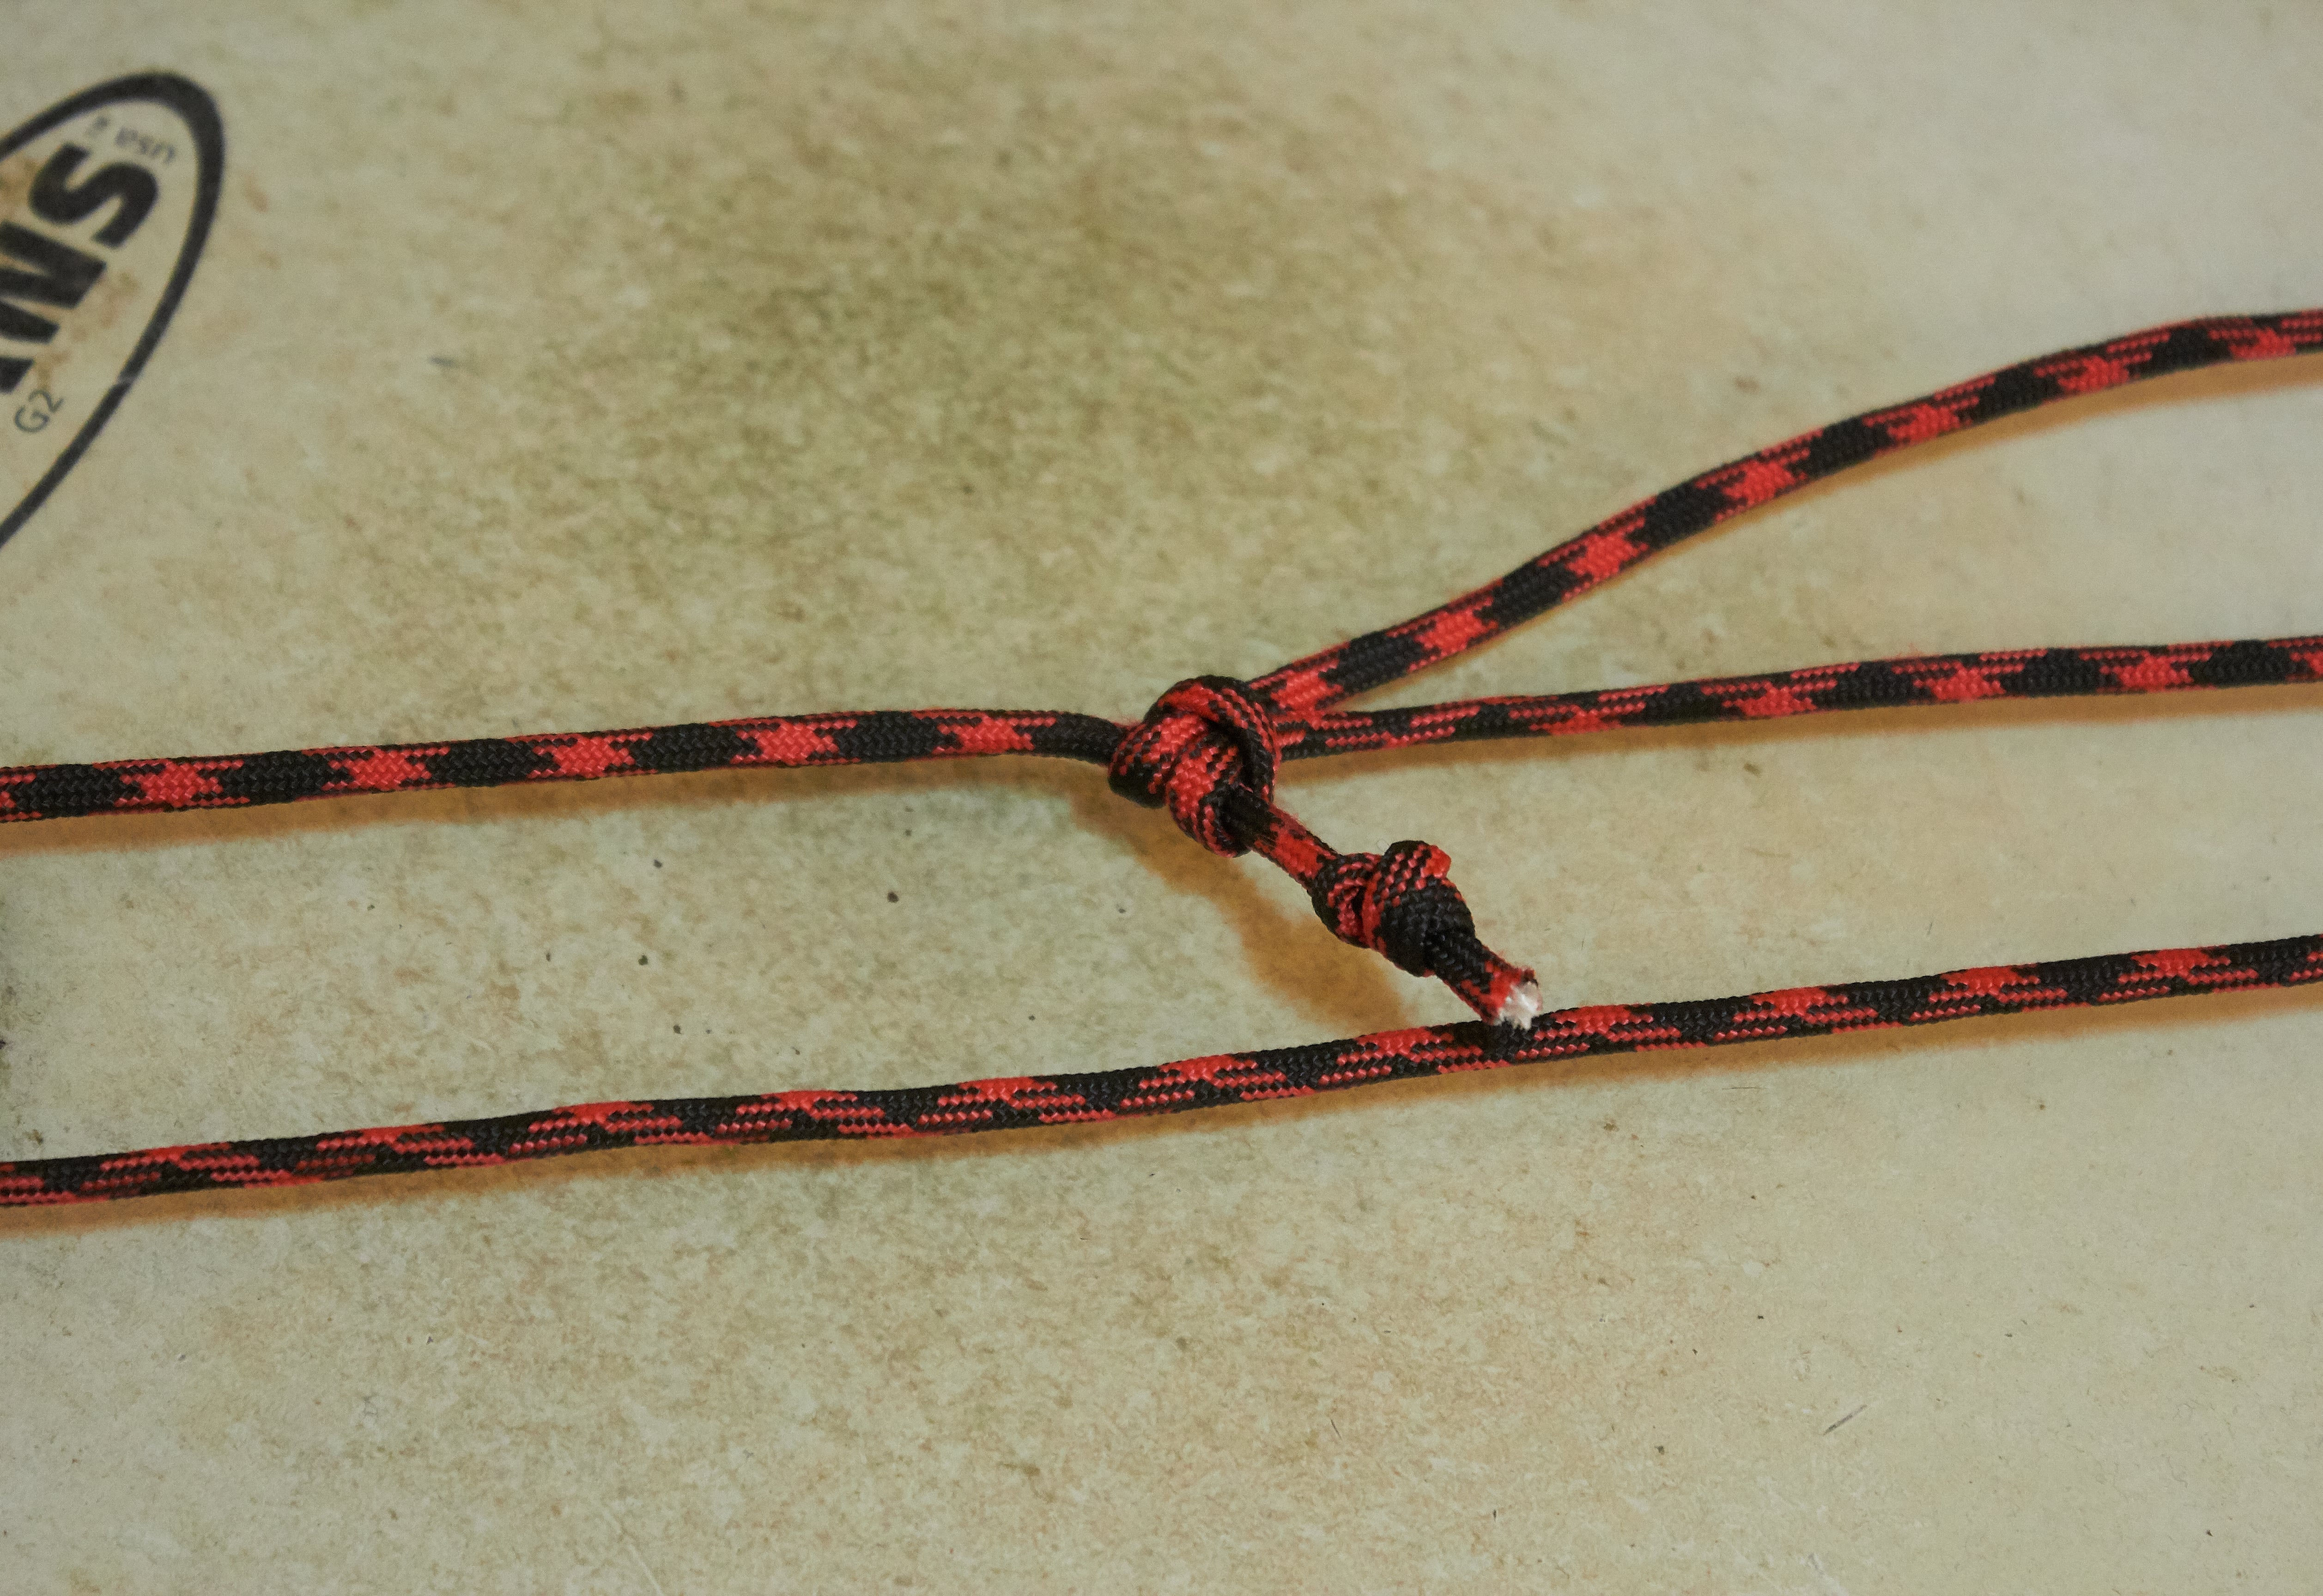
Now we tie what I call a Lark's head. (It's called a Cow's Hitch everywhere else).
I am not going to teach you how to tie this not, since there are plenty of excellent resources on the Internet.
I tie it with the "Loops" method.
DO NOT SECURE IT TIGHTLY. Just barely snug is what we want right now.
Tying It
Okay, I lied. Here is a video of me tying the knot using the loops method.
- Create a loop
- Stick your thumb and index finger in it
- Roll your hand inwards
- Pinch your 2 new loops together.
- Put your 'to be attached' line into those double loops and pull the tails.
Once you get a handle on this you can tie this knot in less than a second.
Undo Lark's
If you wish to undo this knot then grab the two lines that it is secured to and pull.
Pull
When your lark's head knot is complete you will need to secure it.
Grab the lark's head portion and push it forward to roll it over the line that it's secured to.
You may wish to pull both the lines that it's attached to in order to make it easier.
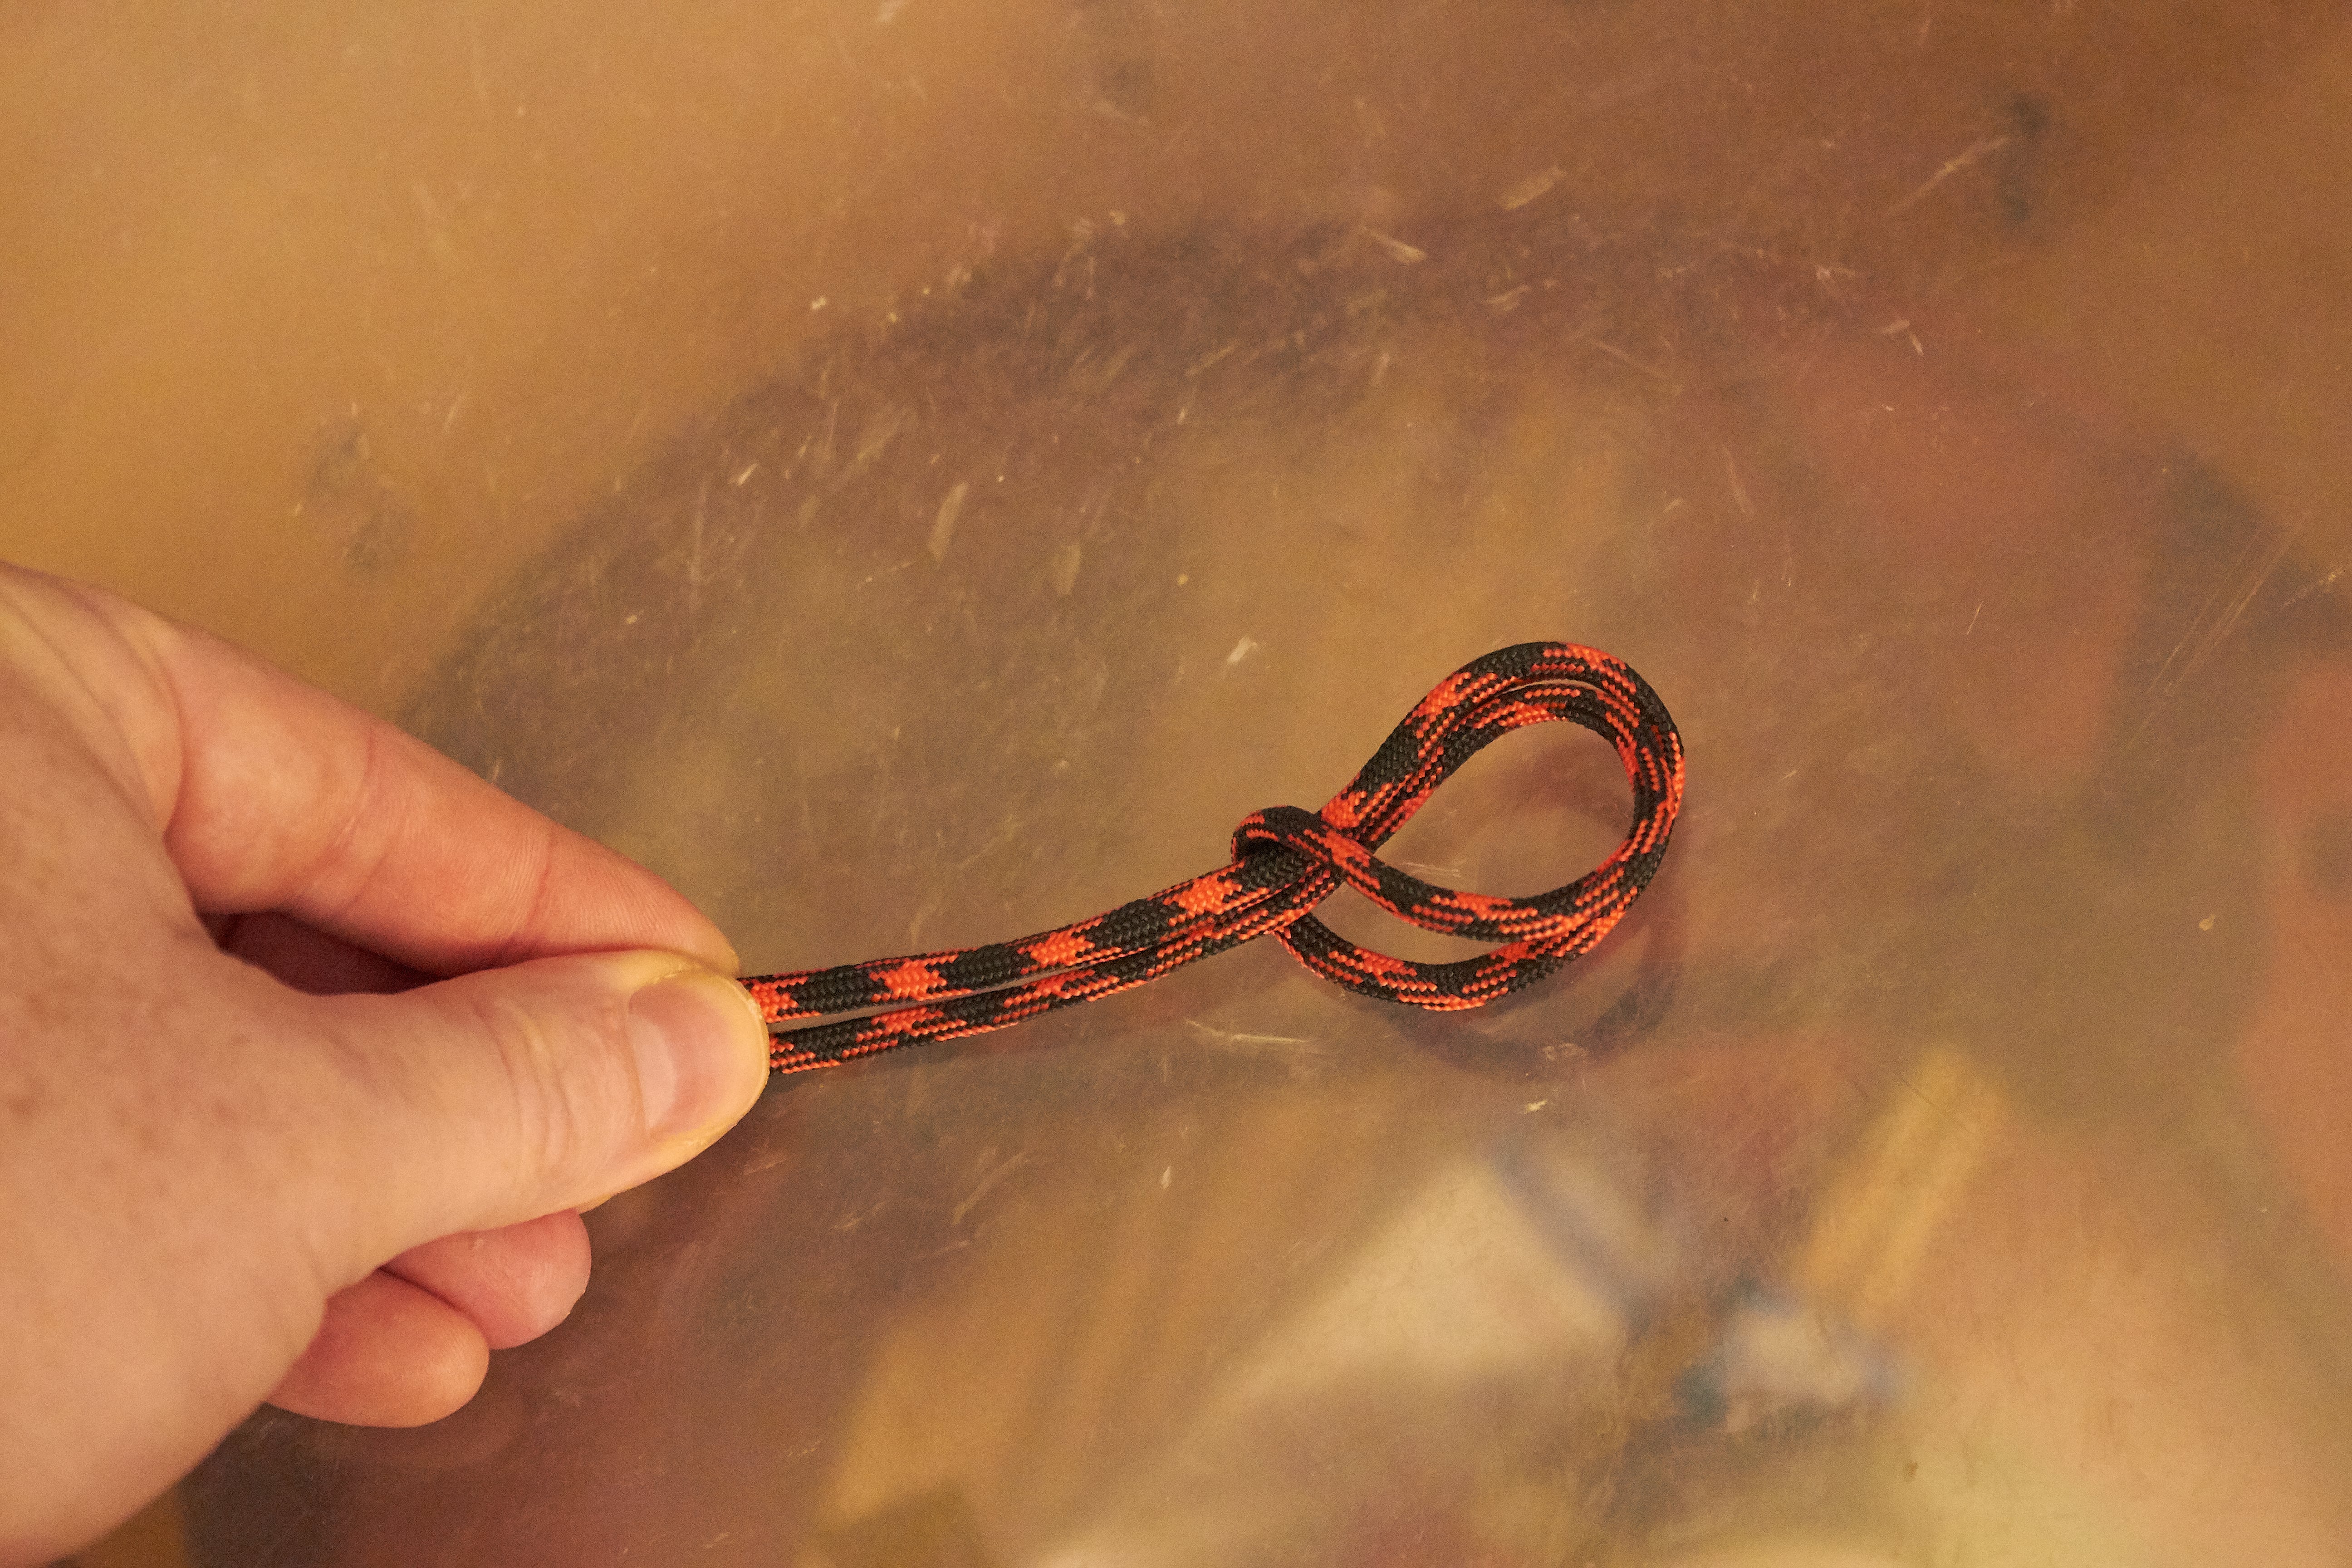
Loop 2
Hold the line from the snare drum to the microphone back down to the kick drum beater.
Create a loop with a bit of slack.
Lark's 2
Now we need to create a lark's head again.
So... do that.
Kick Attachment
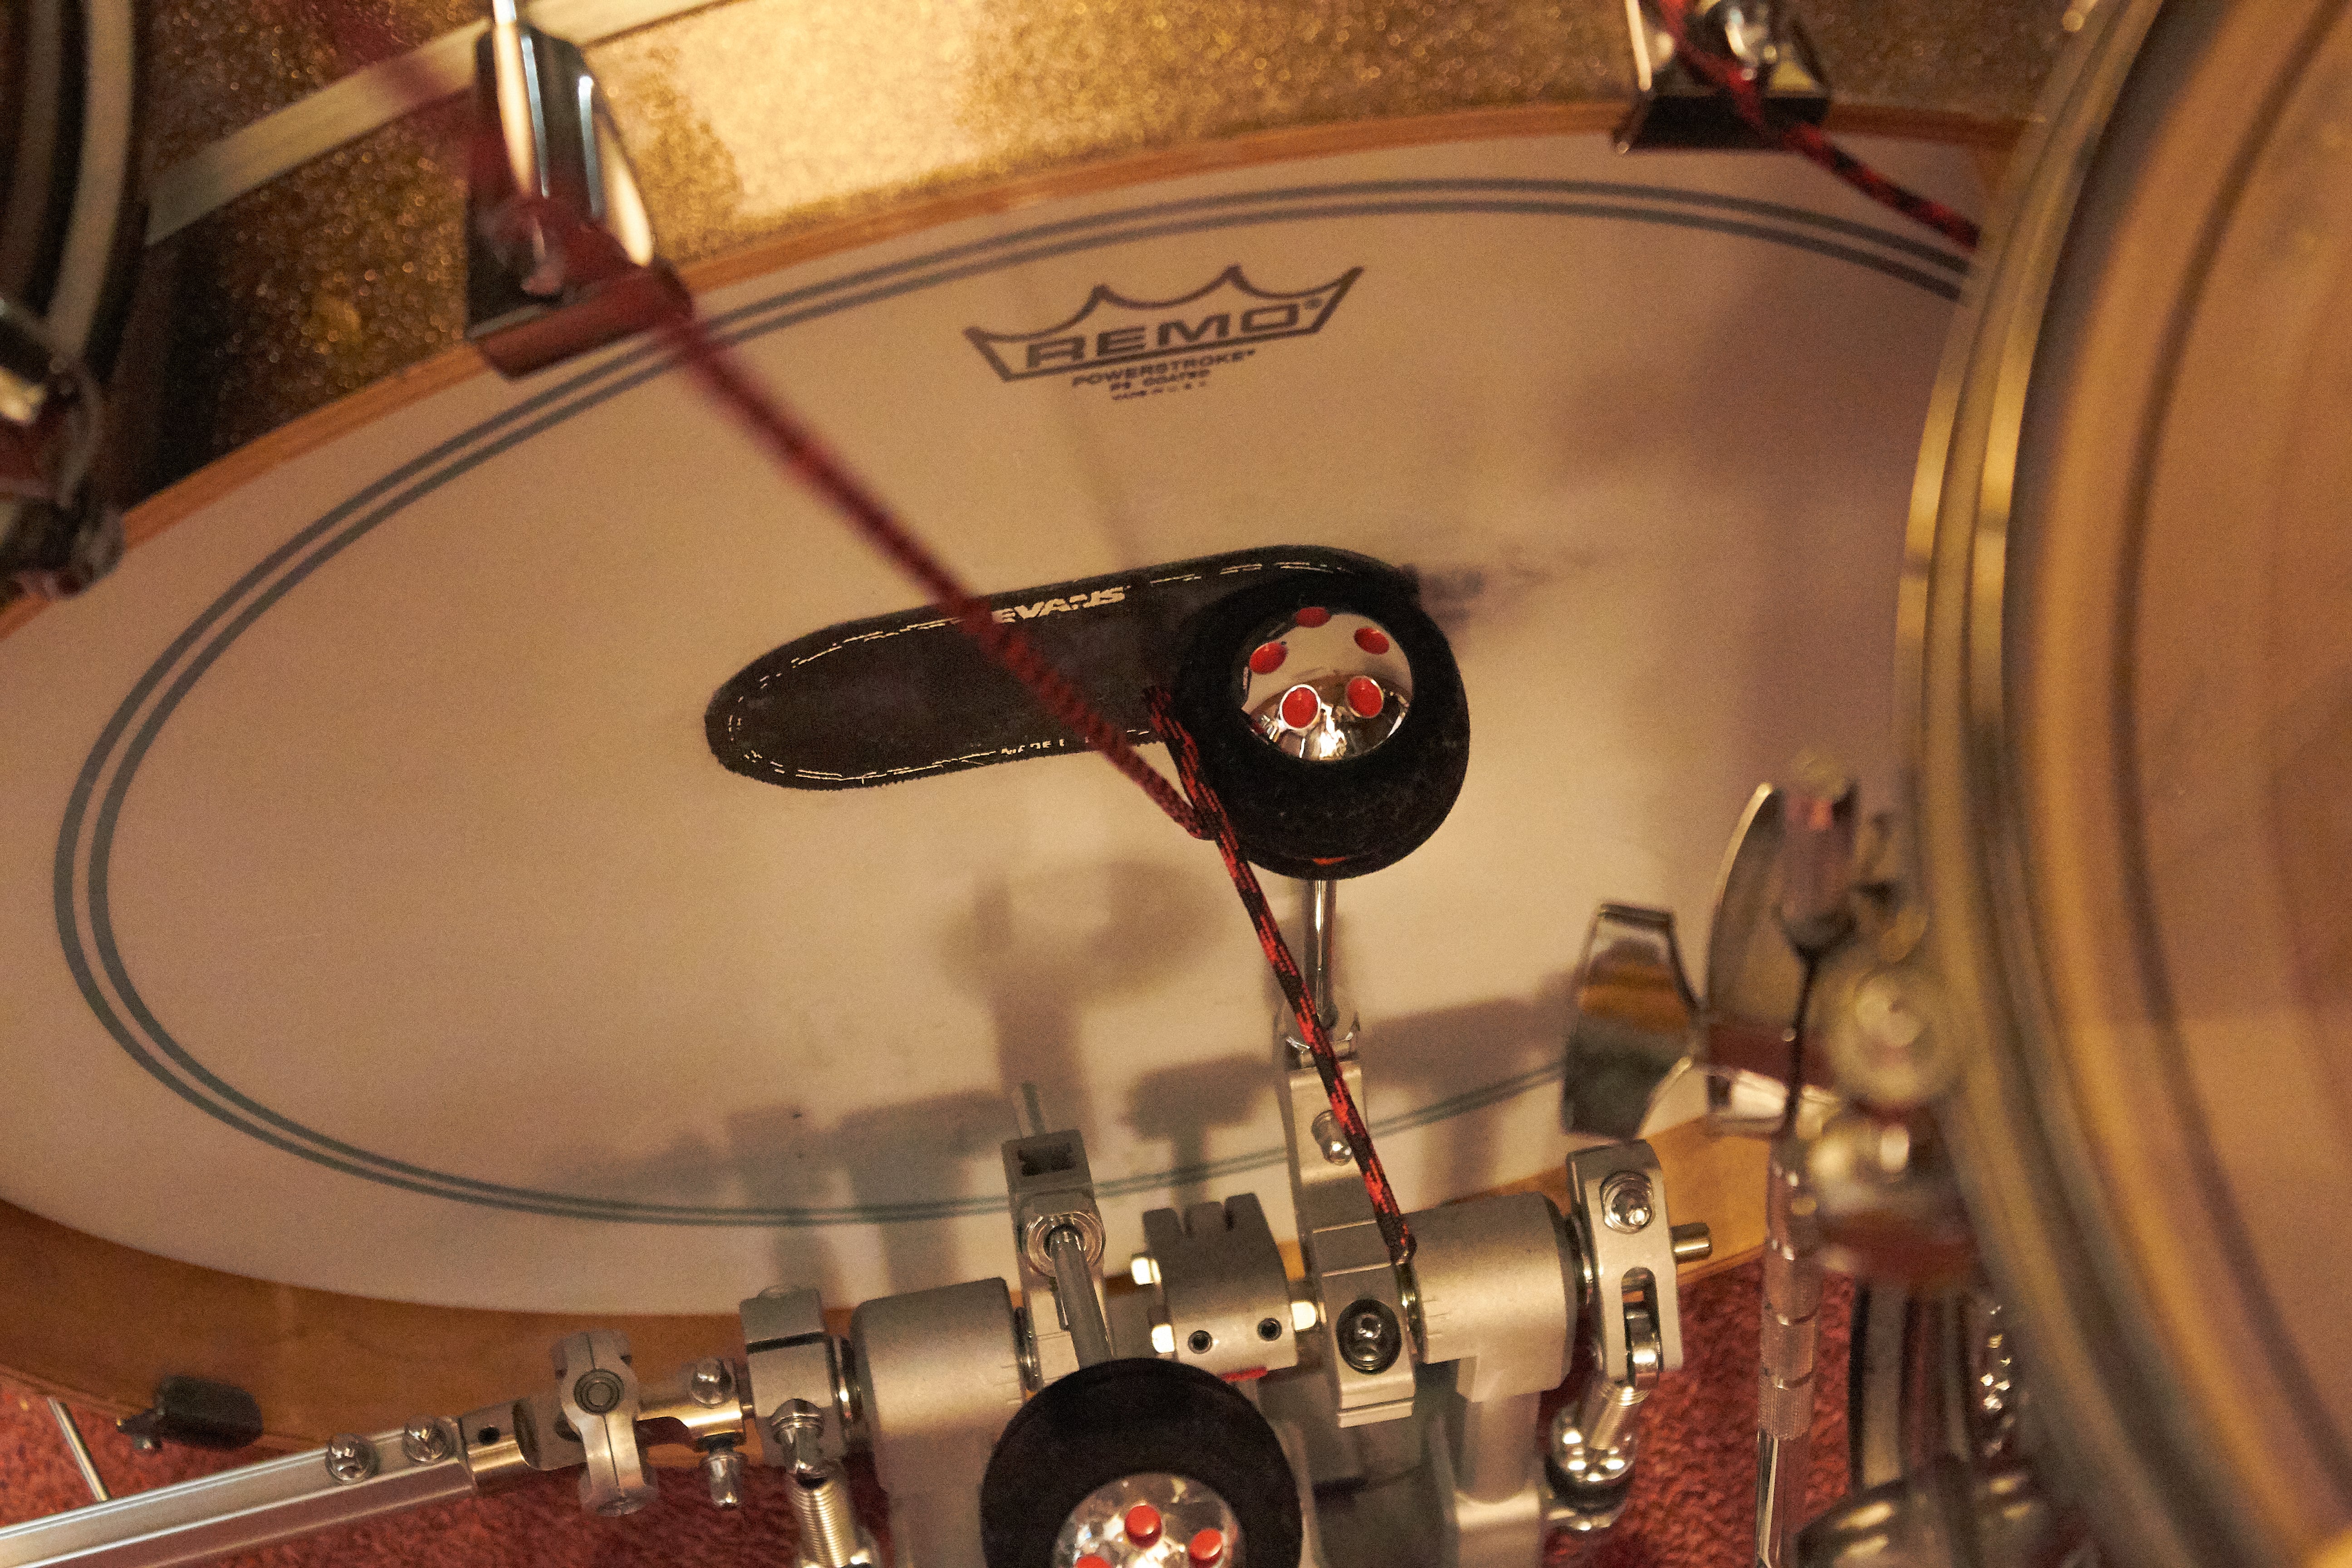
Put the lark's head over your kick drum meter and tighten it.
Make sure that you pull both lines the tight otherwise you will generate slack which will mess with your microphone placement a bit.
Kick Attachment Again
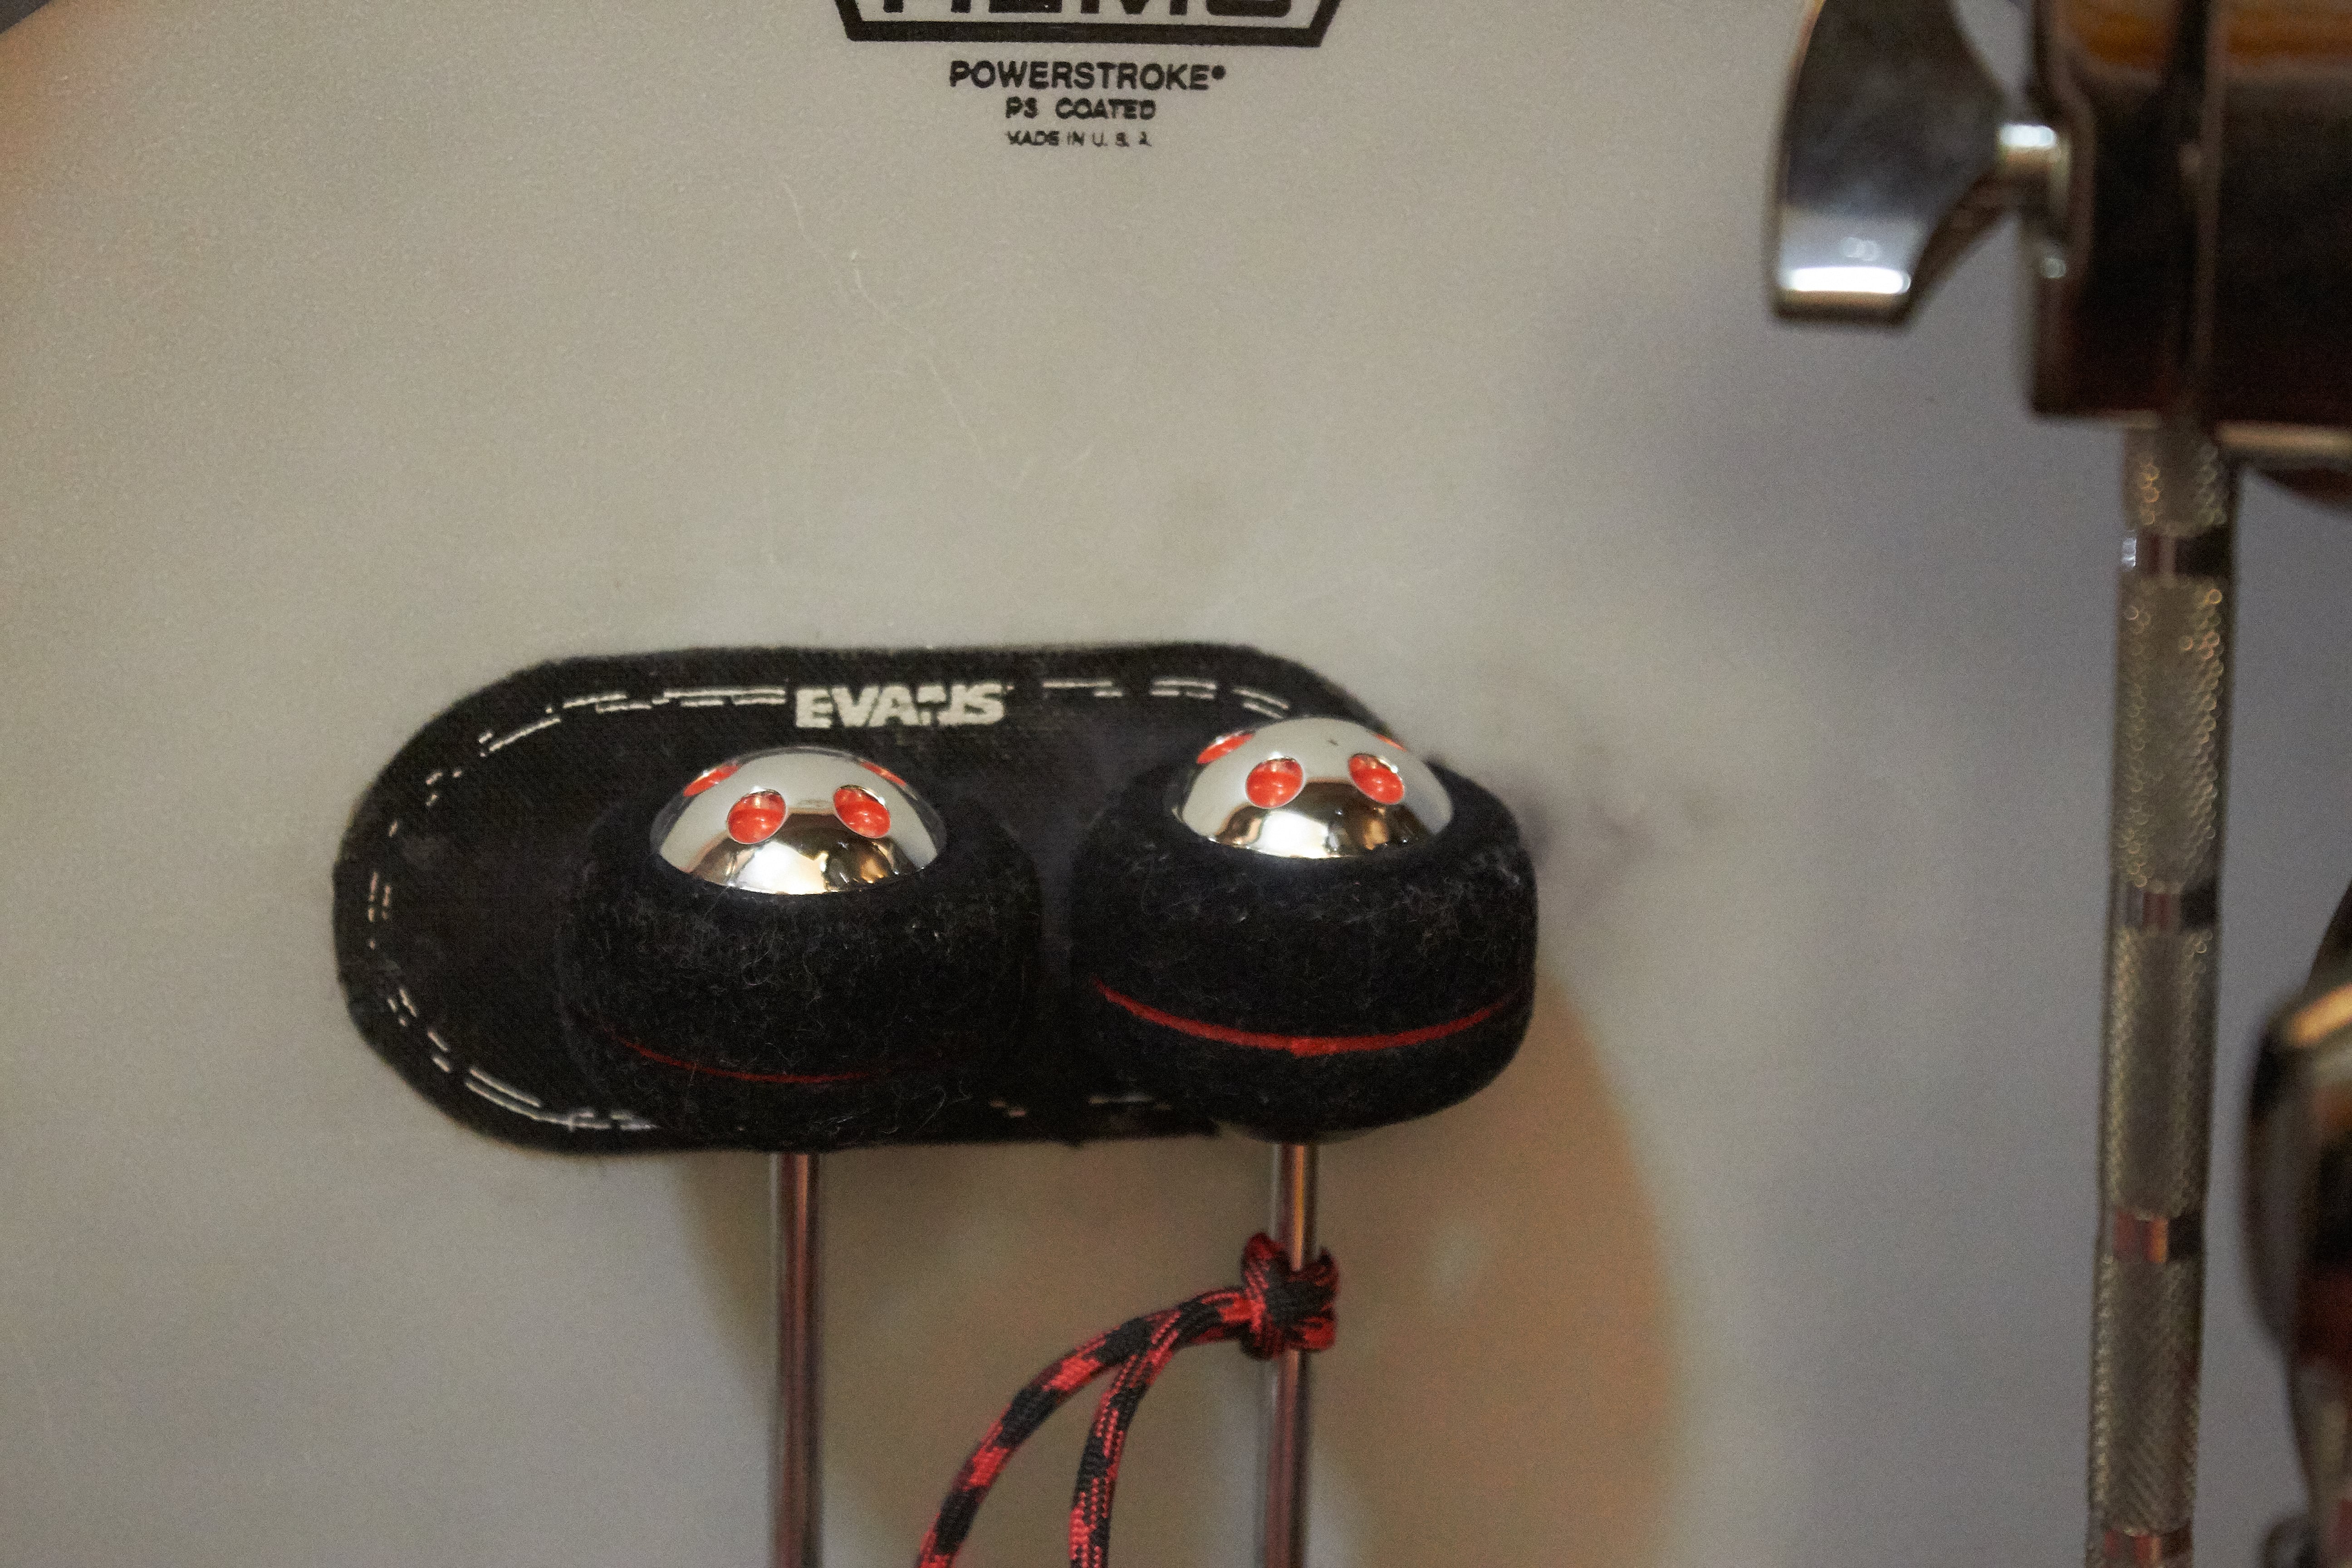
Another image.
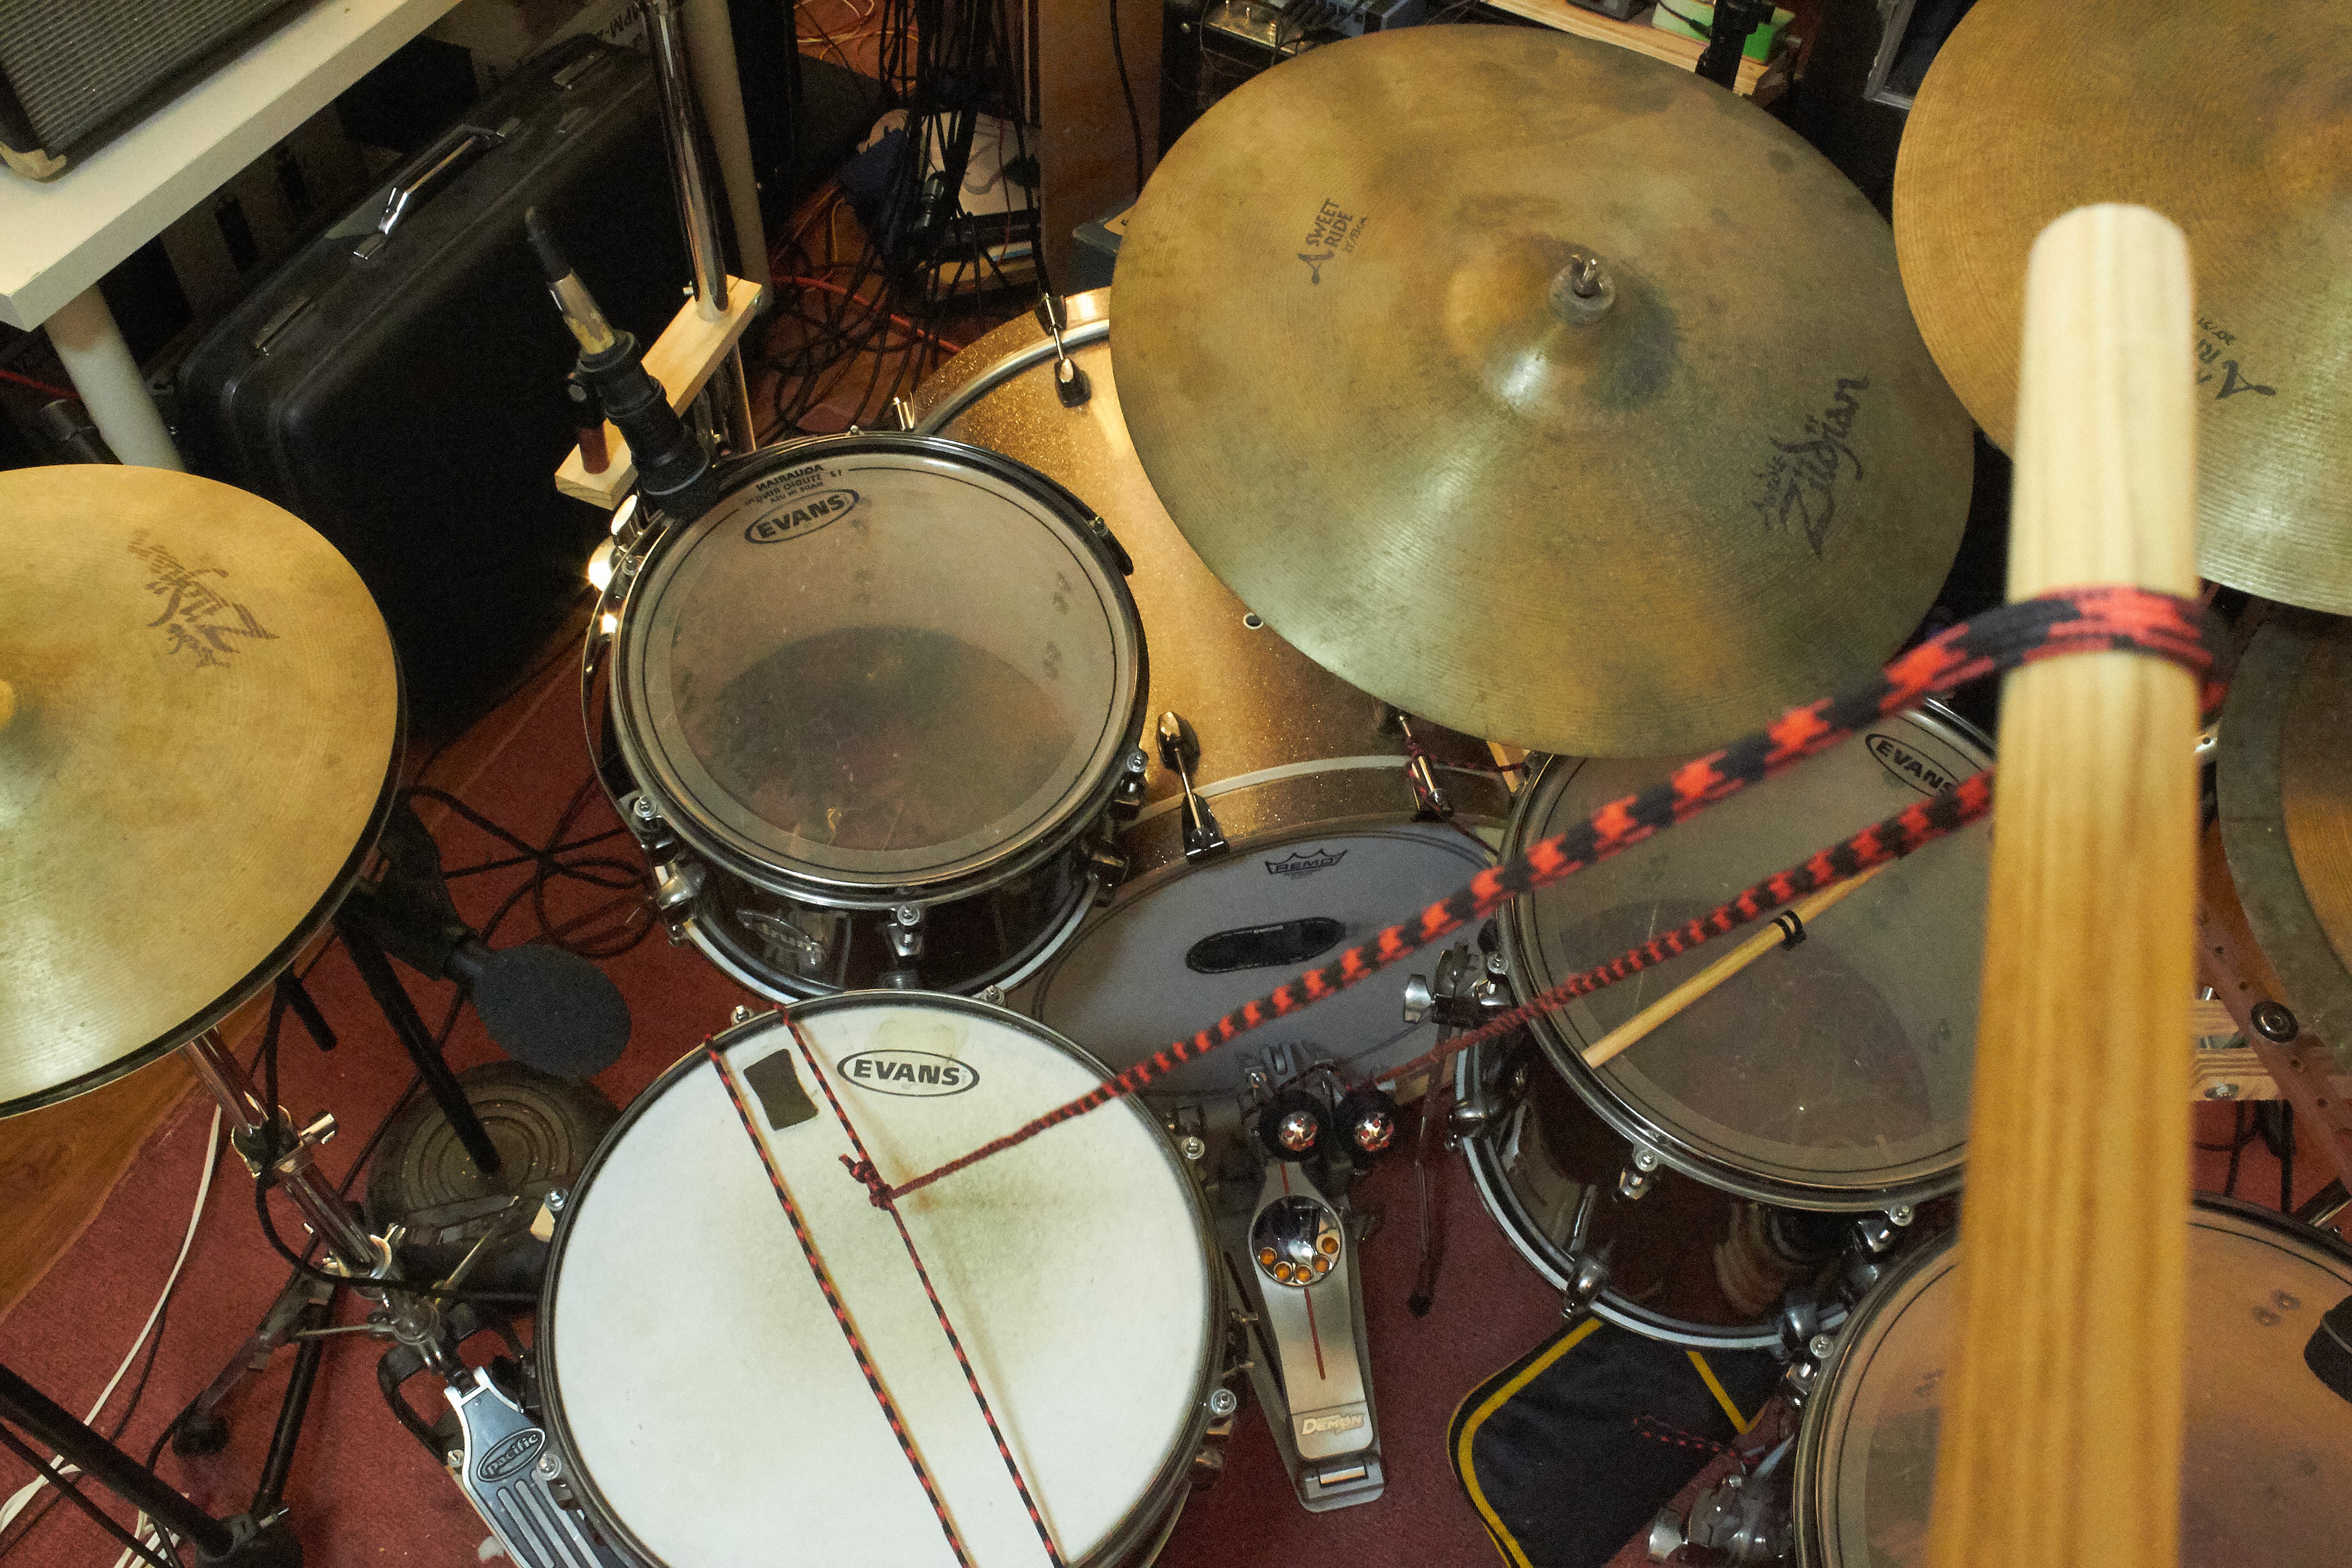
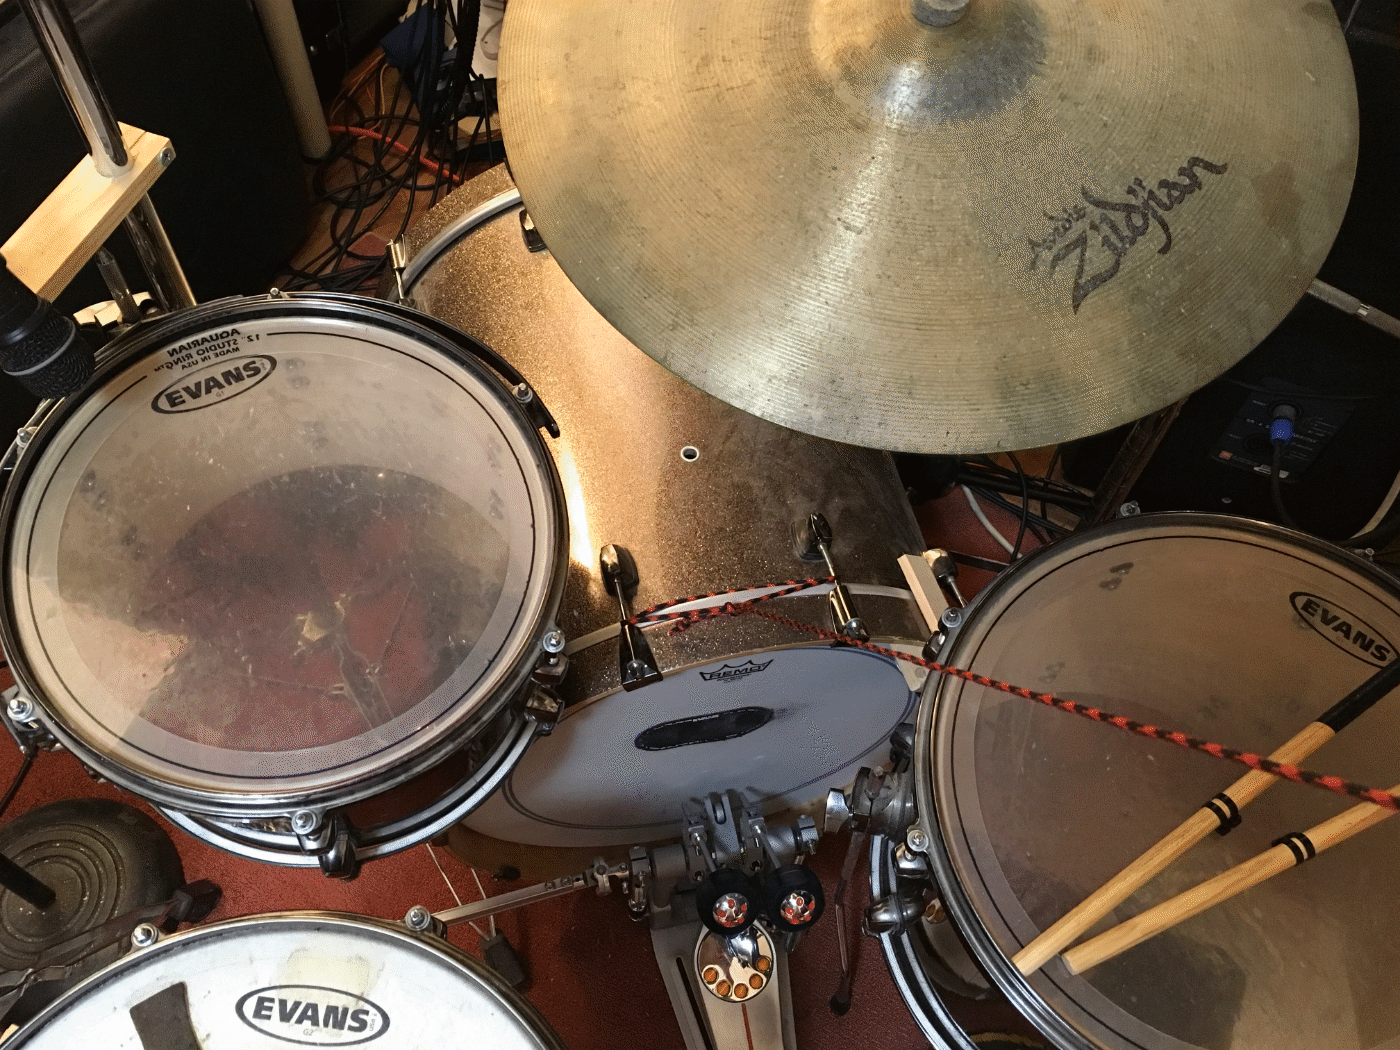
All Set up
That is everything.
You can put a break or a weight on the kick drum pedal to hold down the beater to the head. I just stand on the beater while I place microphones, it's not a big deal and I'm a huge person (very tall).
Bonus content
For the kick beater side I use an adjustable knot called a Tautline Hitch. I DO NOT use a Midshipman's hitch or Magnus Hitch (see the difference here). Midshipman's hitch can lock on you, and Magnus is too loose. (Yeah Magnus, have some respect for yourself!)
Once the knot is tied than any pressure on the loop will cause the knot to bind instead of slip. You can grab the knot and coal the line going through the knot to adjust it. It is a super useful knot.
The video above is me tying the knot and showing how to use it.
Once this is in place I can easily loop this around the kick drum beater, or use a lark's head to secure the line to the beater.
You never had to untie this knot. If you set up so you have plenty of slack you can utilize this on the "Kick Side" of your line for any setup.
Note - I filmed me tying this knot 11 times and every time I fumbled it. After 5 tries I sat on my drum stool and tied it just fine about 50 times... then continued to fumble it on camera.
C'est La Vie
Bonus Two
Don't be afraid of moving drums around while setting this up. Toms can get in the way, so don't be afraid of moving them to the side.
Another thing you can do that works rather well is to tie you lines to the top two lugs of the kick drum like in the image above. This lets you move the line more accurately when trying to pull it in front of the kick drum.
If you choose to do it this way than the set up is the exact same knots as the snare drum.
I actually have found that this method sounds better than the kick attachment sometimes.
Conclusion
Hopefully this helps you set up your phase aligned mics for drum recording with a little bit more expediency and with a little bit less sticky stuff left over.
It's great for setting up any sort of phase-coherent spaced pair overheads. It even works well for the weathervane method (which I'm testing right now on my own kit).
You may be concerned about the knot floating up above the drum slightly, but that 1" or so is a 180° rotation at 13,500hz. That means you'll see complete phase cancellations happening starting around 13.5khz, which is can be useful.
That's all of course assuming that the sound comes from exactly one point on the drum, which it does not. The sound comes from the entire drum.
Hope you enjoyed, thank you for reading. Let me know if you enjoyed this!
Support Me!
This post took 6 hours to photograph, write and edit. If you appreciate the information presented then please consider joining patreon or paying me for my time spent bringing you quality content!
If you appreciate the information presented then please consider joining Patreon or donating money/time.
