A couple months ago, I made a hand-carved meat tenderizing mallet. Click-through for some stages of the process.
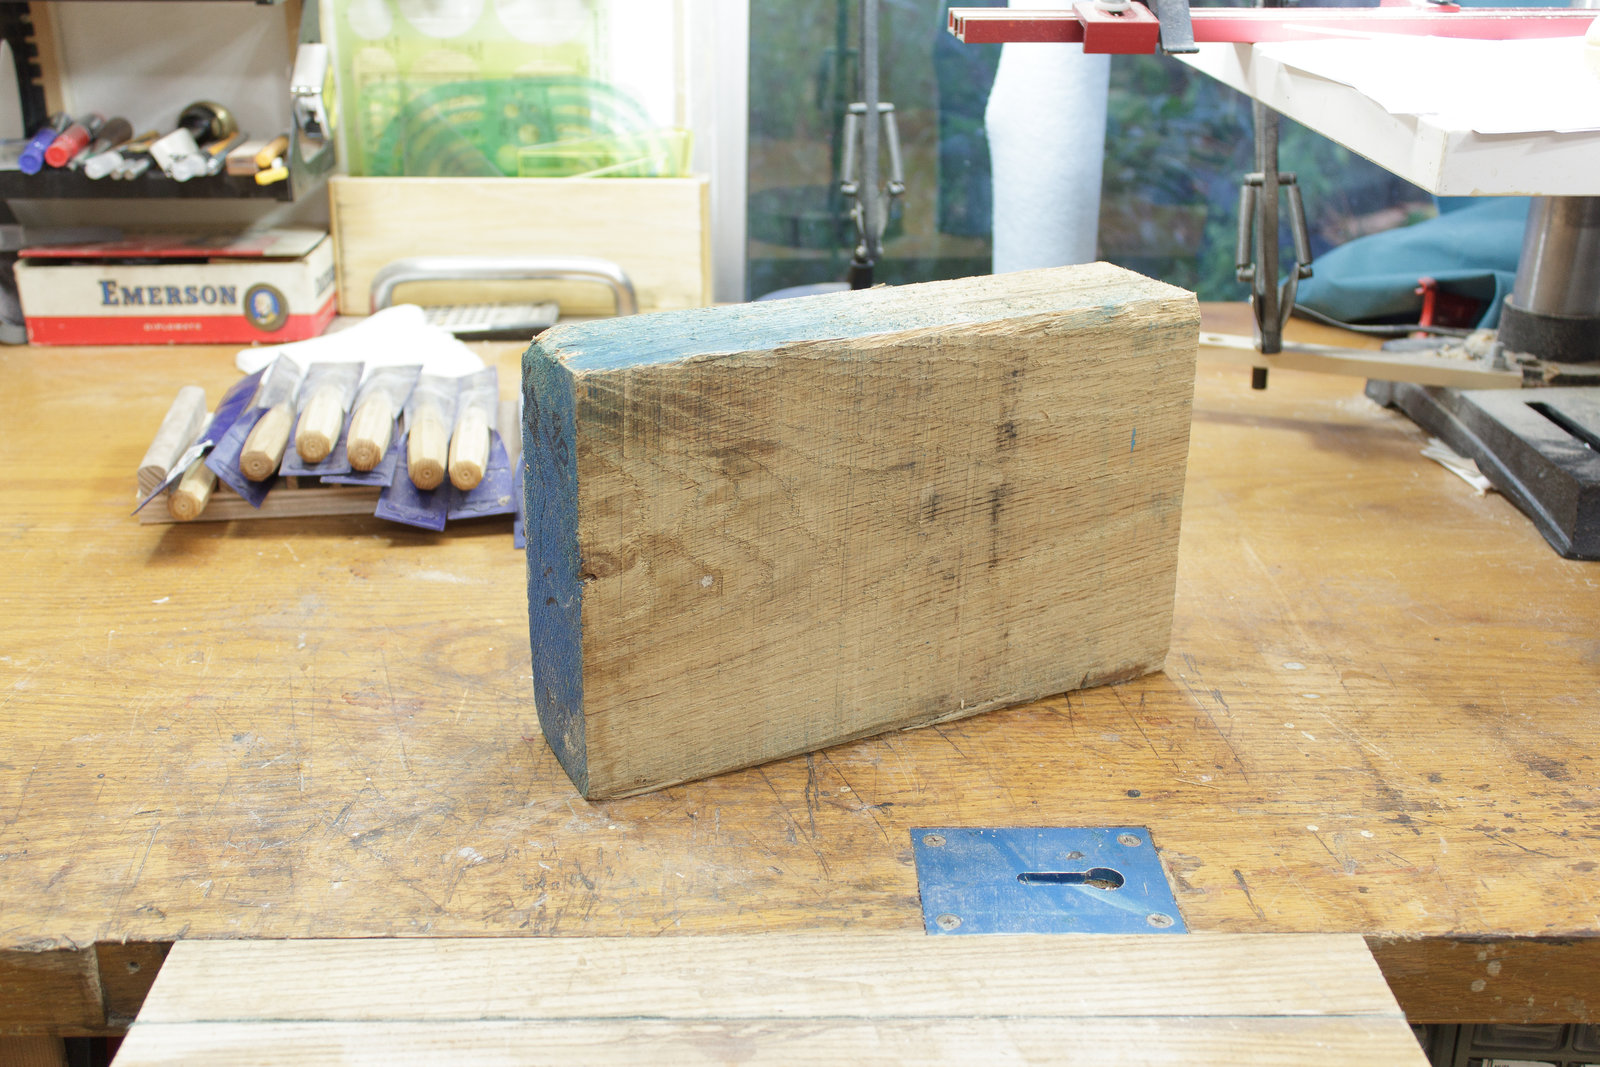
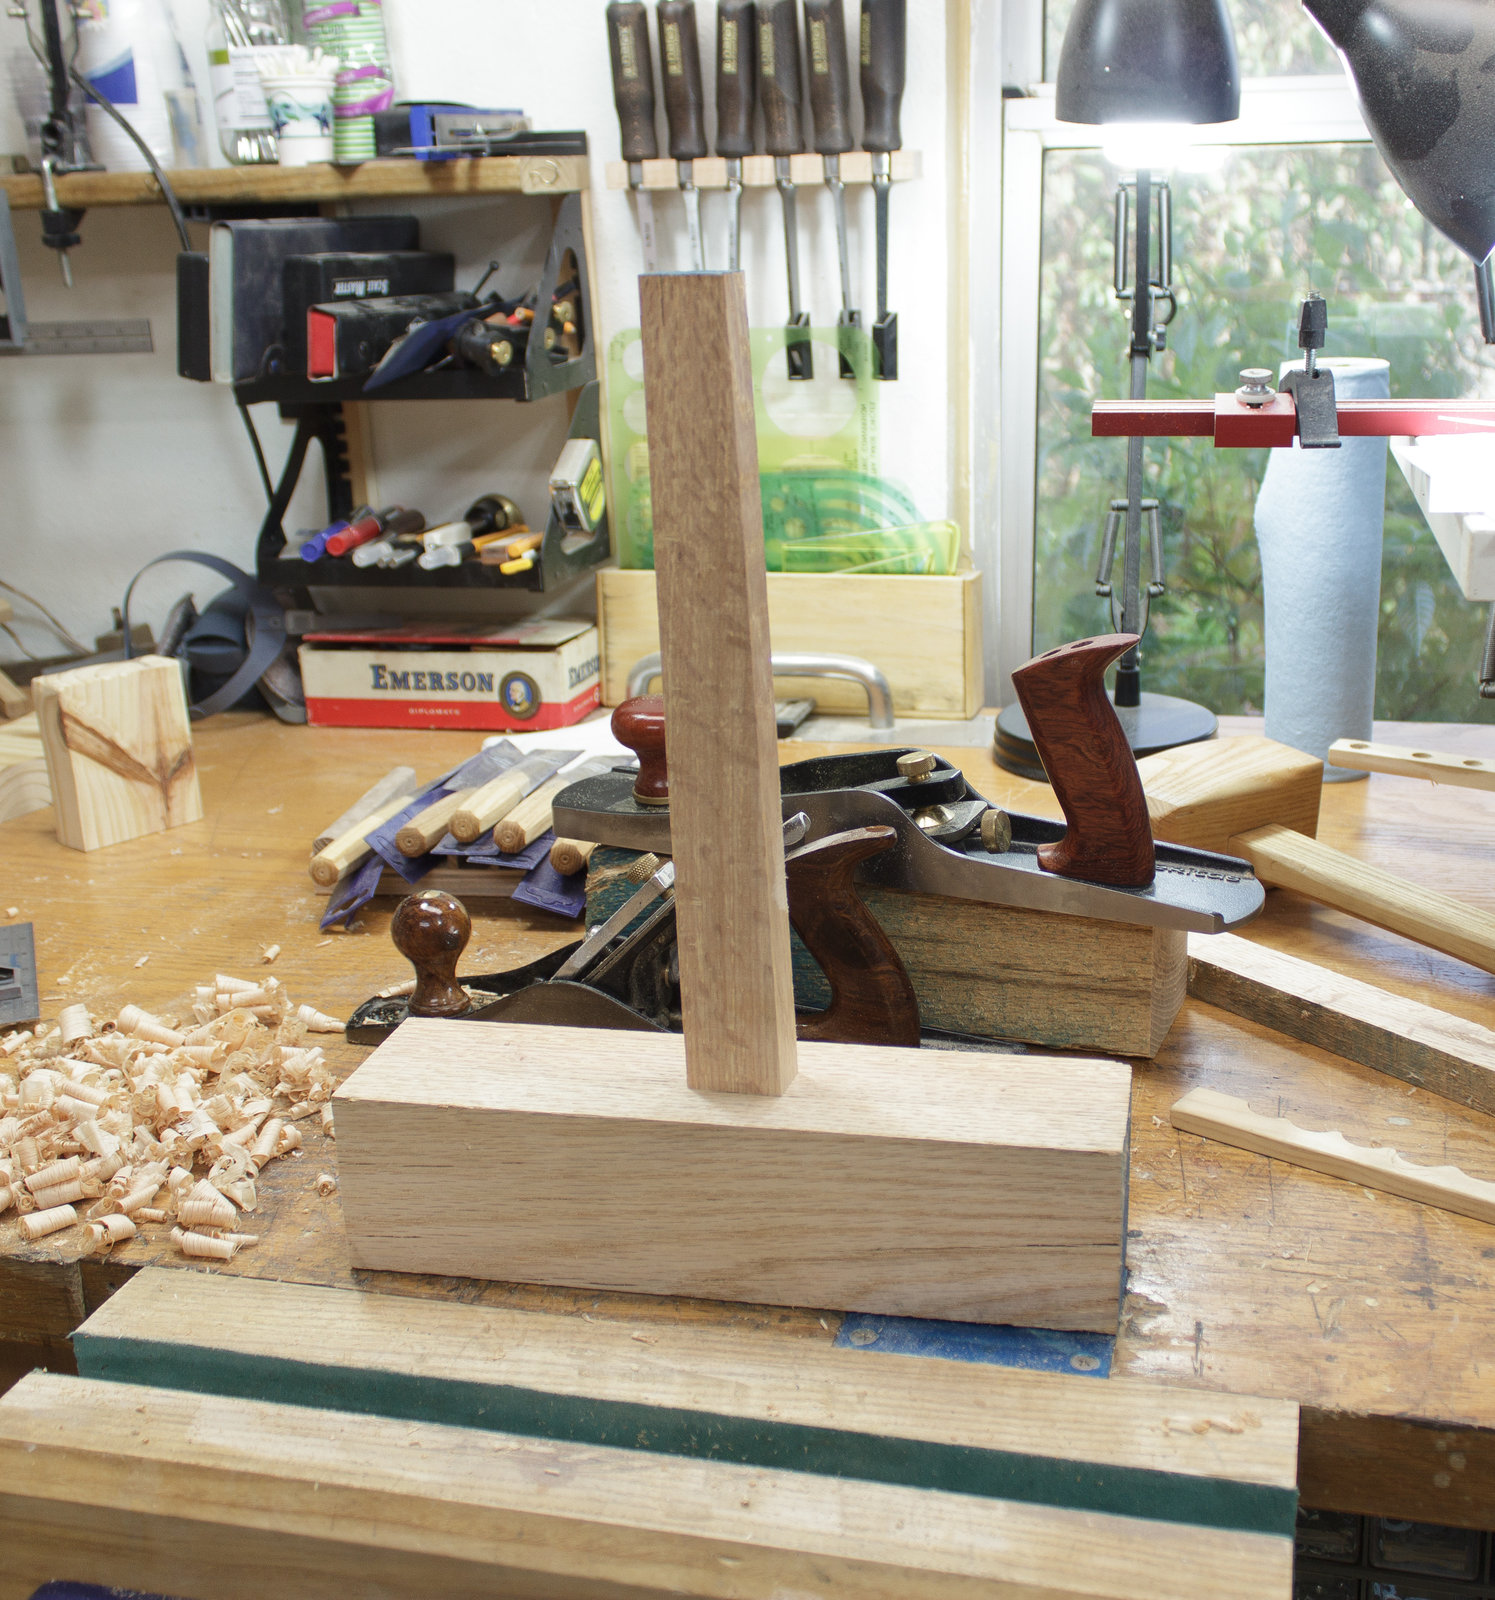
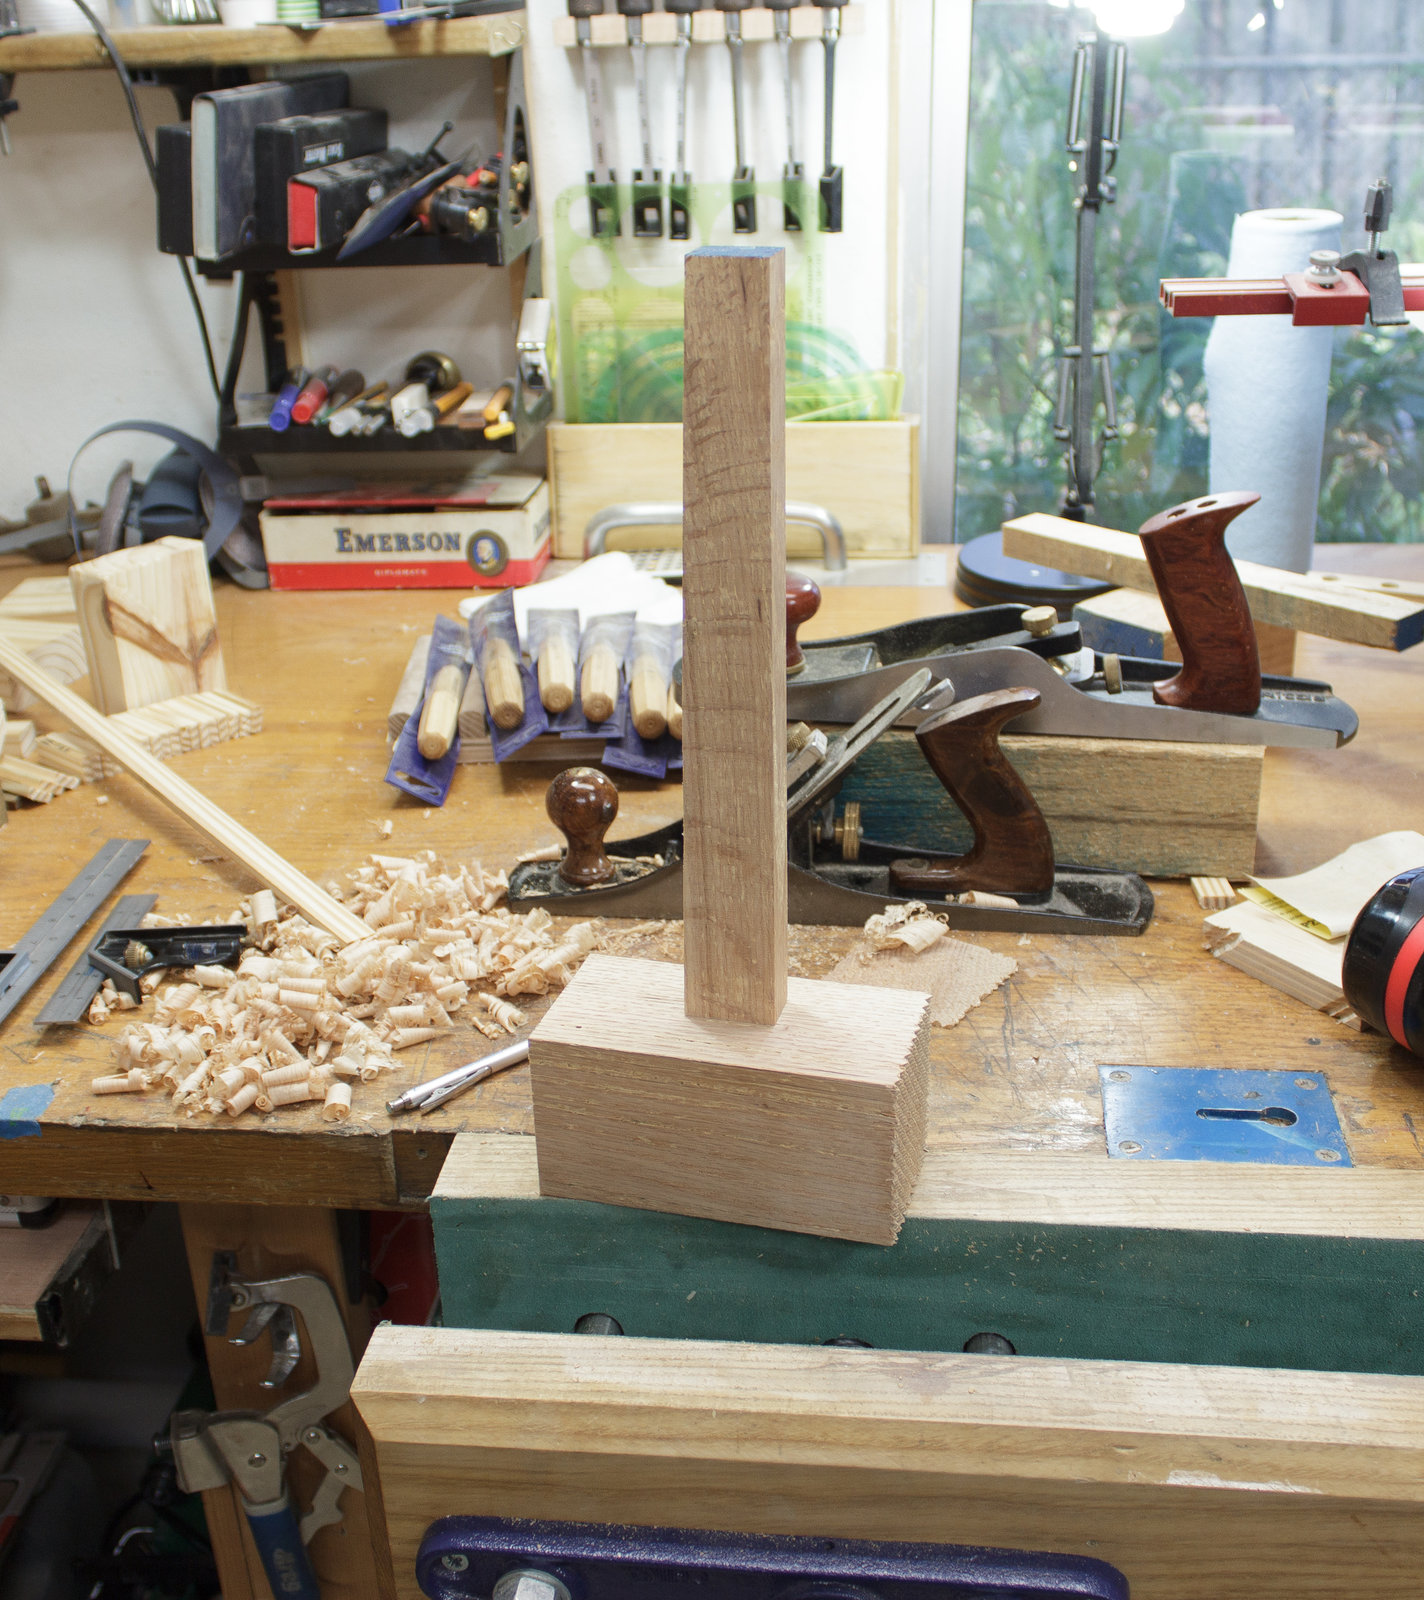
First we start with a block of wood.
Then we plane it.

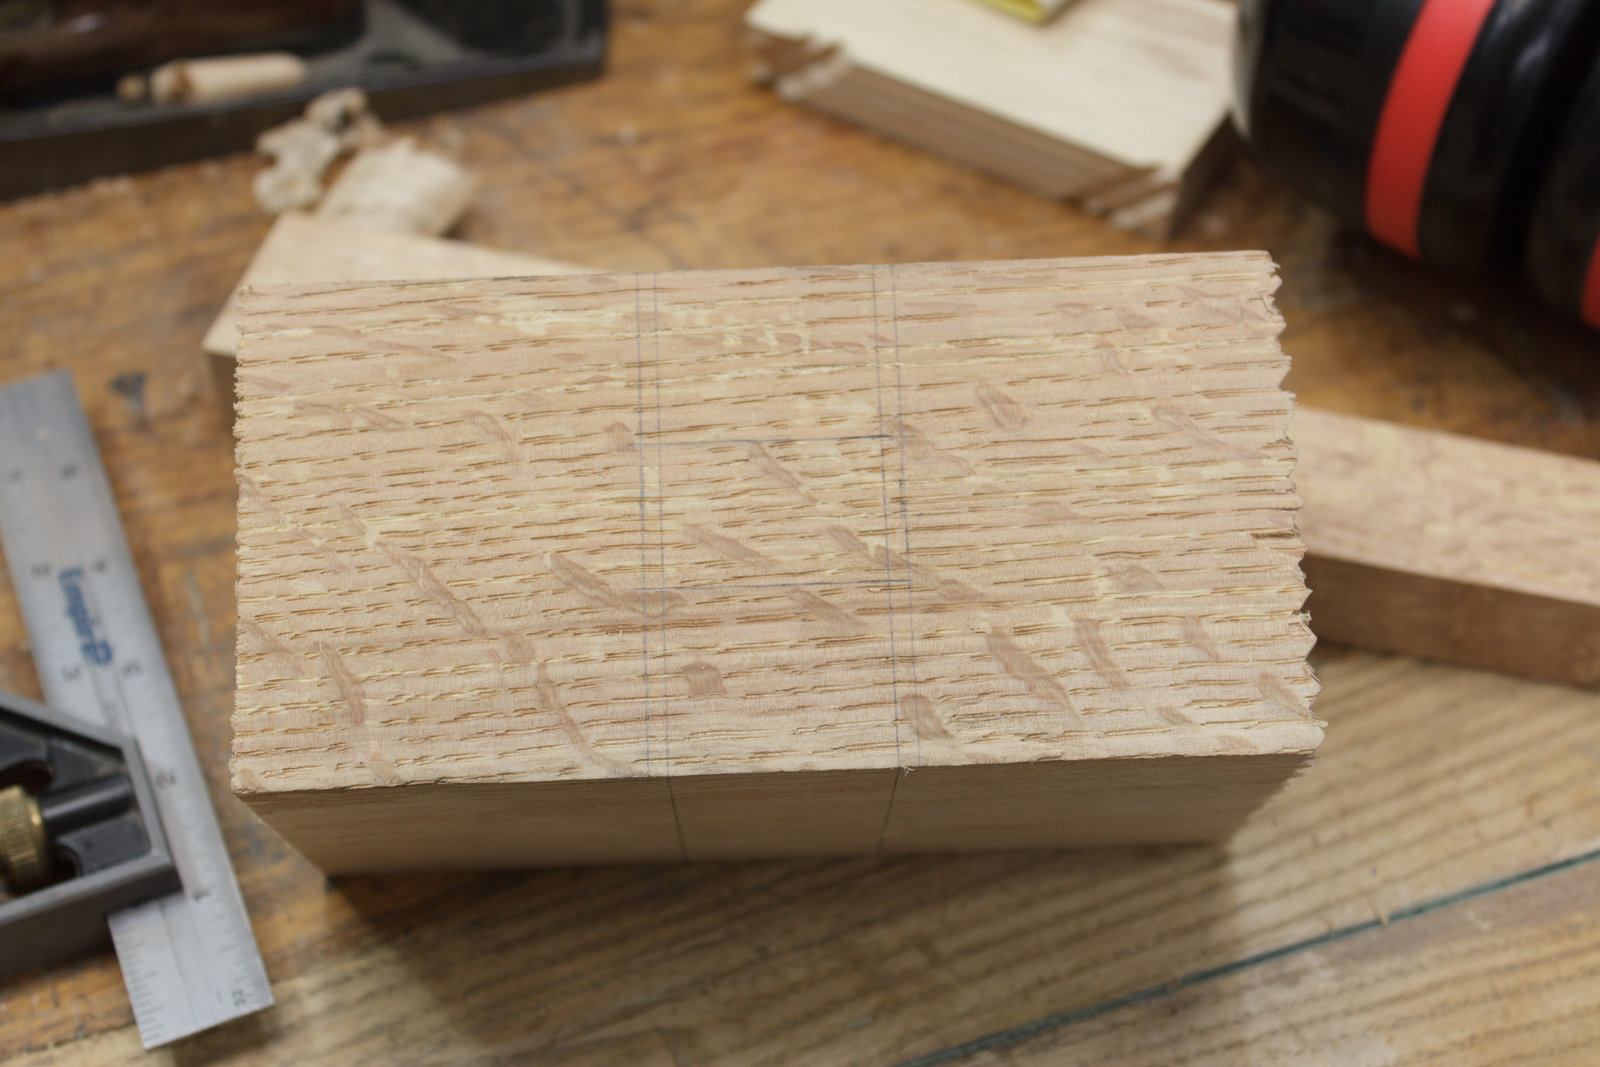
Some nice Quarter-Sawn white oak grain.
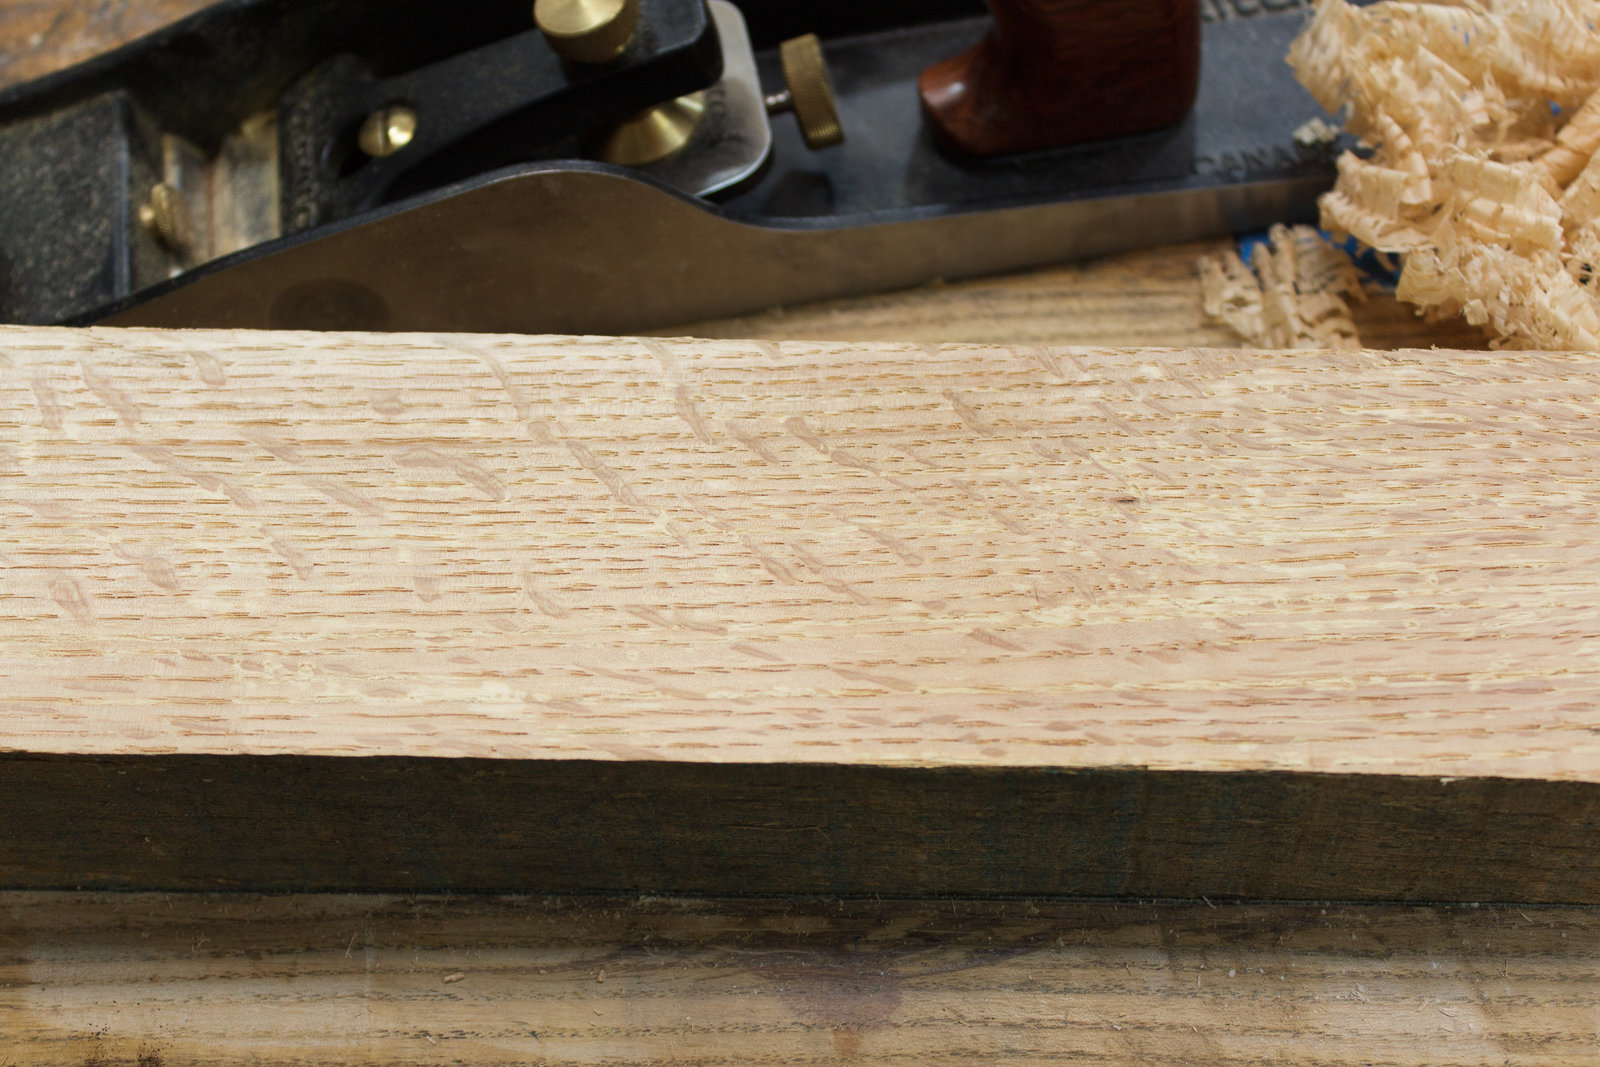
Tried and true.
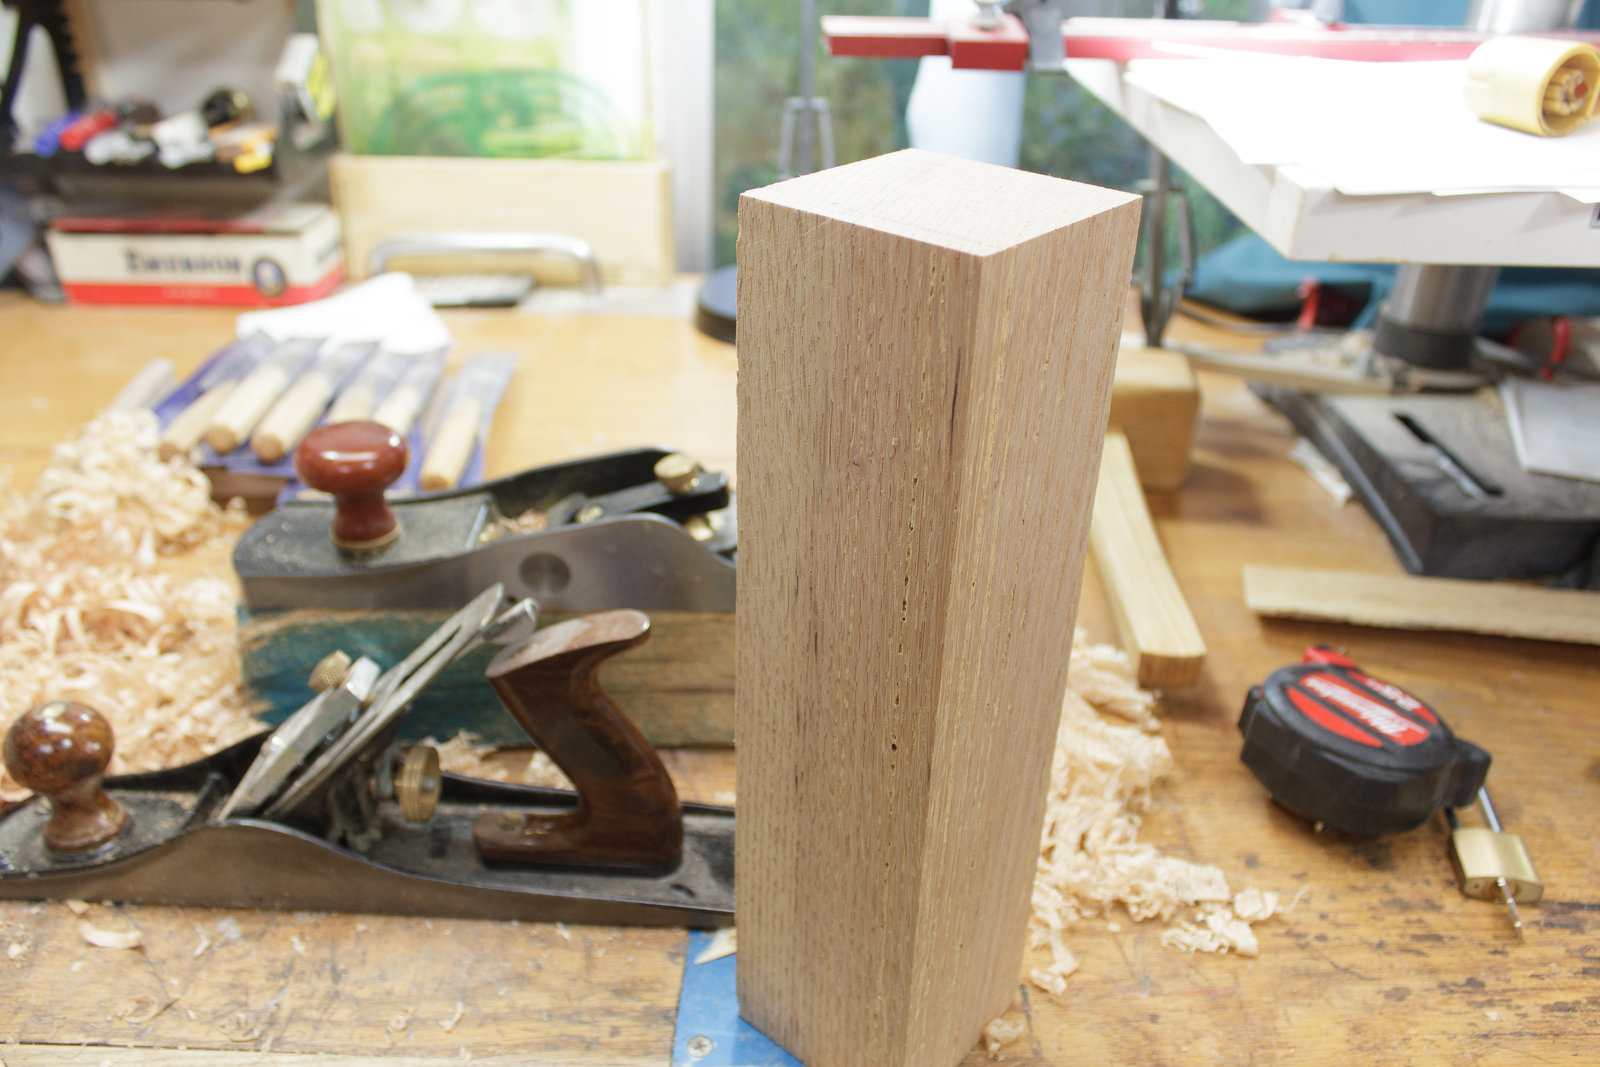
Oh hey, it's starting to look like a mallet.
Now to carve that pesky grid in to one side.
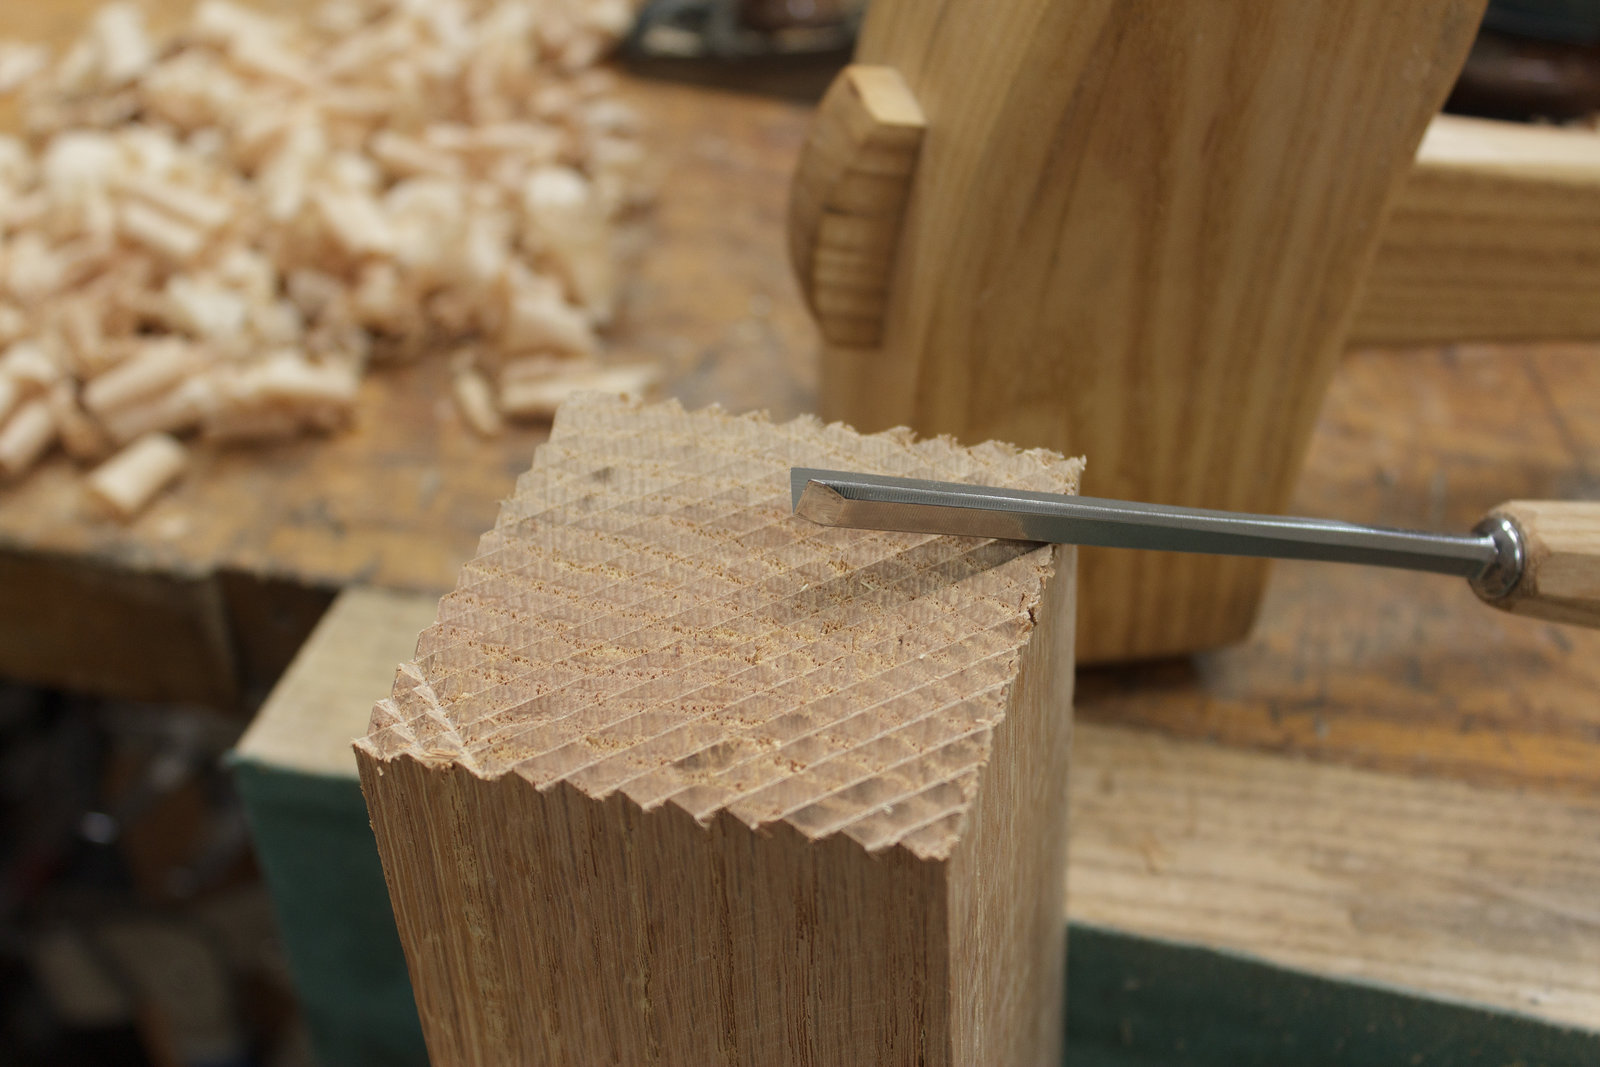
Done! That was easy!
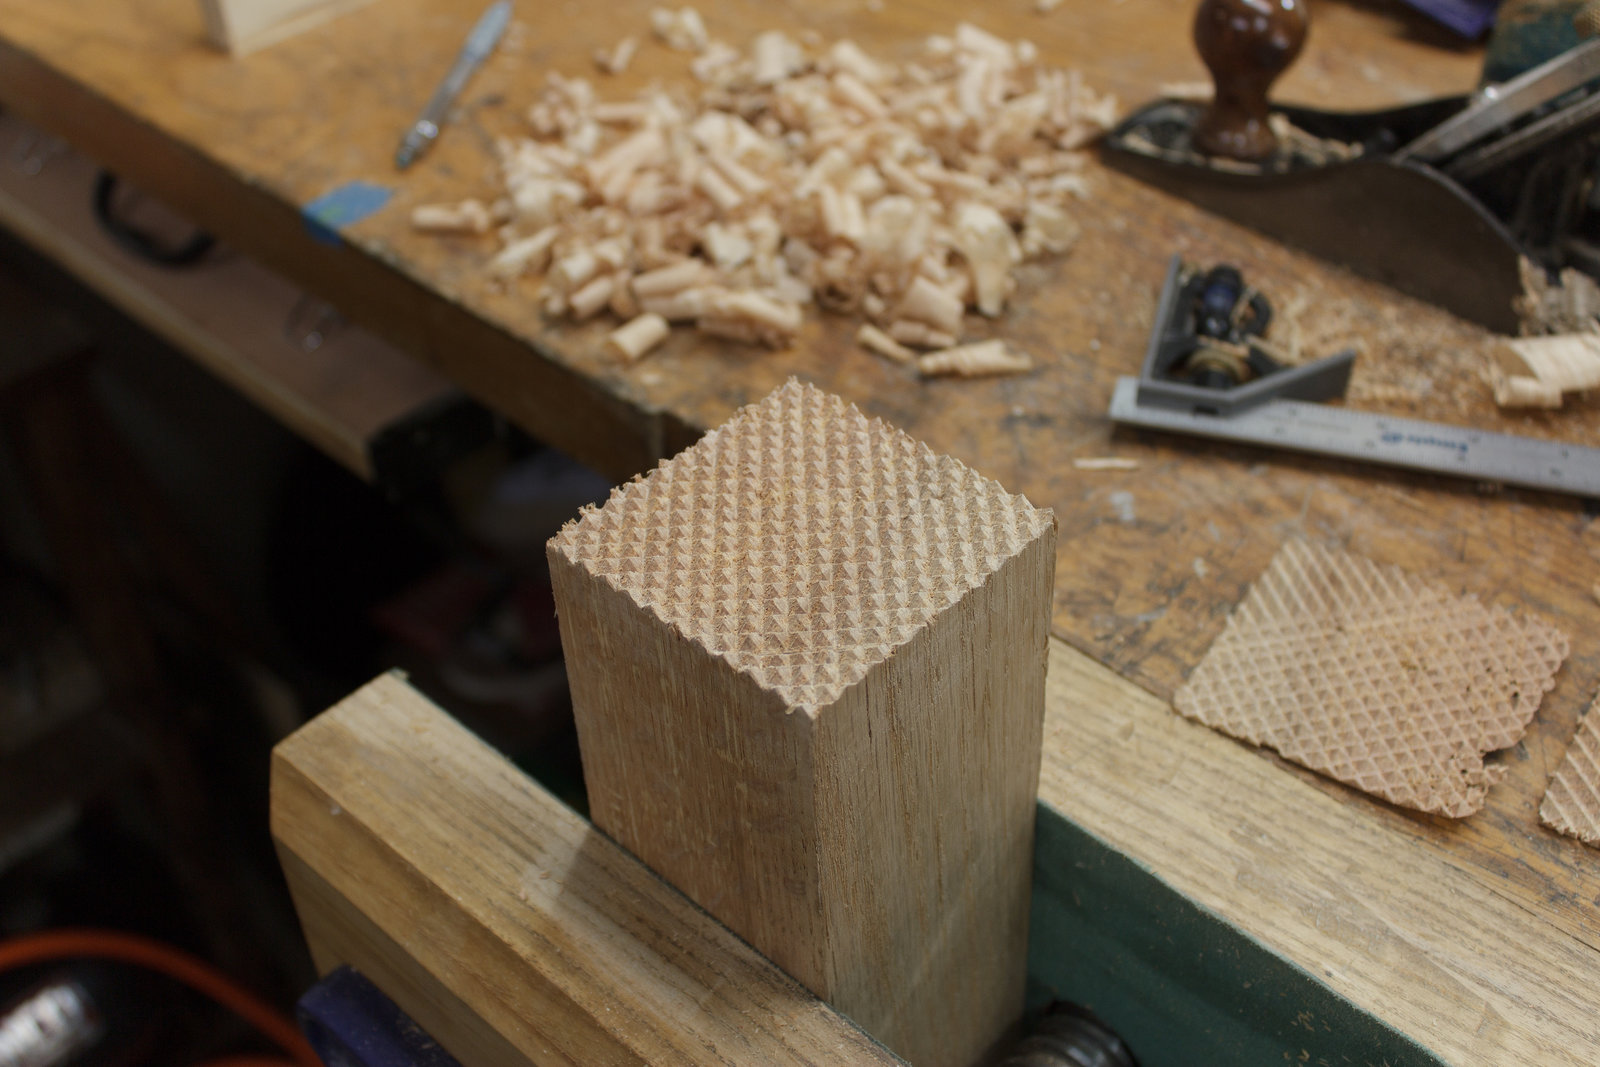
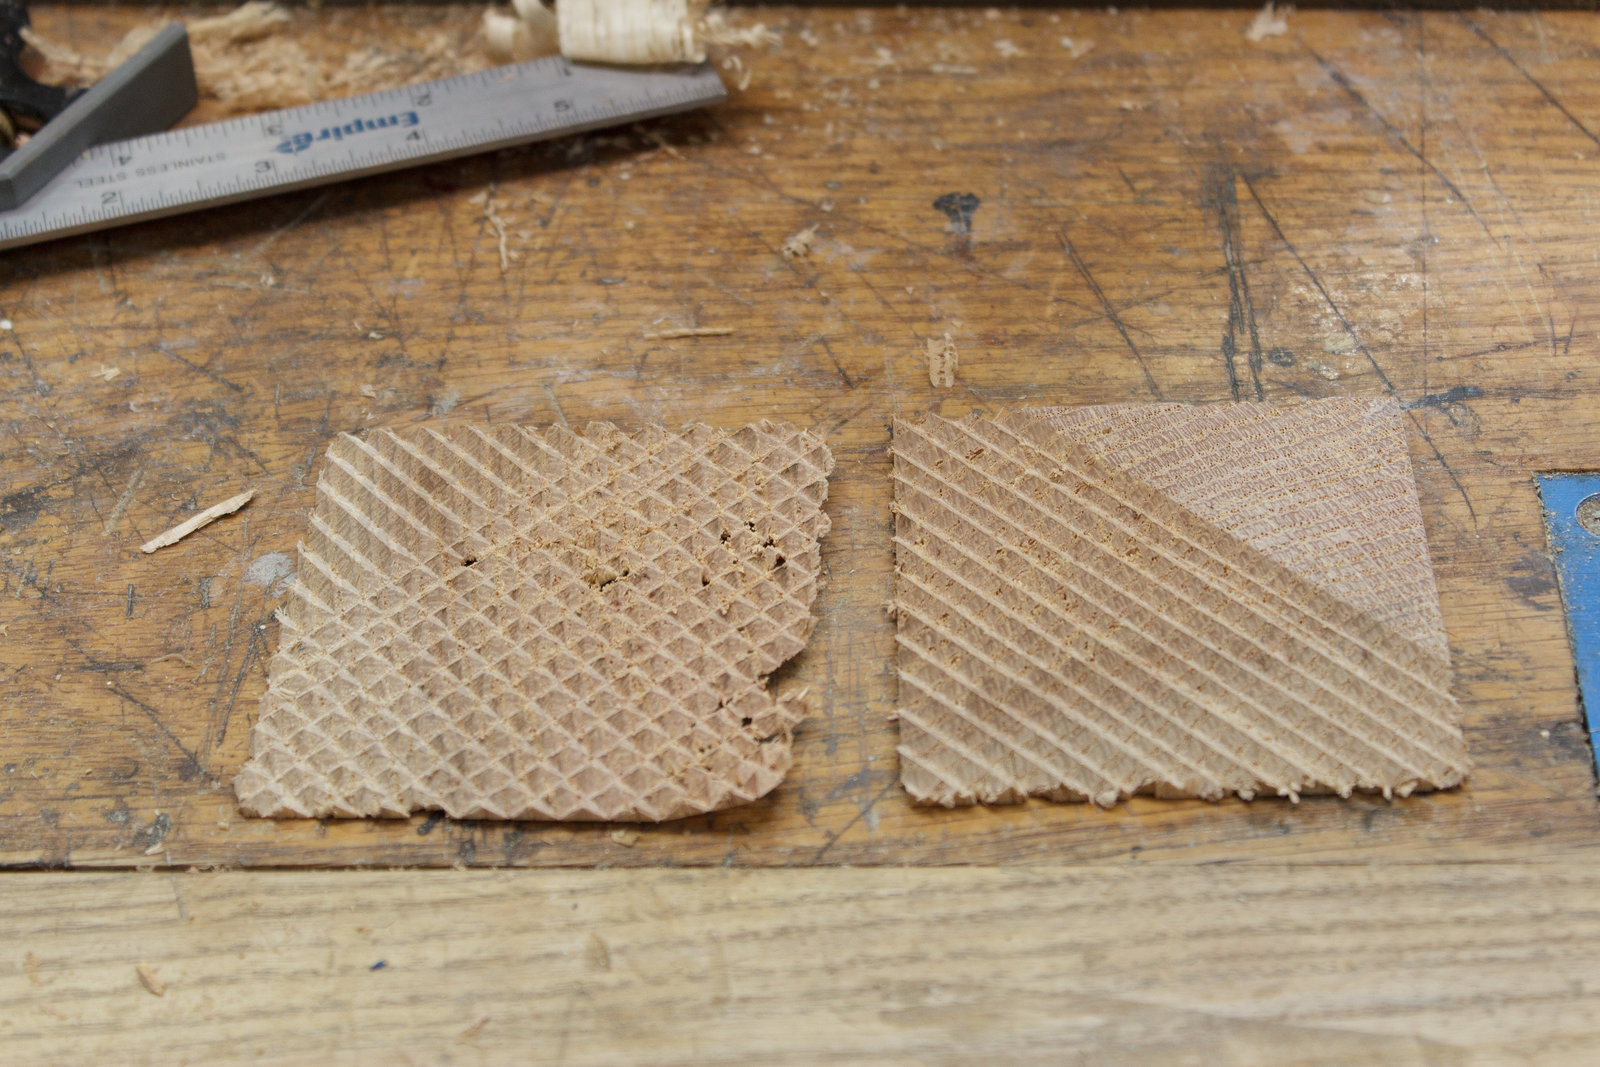
LOL. No. I screwed up a good number of times. So I just sawed off the mistake and did it again. Practice makes perfect.
Even more mallet like!
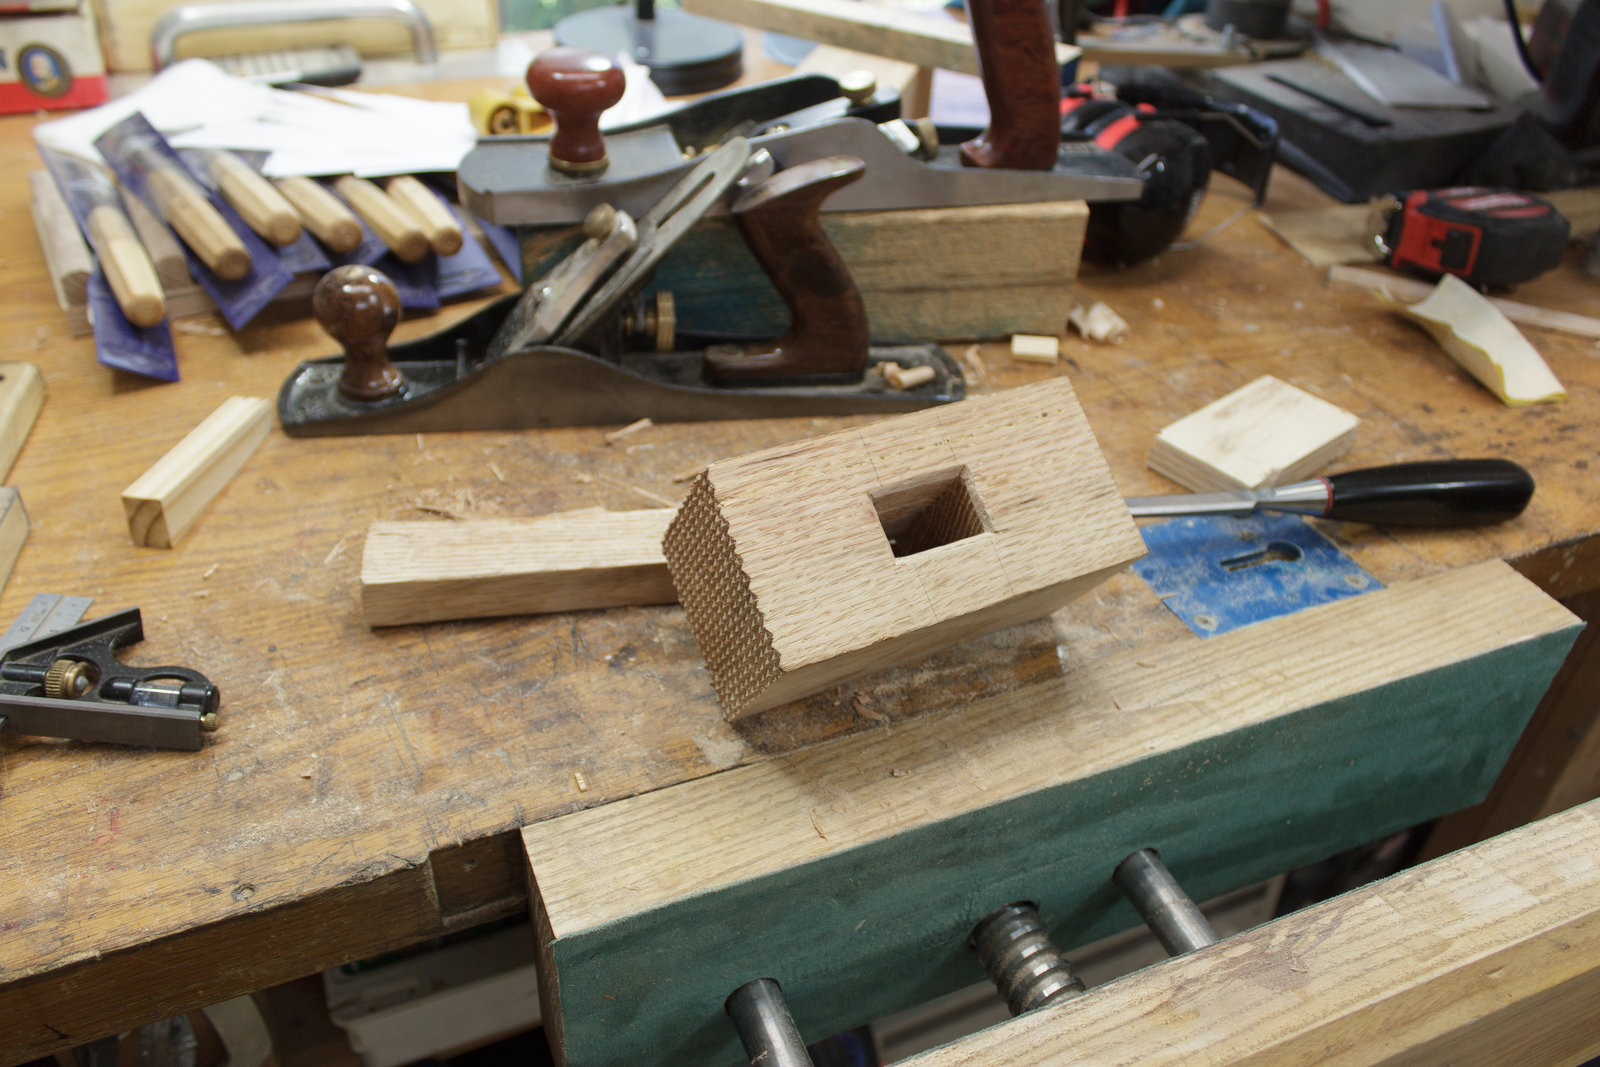
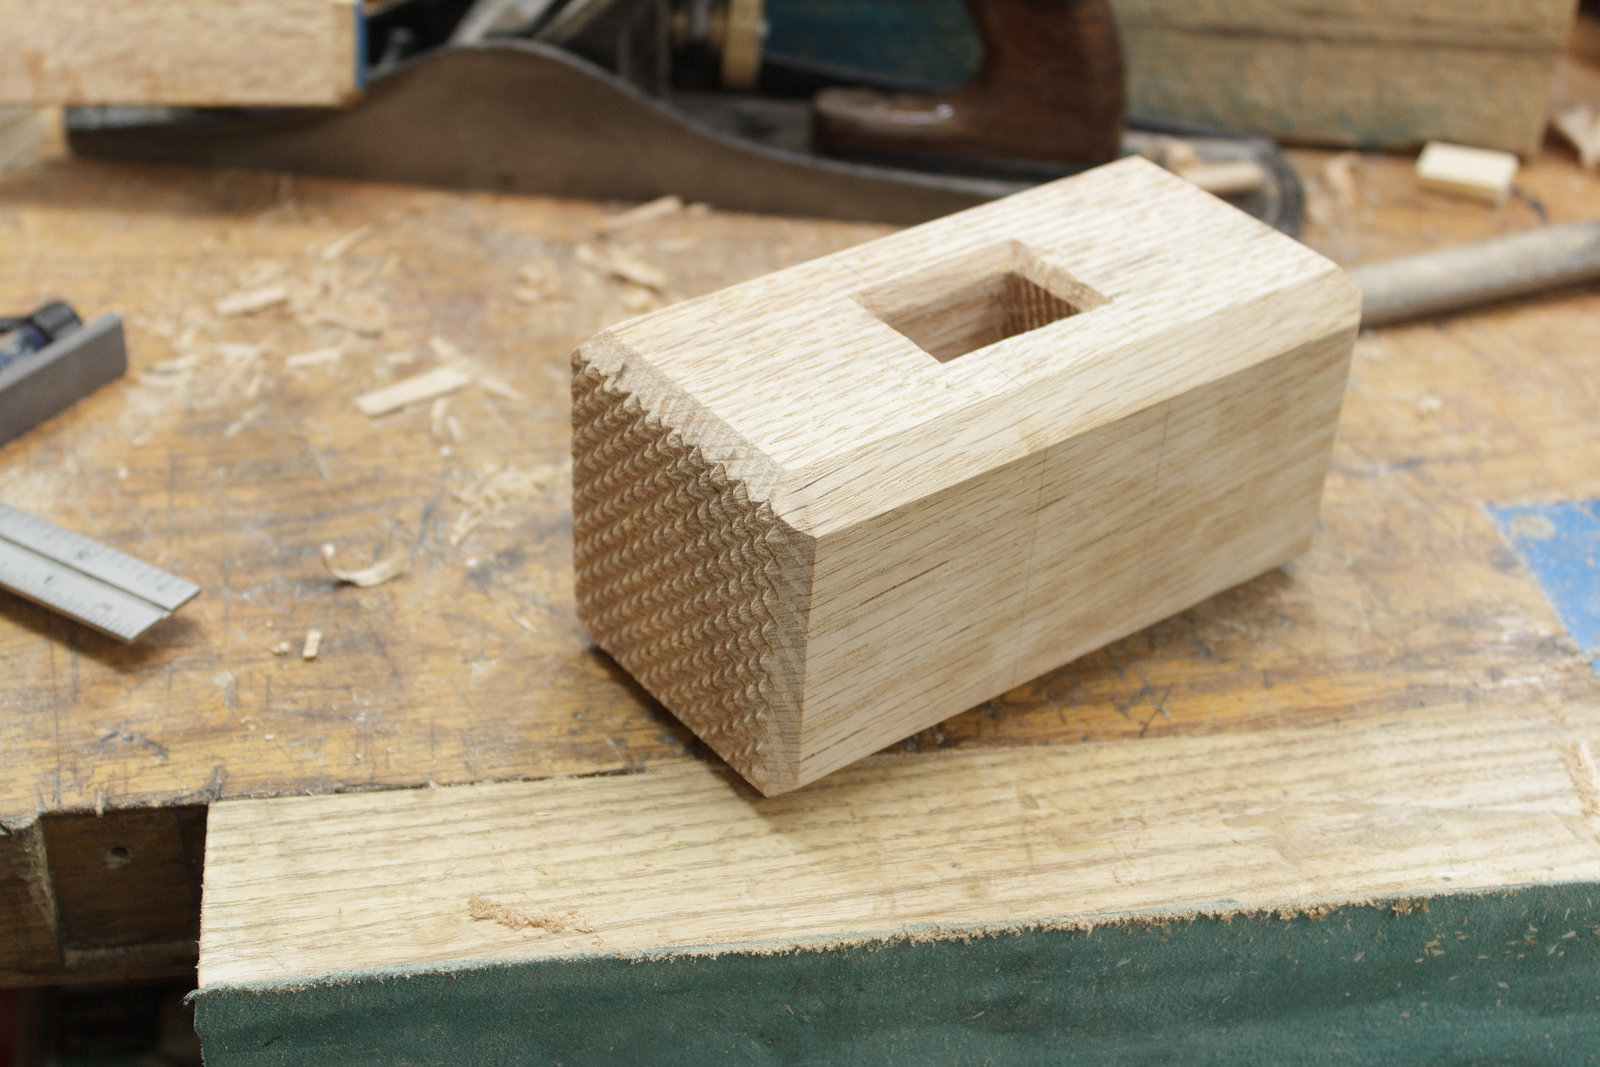
Now we need a place to put the handle. The handle in this just slides in. It's a tapered friction fit, so the mallet can be taken apart for storage, but is quite strong in use.
Mortise done. Took about 2 hours to get this perfect. Tall tapered mortises are difficult. The edges are chamfered inwards to avoid tearout when the mallet is assembled and disassembled.
Oh hey. More mallet-like again!
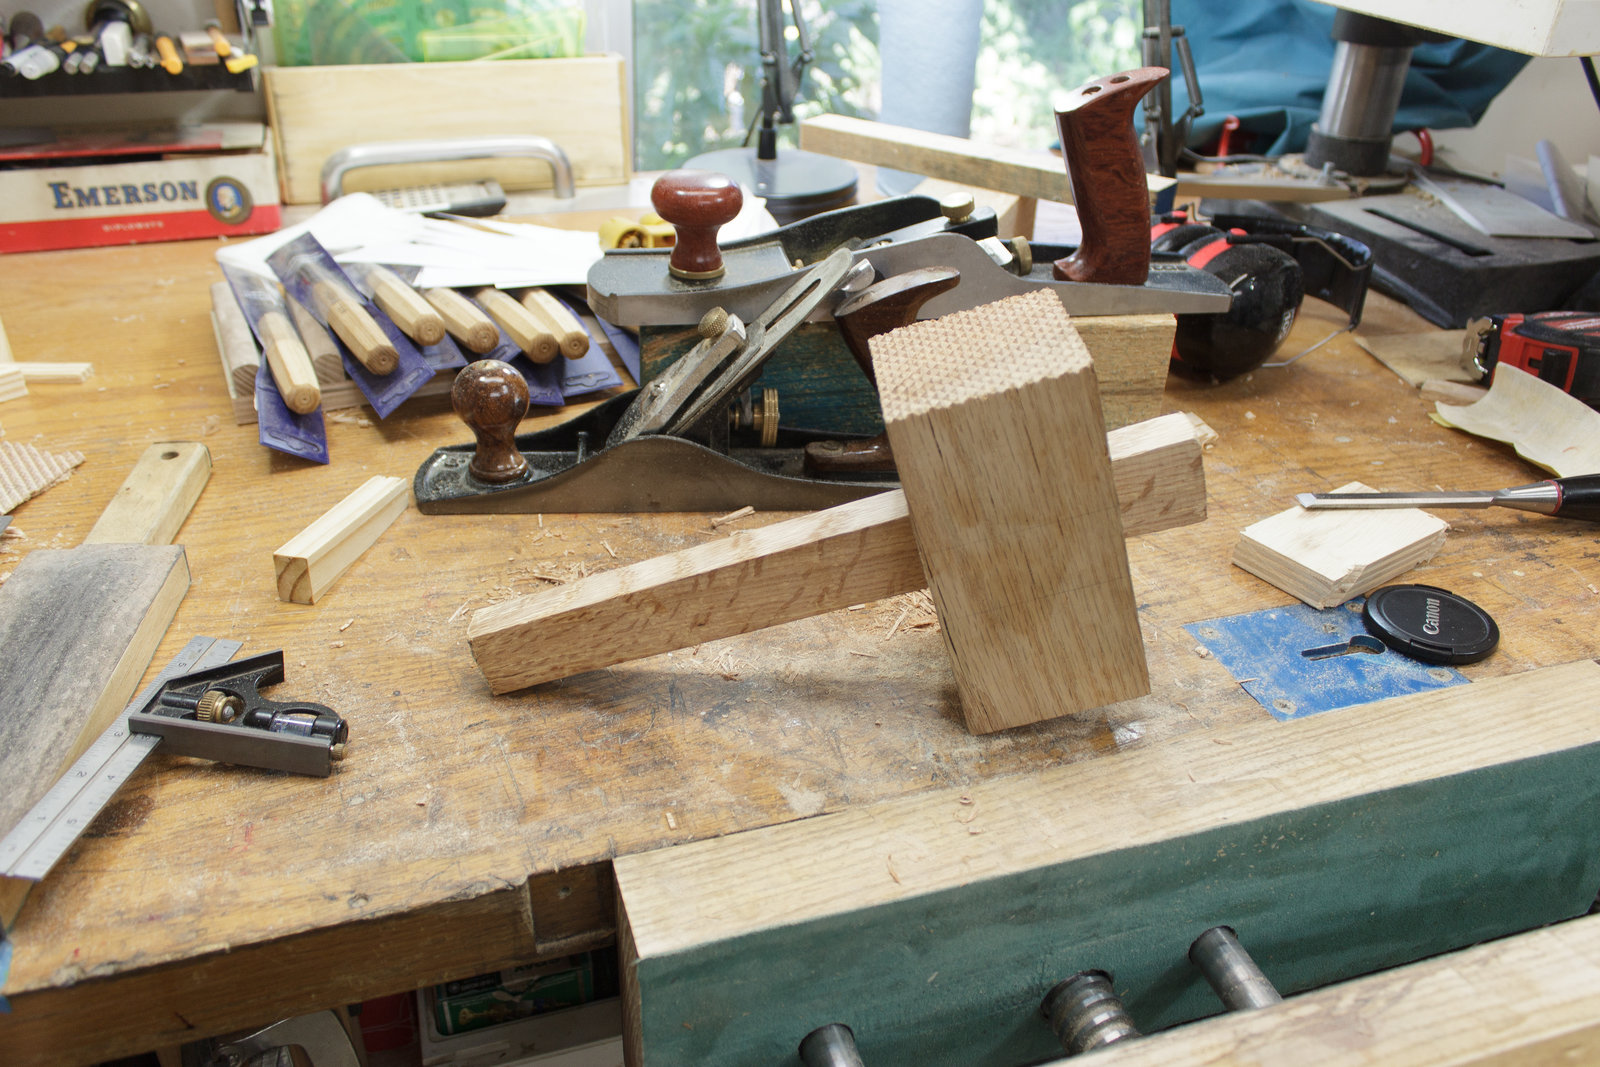
Just take a plane to the edges to make it look a bit prettier. This also serves to avoid broken edge-grain in use as well.
Just some filing and shaping of the handle now...
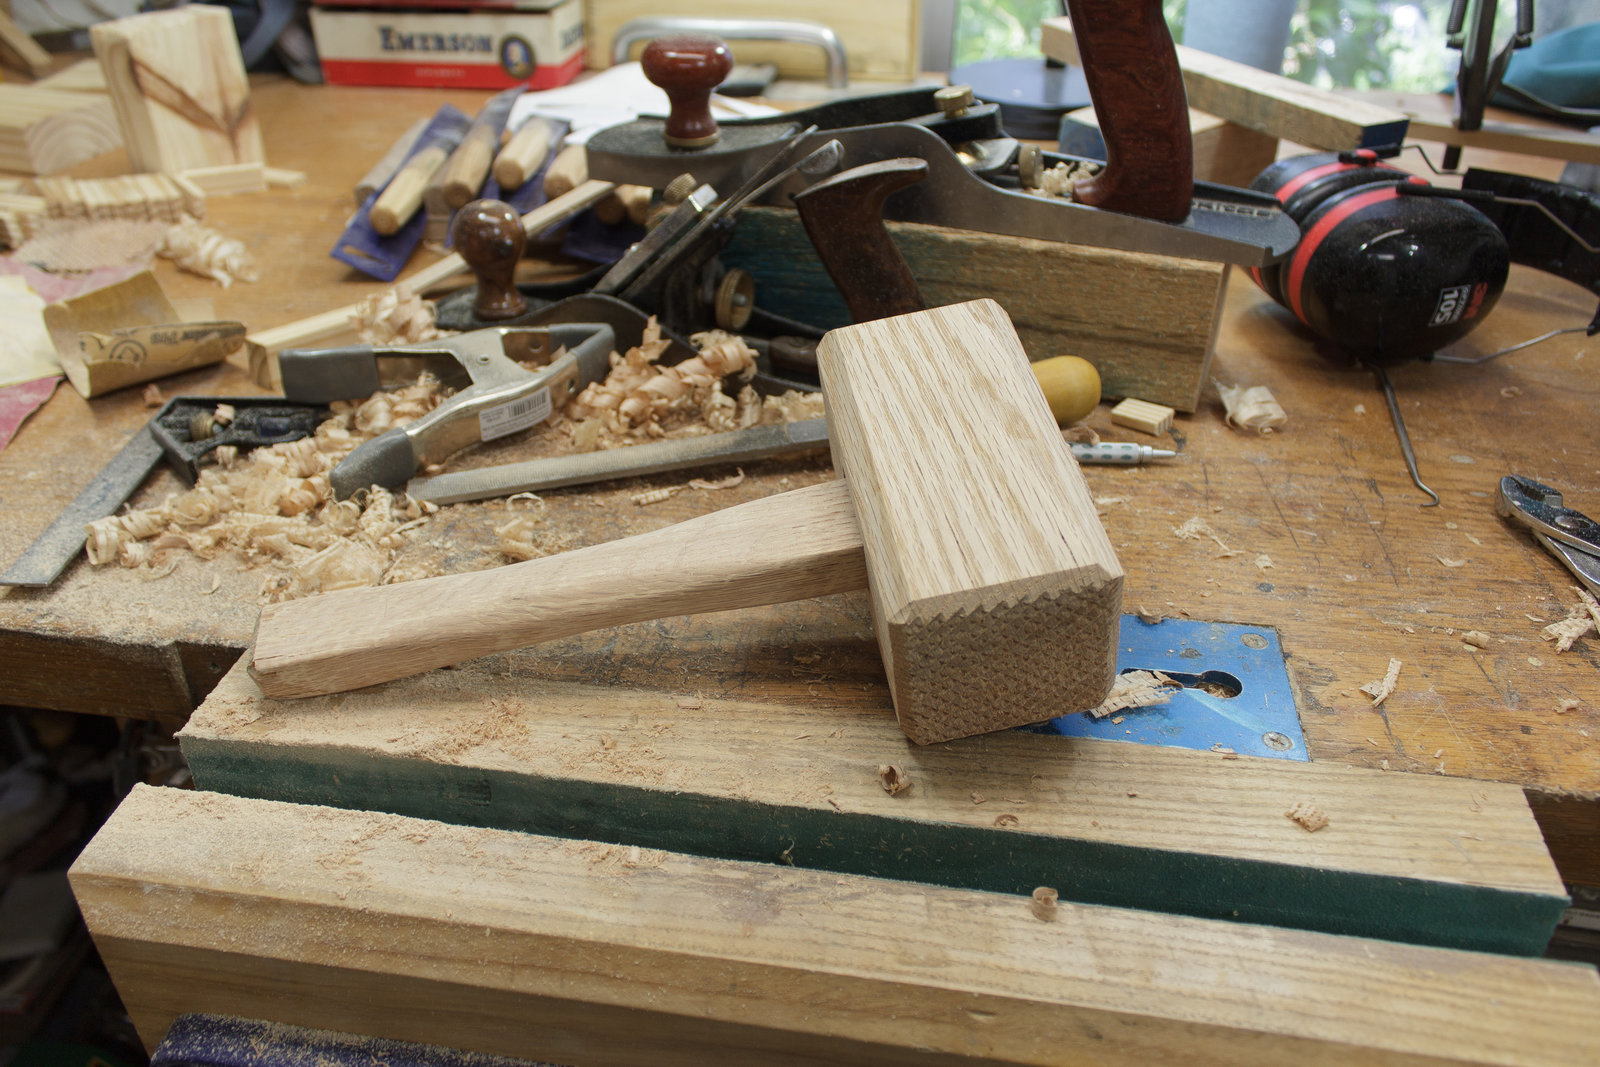
Now it IS a mallet. For real. Not too bad, and I love the grain patterns.

A bit of beeswax to stop things from sticking in the grain during use.
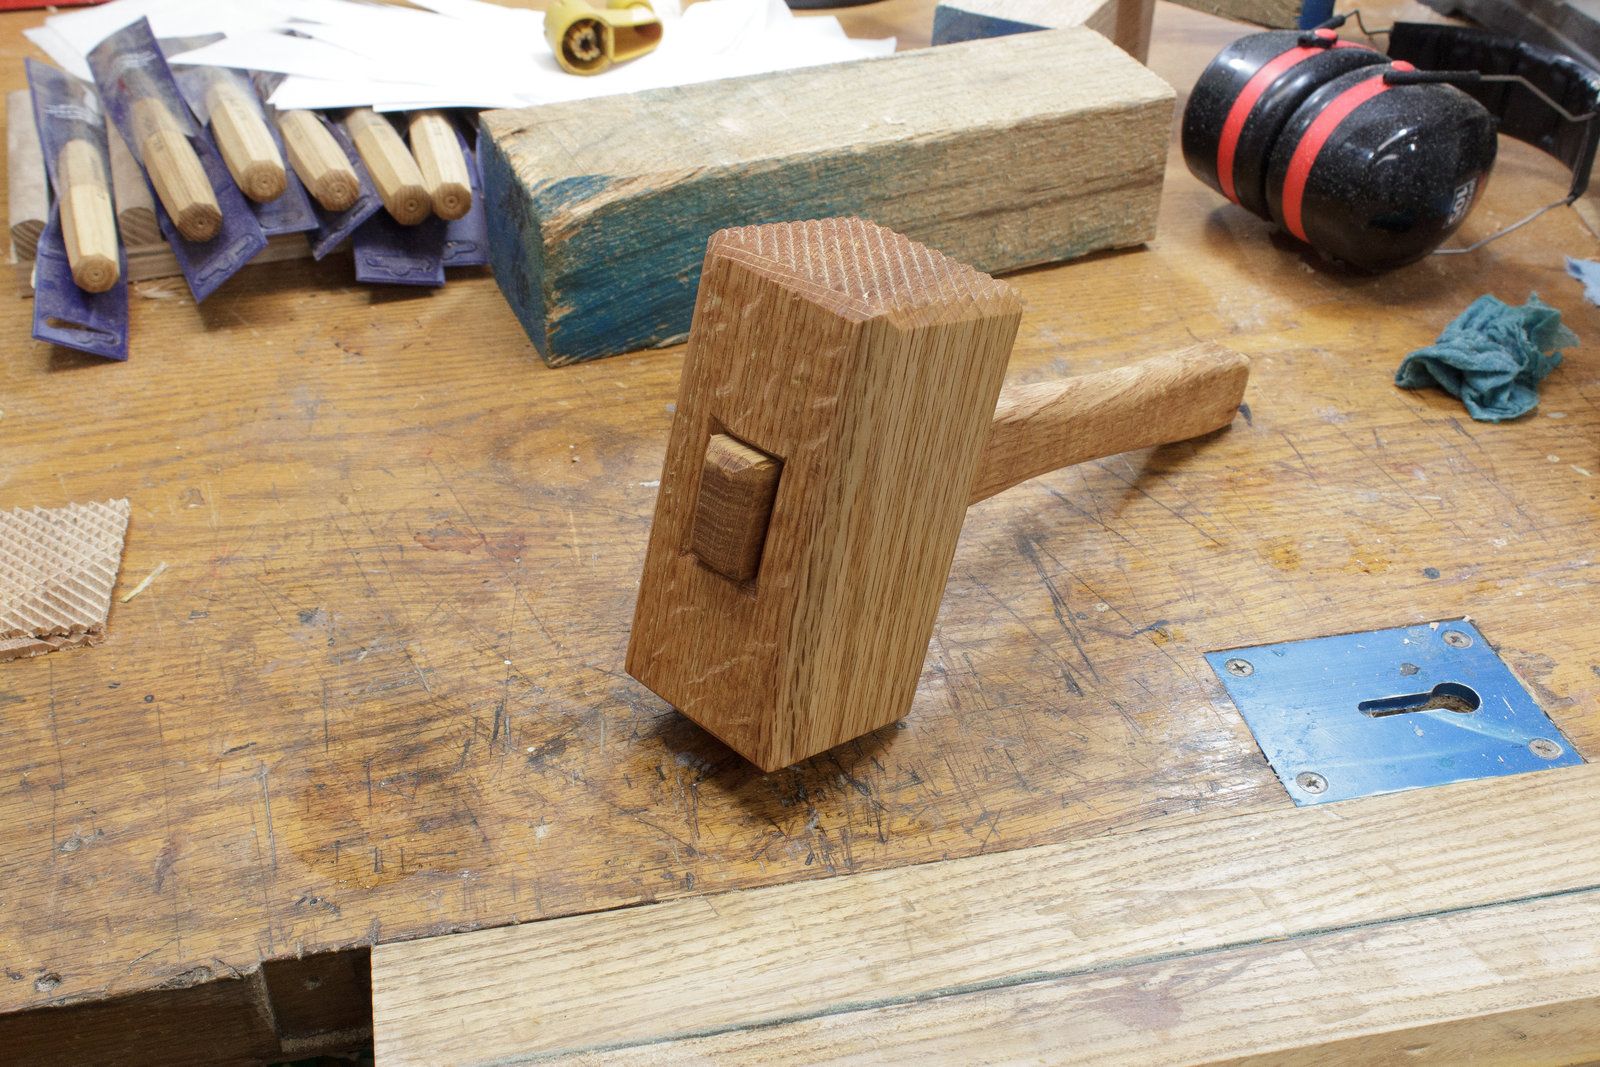
That's it. Finished.
Support me!
If you appreciate the information presented then please consider joining patreon or donating!
If you appreciate the information presented then please consider joining Patreon or donating money/time.
