It's not terribly uncommon for an old guitar to have an inner brace detach. It's more likely if the guitar is thrown between high and low humidity and high to low temperature environments.
My wife has her mother's guitar which is a 70s Cortley. The guitar was heavily used and often left in a hot car. One of the braces on the top (on the opposite side of what you see) came loose.
It may not be totally obvious when this occurs, but a sudden or gradual deadening of the sustain is a sure-sign of an issue. You can also thumb the top with your finger around the guitar and take note of any drastic assymetrical differences along the axis continued by the fretboard. You can also just throw a mirror in side and check!
Let me show you how easy this is to fix, and how to do it right.
Contents
Problem
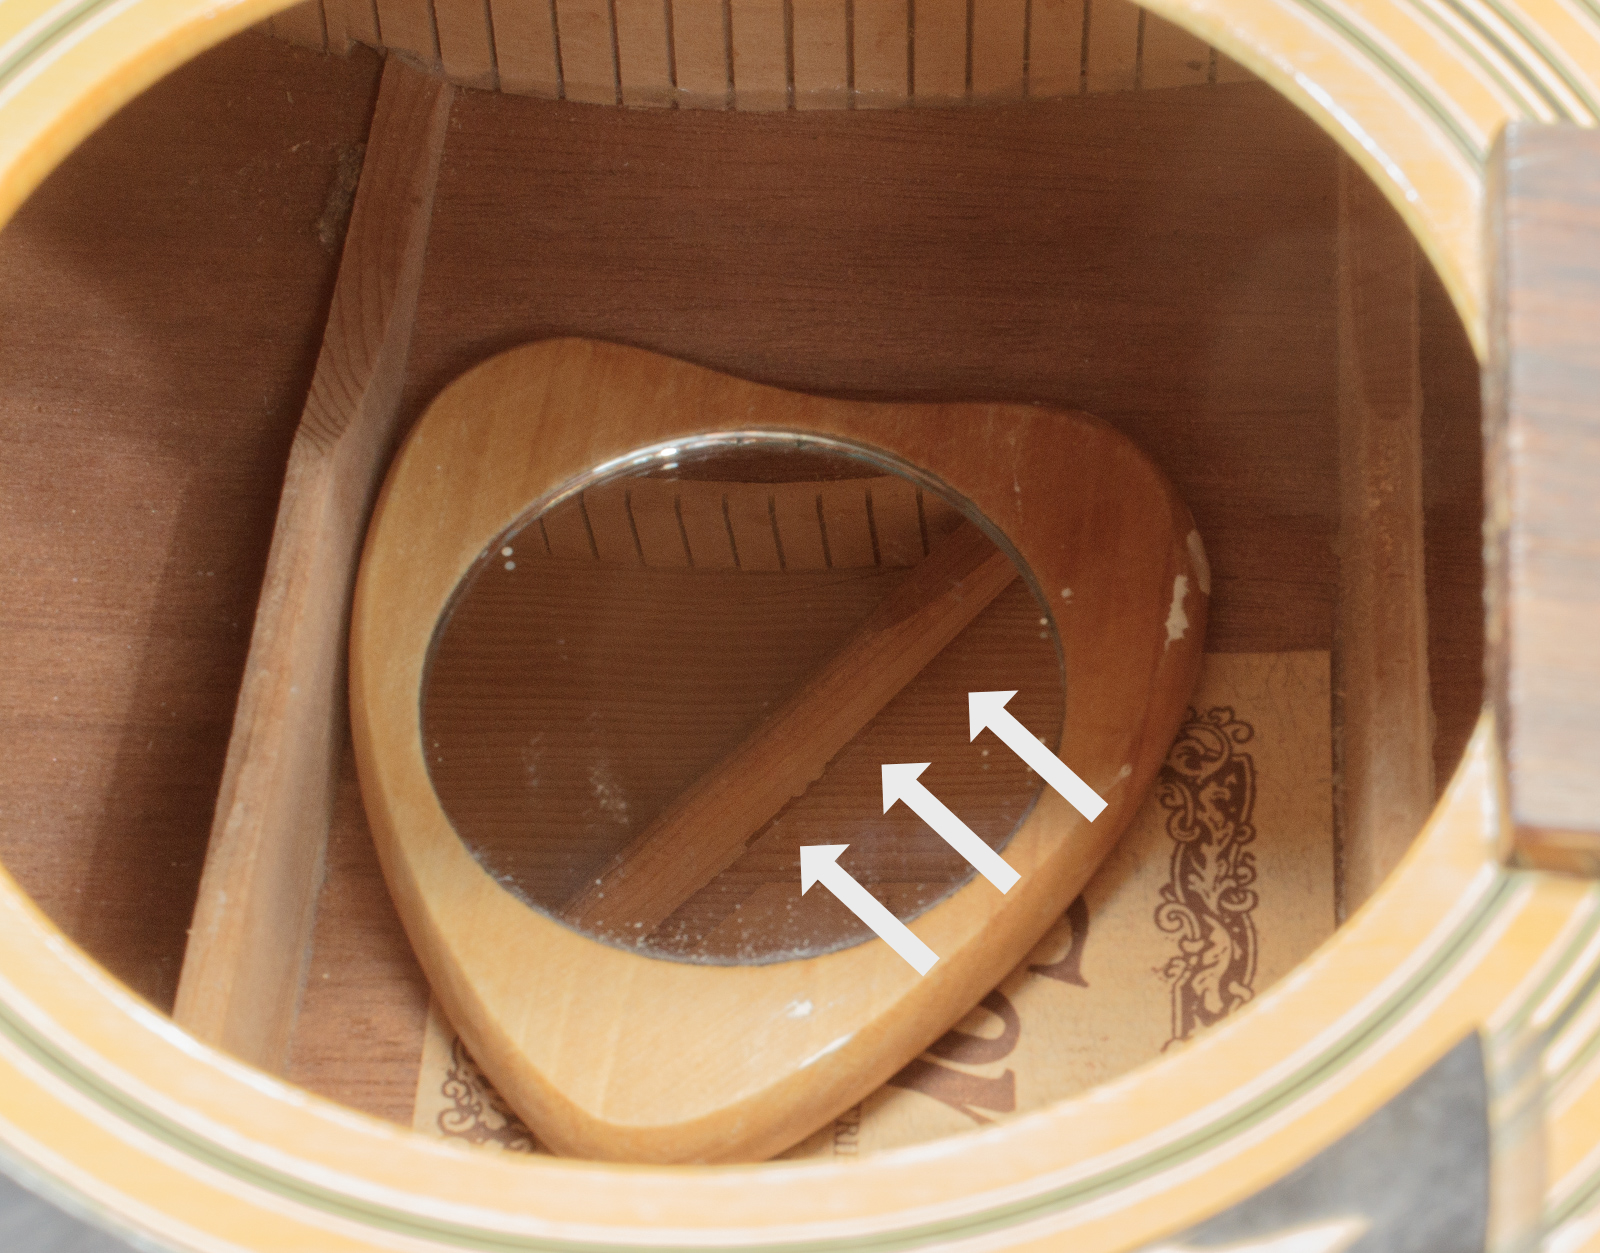
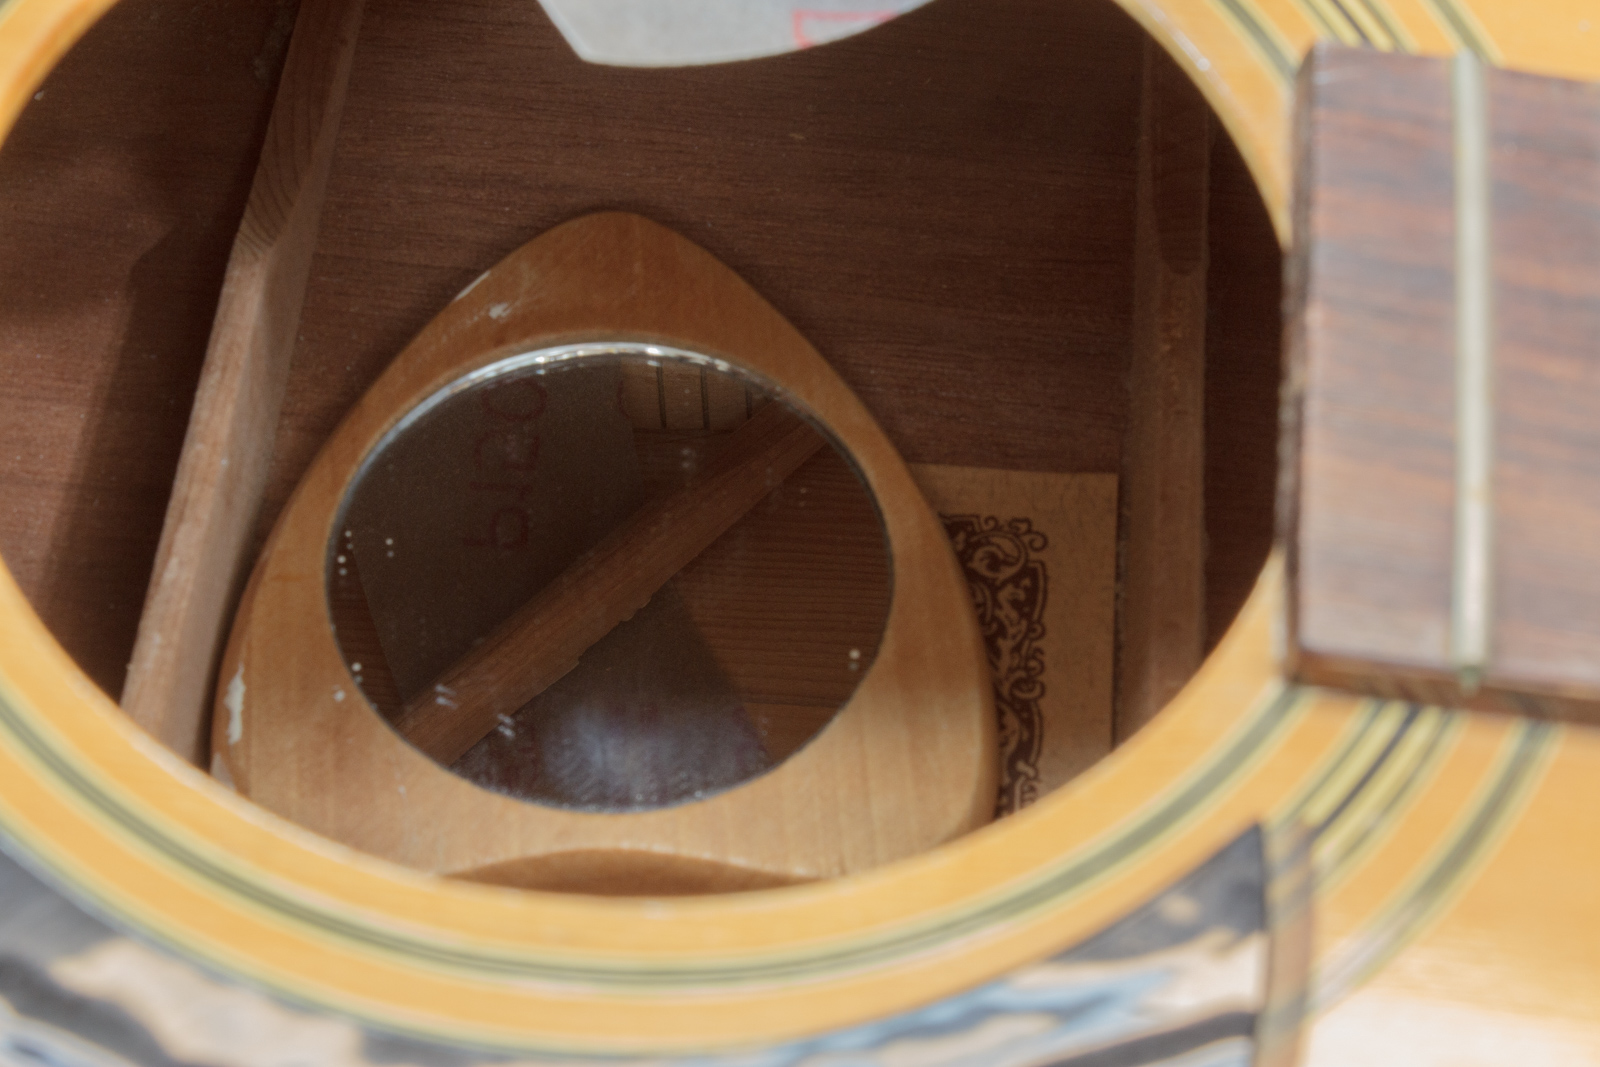
The issue here is clear: the brace shown has detached from the guitar top. This brace helps stiffen the top and transfers vibrations across the soundboard.
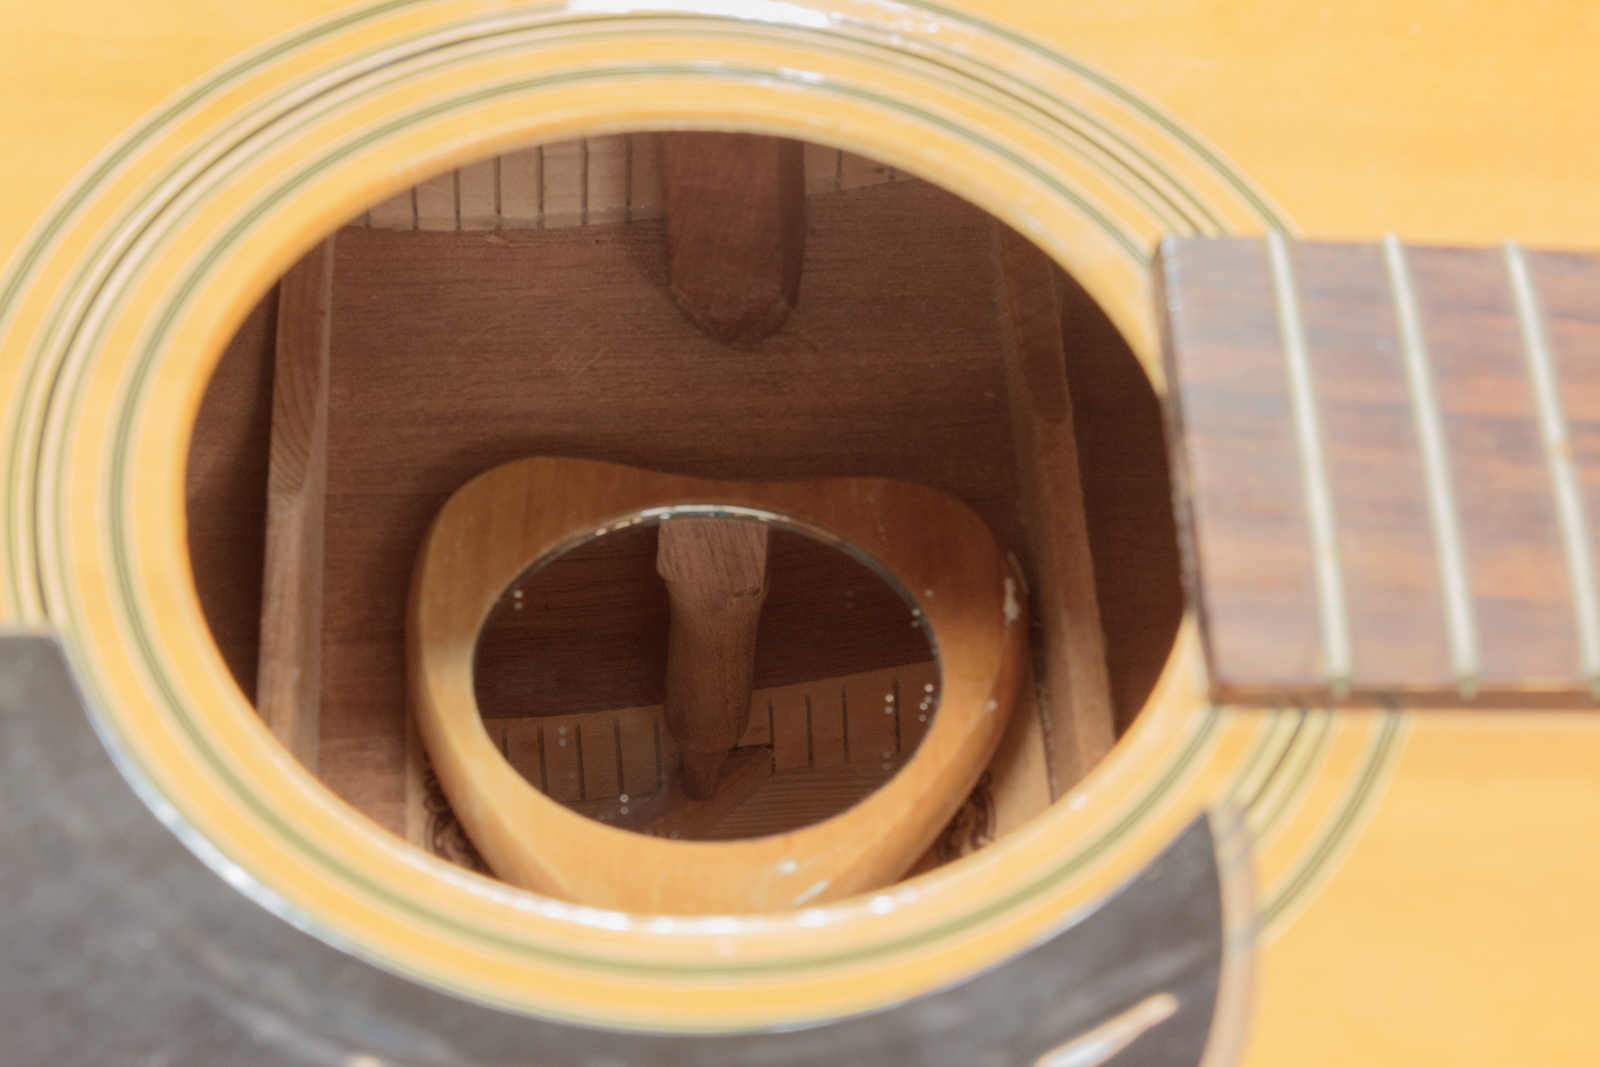
Check the fixed image to see what it should look like if you need.
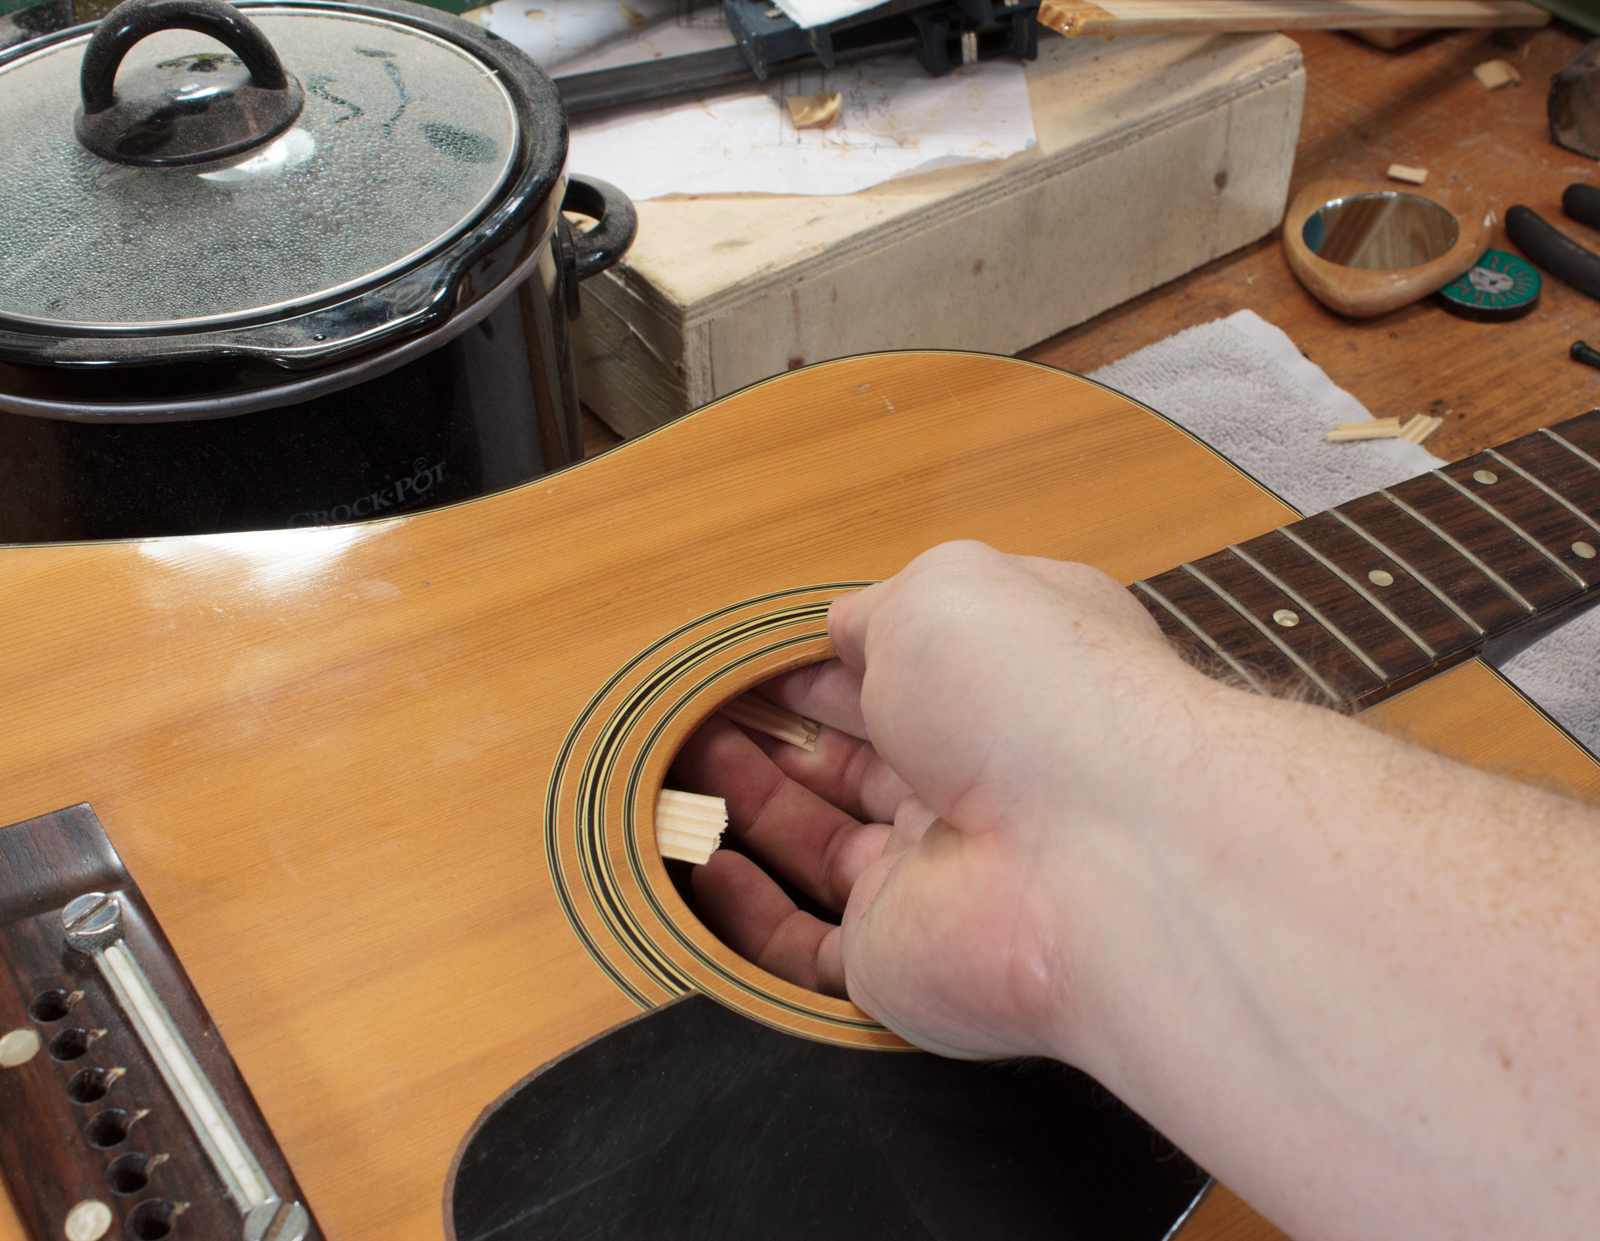
Prep
As with any job, probably the most important aspect is preparation.
You need to find a way to get in there with some sand paper to clean the glue off both the top of the brace and the guitar's top. I used #150 grit and a small piece of wood to press down/up where the sanding needed to occur.
The sanding took approximately one hour to do correctly. You want the glue off, but the brace to keep its shape. Take it slow, take your time and everything after this is easy.
Time taken: 1 hour
The Peg
If you simply take a long clamp and clamp the brace to the top, it's very likely that the top will have sunk down. It's important that the brace be pushed up in to the guitar top.
This is done with a small brace.
The brace is sized so that it firmly pushes the brace in to the soundboard. If you're not sure if it's enough pressure then put a piece of paper between the top and the brace. Put in your peg. If you can't pull the paper out easily then you're good.
Time taken: 10 minutes
Making the peg
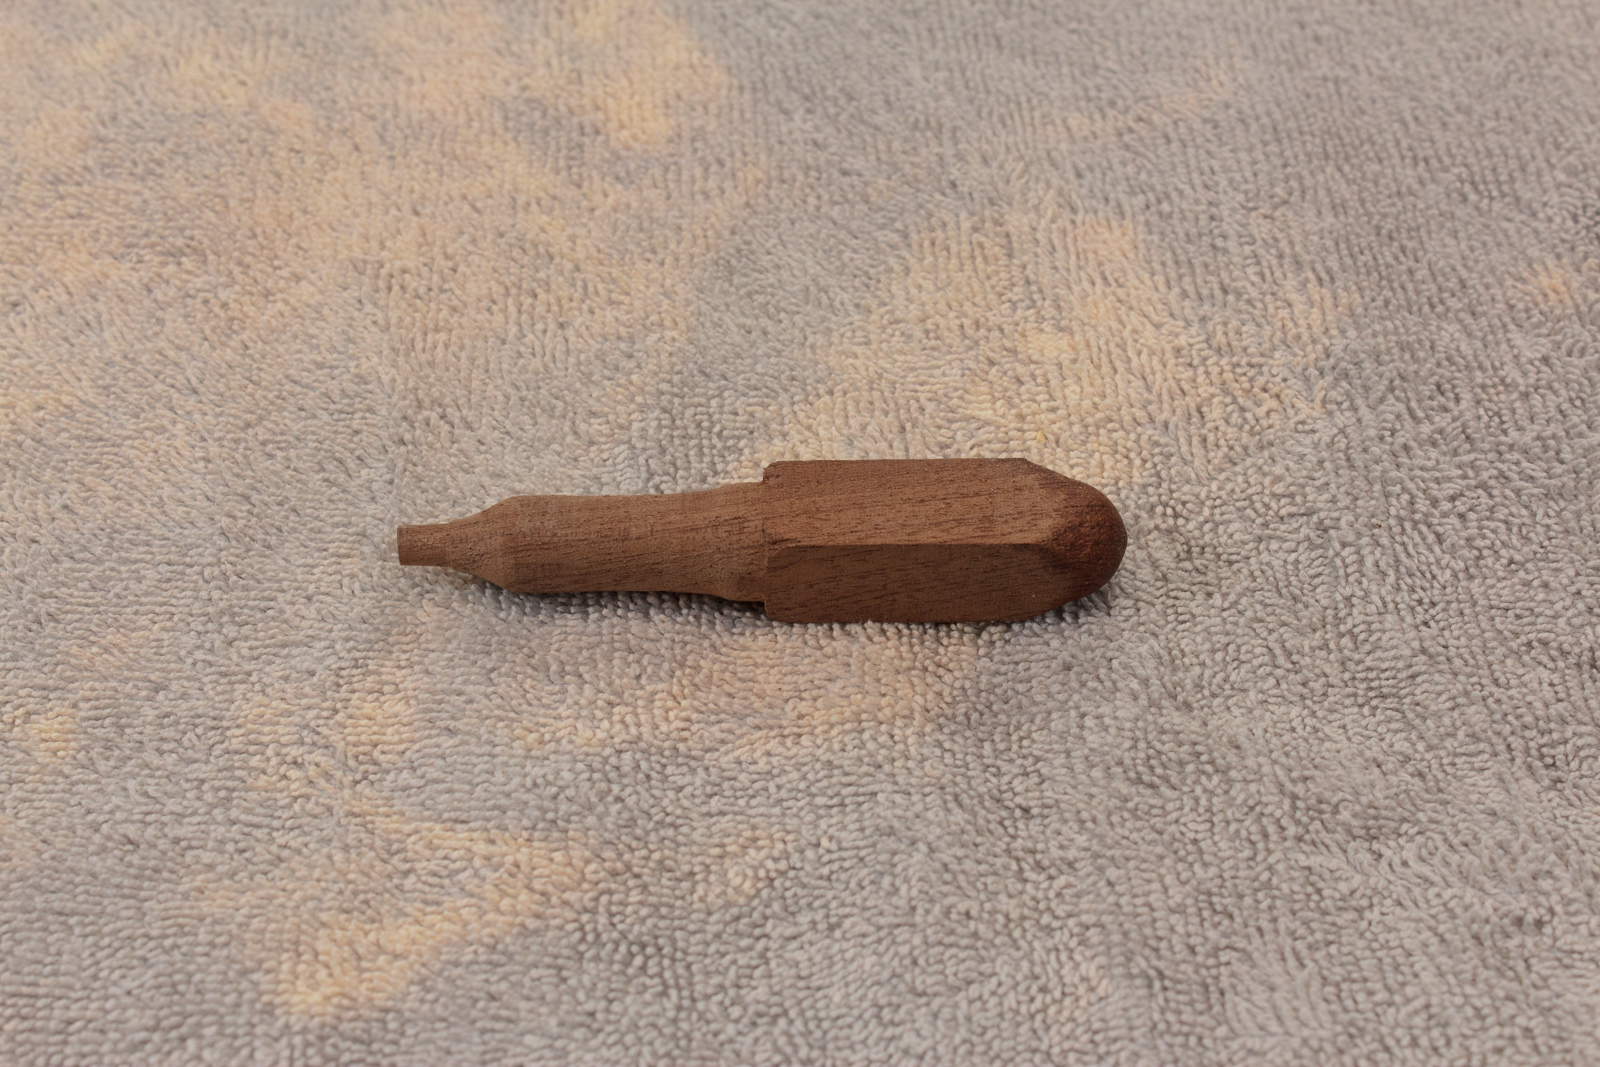
I turned this simple thing on my bench lathe really quick. It doesn't need to be fancy. You can just grab a piece of wood from the trash, rub it on the sidewalk till it's the right shape and size, then use it.
I'm serious. Sidewalk and scrap. It's fine. It will work.
Just make sure the top is fairly flat (or matches the inverse of the brace's shape), and that the bottom is rounded.
Waxing the peg
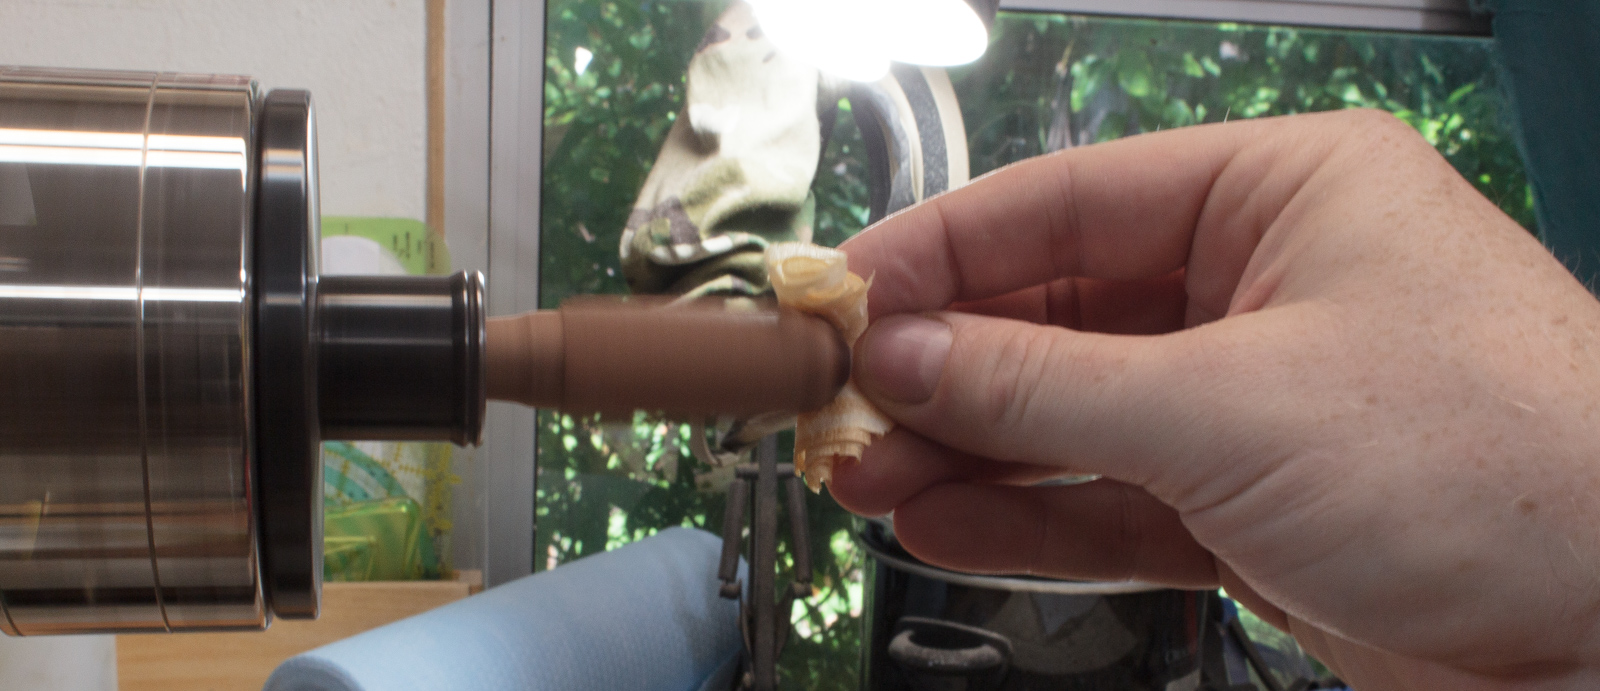
I suggest waxing the bottom of the bracing peg. This makes it much easier to push the top against the brace, then slide the bottom in to position without ruining the back of the guitar.
I just took some paste wax and applied it on the lathe with a spare wood shaving. The wood shaving gives a bit more polish than a paper towel due to the burnishing effect.
Test Clamp
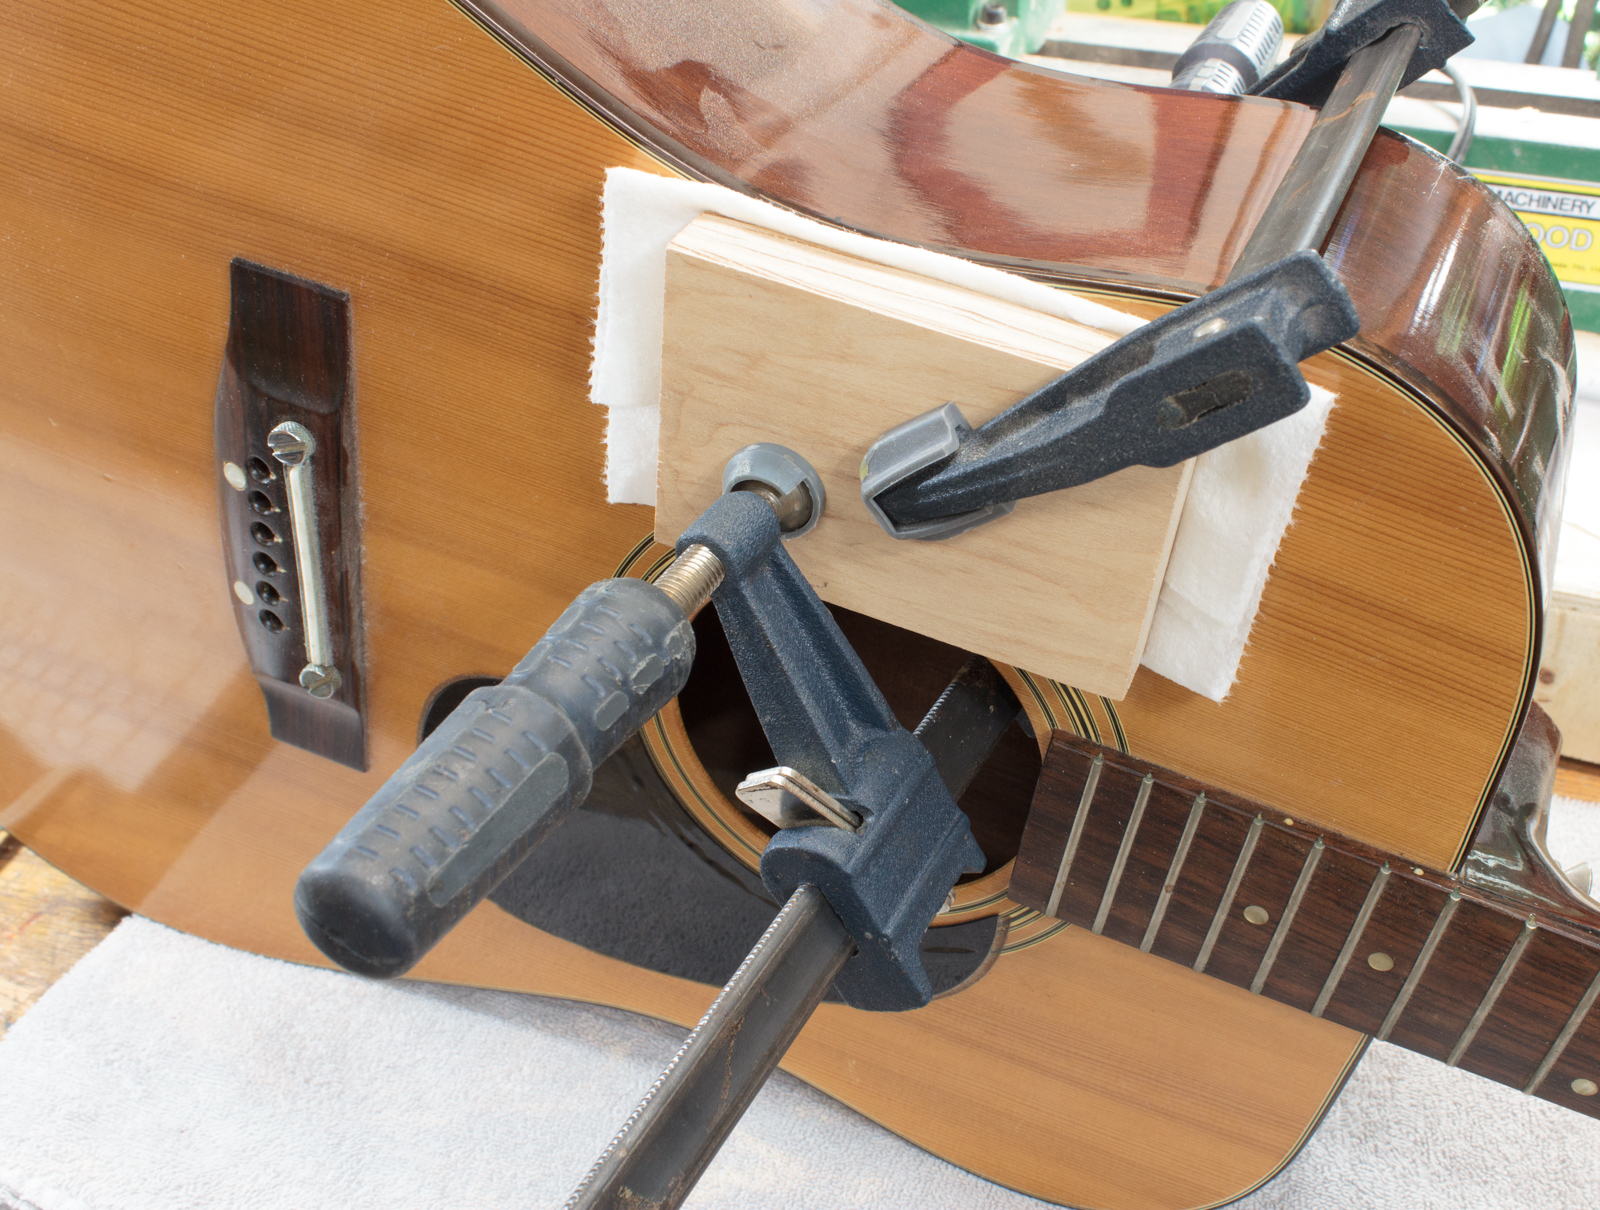
**Test your clamping procedure! **
Protect the guitar! Use wooden blocks to buffer the clamping pressure.
I decided on using 2 clamps. One to hold the brace near the sound hole, and one just shy of the peg. The glue can dry fast, so make sure you can do this competently in 1-2 minutes. If you have to practice it 20 times, then do it.
Time taken: 15 minutes
Glue
Supplies
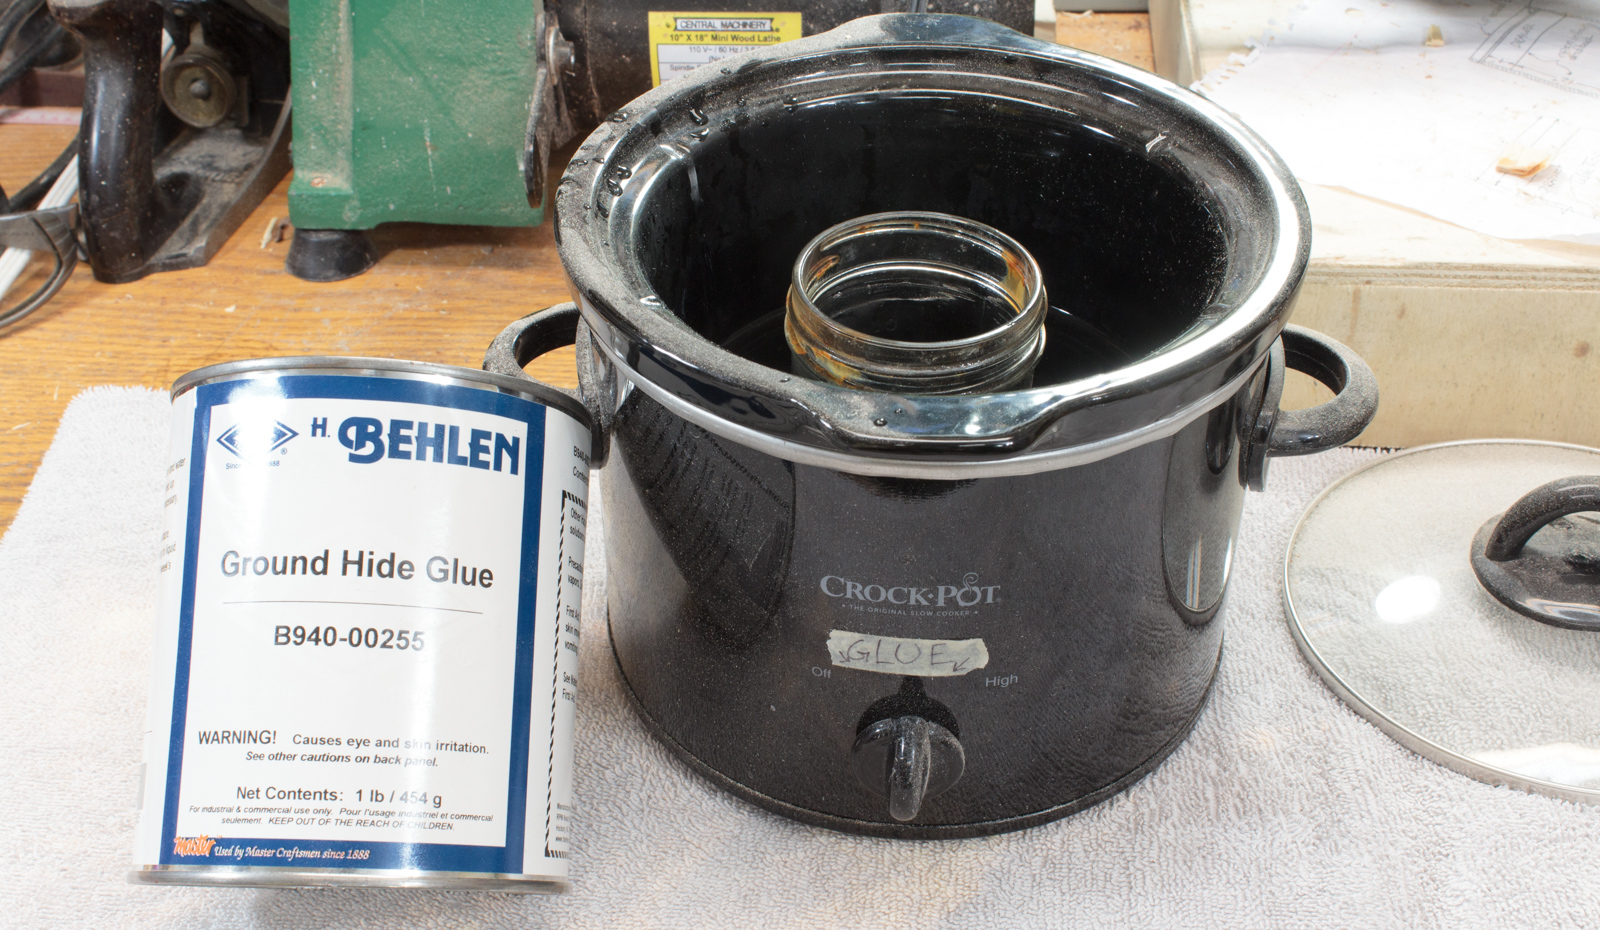
I use Behlen 192g strength hide glue. I've written about my very cheap hide glue pot in the past. You can just as happily use Liquid Hide Glue if you want.
I do not suggest using PVA glue like Titebond I/II/II. It's not as easily un-doable (in case you need to redo this or fix it again after another hot day in the car!), and it's relatively inflexible which can potentially make it likely for a soundboard crack to occur.
I think that PVA might work fine, however I've seen many people advise against it. I love hide glue. Use hide glue. It works on all sorts of things.
Application
You practiced clamping, now practice gluing.
I ended up putting a piece of wood near the apex of the detachment as a shim. The shim opens up gluing surface so I can use just one hand.
Glue was applied with yet another small scrape of wood. You can use a plastic knife, cutout lid of yogurt, cut piece of a 2-liter... anything. Be creative and practice it first.
You don't want your glue to dry before you get it clamped, and you don't want glue everywhere.
Time taken: 10 minutes practice + 2 minutes application
Final Clamp
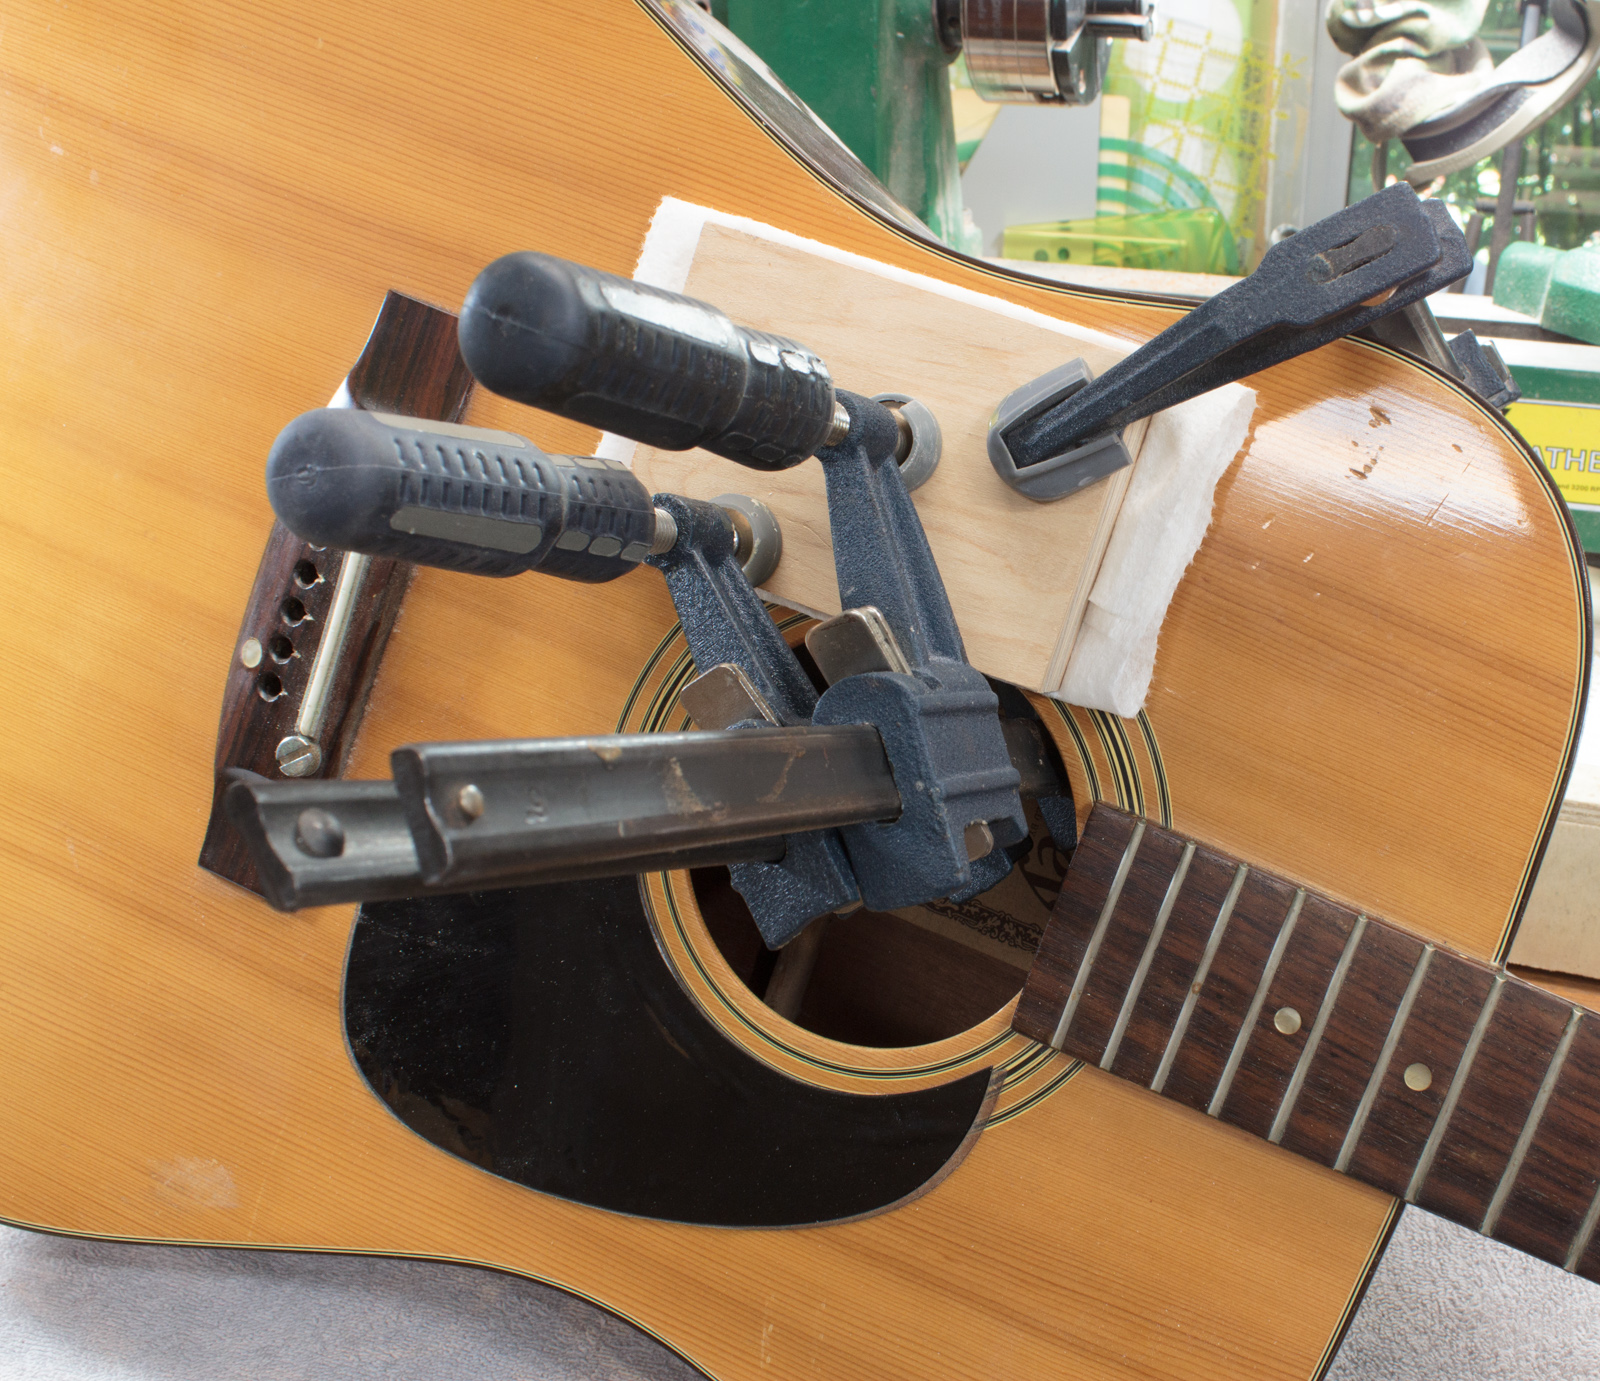
I ended up adding a 3rd clamp since it didn't look like the glue squeeze out was sufficient.
Squeeze out is when the glue oozes out the side of the joint, and is an excellent indicator that your joinery is clean and the glue is sufficient. It's very hard to 'starve' a joint of adhesive, especially on an old dry guitar top, so aim for a light amount of squeeze out along the entire joint.
A note of caution: don't crank your clamps! Watch for squeeze-out, listen for cracking, watch the guitar's soundboard. Be aware of everything. You practiced clamping and you practiced gluing so you should have plenty of time to make small adjustments if needed. If you followed my advice then you also used Hide Glue, which you can 'undo' (google it).
Let it stay clamped for 24-48 hours. You did all this work. Don't be hasty!
Time taken: <2 minutes.
Fixed
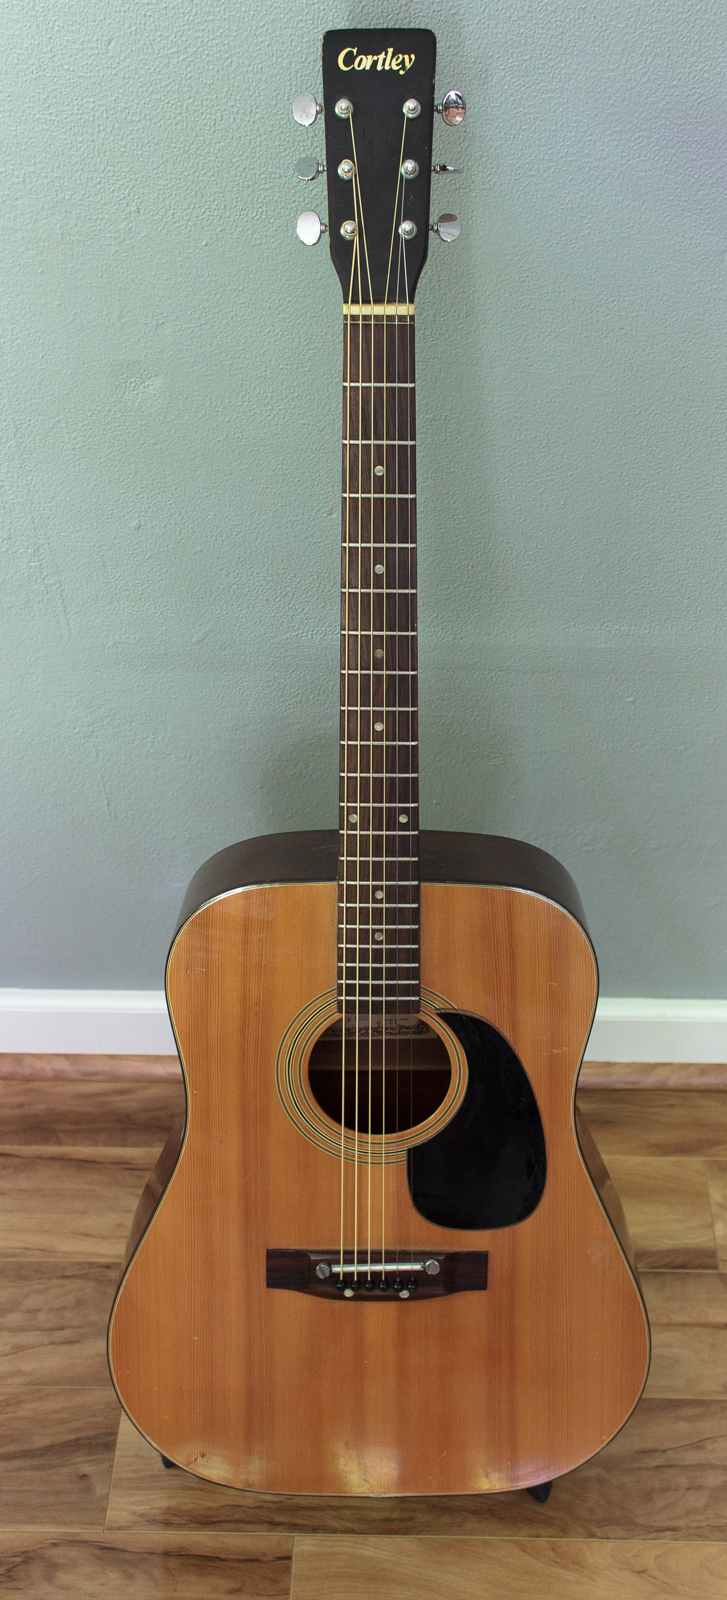
I leveled and crowned the frets. Set the neck. Adjusted the action. We're all good to go.
Nearly 45 years old and it still plays great.
Time taken: ~1 hour 40 minutes + 36 hours of drying time.
Support Me!
This post took 6 hours to research, photograph, write and edit. If you appreciate the information presented then please consider joining patreon or donating!
If you appreciate the information presented then please consider joining Patreon or donating money/time.
